Fix: PS 3 Error Code 80710723
Even though the next gen consoles are slowly taking over, there are still a plenty of PS3 users around the world who are struggling with the 80710723 error code. This error code usually represents a faulty connection between your and PlayStation servers and Sony has reported that the error sometimes occurs due to server overload.
However, the error can also be caused by certain settings on your computer and that is why it’s important to follow the solutions presented below in order to solve the problem successfully.
Solution 1: Switch to an Ethernet Connection
It’s no secret that a wireless or mobile data connection is pretty buggy when it comes to gaming and things which require constant Internet connections as the wireless methods are easily obstructed. Try switching to an Ethernet cable if you have one at home instead of using Wi-Fi.
This has helped plenty of users and they never saw the 80710723 error code again.
Solution 2: Disable WMM Settings on Your Router
This is an automated service that gives priority to multimedia running through your wireless network. This means that your bandwidth gives priority to devices which use this media, which sometimes sounds like a great things but it seems plenty of users who turned this settings off stopped receiving the 80710723 error code immediately.
Follow the steps below in order to remove this setting from your router. Note that some of the steps below appear different to other routers but all settings are similar in name and purpose across all routers.
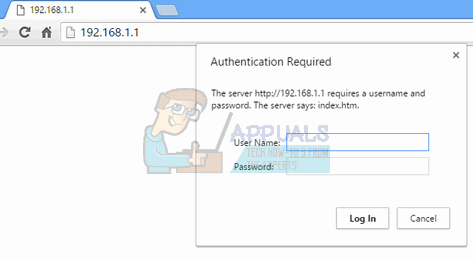
- Open a Web browser, type your Default Gateway number (IP address) into the address bar, and press Enter.
- Enter your username and password to access your router’s interface. The default username and password should be listed in your router’s documentation, on a sticker on the side of your router, or on the Port Forward website. If the username and password have been changed from the defaults and you don’t remember them, you’ll need to reset your router.
- Open the Wireless tab to edit your wireless settings. Once there, navigate to the “WMM” tab.
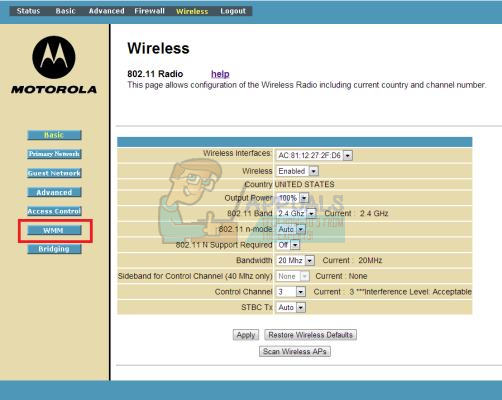
- Toggle WMM Support to Off or Disabled. The WMM setting will either be in its own category or within a subheading under your wireless settings menu, depending on the model of your router. Simply tap the drop-down box (or button, depending on your router) and select the desired setting. There will likely be some other advanced options available to you in this menu, but you’ll likely want to keep away from these unless you know what you’re doing.
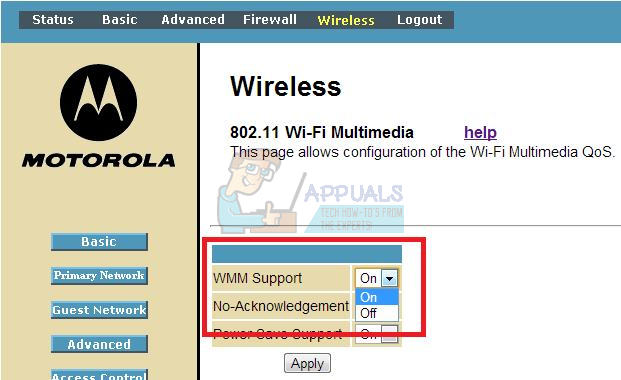
- Click Apply. Then restart your router under the general settings and check to see if the error code still appears when you are trying to use your PS3.
Solution 3: Clear the Browsing Data from PlayStation 3’s Internet Browser
It’s well-known that PS3 has a built-in Internet browser which is almost fully functional and which can be extremely useful if you need to look something up online. However, if you have been using the browser excessively, you may need to delete the browsing data if you want to put an end to the 80710723 error code.
- Turn on your PS3 and open the Internet browser on it.
- Press the Triangle button on your controller and click on Tools.
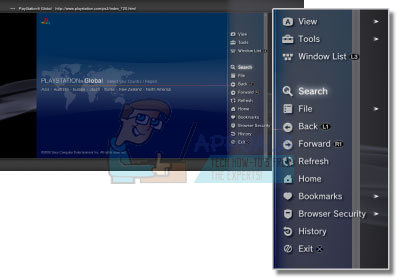
- You should be able to notice the Delete Cookies option right at the top. Click on it, confirm your choice and repeat the process for all option. The error code should be gone if cookies were the cause for it.
Solution 4: Add Your PS3 to the DMZ
Adding the PS3 to the DMZ can sometimes definitely improve your performance by opening certain ports with your Internet connections, making it less likely for you to encounter problems such as headset issues, Internet connections issues, etc. DMZ stands for De-Militarized Zone which means your router won’t interfere with any traffic coming from or to your console.
Luckily, this method has also proven itself to be quite effective when dealing with our error code as some users enthusiastically suggested adding your PS3 to the DMZ if you want to deal with this error code. Follow the steps below carefully in order to achieve this.
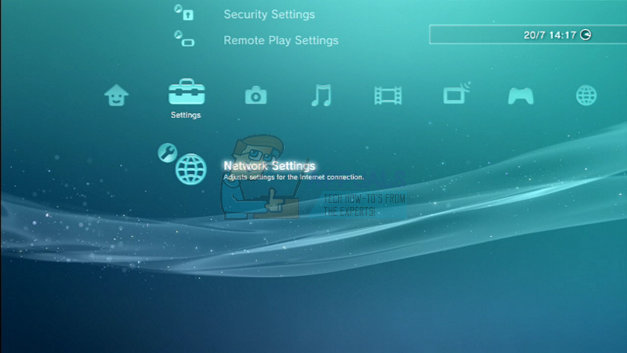
- Turn on your PS3 and navigate to Settings >> Network Settings.
- The first thing we are going to do is assign your PS3 a static IP address which helps you make sure the IP address won’t change overtime which will make you repeat this process every time it changes.
- Navigate to the Settings and Connection Status List and write down the following two numbers: the IP address and the Default Router.
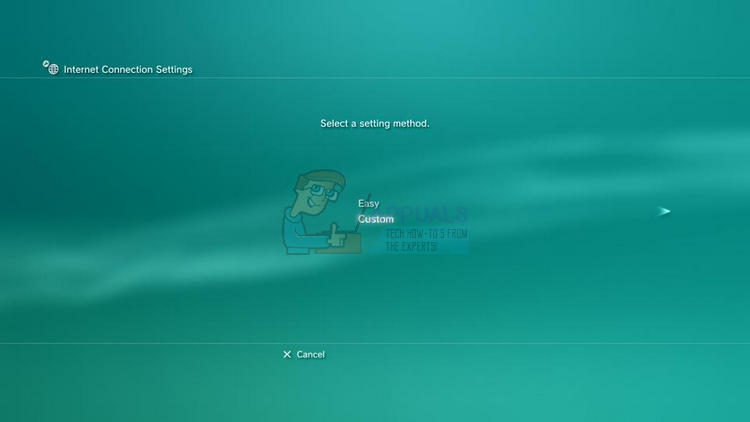
- After that, go to the Internet Connection Settings submenu and select Custom.
- Select the type of connection you are using (If your PS3 is plugged in to the router, select ‘Wired’ and if you’re using a wireless connection, select that intead.)
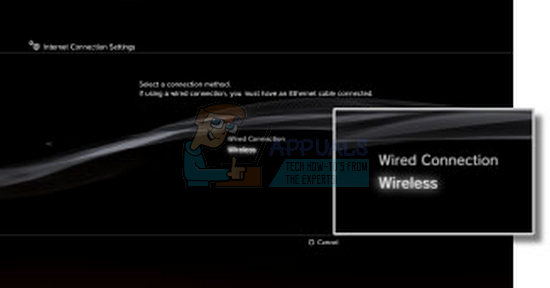
- If you selected wireless, set up your connection as normal until you get to the IP Address menu. If you selected wired, select the ‘Auto-Detect’ option at the next screen and continue to the IP Address menu.
- At the IP Address menu, select ‘Manual’ and you will be able to see a new screen with several options available.
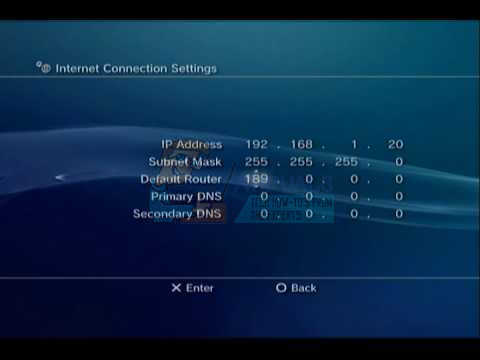
- Write down the IP address you just noted down in the previous steps but make sure you change the last three numbers just in case (basically the numbers after the last dot). Your best bet is to simply increase the last numbers by 50 while making sure the number is greater than 255.
- Set the Subnet Mask option to 255.255.255.0 and you will be good to go as this is the default settings for most cases.
- The Default Router option is where you should write down the second set of numbers you wrote down in previous steps. Also, the Primary DNS option should contain the same set of numbers so you can just copy them. The secondary DNS option can remain bland.
- Switch the MTU option to Automatic, leave the proxy server option blank and you should also disable the UPnP option.
However, this is not over as you will have to perform some operations on your computer as well. You PlayStation 3 won’t be able to connect right away and it will warn you immediately but don’t be put off by that as the process is not over yet. Make sure you have access to a computer connected to the same wireless network.
- Open a Web browser, type your Default Gateway number (IP address) into the address bar, and press Enter.
- Enter your username and password to access your router’s interface. The default username and password should be listed in your router’s documentation, on a sticker on the side of your router, or on the Port Forward website. If the username and password have been changed from the defaults and you don’t remember them, you’ll need to reset your router.
- Locate the DMZ option in the Settings tab of your router. The option is always in a different location but it will most likely show up under the Security tab or something similar.
- Choose the DMZ option and enter the IP address you assigned to your PS3. If everything goes right, your PS3 should now have access to the Internet. After you have confirmed these changes, make sure you turn off your router and your PS3 and wait for a couple of minutes.
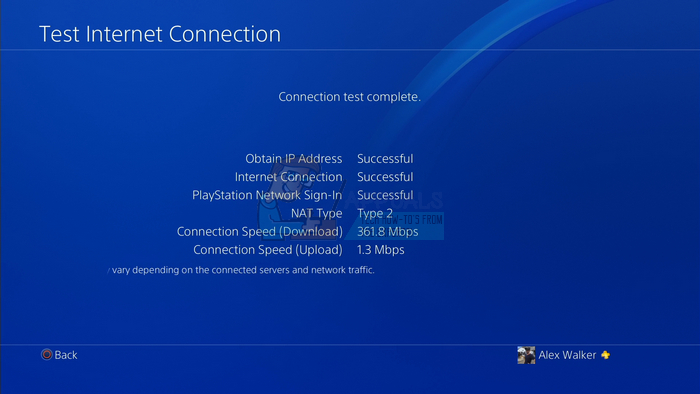
- Turn them on, and navigate back to the Network Settings on your PS3. Choose the Internet Connection Test and everything should go smoothly. Now check to see if the 80710723 error code still appears.
Solution 5: Tweaking Network Settings on Your PS3
If the solution above did not work for you, a similar one may help you if you want to fix your problem for good and it involves changing the way your PlayStation 3 console connects to the Internet. Make sure you follow the instructions below carefully.
- Turn on your PS3 and navigate to Settings >> Network Settings.
- After that, go to the Internet Connection Settings submenu and select Custom.
- Select the type of connection your using (If your PS3 is plugged in to the router, select ‘Wired’ and if you’re using a wireless connection, select that intead.)
- If you selected wireless, set up your connection as normal until you get to the IP Address menu. If you selected wired, select the ‘Auto-Detect’ option at the next screen and continue to the IP Address menu.
- Make sure you set your settings as following:
IP Address Setting: Automatic
DHCP Host name: Do Not Set
DNS Settings: Manual
Primary DNS: 208.67.222.222
Secondary DNS: 208.67.220.220
MTU: Automatic
Proxy Server: Do Not Use
UPnP: Enable
- Test your connection and check to see if the error code still appears.
Solution 6: Rebuild PS3 Database
This option is quite simple and actually helpful in various other ways. This can also help if your PS3 is starting to experience weird memory glitches such as memory loss, bugs, etc. Rebuilding the database takes about five minutes and users claim that it fixed their problem in no time. Simply follow the instructions located below.
- Turn off your PS3 so you see that glowing red light which indicated it has been successfully turned off.
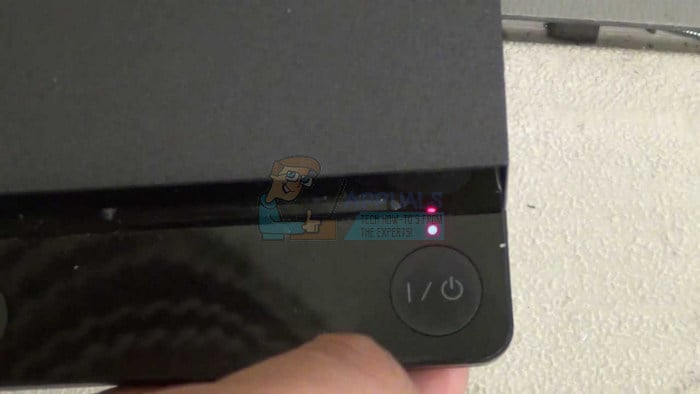
- Turn on your PS3 and HOLD the power button. Keep holding the button until it turns off again.
- Now turn the PS3 on again, only this time, it will be a little different. Press and hold the power button and you will hear three beeps. At this point, release the power button. If you release it too late it will just turn off again and you will have to repeat the process again.
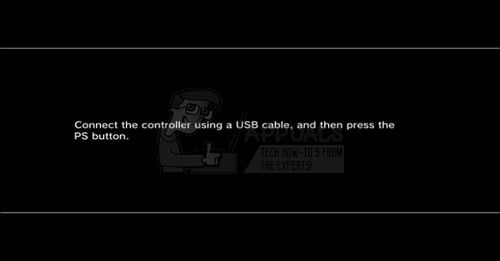
- You will be greeted with a screen asking you to connect a controller with a USB cable which you should do immediately.
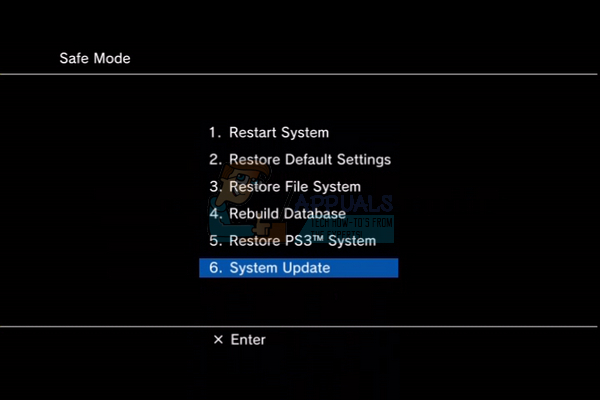
- You have now accessed the PS3 Recovery menu. Select the option 4 saying “Rebuild Database” and press the X button. For more info on what the other options do, check out the FAQ tab.
- After pressing X, you will see a new screen. Press Yes to continue and the process should be on the way. The process won’t take long (around give minutes) so wait for it to finish.
- Your PS3 will reboot automatically so don’t worry about it. After it boots successfully, check to see if the issue is resolved.
Solution 7: Disable Media Server Connection
Disabling this option from the PlayStation 3 settings seems to have helped plenty of users while dealing with this issue and process is simple:
- From the menu on your PS3 navigate to Settings >> Network Settings.
- Locate the Media Server Connection option and set it to Disabled.
- Check to see if the error code still appears
Solution 8: Clear the Cache on Your Console
Clearing the cache on your PlayStation 3 is helpful when dealing with any error codes at all so you might need to consider this option as well. It doesn’t take a lot of time to do it and it will also speed up your console significantly.
- Completely shut down the PlayStation 3 by pressing and holding the power button.
- Once the console is completely shut down, unplug the power cord from the back of the console.
- Let the console stay unplugged for at least a couple of minutes.
- Plug the power cord back into the PlayStation 3 and turn it on the way you normally do.
Solution 9: Change the DNS Settings to Google’s
There are several free DNS addresses which you can use with no restrictions and there are quite a few different situations where changing the DNS address from automatic to the Google’s free DNS can actually solve the problem immediately and save you time and, quite possibly, money.
Follow the instructions below in order to change the default DNS address on your PlayStation 3:
- Turn on your PS3 and navigate to Settings >> Network Settings.
- After that, go to the Internet Connection Settings submenu and select Custom.
- Follow the same instructions as in the Solution 5 and set the same options except for the primary and secondary DNS part. Your settings should now look like this:
IP Address Setting: Automatic
DHCP Host name: Do Not Set
DNS Settings: Manual
Primary DNS: 8.8.8.8
Secondary DNS: 8.8.4.4
MTU: Automatic
Proxy Server: Do Not Use
UPnP: Enable
- Test your connection and check to see if the error code still appears.