Fix: This Plugin is Not Supported
“This plug-in is not supported” is an error message which you might experience while streaming various websites. It usually occurs when the website consists of media content and Google Chrome is unable to load it; in other words, the video format is nor supported.
This issue became noticeably widespread recently after the introduction of HTML5 on browsers for loading media content. There are several workarounds to check if the problem lies on only your computer or is it widespread.
Solution 1: Updating Flash Player
Google Chrome might not be able to play Flash content is the plug-in is outdated. You can easily try updating the plug-in manually and check if this solves the problem. Also, try updating the Flash software installed on your computer to the latest build.
Below is the method on how to update Flash in Google Chrome
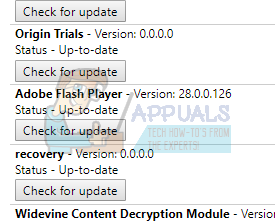
- Open Google Chrome and type “chrome://components/” in the address bar and press Enter.
- All the components present in your browser will come forward. Browse through them until you find the entry “Adobe Flash Player”. Click on “Check for update”. Chrome will automatically search for all available updates and might prompt you for a restart if it does.
If you have never installed Adobe Flash Player on your computer, you should head over to its official website, download it to an accessible location and install it. Restart Chrome and check if the error still persists.
Solution 2: Clearing Browsing Data
The cache and history present in your browser can sometimes cause the error to cause. They may be piling up to an extent that your browser gets stuck and is unable to load the content properly. Sometimes some items in the cache also interfere with your browser. We have listed a method on how to clear browsing data of Google Chrome. Other browsers can also clear their data but with a slightly different method.
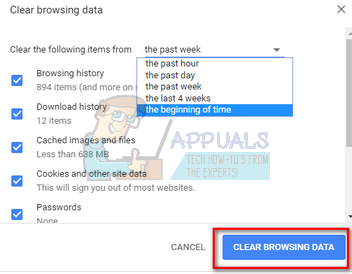
Note: This method will erase all your browsing history, preferences and passwords from your browser. You will have to enter all the passwords and adjust all the preferences again.
- Press Ctrl + Shift + Del on your keyboard to launch the “Clear browsing data” window. Click on “Advanced” tab present on its top and check all the checkboxes. Click “Clear browsing data”.
- Now restart your browser after ending all applications using the task manager and check if the errors go away.
Solution 3: Checking on Another Browser
If the problem still persists, it is recommended that you try loading the same content on another browser. It is possible that the content you are trying to access is a Java plugin. After its version 45, Chrome officially ended its support for NPAPI (this is the interface on which Java is based). If the plug-in you are trying to access contains this, it will not load. Try loading it on other browsers such as Edge, Internet Explorer, Firefox, etc and check if the problem still persists. Also, you can use Puffin Web Browser if you are on android to get around this issue.
Solution 4: Using IE Tab Extension
If you diagnose that the problem is only in Chrome and not in IE, it means that the plug-in is in a format that Chrome doesn’t support (for example Java, ActiveX, Silverlight, etc). Using this extension, you can stimulate IE in your very own browser. You can add the website which gives the problem. Whenever you load that website, the extension will automatically open in the IE tab.
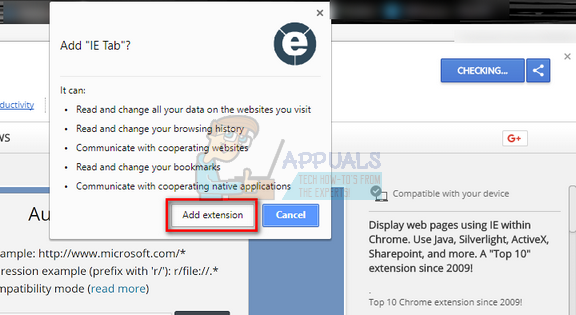
- Download the IE Tab using Google’s official website.
- Click on “Add to Chrome” button present at the top-right side of the screen. After checking the requirements, Chrome will prompt you to add the extension. Click “Add extension” and let Chrome install it.
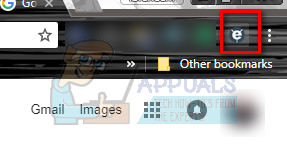
- After the installation, you will notice a small logo of IE at the right side of your address bar. You click it at any instant to load the loaded page into an IE tab.
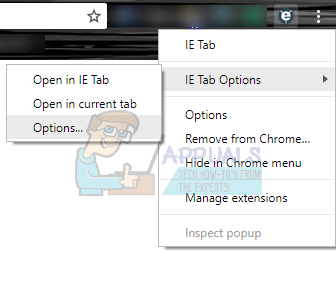
- If you want to set the IE tab to always load a specific website, right-click on it, select IE Tab Options > Options.
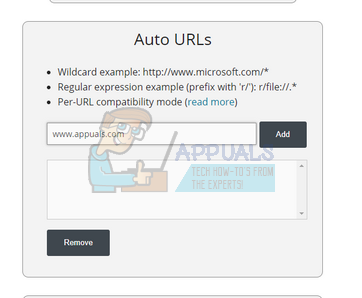
- Navigate to the end of the settings until you find the option “Auto URLs”. Here you can type the address of the website which you want to automatically load in Chrome. Press Add and restart Chrome to implement the changes.
Solution 5: Using NoPlugin Extension
Normally you have to install certain plugins to view certain types of data on the internet. But to counter this, you can use certain extensions that eliminate the use of a plugin and allow you to be able to load such data. In order to that, follow the instructions below.
- Open Chrome and click on the “Three Dots” on the top right corner.
- Click on “More Tools” and then select “Extensions”.
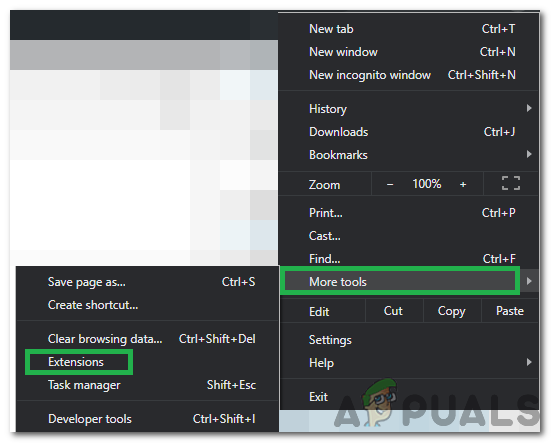
Clicking on More Tools and selecting “Extensions” - Click on the “Three Lines” in the top left corner and select the “Open Chrome Web Store” from below.
- Type in “NoPlugin” and press “Enter”.
- Click on the “Add to Chrome” option and follow the onscreen instructions to install it.
Clicking on the “Add to Chrome” button - Check to see if the issue still persists.