Fix: Package Could not Be Registered
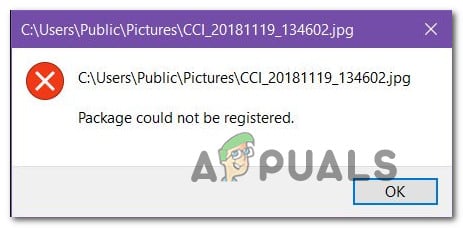
Several users have been reportedly getting the “Package could not be registered” error when trying to open an image file like .JPG or .PNG. For some affected users, this issue occurs with every image that they try to open while others report that the issue is only triggered by certain files. We’ve been able to confirm that the issue is occurring for Windows 10, Windows 8.1 and Windows 7.
What is causing the “Package could not be registered” error?
We investigated this particular error message by looking at various user reports and the repair strategies that were used in order to mitigate the problem. Based on the majority of user reports, there are several different potential culprits that are known to trigger this particular issue:
- The issue is caused by System file corruption – As it turns out, this particular issue can also be caused by a set of corrupted system files. Several affected users have reported that the issue was resolved after they performed DISM and SFC scans.
- Photos app is broken – In some cases, the issue might occur if the default photos app is botched by an update or contains some corrupted files. If this particular scenario is applicable, you can resolve the issue by repairing or resetting the Photos app.
- Core photo files are corrupted – Windows installer will not touch the core files of the vast majority of Store apps. If you’re unlucky enough to have corrupted core files of the app, the only way you’ll be able to resolve the issue is by reinstalling the app using PowerShell.
- Corrupted windows installation – Several affected users have reported that they only managed to resolve the issue after performing a repair install. This suggests that the issue can also be caused by corrupted Windows files.
Method 1: Running the Windows Store Apps troubleshooter
One of the most popular fixes out there for the “Package could not be registered” error is to simply run the Windows Store Apps troubleshooter. Some users encountering the same issue have reported that upon running the troubleshooter, the utility realized that the Photos app was broken and recommended to reset the app.
Keep in mind that the Windows Store Apps troubleshooter holds a collection of repair strategies for common Store apps problems such as this one. If a repair strategy is applicable, the utility will automatically recommend the right fix for the issue.
Here’s a quick guide on running the Windows Store Apps troubleshooter:
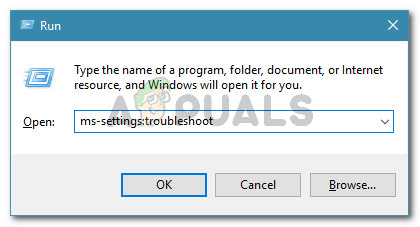
- Press Windows key + R to open up a Run dialog box. Then, type “ms-settings:troubleshoot” inside the newly appeared Run box.
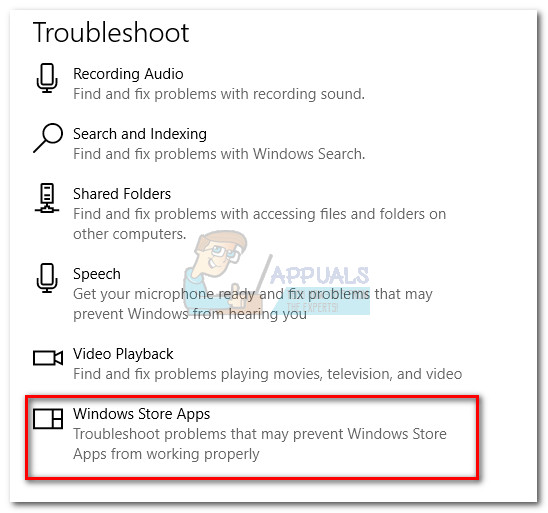
Accessing the Troubleshooting tab - Inside the Troubleshooting tab, scroll down to the Find and Fix other problems section and locate Windows Store Apps. Once you see it, click on it and then select Run the troubleshooter.
- Once the utility is launched, wait until the initial scanning period is complete. Once the diagnostic is complete, click on Apply this fix if a repair strategy is recommended.
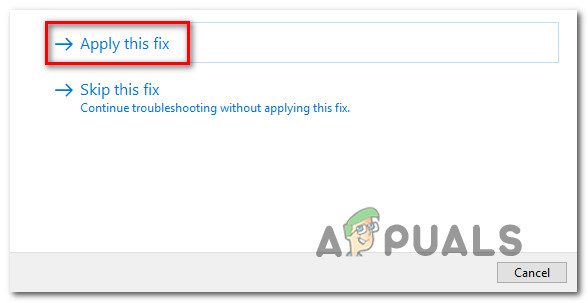
Apply this fix - After the fix is applied, restart your computer and see if the issue is resolved at the next system startup.
If the “Package could not be registered” error is still occurring, move down to the next method below.
Method 2: Repairing corrupt system files
One of the most common causes, why this particular error message appears, is corrupted system files. Several affected users have reported that the issue was resolved entirely after they used an elevated Command Prompt to perform a series of scans capable of repairing the system files of corruption.
Here’s a quick guide on how to do this:
- Press Windows key + R to open up a Run dialog box. Then, type “cmd” and press Ctrl + Shift + Enter to open up an elevated Command Prompt. When prompted by the UAC (User Account Control), click on Yes to grant administrative privileges.

Running CMD using the Run Dialog Box - Inside the elevated Command Prompt, type the following commands (or copy paste them) in this exact order and press Enter after each one:
Dism /Online /Cleanup-Image /CheckHealth
Dism /Online /Cleanup-Image /ScanHealth
Dism /Online /Cleanup-Image /RestoreHealth
Note: The Deployment Image Servicing and Management (DISM) utility is a command line tool that is capable of identifying and replacing corrupted system files by using Windows update. Since it uses WU (Windows Update) in order to replace bad files with a healthy one, a stable internet connection is required.
- Once the procedure is finished, restart your computer and see if the issue has been resolved by attempting to open the same file that was previously triggering the error.
- If the issue is still occurring, follow step 1 again to open up another elevated Command prompt. This time, type the following command to initiate a System File Checker (SFC) scan:
sfc/scannow
Note: This procedure will replace corrupted files with healthy equivalents from a locally stored backup folder, so no active internet connection is needed.
- Once the procedure is finished, restart your computer and see if the issue is resolved at the next system startup.
If you’re still encountering the “Package could not be registered” error when opening certain files, move down to the next method below.
Method 3: Resetting the Photos app
Some affected users have reported that they finally managed to resolve the issue after following the step appropriate to reset the Photos app. This procedure is not destructive at all, but it has the potential of making you lose some user settings regarding your Photos app.
Here’s a quick guide on resetting the Photos app:
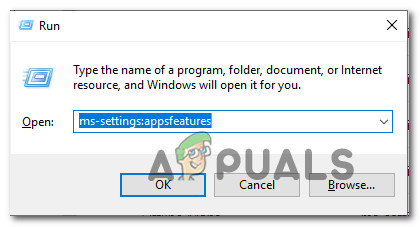
- Press Windows key + R to open up a Run dialog box. Then, type “ms-settings:appsfeatures” and press Enter to open up the Apps & Features screen of the Settings app.
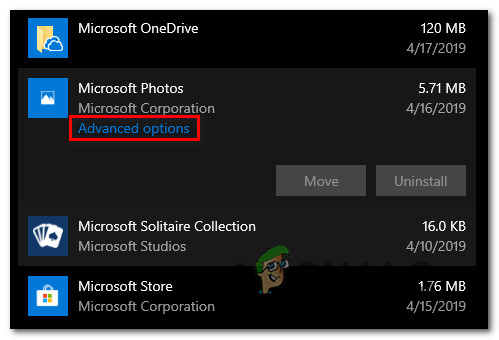
Accessing the Apps & Features Menu - Inside the Apps & Features menu, scroll down to the list of applications and skim through them until you locate Microsoft Photos. Once you see it, click on it and choose Advanced options.
Advanced Options - Inside the advanced options screen of the Microsoft Photos app, scroll down to the Reset tab and click on Repair. When the process is complete, open an image that was previously triggering the “Package could not be registered” error and see if the issue has been resolved.
- If the issue is still occurring, click the Reset button (below Repair) and click Reset once again to confirm.
- Once the app has been reset, recreate the process that was previously triggering the error message and see if the issue has been resolved.
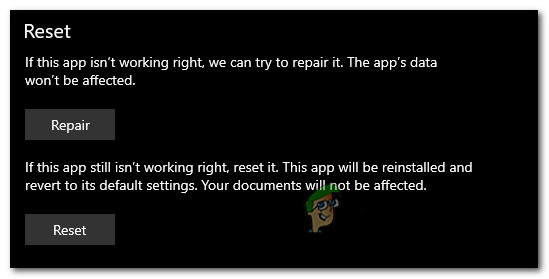
Resetting or Repairing the Photos app
If the “Package could not be registered” error is still occurring, move down to the next method below.
Method 4: Reinstalling the Photos app using Powershell
Several affected users have reported that the “Package could not be registered” error finally stopped occurring after they used a series of commands to uninstall and then reinstall the default Photos app using Powershell. This procedure will remove all files associated with this program, rather than refreshing the cache and the files that are most likely to be affected by corruption.
Here’s a quick guide on reinstalling the Photos app using an elevated Powershell window:
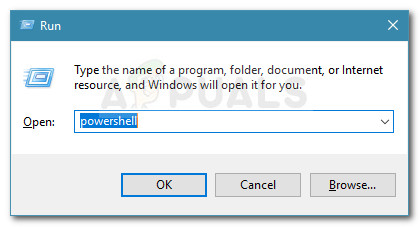
- Press Windows key + R to open up a Run dialog box. Then, type “powershell” and press Ctrl + Shift + Enter to open up an elevated Powershell window.
Run dialog: powershell Then press Ctrl + Shift + Enter - Inside the elevated Powershell window, type the following command and press Enter to uninstall the Photos app:
get-appxpackage Microsoft.ZuneVideo | remove-appxpackage
- Once the process is complete and the Photos app is uninstalled, use the following command and press Enter to reinstall the app once again:
Get-AppxPackage -allusers Microsoft.ZuneVideo | Foreach {Add-AppxPackage -DisableDevelopmentMode -Register “$($_.InstallLocation)\AppXManifest.xml”} - When the process is complete, restart your computer and see if the issue is resolved at the next system startup.
If you’re still encountering the “Package could not be registered” error, move down to the next method below.
Method 5: Switching back to the classic Windows Photo Viewer
Several affected users have reported that the issue was resolved after they effectively replaced the Photo Viewer app with the old Windows Photo Viewer application. Now, this procedure is a little tricky considering that Windows 10 does no longer officially support this app.
However, there is some registry tweak that you can do in order to make the switch back to the classic Windows Photo Viewer and eliminate the “Package could not be registered” error.
Here’s a quick guide on switching back to the classing Windows photo viewer:
- Press Windows key + R to open up a Run dialog box. Then, inside the text box, type “notepad” and press Enter to open the default Windows text editor.
- Inside the newly opened notepad Window, copy and paste the following code:
Windows Registry Editor Version 5.00 [HKEY_CLASSES_ROOT\Applications\photoviewer.dll] [HKEY_CLASSES_ROOT\Applications\photoviewer.dll\shell] [HKEY_CLASSES_ROOT\Applications\photoviewer.dll\shell\open] "MuiVerb"="@photoviewer.dll,-3043" [HKEY_CLASSES_ROOT\Applications\photoviewer.dll\shell\open\command] @=hex(2):25,00,53,00,79,00,73,00,74,00,65,00,6d,00,52,00,6f,00,6f,00,74,00,25,\ 00,5c,00,53,00,79,00,73,00,74,00,65,00,6d,00,33,00,32,00,5c,00,72,00,75,00,\ 6e,00,64,00,6c,00,6c,00,33,00,32,00,2e,00,65,00,78,00,65,00,20,00,22,00,25,\ 00,50,00,72,00,6f,00,67,00,72,00,61,00,6d,00,46,00,69,00,6c,00,65,00,73,00,\ 25,00,5c,00,57,00,69,00,6e,00,64,00,6f,00,77,00,73,00,20,00,50,00,68,00,6f,\ 00,74,00,6f,00,20,00,56,00,69,00,65,00,77,00,65,00,72,00,5c,00,50,00,68,00,\ 6f,00,74,00,6f,00,56,00,69,00,65,00,77,00,65,00,72,00,2e,00,64,00,6c,00,6c,\ 00,22,00,2c,00,20,00,49,00,6d,00,61,00,67,00,65,00,56,00,69,00,65,00,77,00,\ 5f,00,46,00,75,00,6c,00,6c,00,73,00,63,00,72,00,65,00,65,00,6e,00,20,00,25,\ 00,31,00,00,00 [HKEY_CLASSES_ROOT\Applications\photoviewer.dll\shell\open\DropTarget] "Clsid"="{FFE2A43C-56B9-4bf5-9A79-CC6D4285608A}" [HKEY_CLASSES_ROOT\Applications\photoviewer.dll\shell\print] [HKEY_CLASSES_ROOT\Applications\photoviewer.dll\shell\print\command] @=hex(2):25,00,53,00,79,00,73,00,74,00,65,00,6d,00,52,00,6f,00,6f,00,74,00,25,\ 00,5c,00,53,00,79,00,73,00,74,00,65,00,6d,00,33,00,32,00,5c,00,72,00,75,00,\ 6e,00,64,00,6c,00,6c,00,33,00,32,00,2e,00,65,00,78,00,65,00,20,00,22,00,25,\ 00,50,00,72,00,6f,00,67,00,72,00,61,00,6d,00,46,00,69,00,6c,00,65,00,73,00,\ 25,00,5c,00,57,00,69,00,6e,00,64,00,6f,00,77,00,73,00,20,00,50,00,68,00,6f,\ 00,74,00,6f,00,20,00,56,00,69,00,65,00,77,00,65,00,72,00,5c,00,50,00,68,00,\ 6f,00,74,00,6f,00,56,00,69,00,65,00,77,00,65,00,72,00,2e,00,64,00,6c,00,6c,\ 00,22,00,2c,00,20,00,49,00,6d,00,61,00,67,00,65,00,56,00,69,00,65,00,77,00,\ 5f,00,46,00,75,00,6c,00,6c,00,73,00,63,00,72,00,65,00,65,00,6e,00,20,00,25,\ 00,31,00,00,00 [HKEY_CLASSES_ROOT\Applications\photoviewer.dll\shell\print\DropTarget] "Clsid"="{60fd46de-f830-4894-a628-6fa81bc0190d}" - With the code inserted, go to File > Save as and choose a location where you want to save it. But before clicking on Save, make sure that you change the extension from .txt to .reg. Then you can hit Save.
- Double-click on the newly created .reg file to bring back the old Windows Photo Editor.
- Once the Registry keys are added, restart your computer to cement the changes.
- Press Windows key + R once again to open another Run box. Next, type “ms-settings:defaultapps” and press Enter to open the Default Apps window of the Settings app.
- Inside the list of Default apps, click on the icon under Photo Viewer amd select Windows Photo viewer from the list.

Making the switch back to the classic Photo Editor If the issue is still not resolved, move down to the next method below.
Method 6: Performing a Repair install
If you’ve come this far without a result, one last available repair strategies are to perform a repair install. This procedure is widely superior to a clean install since it will allow you to refresh all Windows components that might be causing this issue while allowing you to keep all personal files (photos, videos, images) and applications or games.
If you decide to go for a repair install, you can follow this guide (here).


