Fix: Outlook.pst Cannot be Found
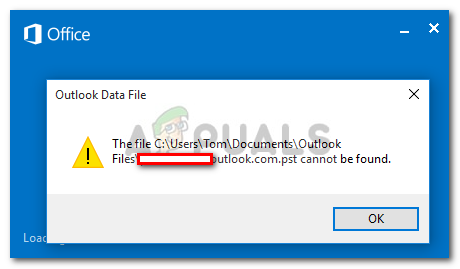
If you are receiving the error ‘Outlook.pst cannot be found’, it can be due to a corrupted or oversized PST file. Many users have reported that they are receiving the said error message whenever they try to open Microsoft Outlook. This tends to happen if an action prior to the emergence of the error message corrupted your Outlook installation files. Since the error appears at the startup, it prevents users from accessing the Outlook desktop application which can be unpleasant.
The PST file, also known as Personal Storage table, is a data file that stores copies of your events, messages etc. Due to a great user interface, errors as such are usually overlooked by users once they have dealt with it. In this article, we will show you how to get over this issue without having to go through an ordeal.
What causes the ‘Outlook.pst Cannot Be Found’ Error on Windows 10?
Well, after having a look at the reports, apparently, the issue is often due to the following factors —
- Corrupted PST file: As we mentioned, one of the reasons due to which the error message appears can be the corruption of your PST file.
- Damaged Outlook files: In some cases, a certain action of yours can cause the outlook files to get damaged. In such a case, repairing the installation will fix the issue.
Before you proceed and start implementing the solutions given down below, please make sure that you are logged in as an administrator. In the solutions, you will have to access system directories which cannot be done with a guest account. Also, we recommend using the solutions in the same order as provided.
Can I Use these Methods for Other PST Files Where @outlook.com is not Used?
Yes, you can also use these methods where the outlook.com domain is not specified. If you get outlook.pst, this means the PST file is used for any domain, however, if you get @outlook.com.pst then that means the PST file is used for Outlook domain only.
Solution 1: Repairing the PST File
As we have mentioned prior to this, corrupted .PST file can potentially be the cause of the error message. In such scenarios, repairing your .PST file will most likely fix the issue. Here’s how to repair the PST file:
- First of all, depending on your Microsoft Outlook version, please navigate to one of the following directories:
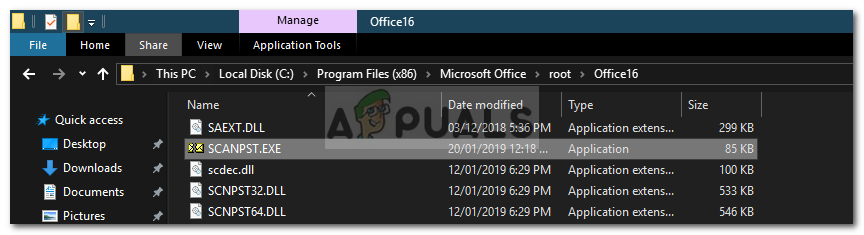
- If you are using a 64-bit Windows 10, navigate to:
C:\Program Files (x86)\Microsoft Office\root
- If you are on a 32-bit Windows 10, navigate to:
C:\Program Files\Microsoft Office\root
- Afterward, open up the Office16 (the number can be different depending on your version) folder.
- Locate the SCANPST.EXE file and double-click to open it up.
ScanPST.EXE File - Once the Microsoft Outlook Inbox Repair utility opens up, click Browse and then navigate to the directory where .ost file is stored (if you don’t know, read our instructions down below to know the location of your .ost file). Double-click to open it up.
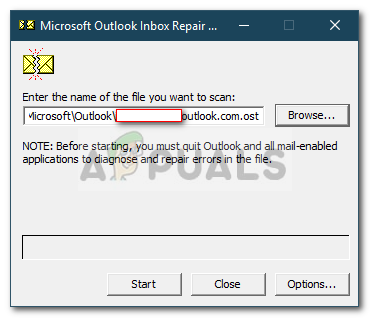
Repairing PST File - Click Start.
- Wait for it to complete.
In case you don’t know where your .ost file is stored, you can find it by following these instructions:
- Open up your Microsoft Outlook.
- Click on File and then in the Info tab, click on Account Settings and select Account Settings.
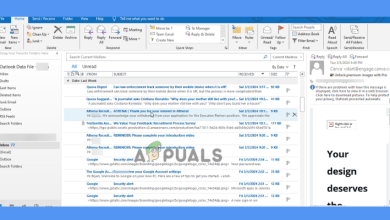
- Switch to the Data Files tab and click ‘Open File Location’.
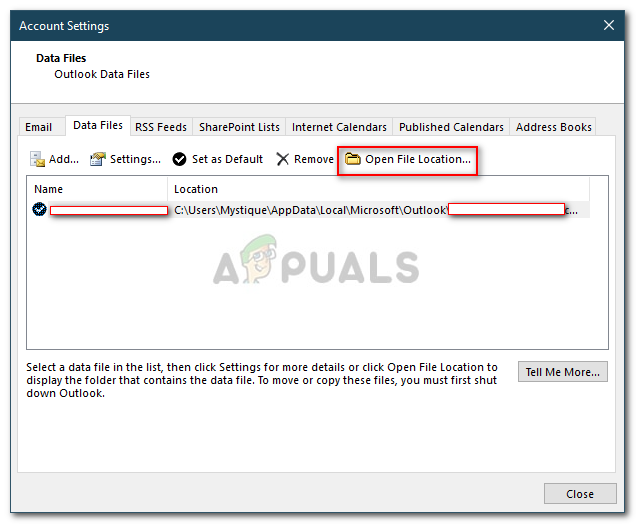
Locating the Data File - This will take you to the location where your .ost file is stored.
Solution 2: Creating a New PST File
If the issue continues even after repairing your PST file, you will have to create a new data file. After you have created a new profile, you will need to set it as the default data file so that Outlook uses the newly created PST file. Here’s how to do it:
- Go to the Start Menu and open up the Control Panel.
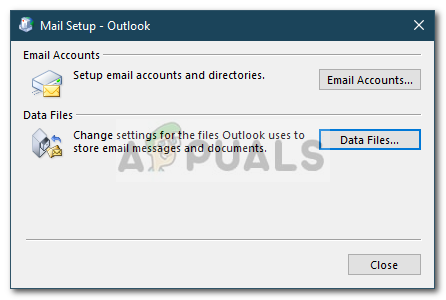
- Set the View by to Large Icons and then click Mail.
- Click Show Profiles, highlight the Outlook profile and then click Properties.

Outlook Mail - Hit Data Files.
Outlook Profile Properties - Click Add and then hit OK.
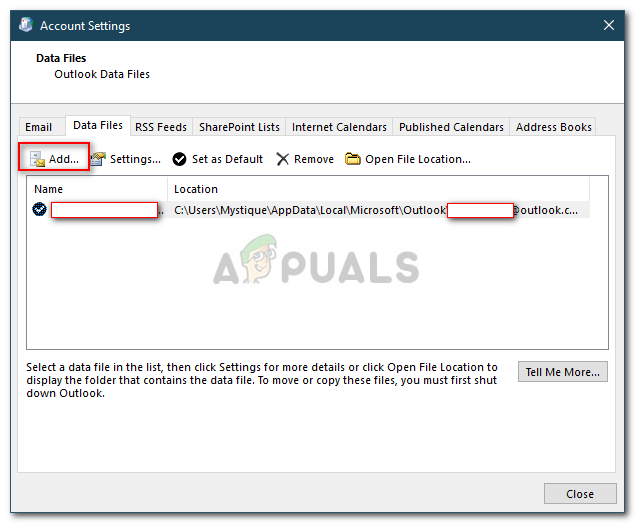
Adding New Data File - Now, select the newly created data file and click ‘Set as Default’.
- Afterward, close the windows and try launching Microsoft Outlook.
Solution 3: Repairing Microsoft Outlook
Lastly, you can also try repairing your Microsoft Outlook installation to eliminate the possibility of any files corruption. Here’s how to do this:
- Press Windows Key + X and select Apps and Features on the top.
- If you are using Microsoft Office, search for Office, select it and then click Modify.
- Choose Quick Repair and then click Repair.
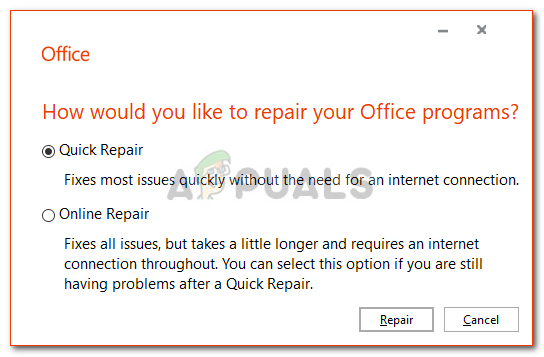
Repairing Microsoft Office - Wait for it to complete and then launch Microsoft Outlook.
Solution 4: Adding Account as IMAP
Adding your email account as IMAP can be really useful and you won’t encounter any problems as you configure your account to store all the data on the server. The reason due to which IMAP doesn’t cause many problems as PST does as the files are stored on the server. To add your account as IMAP, do the following:
- Launch Microsoft Outlook.
- Go to File and then in Info tab, click on Account Settings and select Account Settings.
- You will have to remove your account first and then add it again. However, to do this, first you will have to create a new data file. Switch to the Data Files tab and then click Add.

Adding New Data File - Store the PST file wherever you wish.
- Afterward, go to Email tab, highlight your account and click Remove.
- Then, click on File and in the Info tab, click on Add Account.
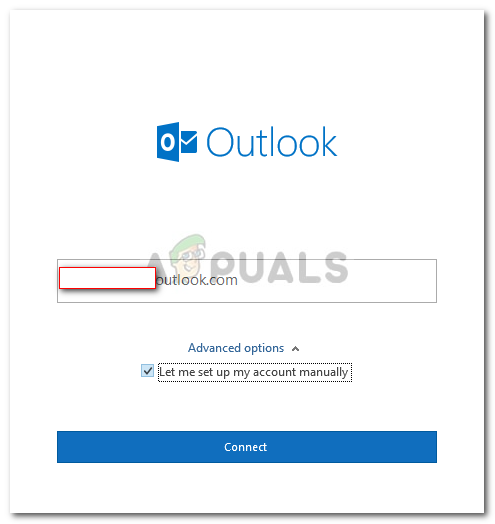
- Enter your email address and click on Advanced Options.
- Make sure the ‘Let me set up my account manually’ is checked, click Connect.
Adding Account as IMAP - Select IMAP from the given options.
- In the incoming server, add imap-mail.outlook.com and set the port to 993. Set the Encryption type to SSL/TLS.
- In the outgoing server box, add smtp-mail.outlook.com and change the port to 587. Set the Encryption type to STARTTLS.
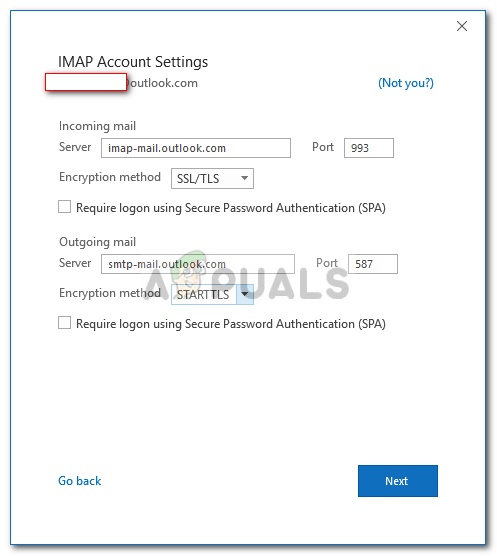
Setting up IMAP Account - Click Next and then enter your account’s password.
Solution 5: Migrating PST to IMAP
Now that you have added the account as IMAP, you might want to migrate your PST file settings to the newly IMAP account. When you migrate PST to IMAP, all your settings and configuration will be transferred to the new IMAP account. Migrating PST to IMAP is pretty and you can do this by following the given instructions:
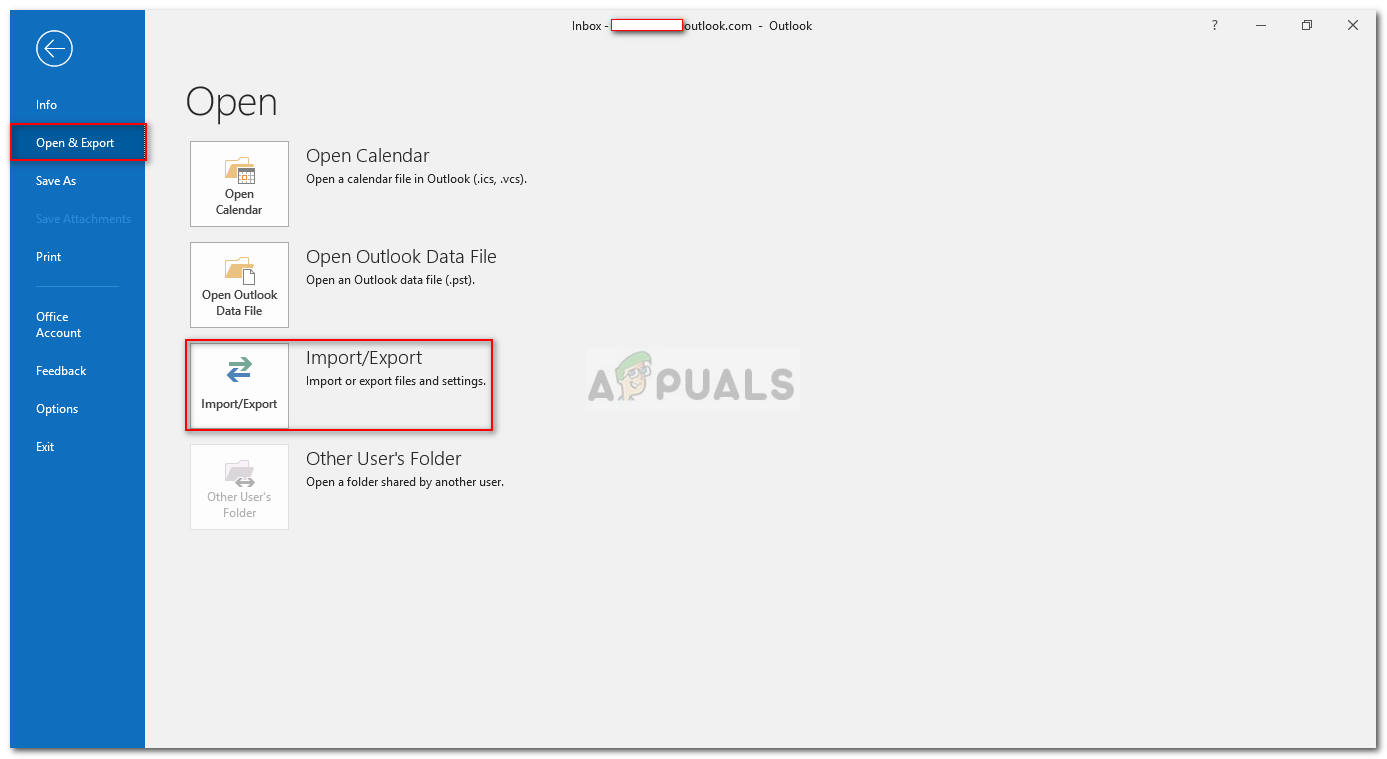
- Click on File and then navigate to the Open & Export tab.
- Click on Import and Export.
Outlook Import and Export Options - On the wizard, select ‘Import from another program or file’ and then click Next.

Import and Export Wizard - Select Outlook Data File (.pst) and click Next.
- Make sure ‘Replace duplicates with items imported’ is checked and then click on Browse.
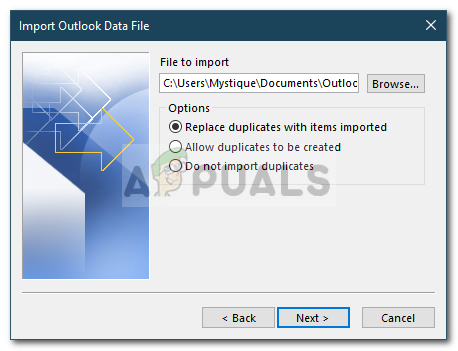
Importing Backup PST File - Open the backup PST file that you had created. Click Next.
- If it tells you that the pst file is already in use, that means the settings have already been migrated.
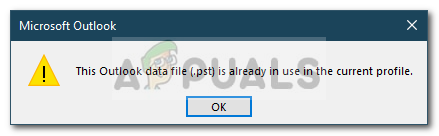
PST File Already Migrated - Choose ‘Import items into the current folder’ and click Finish.
That’s it, you have migrated your PST to the new IMAP.
Hi Kevin from a fellow Kevin.Love your screenshots, I too love using crisp and clean screenshots. I do like the article too but :)Rarely is it caused by a corrupt file. A corrupt file gives the error the folders cannot be expanded. It is more likely caused by an end user deleting the file or moving the folder it was contained in. A lot of the time it is in %LocalAppData%MicrosoftOutlook but the folder was renamed to resolve a problem with Outlook. Looking for the file is the best choice.One tip I tell everyone, NEVER attach a PST file until you look at the current date of the file. If an end user calls because they lost their PST file within the past week or past month or whenever you need to know the date of the file you find before you attach it.If they lost their PST file say a month ago. If you find a PST file and it is a year old, even if it has the same name as the missing PST file, it is not the correct file.