Fix: Operating System Loader has no Signature
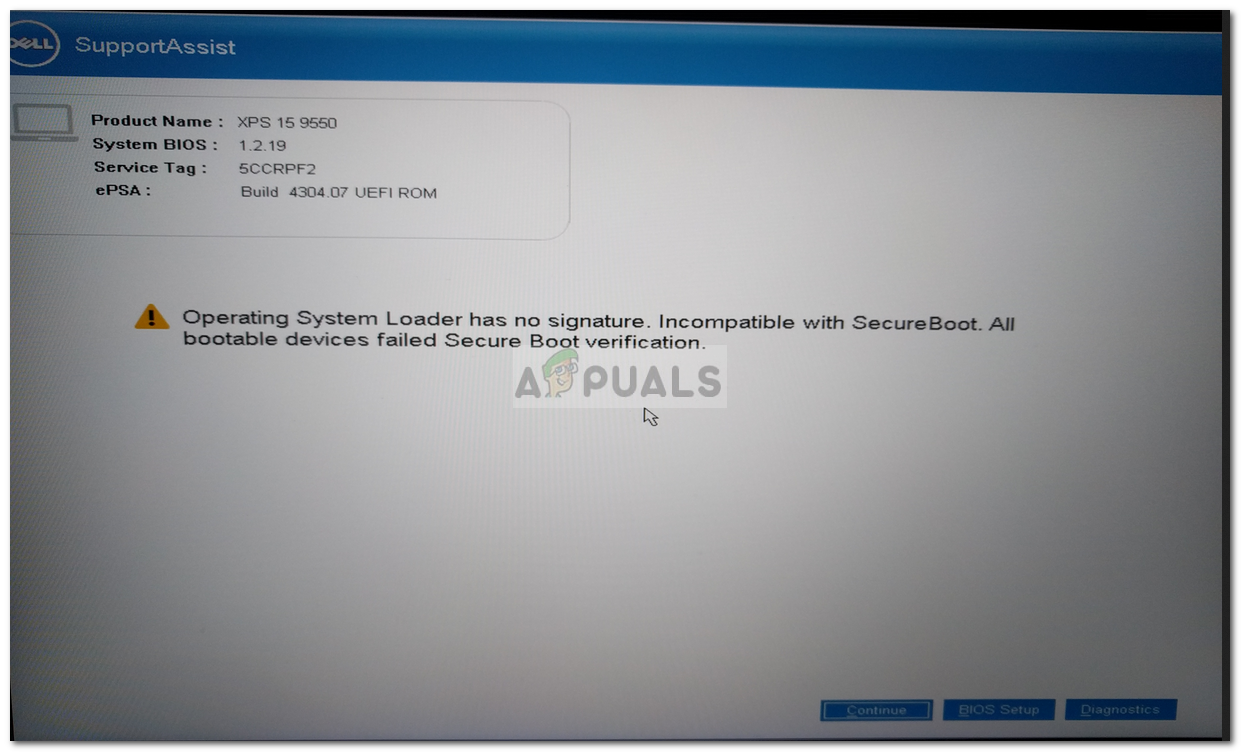
If you are not able to start your computer because of the error ‘Operating system loader has no signature’, then it is probably due to a bad boot image file that is not being recognized by your system. Such can be very worrisome as you it appears on boot up and consequently, prevents you from accessing your files.
Well, you don’t have worry as this guide will walk through different solutions that you can implement. But before we get into that, you might want to know more about the cause of the error message.
What causes the ‘Operating System Loader has no Signature’ Error Message?
There are different reasons as to why you might get this error. Here are some of them —
- A Bad/unauthentic Boot Image File: The error is caused due to a bad/unauthentic boot image file which the computer does not recognize. In modern computers, UEFI mode is used for the booting purpose instead of the BIOS (legacy) one. This booting mode has a feature called Secure Boot which when turned on, detects the boot image if it is authentic or not.
- Windows installed in BIOS Mode: If you are trying to boot an operating system which you installed in BIOS mode (legacy mode) will not boot if Secure Boot is turned on. So, be careful with that.
Now, in order to fix this error, there are different things you can try.
Note:
If you are getting this error because you have installed Windows 10 or any Linux operating system in BIOS mode then, the easy fix for it is to just disable the UEFI mode in your BIOS settings. This will get rid of the error.
But if that’s not the case, then you need to try some of the solutions below. One of them might work for you as the cause of every error is different but these are the general working solutions for this particular error.
Solution 1: Doing a Hard Reset
You can perform a Hard Reset of your computer and see if it gets rid of this error. If you are using a Desktop, so to perform a Hard Reset, you have to turn off your computer. Remove all the peripherals. Then, remove the power cable and press and hold down the power button for 15-20 seconds. This will hard reset your computer to the factory default settings.
If it’s a laptop, then you have to power off your laptop, remove the AC cable and the battery. Then, you need to press and hold down the power button for 15-20 seconds. This will perform a hard reset of your laptop. I hope after doing this your error will be fixed, but if it is not then you can try the other solutions listed below.
Solution 2: Reset the BIOS
The second solution you can try is to reset the BIOS. Well, every manufacturer has a different BIOS settings interface but I will guide you how can do it in a Dell computer. Here’s how to do it:
- Power off your computer. Then power it on and immediately press F2 many times.
- Doing that will get you in the BIOS settings.
- Now scroll to the bottom and you will see option Restore Settings or BIOS Defaults. Click on that.
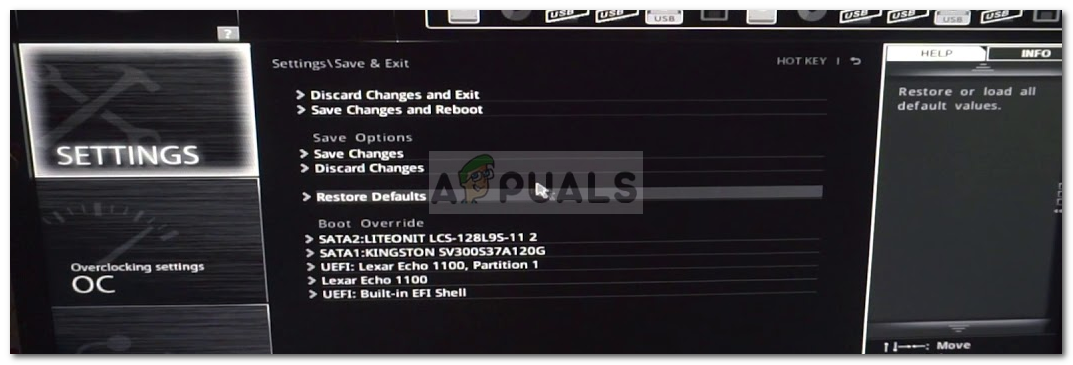
Restore Default BIOS Settings
That’s it your BIOS has been reset. If this doesn’t isolate the issue, don’t worry as we are not done yet, you can try on the solutions down below.
Solution 3: Change the Boot Sequence
If the above two solutions don’t work for you then you can try changing your boot sequence. To do this, follow the given instructions:
- First of all, you have to go to your BIOS settings.
- From there select Legacy mode instead of the UEFI mode.
- If that doesn’t isolate the issue, you can turn off the Secure Boot option.
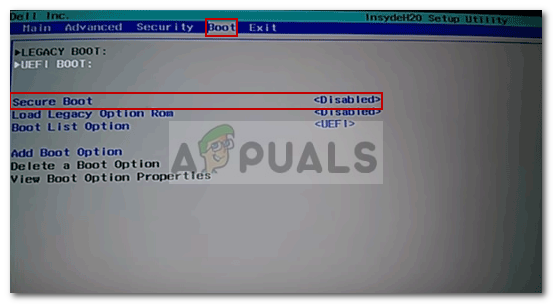
Disable Secure Boot
Solution 4: Reset Windows 10
Finally, if the above solutions do not work, then you can try resetting your Windows 10. Be aware that by doing so, your computer will go back to a state it was in some time before which might cause unavailability of some of the software that you have right now. So in order to do that, you have to access the Windows Recovery Environment. Here’s how do it:
- To access WinRE, you will have to shut down your machine forcefully two times. To do this you have to press and hold down the power button until your computer shuts down. Do this twice and you should be able to access Windows Recovery Environment. After you power on it the third time, you will be able to access the Windows Recovery Environment.
- Afterward, you have to choose the option Troubleshoot and from there, you have to select “Reset this PC”.
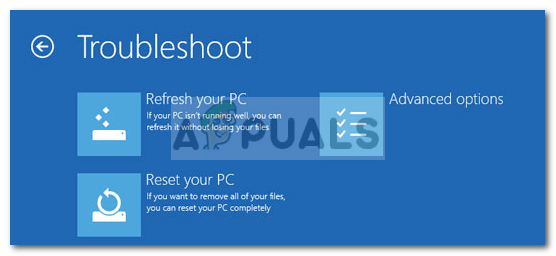
Resetting the PC - On the next screen you have to select “Keep my files/Remove Everything”.
After this, your computer will be reset. It will take some time to finish the process so be patient. Your error should be vanished after resetting your Windows 10.


