Fix: ‘Oops! We Coudn’t Save that one’ Error in Photos App
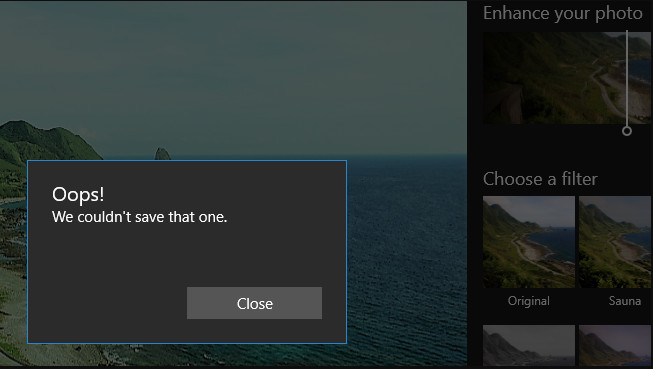
Some Windows 10 users are reporting that they are unable to edit some or any photo using the Photos App. After doing the editing part and hitting save, they see a popup saying “Oops! We couldn’t save that one”. In most cases, affected users are reporting that the issue started occurring after they installed a Windows Update.
What is causing the “we couldn’t save that one” error?
We investigated this particular issue by looking at various user reports and the repair strategies that are commonly used to resolve this particular error message. Based on what we gathered, there are several different culprits that are known to trigger this particular issue:
- EXITF data is corrupt – One of the most common reasons why this error will occur in the first place is if the EXIF data is corrupt. In this case, you will be able to resolve the issue by using paint (or a different utility) to save the image to a different format (JPG, PNG, etc.)
- Photos App Sharing violation – Another potential culprit that will trigger this particular error is a sharing violation caused by a Photos app error. If this scenario is applicable, you can resolve the issue by resetting the Photos app.
- Photos App is corrupted – It’s also possible that the reason why this error is occurring is due to some corruption among the Photos App files. In this case, you can most likely resolve the issue by resetting the Photos App application.
- The image was previously edited with another software – This issue can also occur if the image you’re encountering the issue with was previously edited with a 3rd party software such as IrfanView or GIMP. If this scenario is applicable, you can resolve the issue by editing & saving the file with a 3rd party editor like IrfanView.
If you’re encountering the same error message and you’re looking for repair strategies, this article will provide you with several troubleshooting steps that other affected users have deployed in order to resolve the issue.
For the best results, follow the methods in the order that they are presented. One of the potential fixes is bound to resolve the issue regardless of the scenario you’re dealing with.
Method 1: Running the Windows Store Apps Troubleshooter
Some users struggling with this exact issue have reported that the issue was resolved after they ran the Windows Apps Troubleshooter. This built-in utility contains a selection of repair strategies for the most common problems related to the Windows Store.
Upon launching the utility and letting it investigate your system, a suitable repair strategy will be recommended if a problem is found. Here’s a quick guide on running the Windows Store App Troubleshooter:
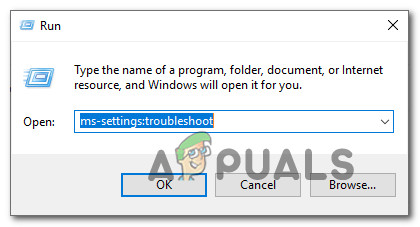
- Press Windows key + R to open up a Run dialog box. Then, type “ms-settings:troubleshoot” and press Enter to open the Troubleshooting tab of the Settings app.
Accessing the Activation troubleshooter - Inside the Troubleshooting tab, scroll down to the Find and fix other problems tab, click on Windows Store Apps and choose Run the troubleshooter.
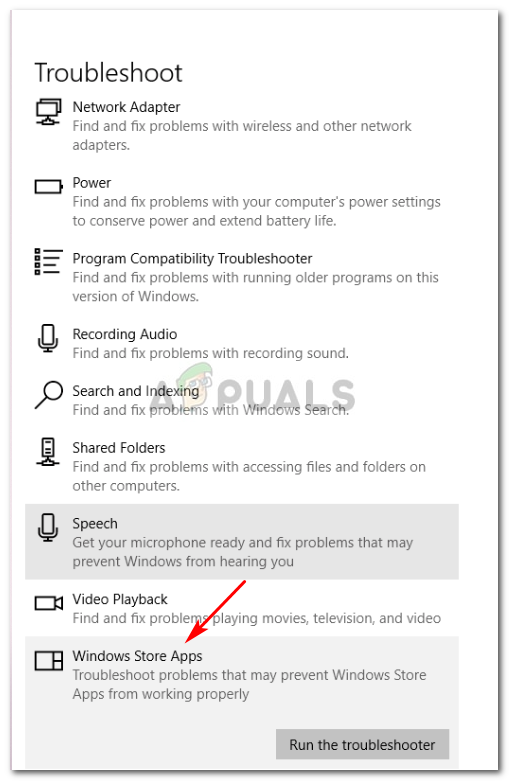
Run Windows Store Apps troubleshooter - Inside the Windows Store Apps troubleshooter, wait until the initial diagnostic is complete. Then, if a suitable repair strategy is found, click on Apply this fix to enforce the recommended repair method.
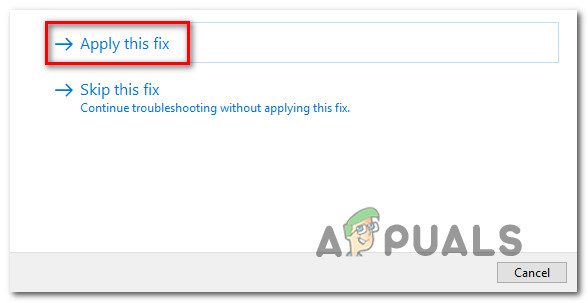
Apply this fix - Restart your computer and see if the issue has been resolved once the next startup sequence is complete.
If you’re still encountering the “Oops! we couldn’t save this one” error, move down to the next method below.
Method 2: Installing every pending update
As it turns out, there’s also a bug that was introduced with a bad update for Windows 10 build 1803. If you’re using this particular build (or slightly under), you should be able to resolve the issue by installing every pending Windows update.
Microsoft has since released a hotfix for this bug, so you can ensure that the issue is not caused by a bad update by following the steps below to update your Windows 10 version to the latest:
- Press Windows key + R to open up a Run dialog box. Inside the run box, type “ms-settings:windowsupdate” and press Enter to open up the Windows Update tab of the Settings app.

Run dialog: ms-settings:windowsupdate - Inside the Windows Update tab, click on Check for updates, then follow the on-screen prompts to install every pending Windows Update.
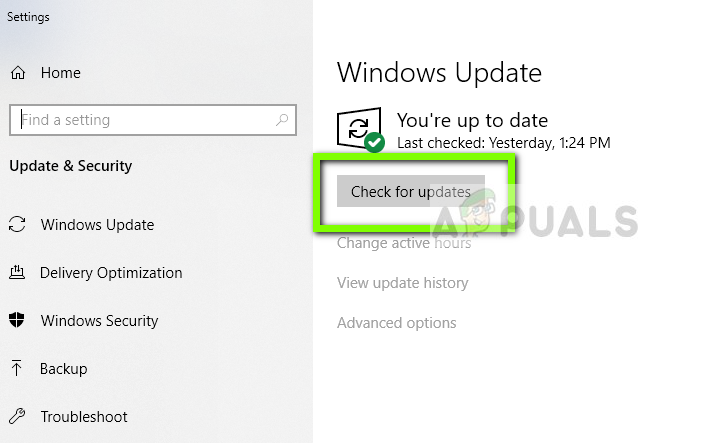
Checking for Updates – Windows Update Note: If you’re prompted to restart before every update is installed, do so and then make sure to return to the same screen and install the rest of the updates until your system is up to date.
- Once every update is installed, open the image that was previously showing the error inside the Photos app and see if the issue is still occurring.
If you’re still seeing the “Oops! we couldn’t save this one” error when trying to save the image, move down to the next method below.
Method 3: Converting the image to a JPG (or PNG) using Paint
Some affected users have reported that they managed to resolve the issue by using Paint to convert the file to a different image format. Since the issue is mostly reported to occur with .PNG files, converting the file to a JPG format using Paint should allow you to circumvent the error message.
if you see this error with a lot of different images, it’s probably because you’re dealing with a lot of bad EXIF (Exchangeable Image File Format) data. This data contains tons of information about your camera, where the picture was taken (GPS coordinates) and a lot of other supplemental metadata such as date, time, copyright information and more.
Note: If the file is already a JPG format, you should convert them to a PNG format.
In most cases, Paint is perfectly capable of cleaning bad EXIF data. Here’s a quick guide on how to do this:
- Right-click on the image that you’re encountering the issue with and choose Open With. Then, select Paint from the list of applications.
- Once the image is opened in Paint, use the ribbon at the top to go to File > Save as. Then, from the Save As menu choose JPEG Picture (or PNG).
- Then, select an appropriate location where to save the file make sure that Save as type is set to JPEG (or PNG).
- Hit Save to save the image to the JPEG format.
- Open the file that you’ve just converted with the Photos App and see if you are able to edit and save it without encountering the issue.
If you’re still encountering the “Oops! we couldn’t save this one” error, move down to the next method below.
Method 4: Resetting the Photos App
Some affected users have managed to resolve the issue by resetting the Photos app. As it turns out, this utility has the potential of becoming corrupted and triggering the “Oops! we couldn’t save this one” error during the Saving sequence.
Here’s a quick guide on resetting the Photos App:
- Press Windows key + R to open up a Run dialog box. Then, type “ms-settings:appsfeatures” and press Enter to open up the App & features tab of the Settings app.
- Inside the Apps & features screen, scroll down through the list of applications and locate Microsoft Photos. Once you see the entry, click on the Advanced options associated with it.
- Inside the next window, scroll down to the Reset tab and click on Reset to reinstall the app and revert all settings to the default. Keep in mind that your photos opened with this application will not be affected by this procedure.
- Confirm the operation by clicking Reset once again.
- Restart your computer and see if the issue has been resolved.
If you’re still encountering the “Oops! we couldn’t save this one” error, move down to the next method below.
Method 5: Using the Save a Copy function
Some affected users are reporting that whenever they get the “Oops! we couldn’t save this one” error, they use the Save a Copy function instead of Saving normally. This will end up creating a new copy of the same file and has a high chance of not triggering this particular error message. Once the original file is deleted, the error message is completely circumvented.
Here’s a quick guide on using the Save a copy function:
- Open the file with the Photos App and click on Edit & Create. Then, click on Edit from the drop-down menu.
- Once the Edit interface appears on the screen, do your edits until you’re happy with how the picture turned out.
- Go to the bottom-right corner of the screen and click on Save a copy (instead of clicking Save).
- Close the Photos App and delete the original file (the one that was showing the error.
Saving the image as a copy
If you’re still encountering the “Oops! we couldn’t save this one” error even with the file that was saved as a copy, move down to the next method below.
Method 6: Using Irfanview to edit the Image
If none of the methods above have helped you to resolve this issue, there’s one free utility that a lot of affected users have successfully used to circumvent the “Oops! we couldn’t save this one” error. IrfanView is a free alternative to the Photos app and a lot of users have confirmed that using it to edit the photos produces no errors.
Here’s a quick guide on installing and using IrfanView:
- Press Windows key + R to open up a Run dialog box. Then, type ” ms-windows-store://home” and press Enter to open the Microsoft Store.
- Inside the Microsoft Store, use the search function in the top-right corner to search for “irfanview“.
- If you have a 64-bit version of Windows, click on IrfanView64. If not, click on IrfanView.
- Inside the store listing for IrfanView64, click on Get to download the application.
- Once the application is downloaded, start the application and start editing the image that was previously showing the “Oops! we couldn’t save this one” error. Upon hitting save, you’ll no longer be encountering the same error.