Fix: OneDrive not Working after 1709 Update (On-Demand Feature also missing)
OneDrive is a file hosting service operated by Microsoft. It allows users to store files as well as other personal data on could servers which can be accessed from anywhere. These files can be synced to PC and can be accessed from web browsers or mobile devices as well.
After the launch of Windows 10, OneDrive was installed and integrated into the system by default. This provided ease of access for the users as they could easily backup their files/folders by just saving the item into OneDrive. After the Fall Creators Update 1709, many cases came forward where OneDrive was inaccessible and the files were unable to sync correctly. Another feature known as OneDrive on Demand was also missing even though it was announced to be present in this update. There are a few workarounds which address this problem. Take a look.
Solution 1: Updating OneDrive to the Latest Version
Even though OneDrive was to be updated automatically in the update, in many cases it didn’t. We can try updating the application to the latest version manually and check if this solves the problem at hand.
- Download the latest version of OneDrive from the official Microsoft Website.
- OneDrive will now start installing itself. Just follow the onscreen instructions till the completion.
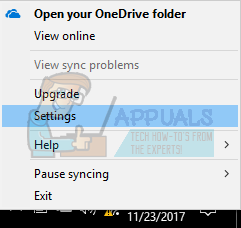
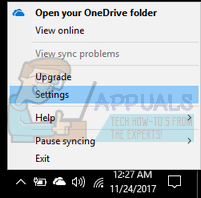
- Right-click on the OneDrive icon present on the taskbar and select “settings” from the dialogue box.
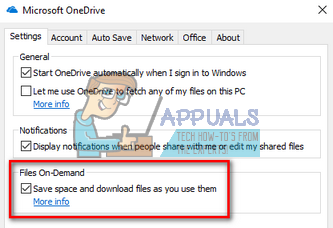
- Click on the Settings tab and check if the “Files On-Demand” option is available again.
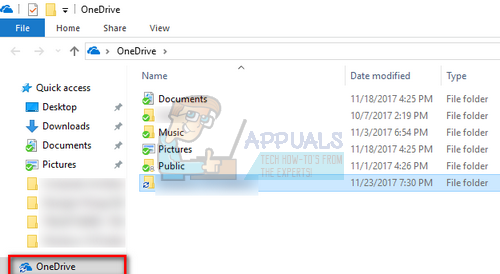
- Open your File Explorer and click on the OneDrive button present at the left navigation bar. A green tick means that all the contents are synced while blue arrows mean that the following folder/files are waiting to be synced to OneDrive.
Solution 2: Editing the Registry for On-Demand Feature
Another workaround which works is adding a registry key to enable preview builds. This will automatically enable the OneDrive On-Demand feature if it isn’t available on your computer even after updating the application manually or updating your Windows through the update assistant. If this doesn’t bring any change, feel free to revert the changes by deleting the key.
- Press Windows + R to launch the Run application. Type “regedit” in the dialogue box and press Enter.
- Once in the registry editor, navigate to the following file path:
HKEY_LOCAL_MACHINE\SOFTWARE\Microsoft\WindowsSelfHost\Applicability
- Once in the required location, right-click on the blank side at the right side of the screen and select New > DWORD
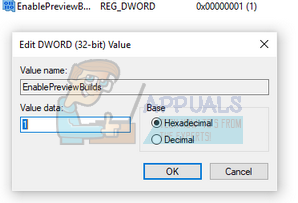
- Name the new word as “EnablePreviewBuilds” and set the value is “1”.
- After saving changes, restart your computer and check if this fixes the missing option.
Solution 3: Creating a New Local Account
A workaround for sync problems which worked for many people was the creation of a new local account on their computer. In many instances, the current profiles of the user were corrupted due to some known cause which in turn rendered the application missing its features. You can create a new local account and if it doesn’t work, feel free to revert the changes.
- Open an administrator account. Type Settings in the start menu dialogue box and click on Accounts.

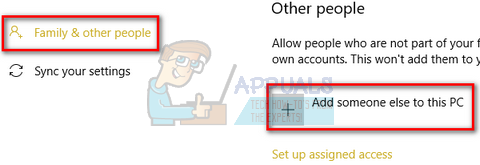
- Now click “Family and other users” options present at the left side of the window.
- Once inside select the menu, select “Add someone else to this PC”.
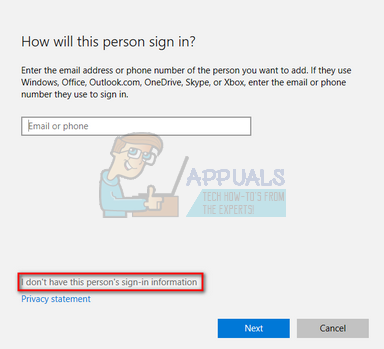
- Now Windows will guide you through its wizard on how to create a new account. When the new window comes forth, click “I don’t have this person’s sign-in information”.
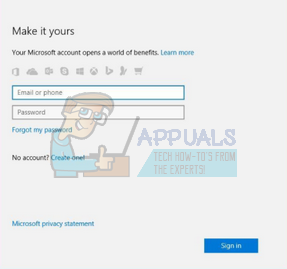
- Now select the option “Add a user without Microsoft”. Windows will now prompt you to make a new Microsoft account and display a window like this.
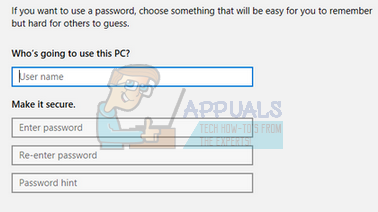
- Enter all the details and chose an easy password which you can remember.
- Now navigate to Settings > Accounts > Your Account.
- At the space beneath your account picture, you will see an option which says “Sign in with local account instead”.
- Enter your current password when the prompt comes and click Next.
- Now enter username and password for your local account and click on “Sign out and finish”.
- Check thoroughly if this new local account has OneDrive working as expected. If it does, carry on with the rest of the solution.
- Now you can easily switch to a new local account, and move all your personal files to it without any barriers.
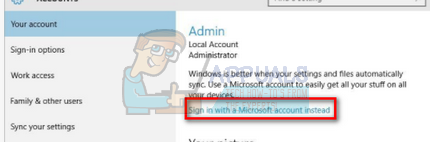
- Now navigate to Settings > Accounts > Your Account and select the option “Sign in with a Microsoft Account instead”.
- Enter your username and password and click Sign in.
- Now you can safely delete your old account and continue using this one.
Solution 4: Re-linking OneDrive
If the above solutions didn’t work, we can try re-linking OneDrive and check if this brings any change to the sync problem we are experiencing.
- Right-click on the OneDrive icon present at the taskbar at the bottom right side of the screen and select Settings.
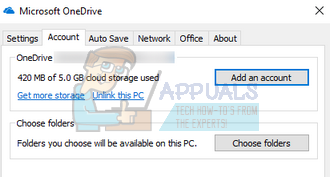
- Once in the Settings, click on the “Unlink this PC” button present under the tab of “Account”.
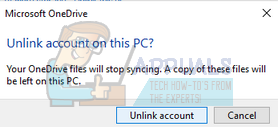
- Windows will confirm your actions before it can execute the instruction. Click on “Unlink account” when the prompt comes forth.
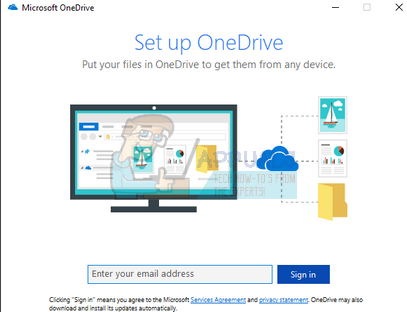
- After a few seconds, Windows will pop another window asking you enter your email address. Enter the required information and wait till your account is synced properly with OneDrive again.
- Restart your computer and check if the problem got solved.
Solution 5: Re-syncing your OneDrive files
We can try re-syncing your OneDrive files forcefully if the above methods don’t work for this. We will execute a command in an elevated command prompt which will force the application to rebuild all the directories which it is supposed to show in your synced files.
- Press Windows + S to launch the search bar. Type “command prompt” in the dialogue box, right-click on the application and select “Run as administrator”.
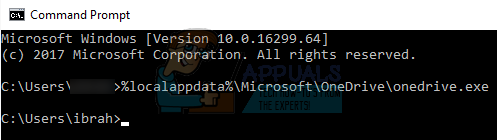
- Once at the command prompt, execute the following instruction:
%localappdata%\Microsoft\OneDrive\onedrive.exe /reset
This command will reset your OneDrive application. You might notice the OneDrive symbol from your status bar disappearing for a few moments before appearing back.

- If it doesn’t appear back after a couple of minutes, execute the following command:
%localappdata%\Microsoft\OneDrive\onedrive.exe
After executing this command, you will notice blue arrows on your OneDrive icon indicating that the files are being synced. After the synchronization process, check if all the files are synced correctly and the problem is solved.