Fix: NVIDIA Display Settings are Not Available
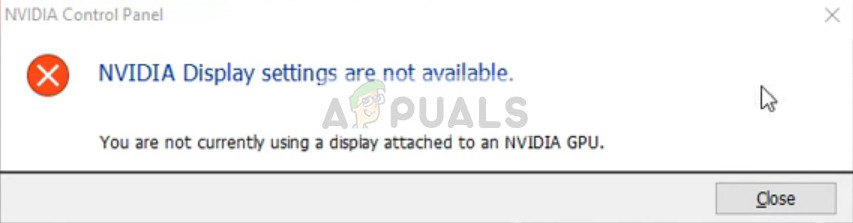
The “NVIDIA Display Settings are Not Available” error means the NVIDIA Control Panel can’t find a display connected to an NVIDIA graphics card. This usually happens when the monitor is plugged into the motherboard’s built-in graphics port instead of the NVIDIA card.
Other possible reasons include disabled NVIDIA services or old drivers.
Now that you know the causes, let’s discuss the solutions.
1. Check Display Connection
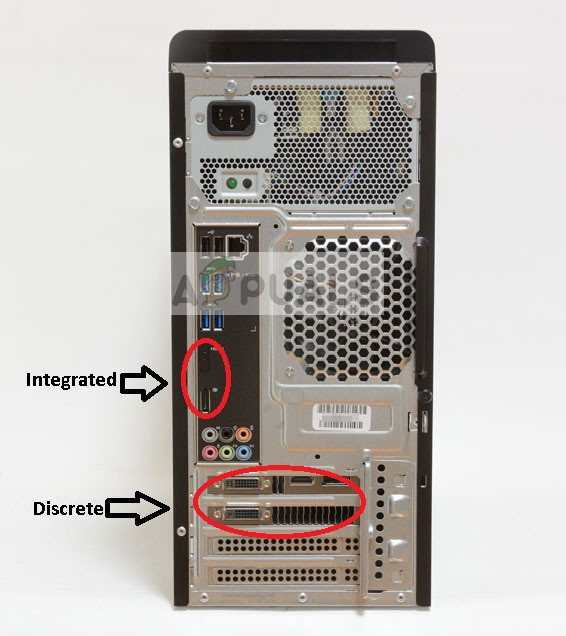
Make sure your display is connected to the NVIDIA GPU port, not the motherboard’s built-in graphics. This allows the GPU to directly connect with the monitor. This simple step can fix the connection and make NVIDIA’s display settings available.
2. Change the Adapter Output
Sometimes, the problem is with how the display adapter sends the signal. Connect your monitor to the right port, like HDMI or DisplayPort on the NVIDIA GPU, to ensure the system recognizes the GPU as the main display driver.
You can try using a VGA to HDMI Converter and use the HDMI port on your graphics card. Alternatively, you can change the form of output directly — for instance, using a DisplayPort instead of HDMI or VGA. Experiment with some combinations on your own and see if this does the trick.
3. Check the NVIDIA Display Driver Service
An important but often missed detail is the NVIDIA Display Driver Service, which helps your system talk to the GPU. If this service is not running, the control panel can’t access the GPU’s settings. Checking and restarting this service makes sure everything works properly, so you can access display settings.
- Press Windows + R, type “services.msc” in the dialog box, and press Enter.
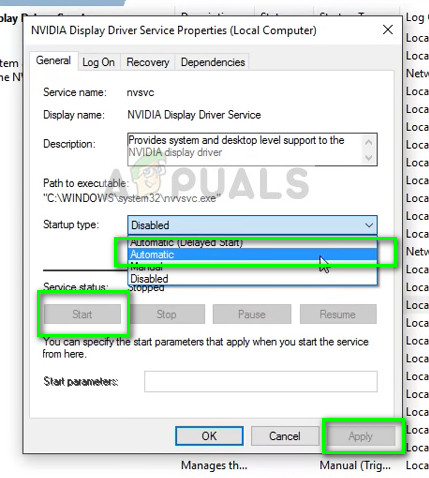
- Scroll to find NVIDIA Display Driver Service, right-click it, and select Properties.

- Change the Startup type to Automatic. If the Start button isn’t clickable, press Apply to enable it.
- Once the service is running, check if the error message still appears.
4. Update/Roll Back Graphics Drivers
Updating or rolling back your graphics drivers helps your GPU and display work well together. If recent updates caused problems or older drivers don’t support new features, getting the latest stable version or going back to a working one can fix the issue.
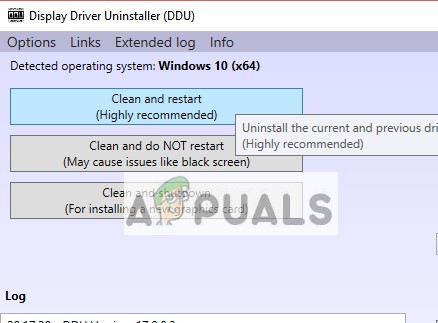
- Download the Display Driver Uninstaller (DDU) and start your PC in safe mode. For guidance, check our article on how to boot Windows 10 in safe mode.
- Run DDU and choose “Clean and restart” to remove old drivers and reboot your PC.
- When your computer restarts, press Windows + R, type “devmgmt.msc,” and press Enter. Right-click anywhere and select “Scan for hardware changes” to reinstall default drivers if needed.
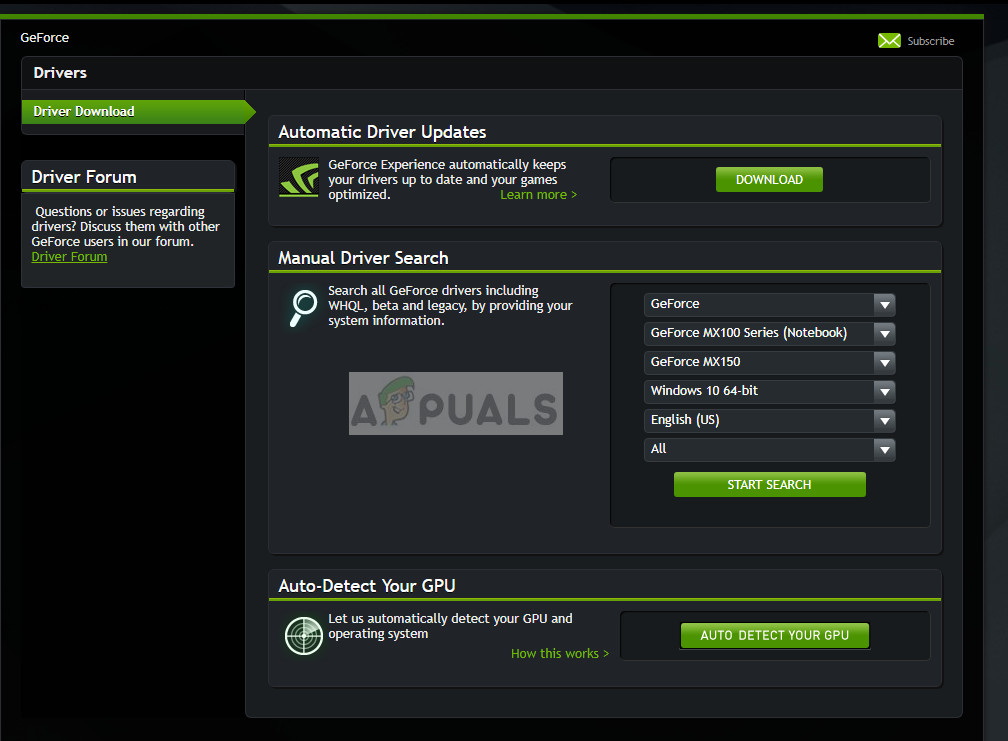
- For driver updates, either manually download the latest from NVIDIA’s official website or let Windows update automatically.
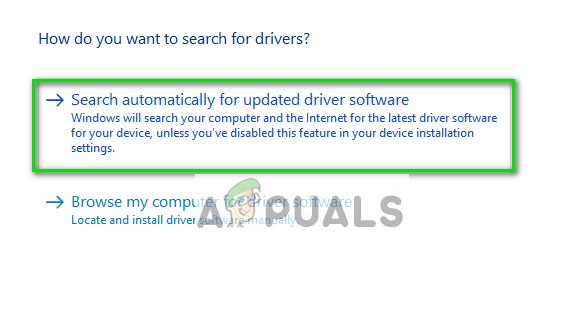
Try automatic updates first: Right-click your device, select “Update driver,” and choose “Search automatically for updated driver software.” If updating manually, pick “Browse for driver” and locate your downloaded file.
- Restart your computer to apply changes and check if the “NVIDIA display settings are not available” message still appears.

thats funny it got solved before even started