How to Fix Night Light Not Working on Windows 11?
Many Windows 11 users are booting up their computers after installing a pending update and discovering that the night light feature is no longer working for them. Most affected users report that every conventional approach to restarting the feature failed for them – Night Light remains disabled even though it’s enabled inside Windows Settings.

Info: Night Light is a display feature on Windows 11 that will show warmer colors at night to reduce the strain on your eyes and help you get to sleep.
After going through dozens of user reports, we realized that there are several different causes of why you might expect to deal with this issue. Here’s a list of culprits that you should troubleshoot against if you’re dealing with this type of error:
- Misconfigured Night Light settings – Before troubleshooting for a technical issue causing this behavior, you should start simply by verifying each Night Light setting that might cause this feature to work differently than it normally does. Some Windows 11 users that we’re experiencing the same kind of issue have confirmed that they managed to get the issue resolved by adjusting the night light schedule & the night light intensity.
- Location services are disabled – Another reason you might notice that the night light functionality doesn’t kick into action is when the location services are disabled. Several Windows 11 users that were previously unable to re-enable the Night Light functionality have confirmed that the feature started working normally after the location services were enabled from the Privacy & Security tab.
- Windows Update Hotfix is not installed – As it turns out, Microsoft has already begun deploying a hotfix that addresses the damage done by the bad update that ended up breaking the functionality of Night Light. Applying all pending Windows updates is the logical step in addressing this issue.
- Microsoft account glitch – Keep in mind that this particular issue can also be caused by a Windows 11 glitch that is much more frequent than it should be. Several users dealing with this problem have confirmed that, in their case, the night light feature on Windows 11 has started working normally after they signed out and back into their Windows account.
- Windows account doesn’t have admin access – Most GUI-based problems, such as the nightlight feature being off after being activated in Windows Settings, may be resolved by creating a new user account with admin access. If none of the previous methods indicated above have worked for you, the next thing you should attempt is to create a new user account using an elevated CMD window.
- Outdated display driver – It turns out that if you’re running older GPU drivers, you might be able to avoid having to deal with this issue. Many Windows 11 users who have had this problem claim that installing the most recent graphics card driver and associated physics module for your dedicated GPU solved the problem.
- Date & time mismatch – Your computer’s incorrect date and time settings might also cause issues with built-in Windows features like the Night light. Verify that your computer’s date and time settings are correct. If this situation applies, changing the existing Date & Time settings in your Windows Settings should allow you to resolve the issue.
Now that we have gone over every potential reason why the Night Light feature on Windows 11 has stopped working let’s go over every confirmed fix that other affected users have to restore the normal functionality of this feature.
1. Configure Night Light settings
Before you troubleshoot for a technical issue that is causing this behavior, you should start simply by verifying each Night Light setting that might cause this feature to work differently than it normally does.
It wouldn’t be the first time Microsoft released an update that resets or changes previously enforced Windows Settings, so the first thing you should do is access the Night Light Settings in the Windows Setting app and make sure that it’s correctly configured.
Some Windows 11 users that we’re experiencing the same kind of issue have confirmed that they managed to get the issue resolved by adjusting the night light schedule & the night light intensity.
Follow the steps below for specific instructions on doing so:
- Press the Windows key + I to open up the Settings menu.
- Once you’re inside the Settings screen, click on the System tab from the menu on the left, then click on Display from the right-hand panel.
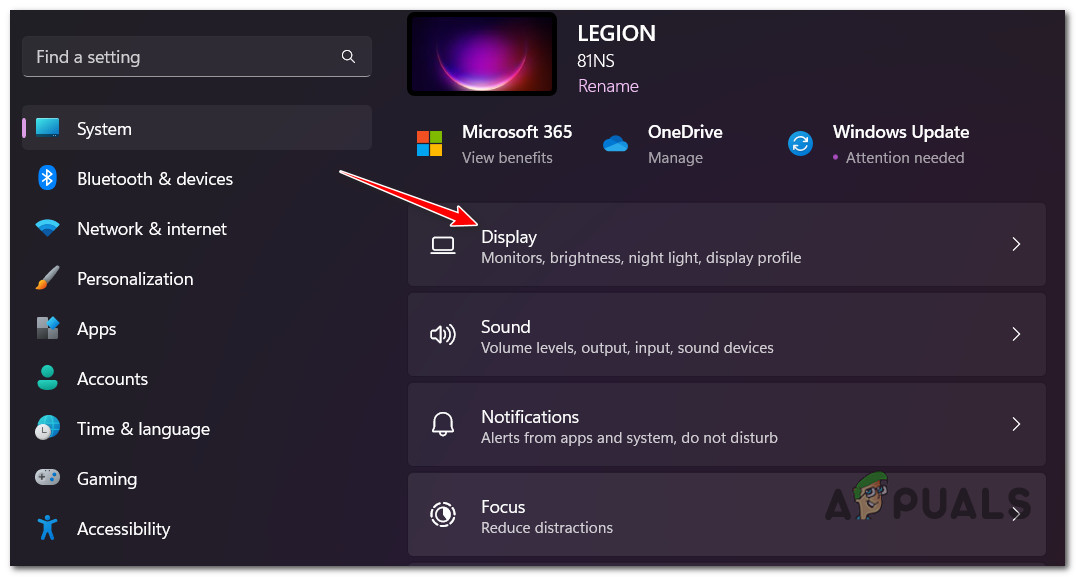
Access the Display tab - Next, scroll down to the Brightness & color tab, make sure that Night light is enabled, then click on the associated arrow (>) to bring up the sub-menu.
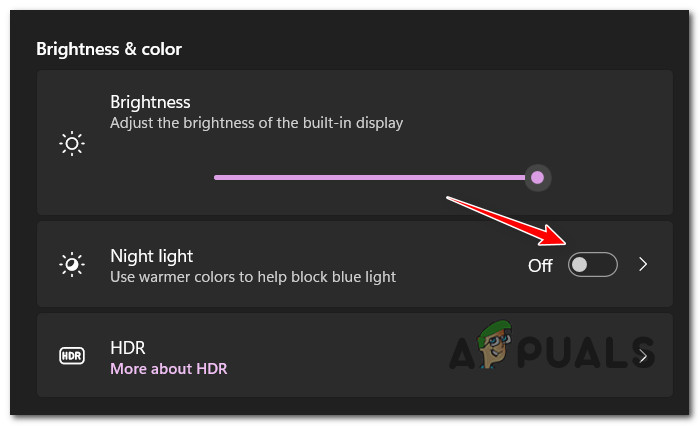
Access the Night Light settings - From the settings we’re just enabled, enable the Schedule night light toggle, then configure your Set hours.
- Finally, adjust the Strength slide to a value suitable for you and reboot your PC.
- See if the Night Light functionality starts working as intended.
If the Night Light feature remains disabled even though you reconfigured it, move down to the next method below.
2. Enable Location Services
Another reason you might notice that the night light functionality doesn’t kick into action is when the location services are disabled. Keep in mind that if you’ve previously set a custom schedule for Night Light, Windows needs to use the location services to keep track of your current time zone to enable or disable the night light feature automatically.
Several Windows 11 users that were previously unable to re-enable the Night Light functionality have confirmed that the feature started working normally after the location services were enabled from the Privacy & Security tab.
Follow the instructions below for specific steps on enabling Location services:
- Press the Windows key + I to open up the Settings menu.
- Once you’re inside the Settings screen, click on the Privacy & Security tab from the menu on the left, then click on Location from the right-hand panel by scrolling to App permissions.
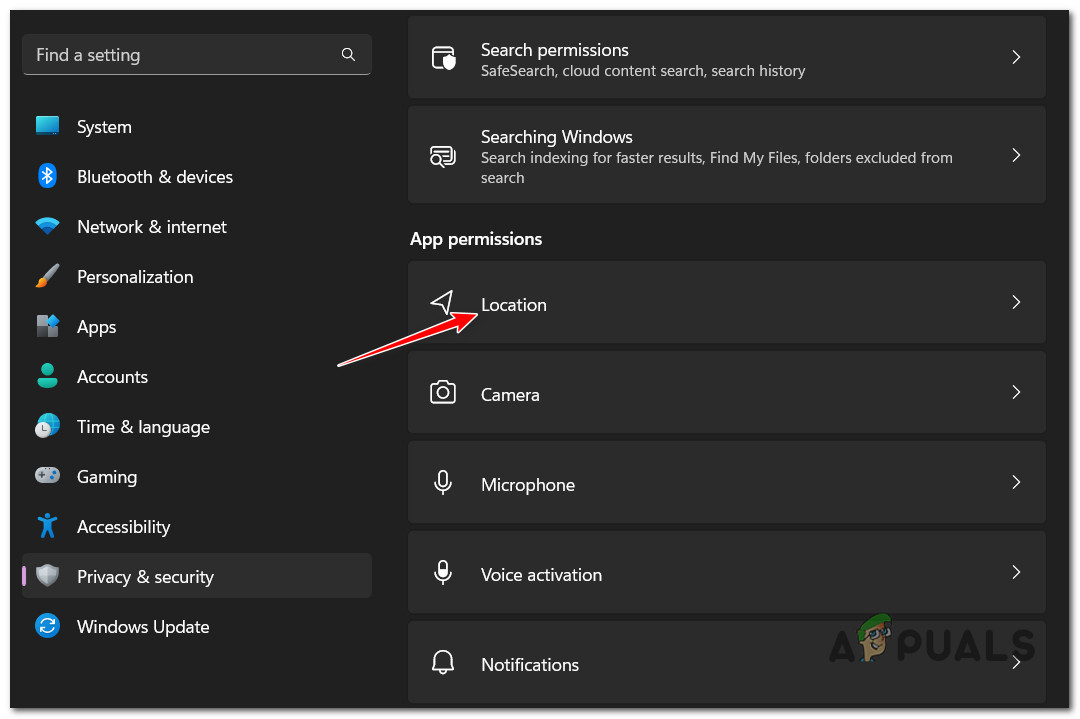
Access the Location tab - From the location tab, enable the toggle associated with Location services.
Note: If prompted, click Yes at the UAC(User Account Control) to grant admin access. - Reboot your PC and see if the issue is now fixed.
If the Night Light feature is still not working as intended, move down to the next method below.
3. Install pending Windows updates
One of the most typical instances of this error is when at least one outstanding infrastructure update is awaiting deployment. As it turns out, Microsoft has already begun deploying a hotfix that addresses the damage done by the bad update that ended up breaking the functionality of Night Light. Applying all pending Windows updates is the logical step in addressing this issue.
Note: As of now, the hotfix has only been deployed for insider builds of Windows 11, but hotfixes for the retail versions are soon to follow.
To fix this problem, check that you’re using the most recent build of Windows 11 by going to the Windows Update component.
Here’s how to make sure you install every pending update on Windows 11:
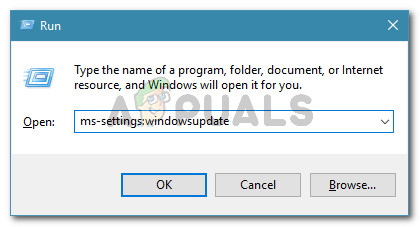
- Press Windows + R to open the Run dialog box.
- To reach the Windows Update tab of the Settings program, type “ms-settings:windowsupdate” in the text box and press Enter.
- Unless you played around with the default UAC settings, you could now get an Account Control Prompt. Select Yes to provide admin access in this instance.
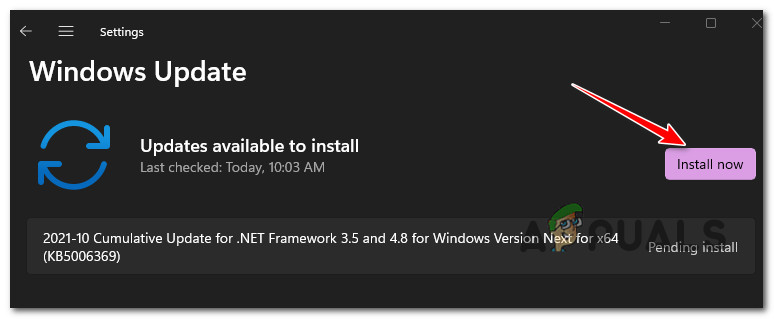
- Next, select Check for Updates on the right-hand side.
Check for updates - To start the installation process when the update has been downloaded locally, select Install Now.
Install pending updates
6. Restart your computer to see whether the issue has been fixed.
Continue to the next procedure below if the issue is still not fixed even after you have installed every pending update available for your Windows system.
4. Sign out and back into your Windows account
Keep in mind that this particular issue can also be caused by a Windows 11 glitch that is a lot more frequent than it should be. Several users dealing with this problem have confirmed that, in their case, the night light feature on Windows 11 has started working normally after they signed out and back into their Windows account.
You can do this directly from the Start menu by clicking on your Windows account and logging out of it temporarily.
Here’s what you need to do:
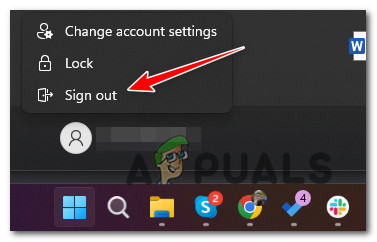
- Press the Windows key on your keyboard to bring out the Start menu.
- Next, click on your account name in the bottom-left corner of the Start screen.
- From the drop-down menu that just appeared, click on Sign Out.
Sign Out of your Windows account - Wait for a couple of seconds before logging back into the same account.
- Test the Night Light feature again and see if the problem is now fixed.
If you can still not use the night light feature even though it’s correctly configured, move down to the next method below.
5. Create a new Windows account
Most GUI-based problems, such as the nightlight feature being off after being activated in Windows Settings, may be resolved by creating a new user account.
If none of the previous methods indicated above have worked for you, the next thing you should attempt is to create a new user account using an elevated CMD window.
Important: Please note that if you select this option, all settings and preferences specific to your current user account will be lost.
If you’re prepared to make this decision and accept its consequences, follow the instructions below:
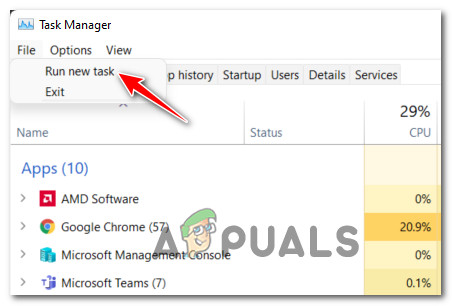
- Press Ctrl + Shift + Esc to open the Task Manager window.
Note: If the clear interface of Task Manager shows when you click on it, additional information will be shown. - When you reach Task Manager’s expert interface, use the ribbon bar at the top to pick File. The next step is to choose Run a new task from the context menu that was just shown.
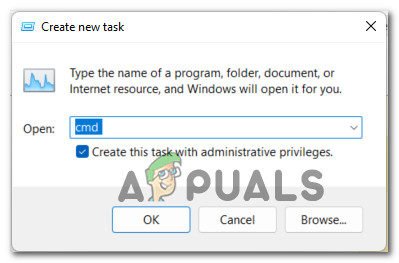
Run a new task inside Task Manager - After entering “cmd” in the Open box to bring up the Create New Task window, check the box next to Create This Task With Administrative Privileges. Finally, click OK to save the changes.
Create a new CMD task - When you’ve reached the elevated Command Prompt, type the following command and click Enter after adjusting the placeholders:
net user username password /ADD
Note: Replace the default settings for the username and password with the proper ones.
- The next step is to provide this newly created account with the necessary permissions you granted to your previous account. After altering the placeholder, use the following command to complete the task:
net localgroup administrators username /ADD
Note: Fill up the username field with the actual name of the user account you just created.
- After clicking Ctrl + Alt + Delete to open the rapid action panel, click the Switch users icon and select the newly created account.
- Reboot your PC, log into the newly created administrator account and see if the night light function now works as intended.
Try the next method below if you cannot use the night light feature.
6. Update your display driver
It turns out that if you’re running older GPU drivers, you might be able to avoid having to deal with this issue. Many Windows 11 users who have had this problem claim that installing the most recent graphics card driver and associated physics module for your dedicated GPU solved the problem. It has been verified to function with GPUs from AMD and NVIDIA.
Making sure you’re installing the most recent AMD or Nvidia GPU driver version using the specific program is the easiest way to accomplish this (from AMD or Nvidia).
Depending on whether you’re on the Nvidia or AMD side, pick one of the sub-guides below to ensure you’re running the latest recent GPU drivers:
6.1. Update Nvidia Display Driver
Nvidia suggests taking the time to properly remove each remaining driver file before downloading the most recent version if you have any reason to believe that your GPU driver fleet may be corrupt and unintentionally interfering with the night light function.
We will ensure that the new GPU drivers install without a hitch by momentarily switching to the generic driver.
The steps listed below should help you update to the latest recent Nvidia GPU for your particular model:
- To open the Run dialog box, press the Windows key + R.
- Type “appwiz.cpl” into the text box and hit Enter to launch the Programs and Features menu.
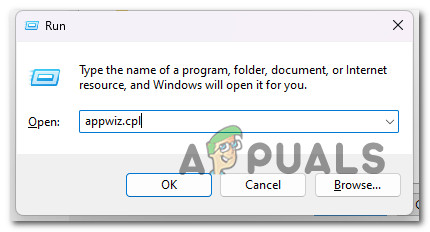
Open Programs and Files Note: If the User Account Control window opens, click Yes to allow admin access.
- From the Programs and Features menu, choose the Publisher button to sort every item by its publisher.
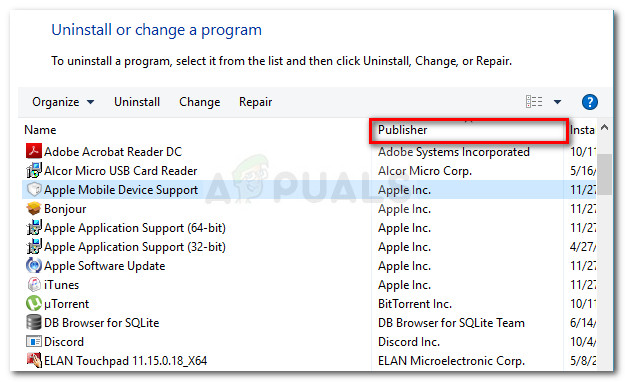
Order by Publisher - Next, scan the list of items to find Nvidia Corporation.
- Right-click on each Nvidia component and choose Uninstall from the context menu.
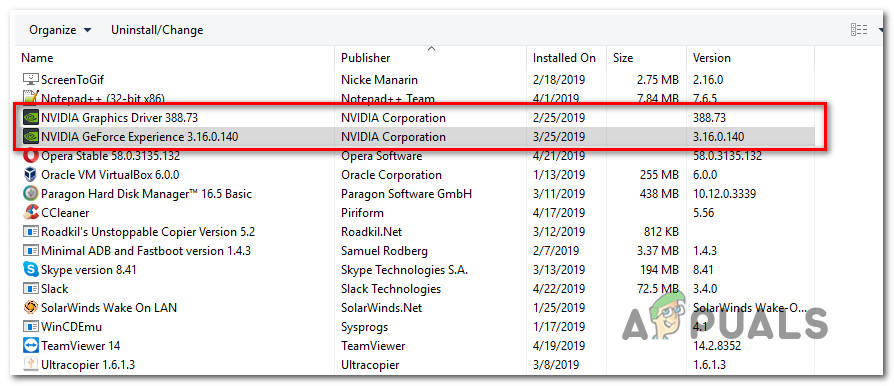
Uninstall every nvidia driver - Continue by uninstalling all NVIDIA Corporation applications from your PC.
- Restart your computer after finishing the previous step, then wait for the startup to be finished. Doing so will allow the default GPU drivers to start up again.
- After your computer restarts, go to the GeForce Experience official download page.
- On the specific download page, select Download Now to acquire the most recent version of GeForce Experience.

Download Nvidia Experience - Begin by following the instructions to install the most recent version of GeForce Experience on your computer.
Note: At the confirmation box, select Yes to provide admin access. - Verify whether a new driver update is available for installation by visiting the Drivers page in GeForce Experience.
- To complete installing the driver, choose Express installation and adhere to the on-screen prompts.

Performing an express installation - After installing the most recent driver version, restart your computer to finalize the modifications.
- Enable Night Light once again and see if the issue is now fixed.
6.2. Update AMD Display Driver
Use the cleaning tool without a doubt before attempting to upgrade your existing driver if you have an AMD graphics card. You may be certain to remove all evidence of the prior driver installation and install it from scratch.
After doing this, you may securely download the most recent GPU version using the Auto-Detect utility.
Below is a list of every stage in the entire process:
- To visit the official download website, click the link for the AMD Cleanup Utility. The most current update for the AMD Cleanup Utility should begin downloading automatically.
- Right-click the AMD Cleanup Utility when it has completed downloading and choose Run as administrator from the context menu that appears.
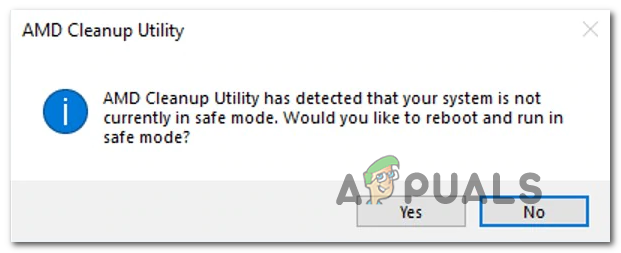
- A popup should then show up requesting that you boot in Safe Mode to enhance the utility’s functionality.
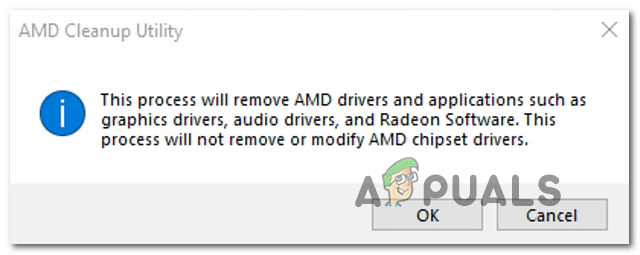
Deploy the cleanup utility Note: Before doing a system-wide search to look for any startup items and lingering registry entries that still have the AMD driver store signatures, this software will first remove the current AMD drivers. Any data it finds that shouldn’t be on your system will be deleted without affecting other system elements. You don’t need to take any more action because everything is automatic.
- The process will begin and run in the background once you click OK to initiate it.
Removing driver data with the cleanup utility Note: You should be aware that the display will start to flicker as soon as the program starts before temporarily turning dark. This is quite normal.
- After completing the process, click Finish to restart your computer normally and switch to the generic drivers.
- After rebooting your computer, go to the Auto-Detect and Install Graphics utility page on the official AMD website.
- In the Auto-Detect and Install Radeon Graphics Drivers for Windows section, scroll down and choose Download Now.
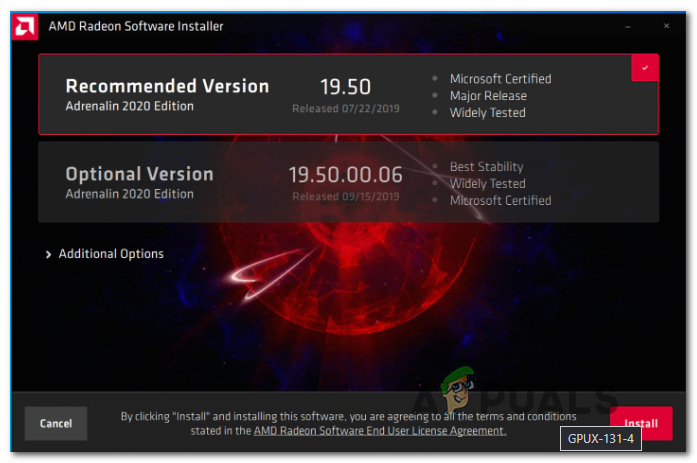
Downloading the latest version - Double-click the program you downloaded and follow the on-screen directions to install Radeon Adrenalin.
- After the installation, AMD Adrenalin should automatically search for the most recent AMD visual drivers that are compatible.
- Remain calm and wait until the driver scan is complete.
- The appropriate driver installation for your model will then be requested of you. Choose Install when the menu appears.
- Press the EULA’s I consent to follow the procedure button (End User License Agreement).
- Restart your computer one final time to complete the procedure.
- Lastly, try turning on the night light once again to check whether the problem has been resolved.
If you can still not enable the night light feature, move down to the next method below.
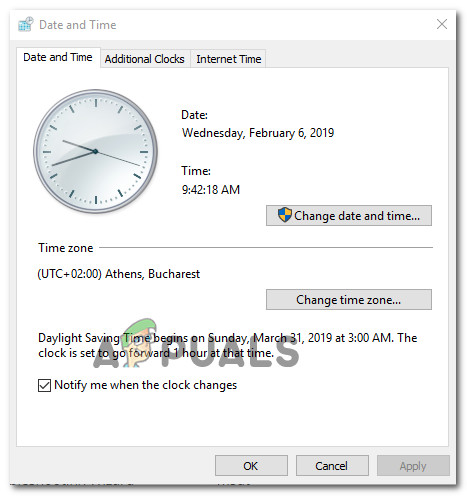
7. Set the correct date & time
Your computer’s incorrect date and time settings might also cause issues with built-in Windows features like the Night light. Verify that your computer’s date and time settings are correct.
Many users who have experienced this issue claim that you may also anticipate seeing this error code if the date and time that the location services expect differs from the actual date & time currently set on your OS.
If this situation applies, changing the existing Date & Time settings in your Windows Settings should allow you to resolve the issue.
If your date and time settings are not matching, the Night Light feature might remain disabled even though it’s enabled from the Windows Settings.
If this situation applies to you, perform these steps to make sure your computer is set to the proper date and time:
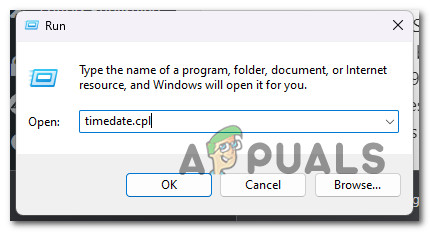
- Pressing the Windows key + R will bring up the Run dialog box. The Date and Time box will appear once you input “timedate.cpl” and hit Enter.
Access the Time & Date - Select the Date & Time tab and click “Change date and time” once in the Date & Time box.
Setting the correct date and time - Click Yes to allow admin access when the UAC (User Account Control) popup asks you to.
- In the Date and Time Settings, select the appropriate date using the calendar under Date, and then repeat the process with the time box on the left.
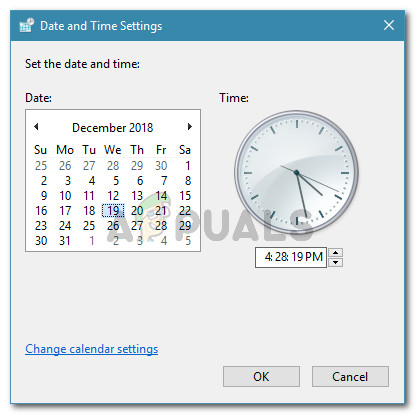
Modifying the date and time - After making the necessary adjustments to both numbers, save the modifications and restart your computer to see if the problem has been resolved.
Use a 3rd party app
If none of the methods featured in this article have allowed you to re-enable the Night Light functionality, there are also several different 3rd party alternatives that you can install and use to achieve the same functionality as the native Night Light feature.
Since there are a lot of tools out there that can do this, we’ve made your job easier by creating a curated list of 3rd party apps that will allow you to adjust the temperature of your screen and warm it up so that you can relax and wind down before sleep (just like Night Light).
Here’s a short list of free 3rd party apps that you should consider:
- F.Lux – As you unwind and prepare for bed at night, f.lux warms up your screen. Originally developed in 2008 to make screens appear more like books, f.lux now uses sleep and circadian biology to help you change how your body perceives day and night. This app is available on the Microsoft Store and is one of the few alternatives if you don’t want to step outside Microsoft’s UWP realm.
- Redshift – Redshift modifies color temperature by the sun’s location. Daytime and nighttime color temperatures are set differently. It’s an open-source app downloadable on Mac, Windows, Linux, and BSD.
- LightBulb – A tool called LightBulb helps people who work long hours on computers avoid getting eye strain. Gamma is continually adjusted throughout the day, changing the display’s color temperature from frigid blue during the day to warm yellow at night.
- SunsetScreen – A free Windows program, SunsetScreen helps reduce screen glare at night and is available for personal use only. According to scientific studies, the chemical melatonin, which the brain produces at the end of the day, is diminished by blue light. This blue light may be moderated to make it simpler to relax at night and have a better night’s sleep.
- RedshiftGUI – RedshiftGUI modifies the monitor’s color temperature to more closely reflect the environment you’re in. This implies that it establishes a warmer color temperature at night and a cooler color temperature during the day, owing to natural illumination (due to indoor lighting).


