Fix: Name Resolution for the Name Wpad Timed Out
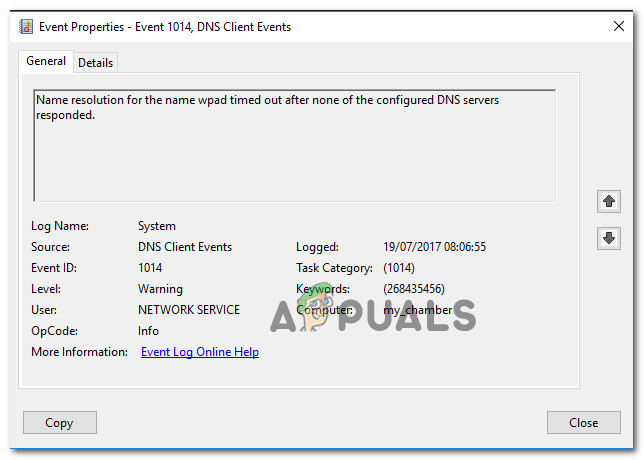
Several users have been reaching us with questions after discovering the ‘Name resolution for the name wpad timed out‘ error inside the Event Viewer. Most affected users will investigate the Event Viewer after dealing with constant Wi-Fi internet connection loss with a Yellow triangle on the top of the Wi-Fi icon.
What is causing the ‘Name resolution for the name wpad timed out‘ error?
We looked into this particular issue by looking at various user reports and the repair strategies that most affected users have successfully used to get the issue resolved. Based on our investigations, there are several common scenarios that will trigger this particular error message:
- TCP/IP Offload is enabled for a network adapter – RSS, Autotuning and Taskoffload are all technologies that are confirmed to trigger this particular error. Disabling them might enable you to resolve the issue.
- ISP does not support TCP/IP v6 – This issue might occur if TCP/IP v6 is enabled on the computer or sever but the ISP does not yet support TCP/IP v6. In this case, the solution is to simply disable TCP/IP v6.
- Corrupted o badly installed network adapter – Another possible reason for this error is a corrupted or incomplete installation of the Network adapter drive. In this case, uninstalling the driver will force your OS into reinstalling it again.
- Damaged TCP/IP connection – If a certain scenario is applicable, this error might occur because the TCP/IP instructions are incorrect or corrupted. In this case, resetting the TCP/IP Connection will resolve the error message.
- Glitched DNS cache – Another reason why this issue might occur is a glitched DNS cache that is triggering false positives. Several affected users have reported that this particular error was no longer occurring after they flushed the DNS cache from an elevated Command window.
- Default DNS server is unstable – There are a lot of reports with users that managed to confirm that the issue was being caused by an unstable DNS server. If this particular scenario is applicable, the solution is to replace the default DNS server with Google’s DNS.
If you’re struggling to resolve this particular error message, this article will provide with several troubleshooting steps that will help you get around this particular error. Down below, you’ll encounter a collection of methods that other users in a similar situation have used to get the issue resolved.
If you want to stay as efficient as possible, follow the methods in the order that they are presented as they are ordered by efficiency and severity. You should eventually encounter a fix that will resolve the issue in your particular scenario.
Method 1: Using the Network adapter troubleshooter
Before we dive into other, more technical repair strategies, let’s see if your Windows version is equipped to deal with this issue automatically. Several users have managed to resolve the ‘Name resolution for the name wpad timed out‘ error by using the built-in Network Adapter troubleshooter.
This built-in utility will scan for common network adapter problems and automatically apply the right repair strategies for the problems that it manages to identify. Here’s a quick guide on using the network adapter troubleshooter:
- Press Windows key + R to open up a Run dialog box. Then, type “ms-settings:troubleshoot” and press Enter to open the Troubleshooting tab of the Settings app.
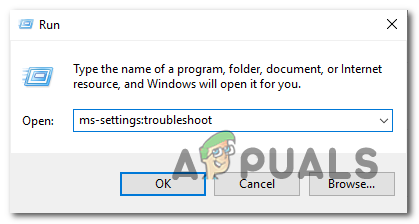
Opening the Troubleshooting tab of the Settings app via a Run box - Inside the Troubleshooting tab, scroll down to Find and fix other problems, click on Network Adapter and select Run the troubleshooter.
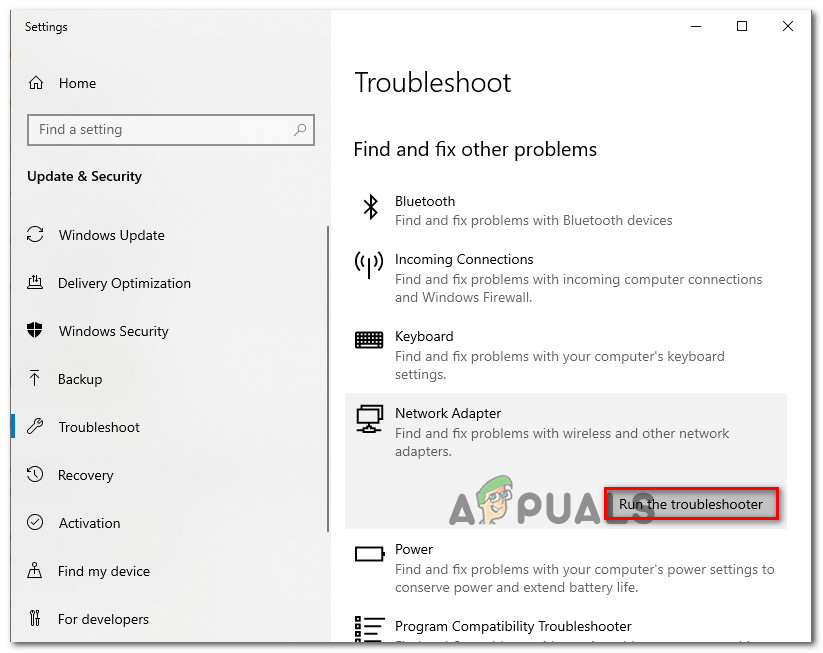
Running the Network Adapter troubleshooter - After the initial scan is complete, select the network adapter that is acting up from the list and click Next.
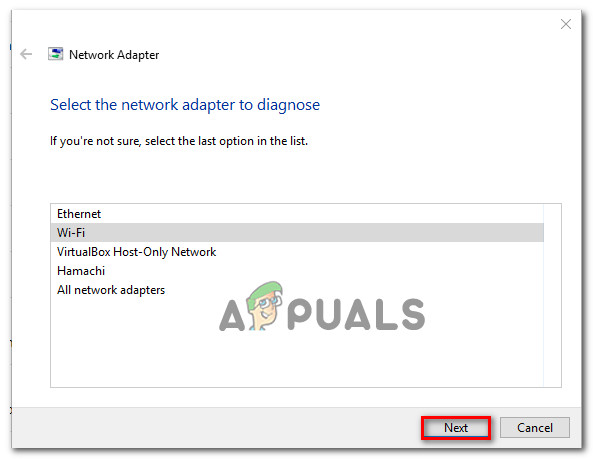
Troubleshooting the adapter that is causing the error - Wait until the scan is complete. During this process, the troubleshooter will apply various repair strategies and then restart the network adapter to see if the issue has been resolved.
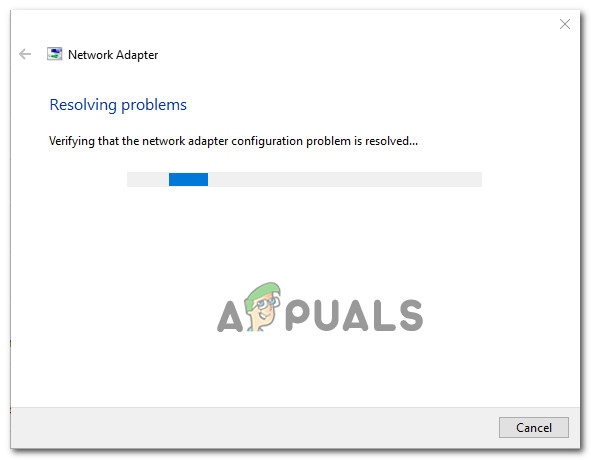
Built-in troubleshooter is resolving the issue - Once the process is complete, you will get a rundown with the problems identified and fixed. Close the troubleshooter and see if the issue has been resolved.
If the ‘Name resolution for the name wpad timed out‘ error is still occurring or the fix only lasts momentarily, move down to the next method below for a different approach.
Method 2: Reinstalling the Network adapter (Windows 10 only)
Another approach that might resolve the issue with minimal hassle is to simply uninstall the network adapter via Device Manager. This will force your OS to automatically re-detect the network adapter and reinstall it from scratch.
Note: This procedure should only be attempted on Windows 10 since it’s capable of detecting and installing any missing driver automatically.
Here’s a quick guide on reinstalling the network adapter in order to resolve the ‘Name resolution for the name wpad timed out‘ error:
- Press Windows key + R to open up a Run dialog box. Then, type “devmgmt.msc” and press Enter to open up Device Manager.
Running Device Manager from a Run box - Inside Device Manager, expand the drop-down menu of Network adapters and right-click on the network adapter that is causing the issue. Then, click on Uninstall device.
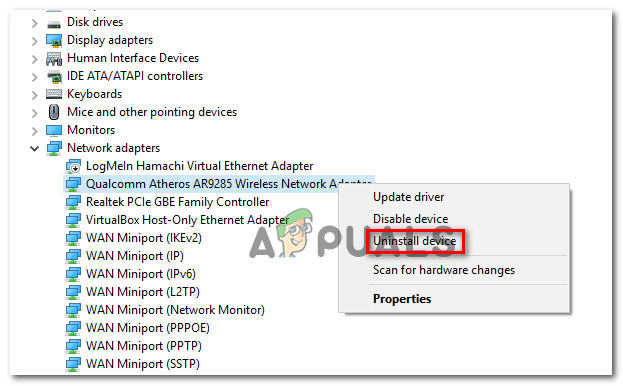
Uninstalling the network adapter - Once the device has been uninstalled, exit Device Manager and restart your computer. At the next startup, Windows 10 will automatically detect that an important driver is missing and install the necessary firmware for the network adapter.
- When the next startup is complete, test your internet connection and see if you’re still encountering the same issue.
If the ‘Name resolution for the name wpad timed out‘ error is persisting, move down to the next method below.
Method 3: Resetting the TCP/IP Connection
This particular error can also occur if the TCP/IP instructions become damaged or corrupted. The set of built-in TCP/IP instructions is one of the most important parts of your Internet connection. If you find yourself in a scenario where you can’t connect to the internet at all, TCP/IP might be causing it.
Fortunately, you can reset the TCP/IP instructions fairly easily using the NetShell utility. Here’s a quick guide on how to reset your TCP/IP connection:
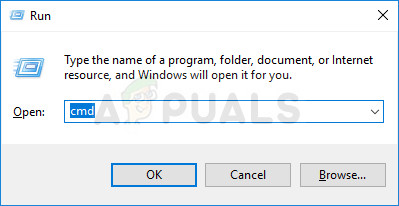
- Press Windows key + R to open up a Run dialog box. Then, type “cmd” and press Ctrl + Shift + Enter to open up an elevated Command prompt. When prompted by the UAC (User Account Control), click Yes to grant administrative privileges.

Running CMD as an admin - Inside the Elevated Command Prompt, type in the following command and press Enter to reset TCP/IP manually:
netsh int ip reset
- Once TCP/IP is reset, close the elevated Command Prompt and restart your computer.
At the next startup, see if the ‘Name resolution for the name wpad timed out‘ error is still occurring. If it is, move down to the next method below.
Method 4: Flushing the DNS cache
Another potential repair strategy that could very well resolve the issue for you is to flush your computer’s DNS cache. Several affected users have reported that this procedure resolved any connection interruptions caused by the ‘Name resolution for the name wpad timed out‘ error.
Here’s a quick guide on flushing your computer’s DNS cache;
- Press Windows key + R to open up a Run dialog box. Then, type “cmd” and press Ctrl+ Shift + Enter to open up an elevated Command prompt. When prompted by the UAC (User Account Control), click Yes to allow administrative privileges.
Running CMD as an admin - Inside the elevated Command Prompt, type the following commands and press Enter after each command:
ipconfig /flushdns
ipconfig /registerdns
ipconfig /release
ipconfig /renew
- Once the DNS cache has been flushed, restart your computer and see if the error is still occurring once the next startup is complete.
If you’re still encountering the ‘Name resolution for the name wpad timed out‘ error, move down to the next method below.
Method 5: Changing the Default DNS server
You might be encountering the ‘Name resolution for the name wpad timed out‘ error due to some inconsistencies with the default DNS server. We managed to identify some reports where the issue was fixed by changing the default DNS with the one provided by Google.
Here’s a quick guide on changing the default DNS address to Google’s DNS:
- Press Windows key + R to open up a Run dialog box. Then, type “control” or “control.exe” and press Enter to open up Control Panel.
Running Control Panel from a Run box - Inside the classic Control Panel window, click on Network and Internet, then click on Network and Sharing Center.
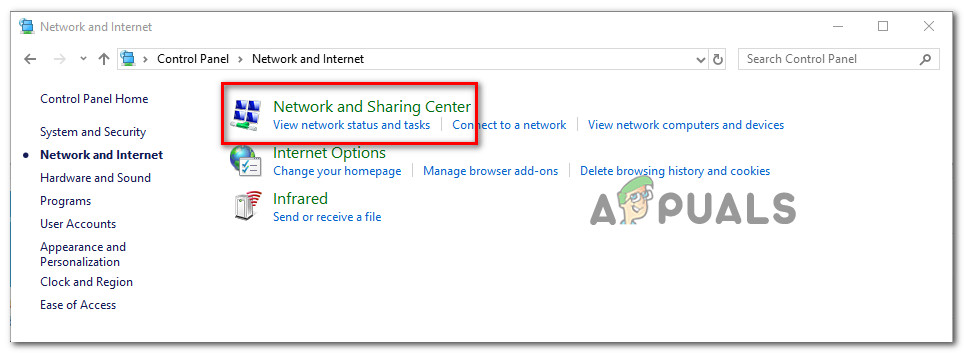
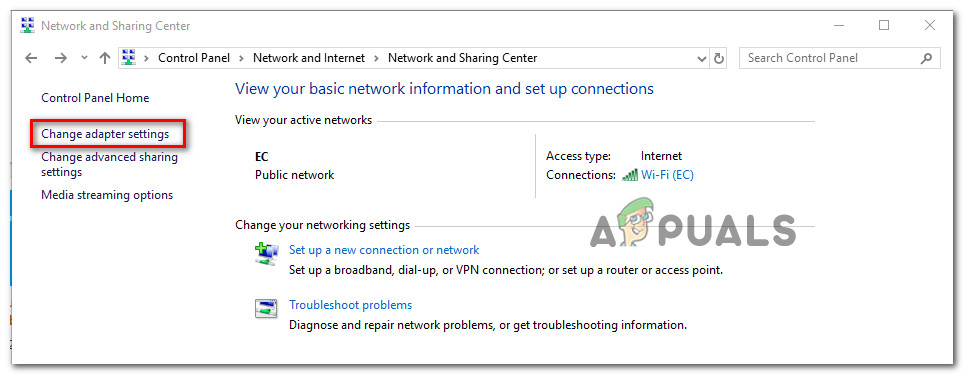
Accessing the Network and Sharing Cente - From the Network and Sharing Center screen, click on Change adapter settings.
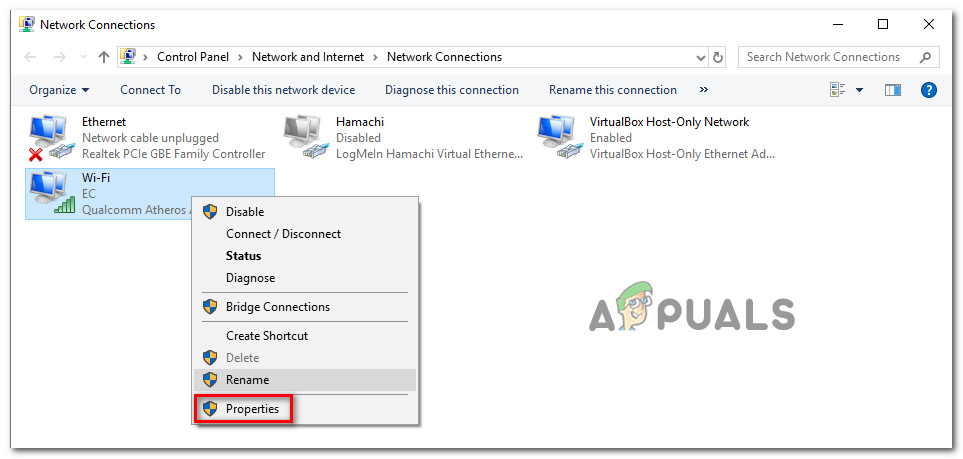
Accessing the adapter menu - Right-click on the network that you are currently connected to and choose Properties.
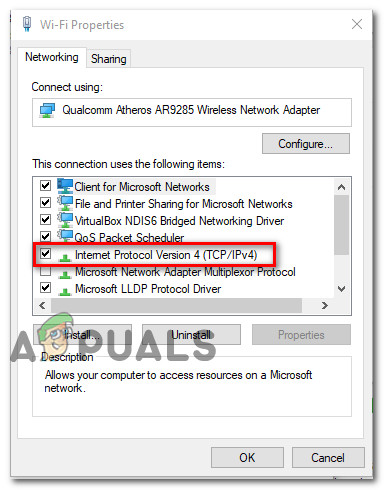
Opening the Properties screen of the active connection - Inside the Properties screen, go to the Networking tab and double click on Internet Protocol Version 4 (TCP / IPv4).
Accessing the Internet Protocol Version 4 settings - In the Properties screen of Internet Protocol Version 4, enable the Use the following DNS server addresses toggle. Then, set 8.8.8.8 for Preferred DNS Server and 8.8.4.4 for Alternate DNS server.
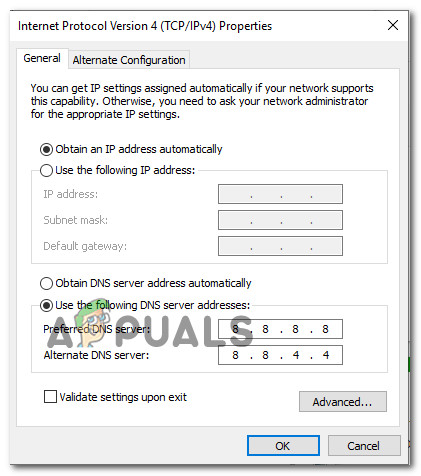
Setting the Google DNS - Hit OK to save the changes, then restart your computer to allow the changes to take effect.
Once the next startup is complete, see if the issue has been resolved. If the same ‘Name resolution for the name wpad timed out‘ error is still occurring, move down to the next method below.
Method 6: Disabling TCP/IP v6
Another possibility why this particular error might occur is a scenario in which TCP/IP v6 is enabled on the computer but your ISP (Internet Service Provider) does not support TCP/IP v6. In this case, the solution is to simply disable TCP/IP v6.
Here’s a quick guide on how to do this:
- Press Windows key + R to open up a Run dialog box. Then, type “ncpa.cpl” and press Enter to open up the Network Connections window.

- Inside the Network Connections window, right-click on the network that you’re currently connected to and choose Properties.
Opening the Properties screen of the active connection - Inside the Properties screen of your network, go to the Networking tab and scroll down through the list of used items. Then, uncheck the box associated with Internet Protocol Version 6 (TCP/IPv6) and hit Ok to save the changes.
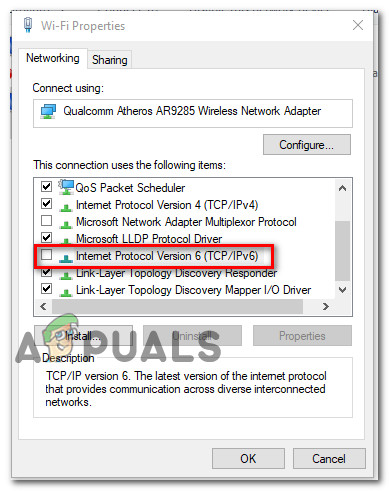
Disabling Internet Protocol Version 6 (TCP/IPv6) - Once IPv6 has been disabled, restart your computer and see if the error has been resolved at the next computer startup.
If you’re still encountering the same ‘Name resolution for the name wpad timed out‘ error inside your Event Viewer, move down to the next method below.
Method 7: Disabling RSS, Autotuning, and Taskoffload
There are three unnecessary technologies that might end up triggering the ‘Name resolution for the name wpad timed out‘ error. Several affected users have reported that their connection became stable once and for all after they disabled RSS, Autotuning, and Taskoffload.
This procedure can be a little tedious, but we’re going to show you a quick way on how to do this from an elevated Command Prompt and Registry Editor:
- Press Windows key + R to open up a Run dialog box. Then, type “cmd” and press Ctrl + Shift+ Enter to open up an elevated Command Prompt window. When prompted by the User Account Control, click Yes to grant administrative privileges.
Running Command Prompt as an Administrator - Inside the elevated Command Prompt, type the following commands in order and press Enter after each one to disable RSS, Autotuning and TaskOffload:
netsh interface tcp set global rss=disabled
netsh interface tcp set global autotuninglevel=disabled
netsh int ip set global taskoffload=disabled
- Once the three technologies are disabled, close the elevated Command prompt. Then, open a Run box (Windows key + R)m type ‘regedit‘ and press Enter to open up the Registry Editor. When prompted by the UAC (User Account Control), click Yes to give administrative privileges
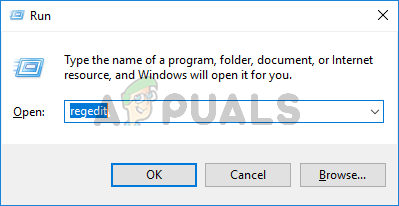
Typing Regedit in Run to Open Registry Editor - Inside the Registry Editor, use the navigation bar at the top to arrive at the following location:
Computer\HKEY_LOCAL_MACHINE\SYSTEM\CurrentControlSet\Services\Tcpip\Parameters
Note: You can navigate there manually or you can simply paste the address inside the navigation bar.
- You also need to disable the Scalable Networking Pack (SNP). To do this, open each of the following registry key and set their Value data for each to 0:
EnableTCPChimney
EnableTCPA
EnableRSS
Note: If one of these or more of these keys don’t exist, you’ll need to create them manually by going to Edit > New > Dword (32 – bit) value and name each key accordingly.
- Once the modifications have been made, close Registry Editor and restart your computer. At the next startup, check if the issue has been resolved.


