How to Fix Multiple Folders and Icons of OneDrive
OneDrive is Microsoft’s cloud storage platform that lets you store your important documents and media files on the cloud. Microsoft’s OneDrive also provide a great way of syncing your clout storage for access from multiple devices. There’s no doubt that there are many benefits of using OneDrive but sometimes you might face a few issues that are quite troublesome especially if you have important stuff stored on the cloud. Sometimes you might see not one but two instances of OneDrive in your Windows Explorer especially if you recently upgraded to Windows 10 from Windows 8.
The problem of having two instances (or folders) showing in Windows Explorer only seems to be a cosmetic issue but it sometimes it isn’t. There are 3 variations (and possibly more) of this scenario.
- Both the folders have the same exact data and sync correctly. This means that the problem is only limited to what the Windows Explorer is showing. But it can still cause confusion in the future especially if the syncing stops for one folder
- Both folders have different data. This is obviously a problem since you want your data to be at a single place.
- Both folders have different data and your apps store data in the older folder rather than the newer one.
The problem basically occurs because of the Windows upgrade and drive name. If your drive was named SkyDrive in your previous Windows then upgrading to Windows 10 (where it is named OneDrive) causes this issue. Since the SkyDrive and OneDrive names are different, your system treats them differently and hence the 2 separate folders. This also is the reason for different data because some apps might still be set to store data in the older folder. If both of the drives have the same data and syncs correctly then it is mainly because of the issue with the Windows 10 and its upgrade.
Whatever is the reason or the case, there are plenty of methods mentioned below so follow them one by one until your problem is solved.
Note: It is advised to perform a backup of your data that is in OneDrive folders just to make sure no data loss occur.
Method 1: Unlinking and Linking the OneDrive
If you unlink the OneDrive and then re-Link it back then the problem might be solved. Follow the steps given below to unlink and re-link the OneDrive
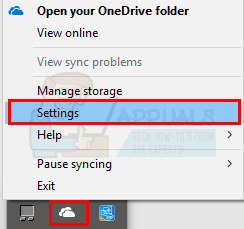
- Right click your OneDrive icon in the system tray (right bottom corner). If you can’t see it then you might have to click the upward arrow button and it will show up.
- Select Settings
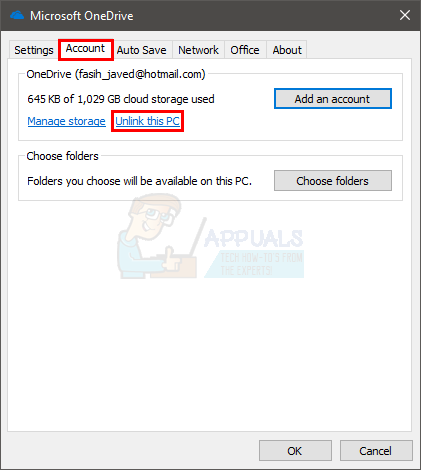
- Select Account tab
- Click Unlink this PC
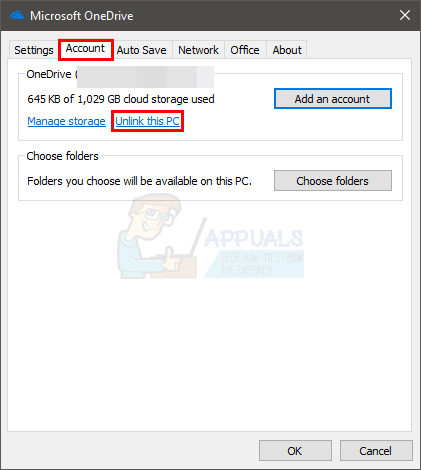
- Click Unlink account
![]()
Now restart your computer and check if the issue is still there or not.
Method 2: Reset OneDrive
Resetting OneDrive also solves the problem if the second instance is just showing in the File Explorer without any back link.
- Hold Windows key and press R
- Type %localappdata%\Microsoft\OneDrive\onedrive.exe /reset and press Enter
![]()
Now check your system tray (right bottom corner) and you should be able to see OneDrive icon disappear and reappear after a couple of minutes.
If it doesn’t, you can restart the OneDrive yourself.
- Hold Windows key and press R
- Type %localappdata%\Microsoft\OneDrive\onedrive.exe and press Enter
![]()
This should start the OneDrive again. Once it is started check if the extra instance is gone or not.
Method 3: Switching Accounts
Switching from a Microsoft’s Account to a local account and switching back again to the Microsoft Account solves the problem. This is so because this process completely refreshes the OneDrive service which sometimes removes the extra instance of OneDrive
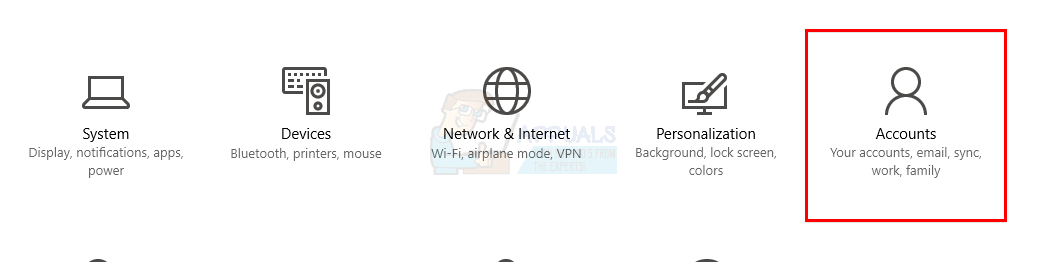
- Press Windows Key once
- Select Settings
- Click Accounts
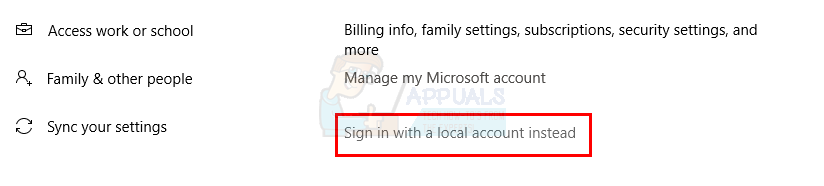
- Click Sign in with a local account instead
- Enter the password of your current Microsoft account
- Type in your username and password.
- Click Next
Repeat the above steps with your local account and select Sign in with a Microsoft account instead in step 4 to switch back to Microsoft Account.
Once you are done, check if the extra instance of OneDrive is gone or not.
Method 4: Using Registry Editor
You can also use Registry Editor to delete the registry of the extra OneDrive. This seems to work for most of the users.
- Hold Windows key and press E
- Check which one of the OneDrive instance contains your latest data and sync with it. Meaning which one is extra that you need to delete.
- Right click the OneDrive folder that contains your data and rename it to whatever you want. Also, backup your data to prevent data loss
- Hold Windows key and press R
- Type regedit.exe and press Enter
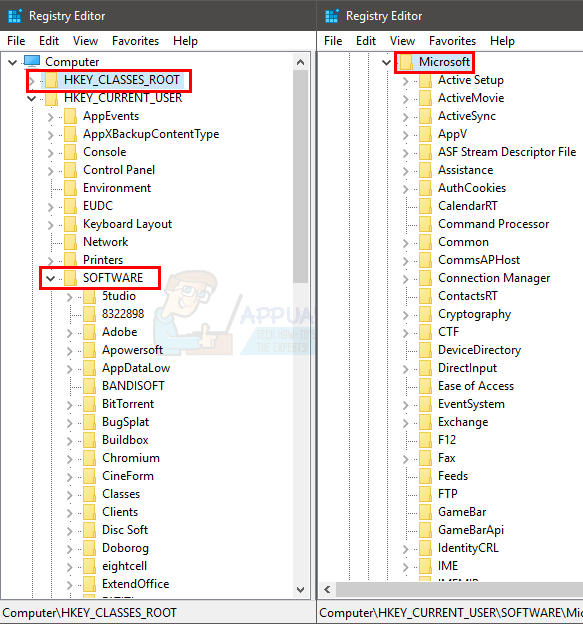
- Go to this location HKEY_CURRENT_USER\SOFTWARE\Microsoft\Windows\CurrentVersion\Explorer\Desktop\NameSpace If you don’t know how to navigate then follow the steps given below
- Double click HKEY_CURRENT_USER (from the left pane)
- Double click SOFTWARE (from the left pane)
- Double click Microsoft (from the left pane)
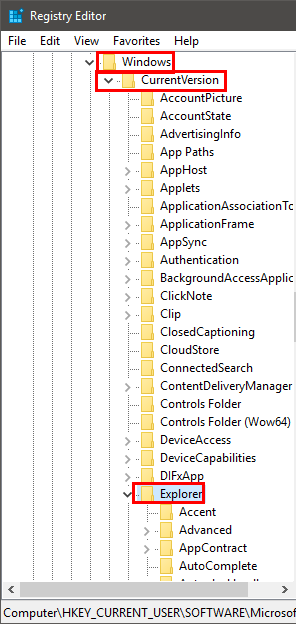
- Double click Windows (from the left pane)
- Double click CurrentVersion (from the left pane)
- Double click Explorer (from the left pane)
- Double click Desktop (from the left pane)
- Double click Namespace (from the left pane)
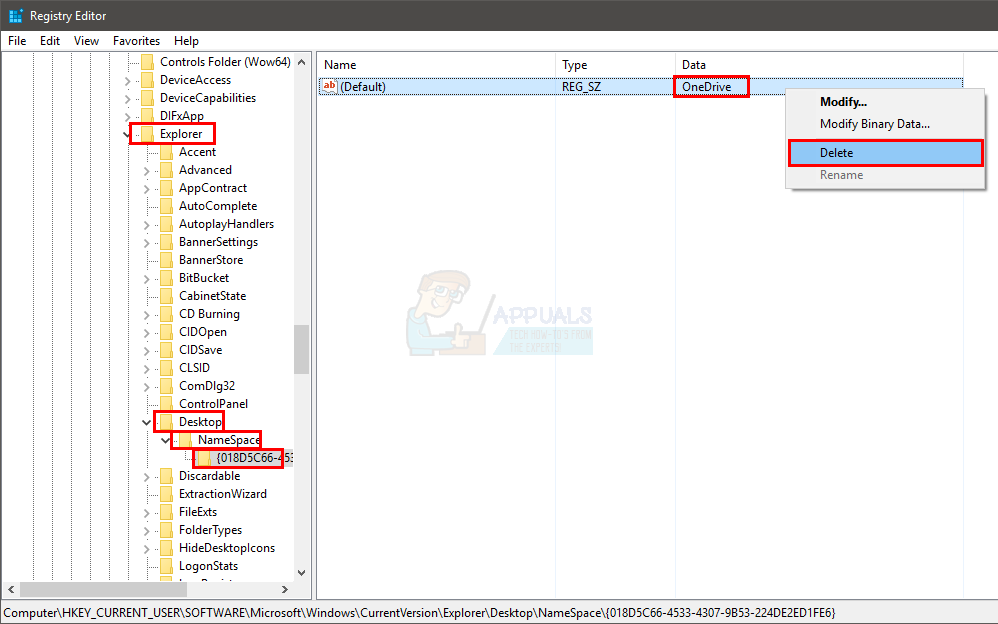
- Locate the folders that has OneDrive entry in it (from the left pane). You can click the folders one by one and look at the right pane to see the name of the registry. It should say OneDrive.
- Right click the OneDrive entry then select Delete
This should remove the extra instance folder showing up in the Windows Explorer. If it doesn’t work then restart the computer and then check.
Method 5: Using Registry Editor (Alternative)
This isn’t a solution but more of a hack to hide the extra OneDrive instance. This is suitable for people whose OneDrive instances properly sync and have the same data and can’t get rid of the extra folder for some reason. This solution will simply hide the extra folder and not purely remove it.
- Hold Windows key and press R
- Type regedit.exe and press Enter
- Go to this location HKEY_CURRENT_USER\SOFTWARE\Microsoft\Windows\CurrentVersion\Explorer\Desktop\NameSpace If you don’t know how to navigate then follow the steps given below
- Double click HKEY_CURRENT_USER (from the left pane)
- Double click SOFTWARE (from the left pane)
- Double click Microsoft (from the left pane)
- Double click Windows (from the left pane)
- Double click CurrentVersion (from the left pane)
- Double click Explorer (from the left pane)
- Double click Desktop (from the left pane)
- Double click Namespace (from the left pane)
- Locate the folders that has OneDrive entry in it (from the left pane). You can click the folders one by one and look at the right pane to see the name of the registry. It should say OneDrive. Copy or note the name of this folder somewhere
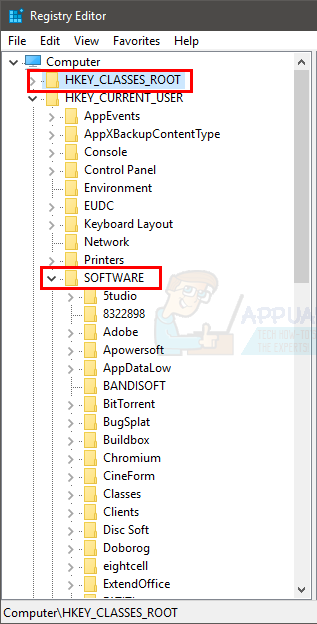
- Now navigate to this path HKEY_CLASSES_ROOT\CLSID\ by double clicking HKEY_CLASSES_ROOT and then double clicking CLSID folder
- Locate the folder with the same name as that of OneDrive folder (that you noted in step 4).
- Click the folder
- Double click the entry (right pane) named System.IsPinnedtoNameSpaceTree
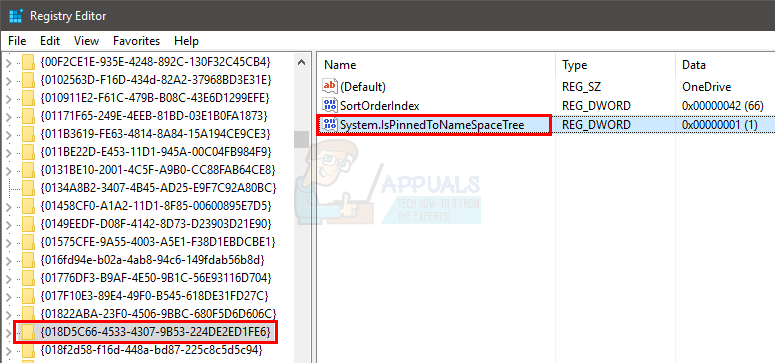
- Make its value 0 and click Ok
This should hide the folder. If you want to reshow the folder again then just repeat all the above steps and make this value 1 again.
Beautiful. Upgraded to Windows 10 on a new machine at work. Method 4 solved it. Kudos for this help doc.