Fix: MSI True Color not Working
MSI True Color represents a graphics technology related to color precision and quality and it enables you to set various color settings to make gaming or any other graphics-related activity more pleasant to the eye.
However, various users have reported that a Windows 10 update actually caused MSI True Color to suddenly stop working. After the tool is launched by double-clicking, it proceeds to open and launch but it suddenly disappears after a few seconds. There are various methods used to resolve the problem so make sure you follow the instructions we have prepared below! Good luck.
What Causes MSI True Color to Stop Working?
Since MSI True Color is not used by that many people, there are not many forum entries where people discuss what caused the problem for them. Therefore, there aren’t many confirmed causes which also narrows down the list for potential methods used to resolve it.
Here is a list of confirmed problems which trigger MSI True Color and cause it to stop launching:
- A recent update to your operating system or your graphics driver (or both) was reported to be the culprit by many users. Since it’s easier to roll back the driver and try out an older version, it’s the best way of successfully resolving the problem in many cases.
- A new version of the tool was launched which fixes the problem but the tool fails to update automatically and you will have to do it manually starting off by uninstalling the current version and locating the appropriate version for your setup.
Precaution: Disconnect Your External Display
MSI’s documentation for proper installing and use of MSI True Color states that any external displays should be displayed during the installing process. Some users try to reinstall MSI True Color but fail to do so because of this. Make sure your external display stays disconnected during the installing process.
Solution 1: Restore to an Older Graphics Card Driver
Since Windows 10 sometimes automatically updates some of your drivers when a new version of the OS is installed, users have reported that the newest graphics card driver was the culprit to blame and they suggested that restoring an earlier version actually helped them troubleshoot. Since the problem is usually handled in the next update, this can be a good temporary method in order to get it to work.
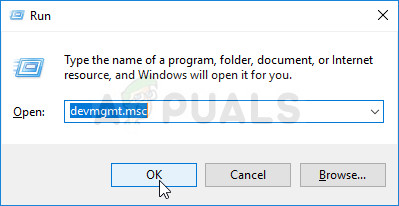
- Click the Start menu button, type in “Device Manager” afterward, and select it from the list of available results by simply clicking the first one. You can also tap the Windows Key + R key combo in order to bring up the Run dialog box. Type in “devmgmt.msc” in the dialog box and click OK in order to run it.
- Since it’s the video card driver you want to update on your computer, expand the Display adapters section, right click on your graphics card and choose the Uninstall Device
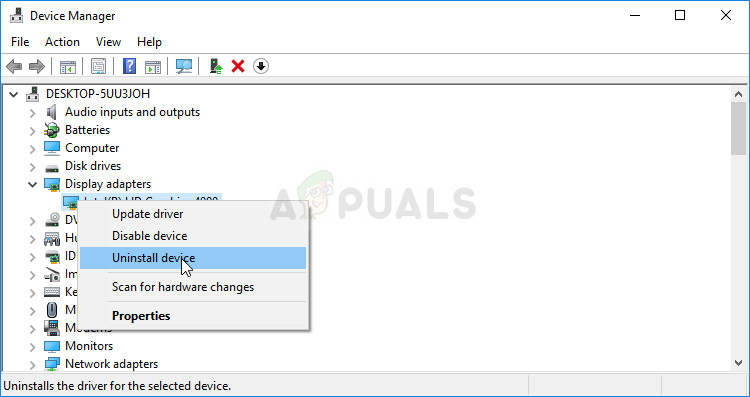
- Confirm any dialogues or prompts which may ask you to confirm the uninstallation of the current graphics device driver and wait for the process to complete.
- Look for your graphics card driver on NVIDIA’s or AMD’s Input the required information about the card and your operating system and click on Search.
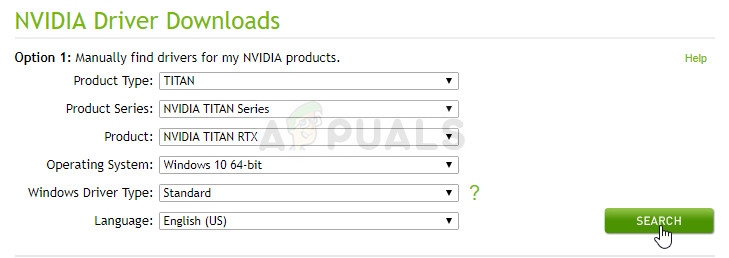
- A list of all available drivers should appear. Make sure you scroll down until you reach the required entry, click on its name and the Download button afterwards. Save it to your computer, open it, and follow the instructions on-screen in order to install it. Check to see if MSI True Color works now!
Alternative: Rollback the Driver
For those who feel uncomfortable looking for the drivers themselves as it can be confusing for casual users since you need to input info about your computer and search through many different drivers and install them manually, there is an alternative. It involved rolling back the graphics card driver.
This process will look for backup files of the driver which was installed before the most recent updates and that driver will be installed instead. This option is not always available but this will definitely be easier as it works both for NVIDIA or AMD users:
- First of all, you will need to uninstall the driver you currently have installed on your machine.
- Type “Device Manager” into the search field next to the Start menu button to open the device manager window. You can also use the Windows Key + R key combination in order to open the Run dialog box. Type devmgmt.msc in the box and click OK or Enter key.
- Expand the “Display Adapters” section. This will display all network adapters that the machine has installed at the moment.
- Right click on the display adapter you want to rollback and select Properties. After the Properties window opens, navigate to the Driver tab and locate the Roll Back Driver
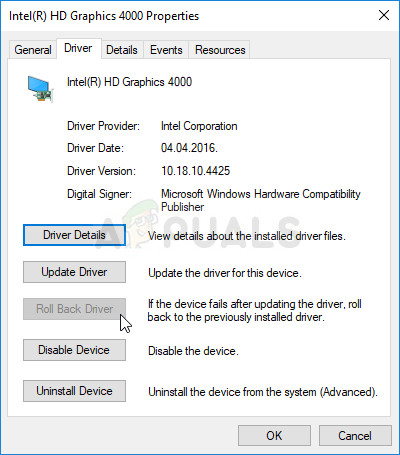
- If the option is grayed out, it means that the device wasn’t updated recently or it has no backup files remembering the old driver.
- If the option is available to click on, do so and follow the instructions on-screen to proceed with the process. Restart the computer and check to see if the problem still occurs with MSI True Color.
Solution 2: Install the Latest Version of MSI True Color Manually
After the problematic Windows 10 update was released, there were plenty of new versions of the tool available. Since the tool has malfunctioned and it won’t even launch properly, the best thing you can do is to actually install the latest version manually by uninstalling it from your computer and installing the latest version from the site!
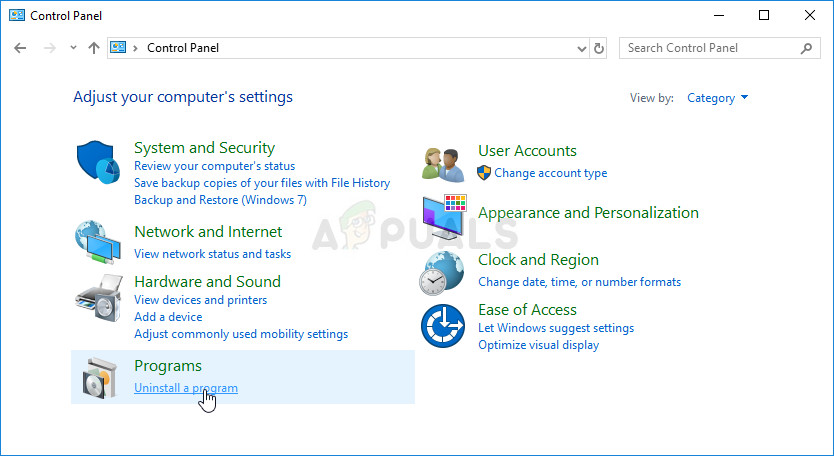
- Click on the Start menu and open Control Panel by searching for it. Alternatively, you can click on the gear icon in order to open settings if you are using Windows 10.
- In Control Panel, select to View as: Category at the top right corner and click on Uninstall a Program under the Programs section.
- If you are using the Settings app, clicking on Apps should immediately open a list of all installed programs on your PC.
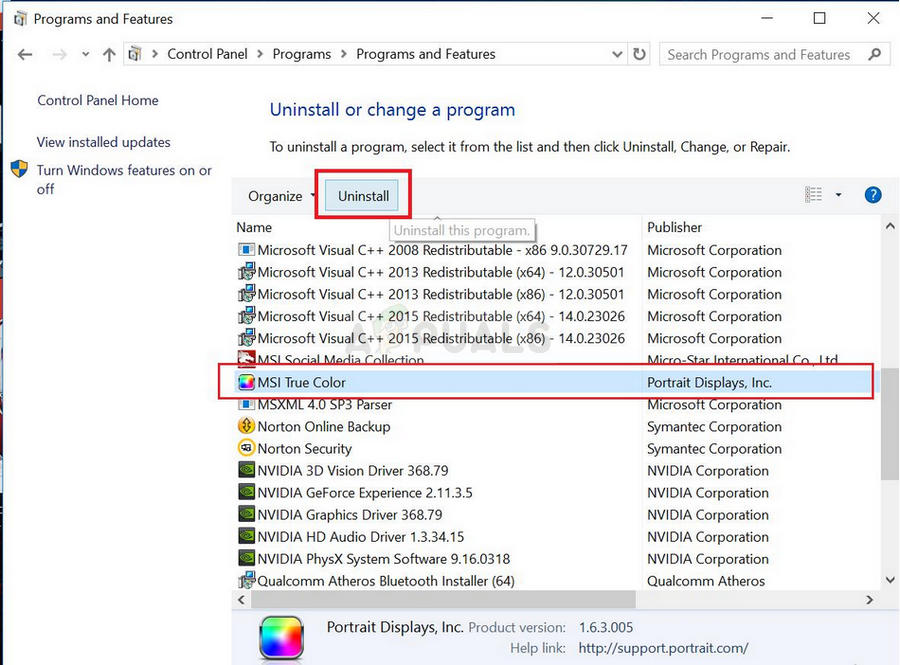
- Locate MSI True Color tool in Control Panel or Settings and click on Uninstall.
- Its uninstall wizard should open so follow the instructions to uninstall it.
- Click Finish when the uninstaller completes the process and restart your computer in order to continue to install the latest version. Visit this link and navigate under the Select Your Product screen in order to search for your laptop or Desktop computer.
- Enter all relevant information about your setup until you reach the support page for your device. Click the Download button at the left-side menu and navigate to the Utility Scroll down until you reach the MSI True Color entry.
- Click the red download icon next to its name in order to initiate the downloading process. Locate the file in the Downloads folder, right-click on it, and choose to Extract. Run the installer and follow the instructions on-screen. Check to see if the problem persists.


It runs in Administrative mode and can be adjusted as well. Just thought I’d let you know.
Gary