Fix: mshta.exe problem (Microsoft HTML Application Host)
Many users come across the problem where they encounter multiple instances of ‘mshta.exe’ (which is an abbreviation of Microsoft HTML Application Host) on their task manager. The executable mshta.exe is part of the Windows operating system used for executing .HTA files over various platforms. This is reported as a non-essential part of the operating system but lost functionality is reported when it is disabled.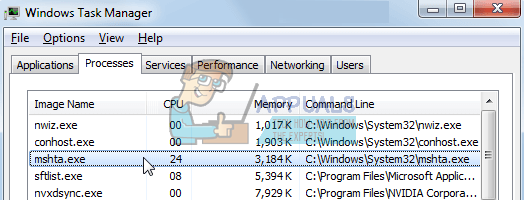
So what is this application’s purpose? It is used to execute HTA files which are an extension for HTML executable file format. HTA files are used with Internet Explorer 5 and versions released after, along with other various applications as well. HTA files are known to use HTML syntax to create applications for their use.
What would happen if we disable this service? There are mixed feedbacks as there are unique configurations and usage for each PC but it was seen that Microsoft Edge or Internet Explorer were not able to load several web pages as well as succeed in properly viewing the ones which were loaded. Other than this, other applications which also use this service are known to be affected.
It should also be noted that different malware and virus use exploits which are named similar to the executable under discussion to infect a computer and cause loss of functionality or high CPU/Memory usage. We will first check if the service is legit and try to disable it using the task scheduler.
Solution 1: Disabling Tasks using Task Scheduler
After extensive research and error collections, it was seen that this executable was running at different intervals which are meant to repeat with certain triggers. The number of scheduled tasks of ‘mshta.exe’ were at a whopping ~20 with one task scheduled each hour. We will check the task scheduler for any scheduled tasks and disable them accordingly. Before we indulge on how to disable ‘mshta.exe’, whenever the service pops up or takes a poll on your computer, go to the task manager, locate the task and see its location. It should be somewhat like: C:\Users\USERNAME\AppData\Local\{INSERT_RANDOM_HEXKEY_HERE}
Note: Whenever the popup for this service comes up or when your resource usage goes up, you should note the time. This way it will be much easier to track at which interval this service is executing.
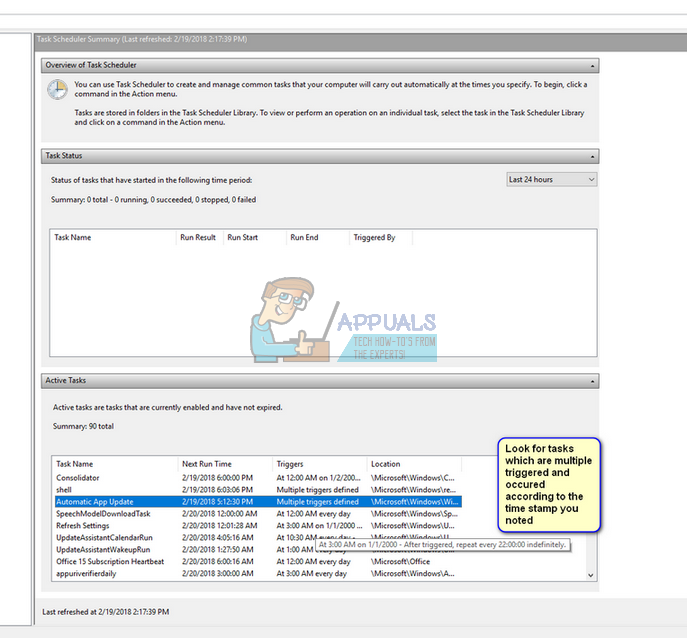
- Press Windows + R, type “taskschd.msc” in the dialogue box and press Enter.
- Look for tasks which are dated according to your time stamp and see if the service under discussion is among it. If it is, double-click it and see the file it is referencing to. As an example, there was one case which was pointing towards the address:
C:\Users\USERNAME\AppData\Roaming\UpdateTask
- Now you have two file paths. One which points towards the location of service located and one which is running the service at timely intervals. Head over to those target locations and delete (or copy/rename) them. The two paths will look somewhat like:
C:\Users\USERNAME\AppData\Local\{INSERT_RANDOM_HEXKEY_HERE}
C:\Users\USERNAME\AppData\Roaming\UpdateTask
- Restart your computer after deleting the entries and check if the problem at hand got solved.
Solution 2: Scanning for Malware or Virus
If ‘mshta.exe’ is a legitimate process, you would have solved it using the procedure listed above. If it isn’t fixed, we should consider the possibility that it is a malware or virus on your computer. There are several reports which indicated high memory and CPU usage because of the infection.
There are plenty of ways through which you can remove illegal services from your computer. There are tons of good antivirus software which do the job. You can download any software from Malwarebytes to Hitman Pro etc. Here we will use Microsoft Security Scanner to scan your computer for discrepancies and check if there is indeed any problem.
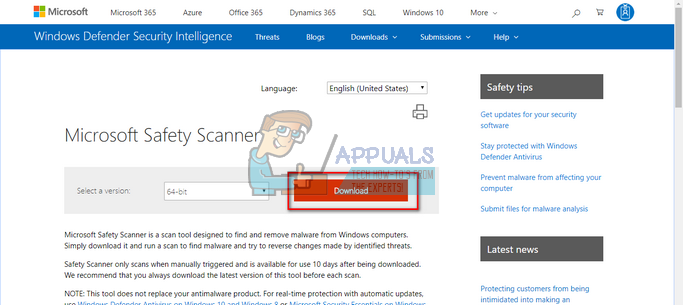
Microsoft Safety Scanner is a scan tool designed to find and remove malware from your computer. Do note that this software is not a substitute for your regular antivirus. It only runs when it is triggered but has the latest definitions upgraded. Furthermore, we recommend that you only use this software by downloading the latest version as virus definitions are updated frequently.
- Head over to Microsoft’s official website and download the Safety Scanner. Make sure you are downloading the correct version for your computer by selecting the bits.
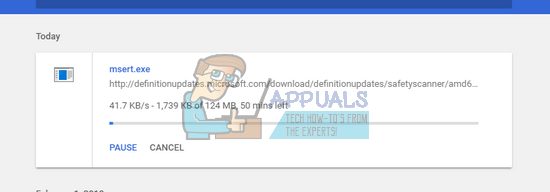
- The file will be around 120MB. Download the file to an accessible location and click on the exe file to run it.
- Wait for the scan to complete completely. If there were any threats detected, the scanner would notify you immediately.
Note: There are several cases where you are unable to remove the virus/malware successfully on your computer. In that case, refer to more strong antivirus software such as Malwarebytes etc. and scan your computer using more than software.
Solution 3: Restoring from last Restore Point/ Doing a Clean Install
If both the above methods don’t work and you are stuck with the annoying CPU/Memory usage, it is worth a shot restoring back before any latest Windows 10 updates were installed on your computer. If you don’t have a last restore point, you can install a clean version of Windows. You can use the utility “Belarc” to get all your licenses saved, backup your data using external storage and then perform a clean install.
Note: Make sure to back up your data before performing this solution. Use an external hard drive or USB to save all your important files just in case.
Here is the method on how to restore Windows from the last restore point.
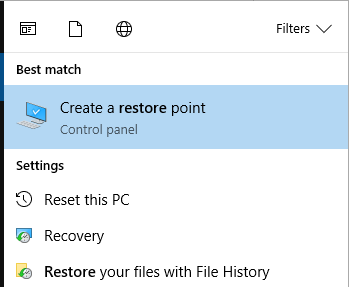
- Press Windows + S to launch the start menu’s search bar. Type “restore” in the dialogue box and select the first program which comes in the result.
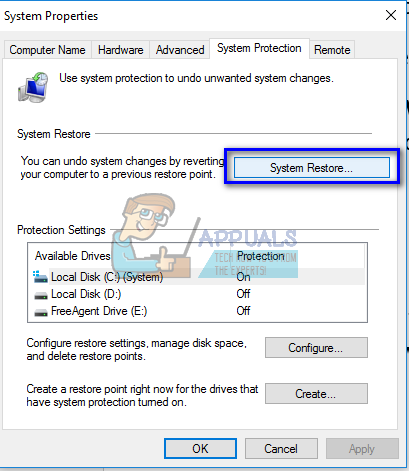
- Once in the restore settings, press System Restore present at the beginning of the window under the tab of System Protection.
- Now a wizard will open navigating you through all the steps to restore your system. Press Next and proceed with all the further instructions.
- Now select the restore point from the list of options available. If you have more than one system restore points, they will be listed here.

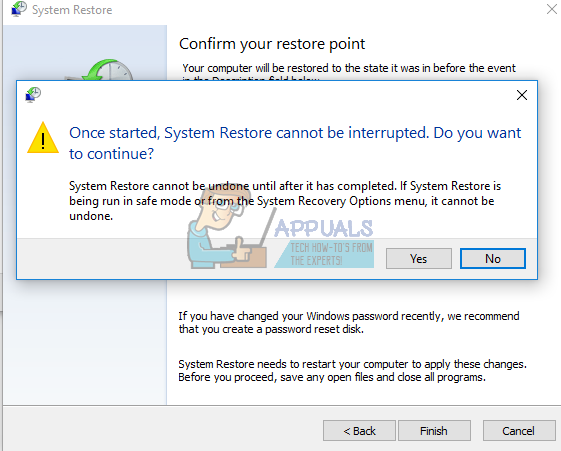
- Now windows will confirm your actions for the last time before it starts the system restore process. Save all your work and backup important files just in case and proceed with the process.
You can learn more about system restore to gain more knowledge about what it does and what are the processes involved.
- Once you have restored successfully, log into the system and check if the error at hand got fixed.
If you don’t have any restore points or if the system restore doesn’t work, you can do a clean install of Windows using bootable media. You check our article on how to create a bootable media. There are two ways: by using windows bootable usb and by using Rufus.