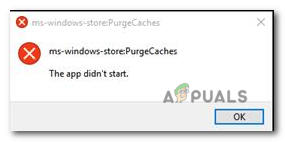
Fix: “ms-windows-store:PurgeCaches, The application didn’t start.”
ms-windows-store:purgecaches is a setting feature that purges and clears the locally stored cache for Windows Store that builds up over time. The following error code usually appears when there is a problem with the Windows Store to which users usually respond by using the wsreset.exe utility. This is the error message that is most regularly reported by affected users: “ms-windows-store:PurgeCaches, The application didn’t start.”
However, there are other contexts where the error can appear and they are all related to errors related to Windows Store. From what we gathered, this error has increased in frequency after a certain Windows 10 update and might sometimes be caused by the upgrading process to Windows 10.
If you’re currently struggling with the same “ms-windows-store:PurgeCaches, this article will deliver a series of reliable troubleshooting guides. Below you have a collection of methods that other users in a similar situation have used to resolve the issue. To ensure the best results, please follow the methods below in order until you follow a method that enables you to either fix or circumvent the issue. Let’s get to it!
1. Enable the License Manager Service
This issue can also occur if your License Manager Service is disabled. This is caused by a third-party tweaking program or optimization software. It will disable this service and then your Windows Store will stop working and throw this issue. To fix this we have simple steps for you, follow these:-
- Search for Command Prompt and click “Run as administrator”.
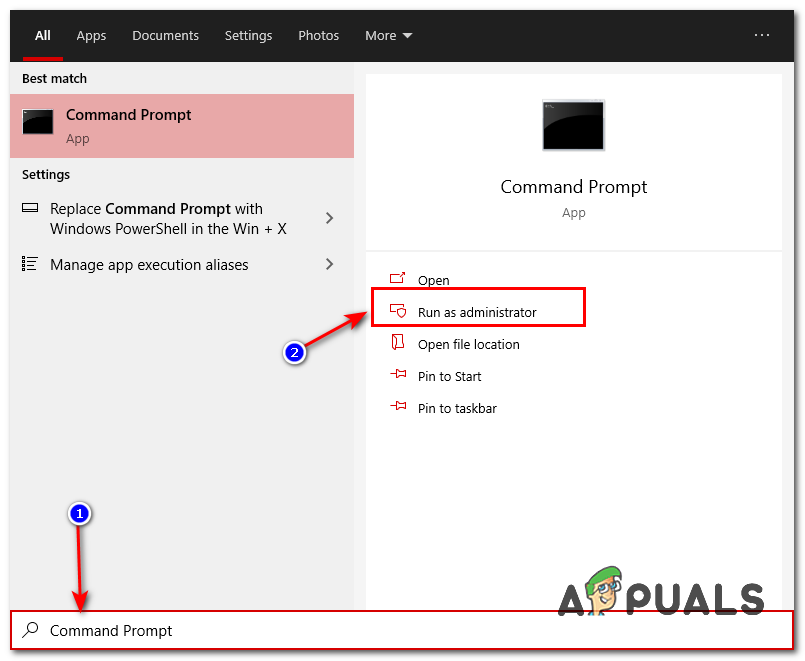
Running Command Prompt as an administrator - Once Command Prompt is opened type the following command and press enter:-
sc config LicenseManager start= demand
- Now restart your computer and check to see if the issue persists.
2. Repair permissions via Registry Editor
Since the error is mostly occurring because Windows is unable to reset the app cache, we can circumvent the issue with a registry workaround. Here’s a quick issue on fixing the ms-windows-store:PurgeCaches error by repairing the Packages permissions using Registry Editor:
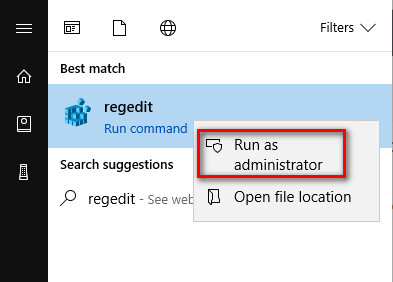
- Press Windows key + R to open up a Run box. Next, type “regedit“, hit Enter, and choose Yes at the User Account Control (UAC) prompt to open Registry Editor with Administrative privileges.
- Inside Registry Editor, use the left pane to navigate to the following location:
HKEY_CURRENT_USER \ Software \ Classes \ Local Settings \ Software \ Microsoft \ Windows \ CurrentVersion \ AppModel\ Repository \ Packages
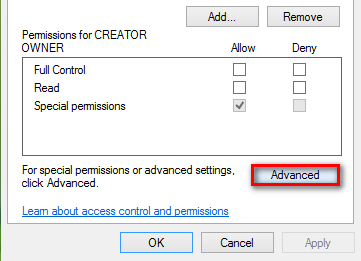
- Right-click on the Packages key and choose Permissions.

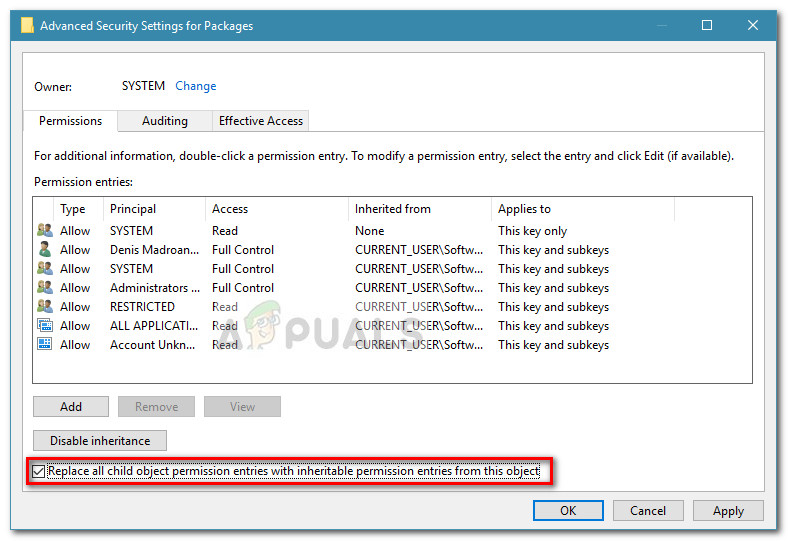
- Then, in the following window, click on the Advanced button.
- Click on the Change button at the top of the Advanced Security Settings for Packages and make sure that the Owner is set as System. If it’s not set to System, type System in the next box, then click on Check Names and then on OK.
- Once the Owner is set to System, scroll all the way down to the bottom of the screen and check the box associated with Replace all child object permission entries with inheritable permission entries from this object.
- Next, click Apply and then Ok. Finally, close Registry Editor and reboot your machine to see if the issue is resolved at the next startup.
If you’re still encountering the same “ms-windows-store:PurgeCaches error, continue down with Method 2.
3. Use Windows Store Troubleshooter
This solution was suggested by a Microsoft professional and it helped plenty of people, unlike other generic responses users usually receive. This solution is quite helpful as you will first run the inbuilt Windows Apps troubleshooter which will try to identify and solve the error. After that, you will try to run a Powershell command which tries to reregister your Windows Store app. Follow the instructions carefully:
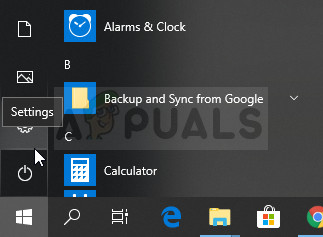
- Search for Settings in the Start menu and click on the first result which pops up. You can also click directly on the gear button at the lower left part of the Start menu.
- Locate the Update & security section at the bottom part of the Settings window and click on it.
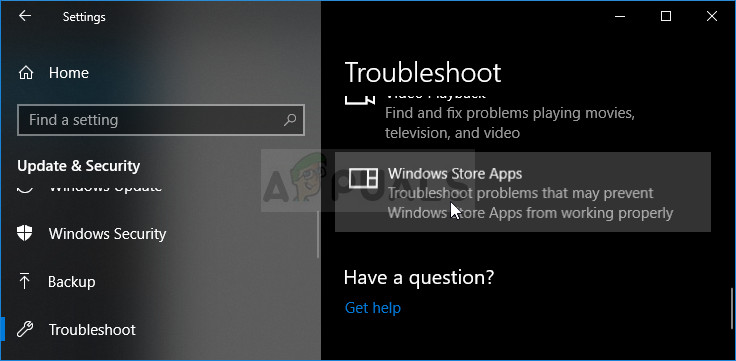
- Navigate to the Troubleshoot tab and check under the Find and Fix other problems.
- Windows Store Apps troubleshooter should be right there at the bottom so make sure you click on it and follow the instructions on the screen.
- Additionally, you can repeat the same process for the Internet Connections troubleshooter to check if it is your Internet connection that is causing the problems with Windows Store.
The next part of this solution consists of running this PowerShell command which will reregister the Windows Store. Make sure no Windows app updates are running in the meantime.
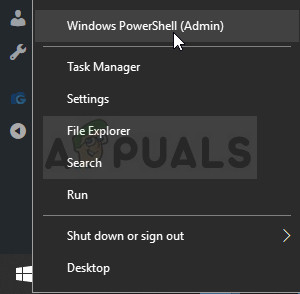
- Open PowerShell by right-clicking on the Start menu button and selecting the Windows PowerShell (Admin) option to open the tool with administrator privileges. If you see Command Prompt at that spot, you can also search for it manually.
- Copy and paste the following command and make sure you click Enter afterward.
$manifest = (Get-AppxPackage Microsoft.WindowsStore).InstallLocation + '\AppxManifest.xml' ; Add-AppxPackage -DisableDevelopmentMode -Register $manifest
- Restart your computer and check to see if the Windows Store issue has been resolved.
4. Update Windows
The thing is that many people only started to experience the error after a certain version of Windows has been released. Luckily, folks who had issues with that build were relieved to find out that a new build was soon released which managed to deal with the problem efficiently. The point is that you should install all pending updates on your computer and see if the problem has been resolved.
- Open PowerShell by right-clicking on the Start menu button and selecting the Windows PowerShell (Admin) option to open the tool with administrator privileges. If you see Command Prompt at that spot, you can also search for it manually.
- In the Powershell console, type in “cmd” and wait for Powershell to switch to the cmd-like environment.
- In the “cmd”-like console, type in the command displayed below and make sure you click Enter afterward:
wuauclt.exe /updatenow
- Let this command run for at least an hour and check back to see if any updates were found and/or installed without issues.
Alternative
- Search for Settings in the Start menu and click on the first result which pops up. You can also click directly on the gear button at the lower left part of the Start menu.
- Locate the Update & security section at the bottom part of the Settings window and click on it.
- Stay in the Windows Update tab and click on the Check for updates button under the Update status section to check if there is a new version of Windows available online.
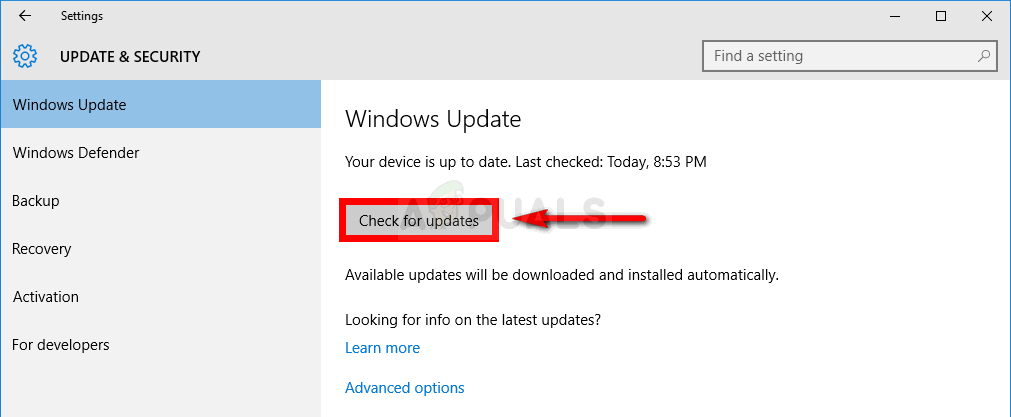
- If there is one, Windows should initiate the download process automatically.
5. Reinstall Windows Default Apps Using PowerShell
This method is somewhat advanced as it involves plenty of details and its implementation can be lengthy. However, if you follow the instructions carefully, you will probably end up with a properly working Windows Store service simply by reinstalling the Windows default apps.
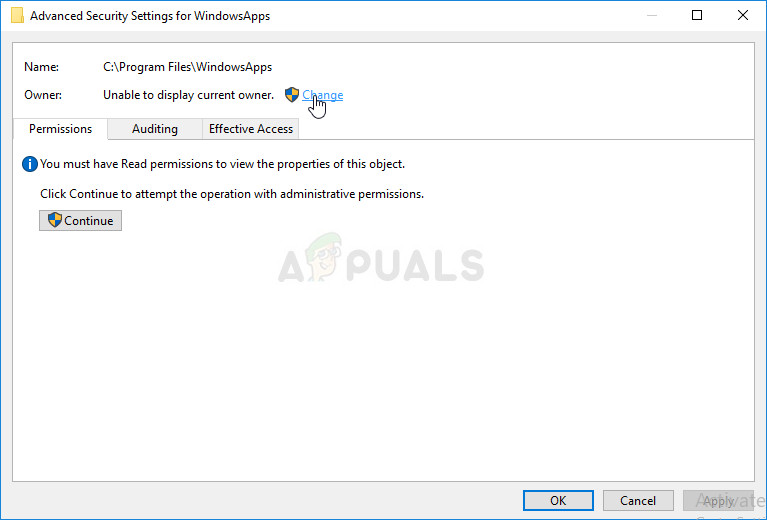
- Right-click the WindowsApps folder located in C:\Program Files, click Properties, and then click the Security tab. Click the Advanced button. The “Advanced Security Settings” window will appear. Here you need to change the Owner of the key.
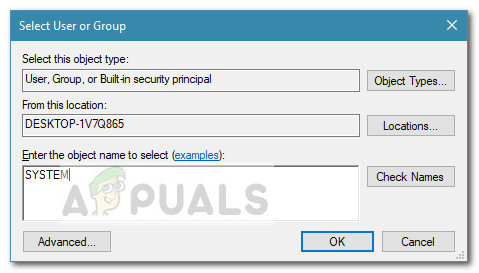
- Click the Change link next to the “Owner:” label The Select User or Group window will appear.
- Select the user account via the Advanced button or just type your user account in the area which says ‘Enter the object name to select’ and click OK. Add your user account.
- Optionally, to change the owner of all subfolders and files inside the folder, select the check box “Replace owner on subcontainers and objects” in the “Advanced Security Settings” window. Click OK to change the ownership.

- In the Security tab of the WindowsApps folder’s Properties window, click on Edit to change permissions and select the personal user account you set the ownership to. Change permissions to Full Control and apply the changes.
Now that you have performed these steps, it’s time to use Powershell to effectively reinstall these apps. This is probably the easier part of this method so consider yourself almost there.
- Open PowerShell by right-clicking on the Start menu button and selecting the Windows PowerShell (Admin) option to open it with admin privileges.
- Copy and paste this command and make sure you click Enter:
Get-AppXPackage | Foreach {Add-AppxPackage -DisableDevelopmentMode -Register $($_.InstallLocation)\AppXManifest.xml} - Check to see if the problem has been resolved.
6. Use a New Account to Fix Things
This unusual trick has saved several users from losing their minds over this problematic error. It appears that, even though Windows Store and wsreset appear to be not working on your account, they sometimes do work on a new account, and running wsreset fixes Windows Store for both users! This is easy to do so make sure you don’t skip this solution!
- Open Settings either by clicking on the gear icon which is located just above the power button in the Start menu or by searching for it in the search bar next to the Start menu.
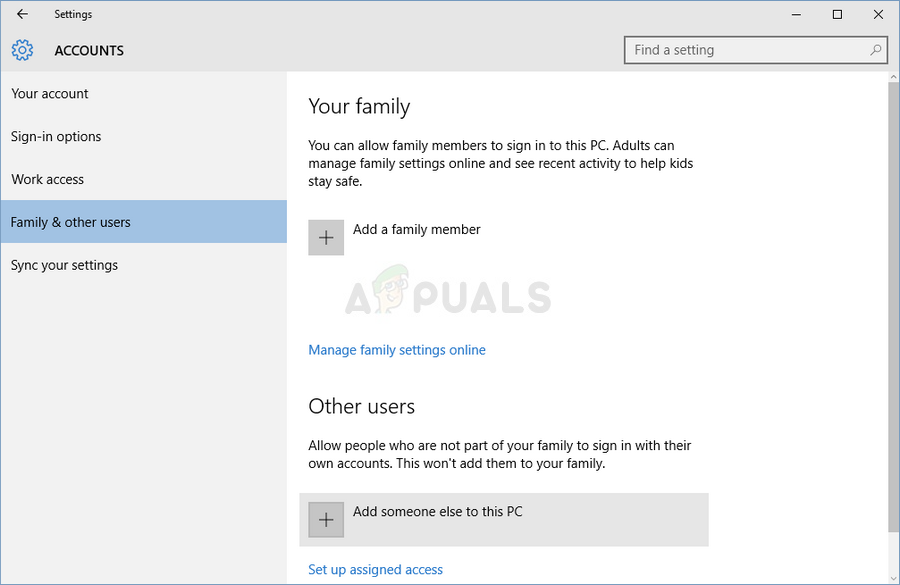
- Open the Accounts section in Settings and select the Family and other users option. Choose the Add someone else to this PC option located there, and then click on the Sign in without a Microsoft account option which is usually not recommended but it’s sufficient for your current purposes.
- Create a Local account and proceed with the instructions on-screen. Enter a username for this new account.
- If you want this account to be password-protected, you can add a character password, a password hint, and proceed by clicking Next. You are better off without a password in this scenario.

- Click the Finish button to finish creating a new account. Log in via this account by restarting your computer and try running the “wsreset” command by typing this work in the Start menu button and clicking the first result. Check to see if the problem is solved.
7. Reset Permissions
In some cases, certain permissions might need to be reset to the Windows folders to get rid of this issue. To do that:
- Press “Windows” + “R” to open the Run prompt.
- Type in “cmd” and press “Ctrl” + “Shift”+ “Enter” to provide administrative privileges.

Running the Command Prompt - Type in the following command and press “Enter” to execute it.
icacls "C:\Program Files\WindowsApps" /reset /t /c /q
- Check to see if the issue persists.


I tried EVERY suggestion you provided, including a new account. The problem is so bad that the Windows Store and apps on a brand new account is messed up. Why doesn’t Microsoft fix this? Short of me reinstalling Windows, which is absolutely out of the question, I cannot see any other way to fix this issue.
I know what the problem is so why isn’t the fixer looking there? The issue relates to the permissions on and in the C:Program FilesWindowsApps folder. I accidentally “changed” these and the issues have been there since. To me that seems like horrible programming. Microsoft should boilerplate that.