Fix: Missing Shared DLL
Some users have been reaching out to us regarding some missing shared DLL files identified by a few registry cleaners (particularly Ccleaner). Most of the time, the missing shared DLL files are localized in Windows / Microsoft.NET, with the registry keys located in HKLM / SOFTWARE. Whenever Ccleaner (or a different registry cleaner) finds a registry entry that is calling for a certain DLL file, it will check the location path of that file to see if it exists. If the file isn’t located there, it will label the occurrence as a “missing shared DLL” error.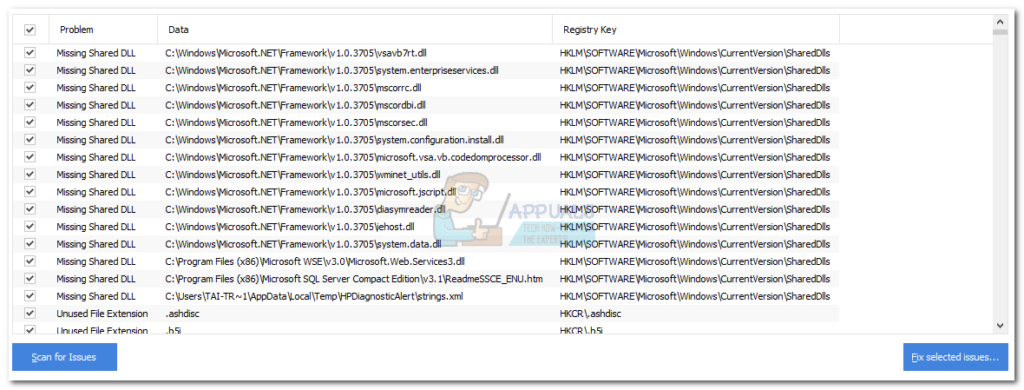
What is a registry cleaner?
Registry cleaners (Ccleaner and the likes) are designed to scan the Windows Registry files. They improve the system’s performance by identifying and removing those entries that once had a purpose but now they are no longer used. The efficiency of this type of software is debatable since there isn’t much evidence showing performance improvements after running a registry cleanup.
Most registry cleaners will not remove the entries without your consent. Usually, you’ll be presented with a list of entries that need to be dealt with and you’ll be able to pick which occurrences to resolve.
What is a shared DLL file?
A DLL (dynamic link library) is a small program that is not capable of functioning on its own. In order to run, it needs to be called and executed by another program. Each DLL file knows how to execute a certain action – e. g. create a 3D environment or connect your computer to a printer. A shared DLL is a dynamic link library that is used by a number of different programs.
Why does it happen?
Most likely, you’re experiencing this issue because some shared DLL files got uninstalled along with a certain software that you decided to get rid of. Some uninstallers will ask you whether you want to keep the shared DLLs, while others will remove them without asking. If a shared DLL is left behind by a program that you uninstalled, CCleaner and any other similar software will flag it as “no longer needed”. However, there are cases where certain shared DLL files are regarded as not needed even if Windows still uses them from time to time.
Keep in mind that in most cases (and especially with .NET DLLs), Windows will automatically create the same registry keys when it needs them, even if you previously deleted them with a 3rd party software like CCleaner.
We did most of our investigations on CCleaner and most of the .NET files labeled as missing DLLs where old versions that are rarely used by Windows anymore (especially on Windows 10).
How to deal with Missing Shared DLLs
Most users encountering this issue are confused on whether they should let the registry cleaner software to take care of the issue or if they should ignore the problem altogether. Well, the answer lies somewhere in the middle.
While we’ve been unable to identify any underlying issues caused by letting Ccleaner (or other software) fix the missing shared DLL files, you’ll do just as well to ignore them altogether.
But keep in mind that Microsoft does not recommend using any software that modifies or tampers with the registry keys. Even though CCleaner is a program that enjoys a lot of user trust, it might not always be up to speed on which keys are currently employed by Windows and which aren’t.
As a rule of thumb, whenever you’re doing changes to Windows Registry, it’s advisable to create a backup first. Most registry cleaners include the option to create a registry backup before initiating the scan, but that’s not always enough. We also recommend creating a restore point before accepting the registry changes, since you might trigger some issues that will not be resolved by importing a registry backup.
In the event that you decide to let your registry cleaner software deal with the missing shared DLLs, follow the guide below to create the necessary backups before deleting the missing shared DDL entries:
- Press Windows key + R to open up a Run command. Type “systempropertiesprotection” and hit Enter to open the System Protection tab of System Properties.

- In the System Protection tab, click the Create button under the Protection Settings. But make sure your OS Drive is selected before doing so.
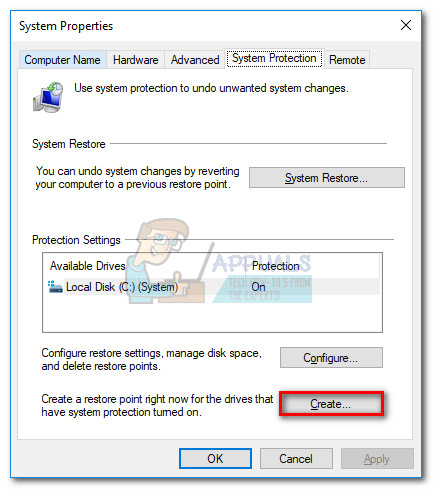
- Name your System Restore Point and hit the Create button to initiate the process.

- Wait until the restore point is created. Depending on your OS drive size, it might take over 10 minutes to complete.
- Once the restore point is created, return to your registry cleaner and scan your system for issues again. Once the missing shared DLLs have been identified, select each of them and click on Fix Selected Issues.
 Note: These steps are done with Ccleaner. If you run a different registry cleaner, you might have different options to choose from.
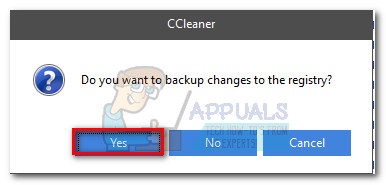
- You’ll then be asked if you want to backup the registry before making changes to it. Hit Yes at the prompt.
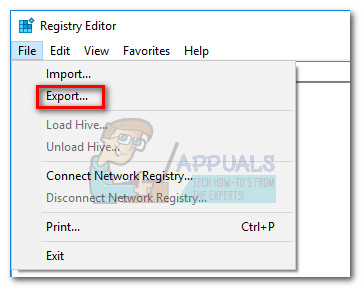
 Note: If you’re not given the option to backup your registry, you can also do it manually. To do this, open a Run window (Windows key + R), type “regedit” and hit Enter to open Registry Editor. Once you’re there, go to File and choose Export. Then, simply choose the name and the location of your backup file.
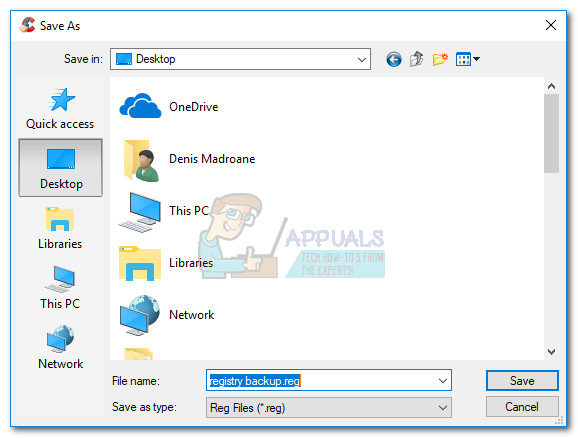
- Next, name your registry backup file and save it somewhere convenable.
- Finally, deal with all issues related to the shared DLLs by clicking on Fix All selected issues.

If things go wrong
The steps below are only meant to assist those of you that are experiencing underlying issues after deleting the shared DLL files. This is highly uncommon, but it is known to happen. If you find yourself in this situation, follow the guide below to restore the registry from the backup we previously created. If that is not effective, continue with the following steps to use a restore point in order to return your computer to a state in which it was functioning properly.
- Press Windows key + R to open a Run window. Type “regedit” and hit Enter to open Registry Editor.

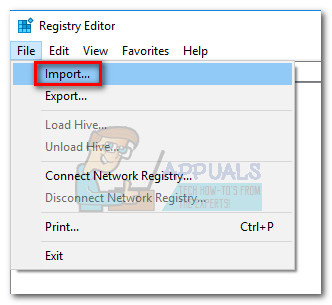
- In Registry Editor, go to File (in the ribbon bar) and choose Import. Then, navigate to the location where you saved the registry backup and click Open.
- If you see a success message, you can restart your computer and see if the issue has been resolved.
 Note: If you’re still encountering problems after the restart, continue with the steps below.
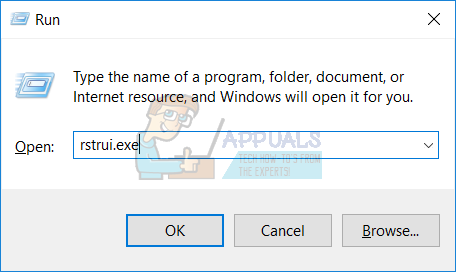
 - Press Windows key + R to open another Run window. Type “rstui.exe” and hit enter to open the System Restore window.
- In the System Restore wizard, hit Next at the first prompt, then select the restore point that you previously created and hit Next again.

- Finally, hit Finish and wait for your system to be restored to a previous point (back when you were not encountering issues caused by deleting the shared DLL files).