Fix: MiracastView error after Upgrade on Windows
Some users have been complaining about receiving errors associated with MiracastView after installing a large update on Windows 10 – most of the time the issue is reported occurring right after the user installs the Fall Creators Update.
Most users end up discovering this issue when they try to run a Sysprep command. As it turns out, the issue occurs due to a bug that causes the upgrading setup to badly migrate the Windows.MiracastView_6.3.0.0_neutral_neutral_cw5n1h2txyewy. Because of this, the MiracastView package will not function properly once the Windows upgrade is complete.
From what we gathered, the most common scenario when this might happen is when the user tries to upgrade to Windows 10 version 1709 from Windows 10 version 1703. Although the upgrade will complete successfully, any Sysprep command will fail unless repair strategies are applied.
If you’re currently struggling with the same MiracastVIew issue, the methods below might help. Below you have a collection of fixes that other users have used in order to resolve the issue. Please follow each method in order until you encounter a fix that resolves the problem in your particular scenario. Let’s begin.
Method 1: Copying the old MiraastView folder into the current Windows directory
In the event that you only upgraded recently and you have kept a backup with the old Windows 10 version (build 1703), you can remove the error with one simple trick.
You can access the backup containing the old build and copy the old C:\ Windows \ MiracastView folder. Then, paste it in your current C:\ Windows directory and restart your computer. This will accomplish the purpose of letting the background AppReadiness process to delete the package files that were badly migrated.
Note: If you don’t have a backup with your old Windows build, you can also get the old C:\ Windows \ MiracastView folder from another computer that has MIracastView as a built-in app installed by default. Simply copy the whole folder on a USB stick, paste it in your current Windows directory and you are good to go.
If this method wasn’t applicable or unsuccessful in resolving the error caused by MicracastView, continue downwards with the next method.
Method 2: Copying the w5n1h2txyewy.xml file from Windows.old to AppRepository
If you only upgraded recently, another possible fix is to copy the clean version of Windows.MiracastView_6.3.0.0_neutral_neutral_cw5n1h2txyewy.xml from the Windows.old folder. Unless you deleted the folder manually, Windows is configured to preserve the old Windows folder for 30 days with the .old extension.
Some users have managed to resolve the issue by copying the old Windows.MiracastView_6.3.0.0_neutral_neutral_cw5n1h2txyewy.xml to C:\ProgramData\Microsoft\Windows\AppRepository. Here’s a quick guide on how to do this:
- Open File Explorer and navigate to C:\Windows.old \ ProgramData \ Microsoft \ Windows \ AppRepository\. Once you’re there, copy the Windows.MiracastView_6.3.0.0_neutral_neutral_cw5n1h2txyewy.xml file to your clipboard.
- Using File Explorer, navigate to C:\ ProgramData \ Microsoft \ Windows \ AppRepository and paste the Windows.MiracastView_6.3.0.0_neutral_neutral_cw5n1h2txyewy.xml file here.
- Once you manually migrated the file, reboot your computer and see whether the MiracastView related errors have been fixed at the next startup.
If you’re still seeing MiracastView errors, continue with the next methods below.
Method 3: Removing a leftover registry key that is causing the error
Some users that have encountered MiraCastView errors after upgrading to Windows 10 version 1803 have managed to resolve them by removing a rogue registry key that appears to have been badly migrated during the upgrade process.
Here’s a quick guide on how to do this:
- Press Windows key + R to open up a Run box. Then, type “regedit” and hit Enter to open up Registry Editor.

- Inside Registry Editor, use the left pane to navigate to the following key: HKEY_LOCAL_MACHINE \ SOFTWARE \ Microsoft \ Windows \ CurrentVersion \ Appx \ AppxAllUserStore \ EndOfLife \
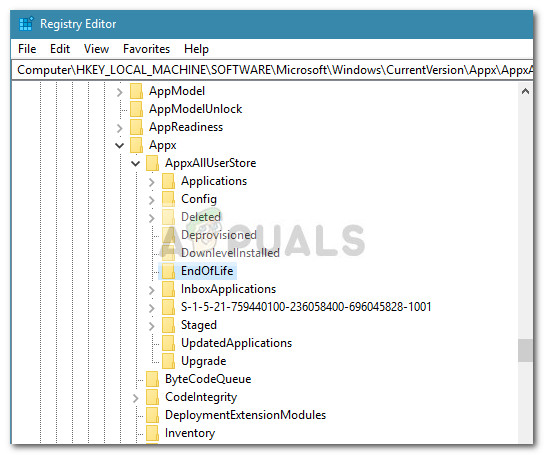
- Next, expand each SID and look for the Windows.MiracastView_6.3.0.0_neutral_neutral_cw5n1h2txyewy key. If you spot it in any of the sub-keys of EndOFLife, right-click on it and click Delete to remove it.
- Once the key has been removed, close Registry Editor and restart your computer. At the next startup, recreate the same scenario in which you previously received MiracastView errors. In most cases, the issue should be fixed and you should be able to run Sysprep or other commands that were previously failing.
If you’re still seeing errors that point towards MicracastView, continue with the method below.
Method 4: Removing the MiracastView package via Psexec and DB Browser
If you’ve come this far without a result, you are virtually left with no choice than to remove the MiracastView package for good. Unfortunately, Microsoft has made it impossible to remove MiracastView through Command Prompt or Powershell.
Because of this, we’ll need to use a couple of tools that will allow us to uninstall the MiracastView application for good in order to prevent the errors from appearing. Here’s a complete guide with all the steps necessary to remove the MiracastView package:
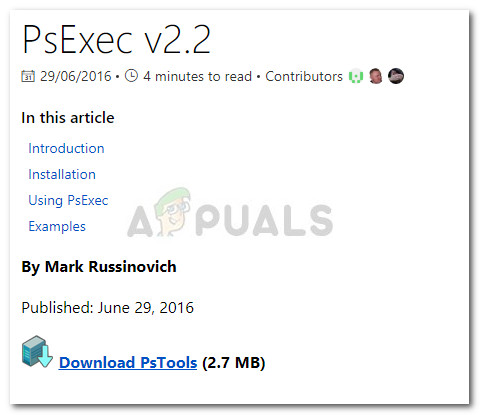
- Visit this link (here), download pstools.zip to your computer and extract the PSTools archive (along with psexec) to C:\ Program Files.
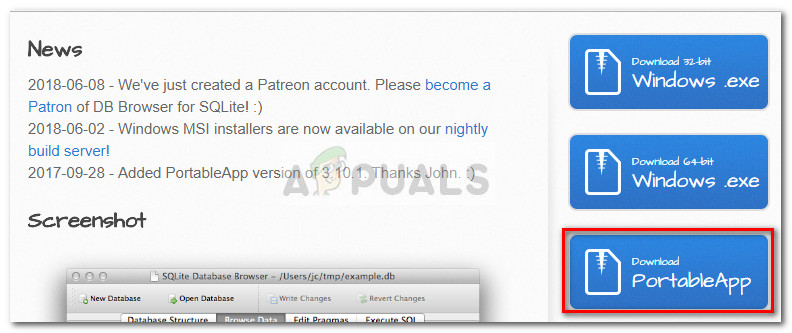
- Next, visit this link (here) and download the portable version of DB Browser for SQLite.
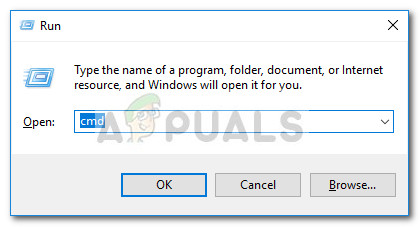
- Once both tools have been downloaded, press Windows key + R to open a Run box. Then, type “cmd” and press Ctrl + Shift + Enter and click Yes at the UAC prompt to open up an Elevated Command Prompt.
- In the Elevated Command Prompt, navigate to the location of PsTools using the following command:
cd C:\Program Files\PsTools
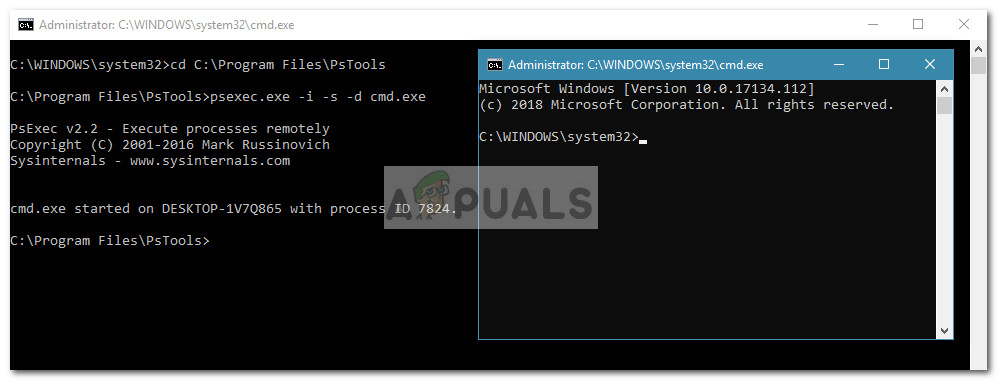
- Once the location is correct, run the psexec tool as admin using the following command:
cd C:\Program Files\PsTools
- Agree with PsExec’s License Agreement and you should shortly see another Elevated Command Prompt window opening.
- Next, navigate to the location where you copied DB Browser using Command Prompt and open SQLiteDatabaseBrowserPortable.exe. The command for the default location should look like this:
C:\Program Files\DB Browser for SQLite\DB Browser for SQLite.exe
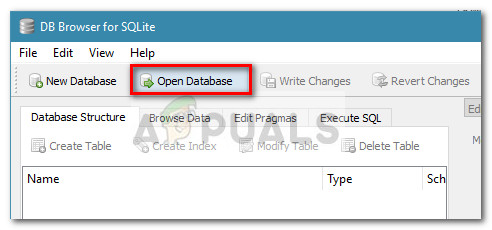
- In DB Browser for SQLite, click the Open Database button at the top of the window and use the next window to navigate to the following database file:
C:\ ProgramData \ Microsoft \ Windows \ AppRepository \ StateRepository-Machine.srd
- Once the database has been opened in DB Browser, click on Browse data and change the active table to Package.
- With the Package view selected, inspect the PackageFullName column for an entry named Windows.MiracastView_6.3.0.0_neutral_neutral_cw5n1h2txyewy . Once you spot it, change the ISInbox value associated with it from 1 to 0 and then press Ctrl + S to save the changes.
- Next, press Windows key + R to open up another Run box. Then, type “powershell” and hit Ctrl + Shift + Enter to open up a Powershell window as admin.
- In the elevated PowerShell window, type the following command and press Enter to remove the MiracastView application:
get-appxpackage -allusers | where {$_.name -like “*mira*”} | remove-appxpackage - Finally, return to the elevated Command Prompt window and run the following two commands and press Enter after each one:
REG DELETE "HKLM\SOFTWARE\Microsoft\Windows\CurrentVersion\Appx\AppxAllUserStore\Deleted\EndOfLife\S-1-5-21- XXXXXXXXXX-XXXXXXXXXX-XXXXXXXXXX-100X" /f
REG DELETE "HKLM\SYSTEM\Setup\Upgrade\Appx\AppxAllUserStore\EndOfLife\S-1-5-21-XXXXXXXXXX-XXXXXXXXXX-XXXXXXXXXX-100X" /f
That’s it. You successfully managed to get rid of the MiracastView application. After you restart your computer, you should no longer be bothered by MiracastView related errors.


