Fix: Minecraft OpenGL Error 1281
Minecraft OpenGL is a setting inside the game which attempts to make the game faster and smoother on your computer by reducing the load of rendering on the system by ‘instructing’ the GPU not to render anything which isn’t in the direct view of the player. There is obviously a tradeoff where your GPU does less work but the CPU gets more loaded.
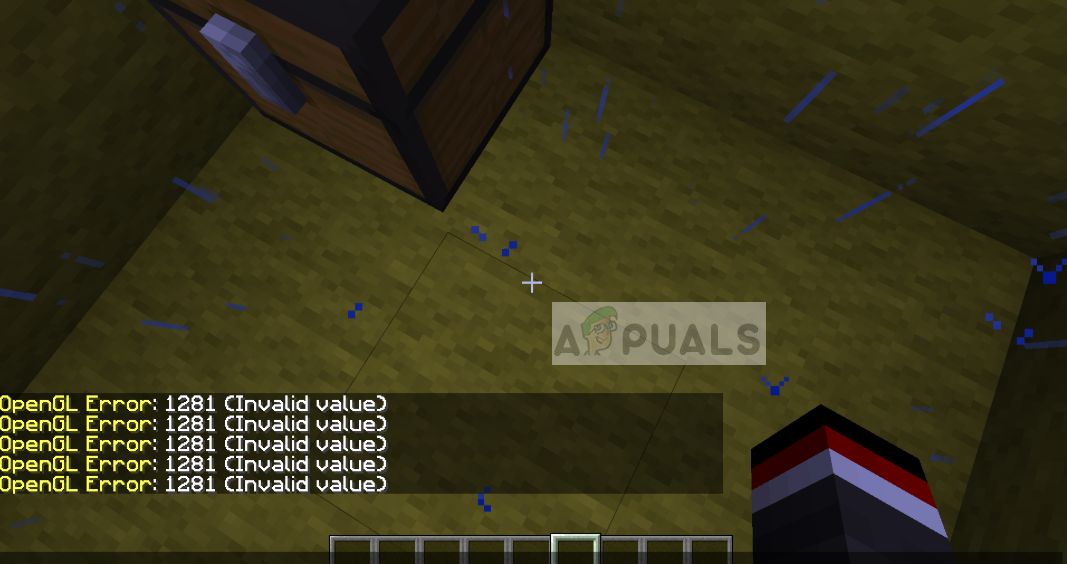
By default, the option is set as On so users can have enhanced performance so it is very common to see cases where users experience the error message “OpenGL Error 1281”. This error message mostly has to do with third-party variables and modules running concurrently.
What causes ‘OpenGL Error 1281’ in Minecraft?
If you are experiencing this error message while playing a fully modded Minecraft, chances are that some of the mod modules are conflicting with your game. After our initial survey, we came to the conclusion that some of the reasons why you might experience this error are:
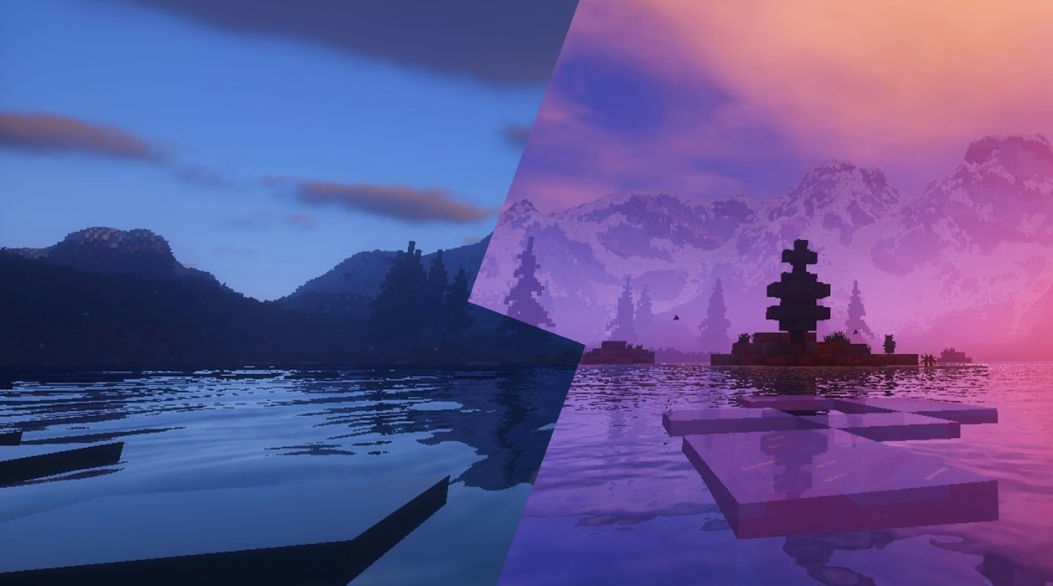
- Shaders: Shaders are graphics settings which are usually imported by the user in their modded Minecraft. If any of them is in fault or is corrupt, the game will display the error.
- OptiFine: OptiFine is one of those third-party applications which try to enhance the gameplay of Minecraft by giving users more control of the game. If this isn’t updated or is in an error state, you will experience the OpenGL error.
- Version control: Minecraft is known to show issues if your forge and shader versions do not sync with each other.
- Java Files: Minecraft makes use of Java in its game application. Usually, all the Java requirements are installed automatically by the game but if they get left out, this error will pop up.
Before we move on with the solutions, make sure that you are logged in as an administrator on your computer and have an active open internet connection.
Solution 1: Removing all Shaders
Shaders for Minecraft are an add-on for the game which allows players to set different terrains and settings. They are more like mini-mods which change the texture of the game for example, from winter to summer. Since shaders use all the resources of the application, they are known to conflict with other mod modules.
You should try to disable the existing shaders one by one and see which one solves the error message you are experiencing. Start with the latest one which you added to the game and work your way down. You can cut paste the shaders to another location in-case you want to use them later on.
Solution 2: Updating OptiFine
OptiFine is a Minecraft optimization tool which allows the game to look better in the appearance and run faster in performance. It also has full support for HD textures and other configuration options which are needed for modding. It allows users to get an FPS boost, allows support for shaders etc.
In a nutshell, this can be said the main driving force behind your mods and them interacting with each other. According to our research, we saw numerous cases where having an older application of OptiFine usually causes the error message.
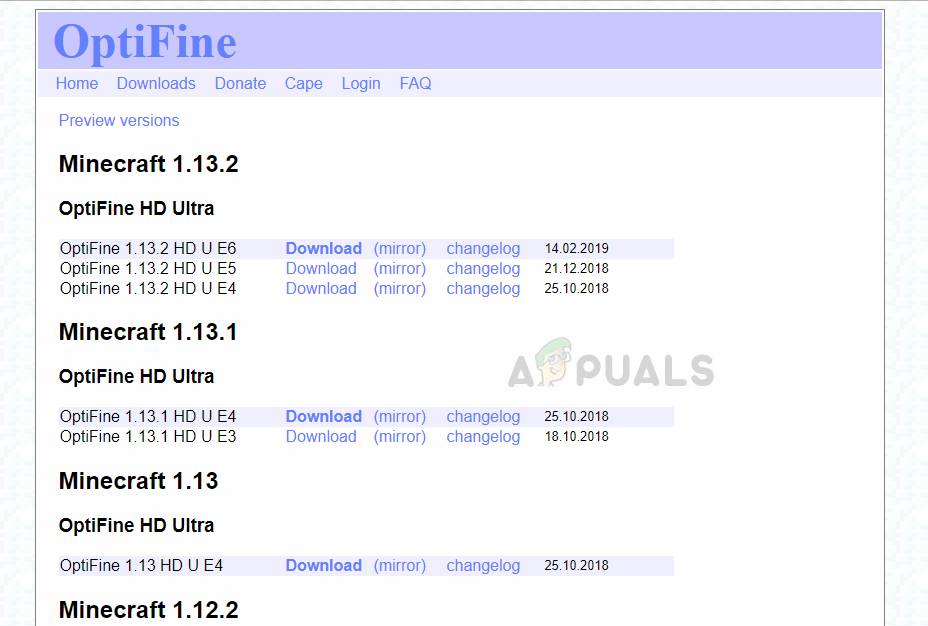
Check the version of OptiFine being used in your Minecraft. If it is older, consider navigating to the official download page of OptiFine and install the latest version as soon as possible. Restart your computer before launching the game again.
Solution 3: Checking Version Compatibility of Mods
People who usually experience the OpenGL Error 1281 have usually modded their Minecraft extensively and are using more than one Mod modules. If any of your modules are out of sync, meaning that one version of one mod is not compatible with another version of the other mod, you will experience this issue.
Hence you should double-check all the mods installed on your computer and check their versions. If any of them have a mismatch, consider disabling the mod and try launching the game. You can easily check the version compatibility of the mod from their official developer website.
Solution 4: Installing Java Packages Manually
Java file packages are a group of directories of Java files which are used by several applications in their operations including Minecraft. In fact, all the mods used in Minecraft are of Java and if the Java file packages themselves are not installed on your computer, they will fail to initialize and give you the error message. Here in this solution, we will install the Java files on your computer manually and check if the issue is resolved.
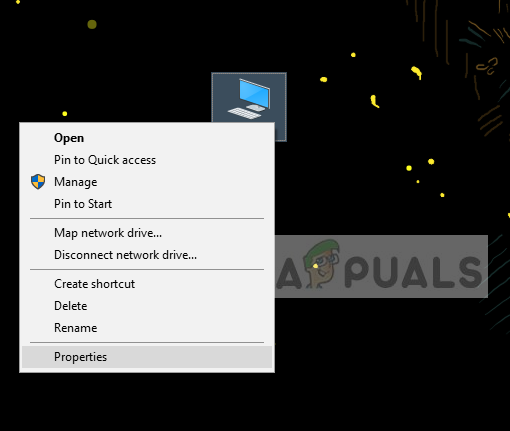
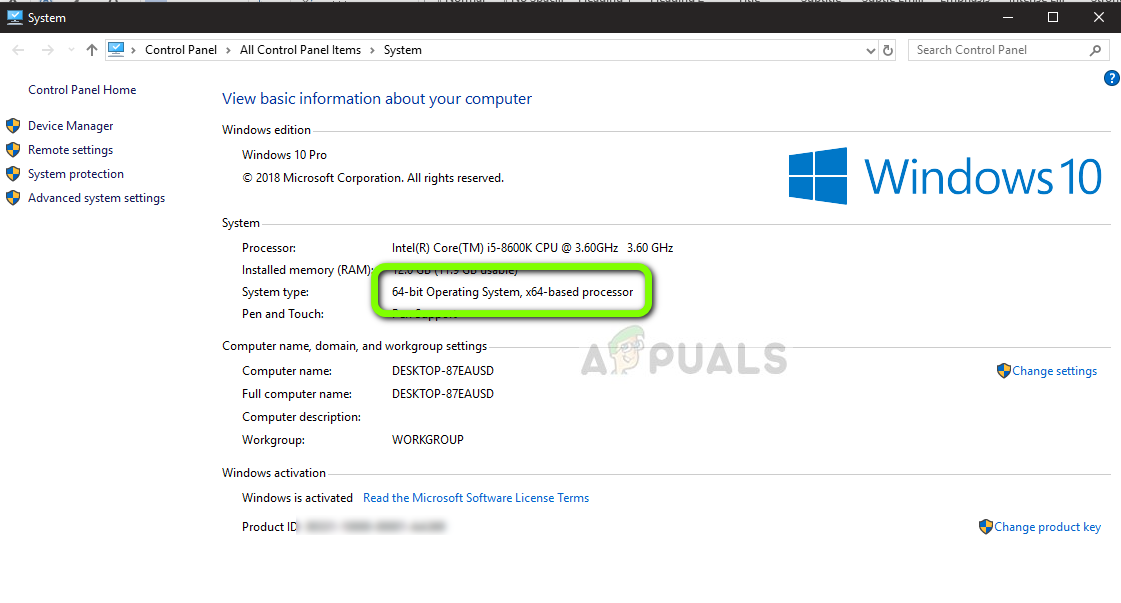
- Right-click on This-PC present on your Desktop and select Properties.
- Now in front of System type check the type of operating system installed on your computer. If it is 32-bit, download the Java files from (here) and if it is 64-bit, download them from (here).
- Now extract the file which you just download to an accessible location. Open the folder and copy the file version folder that you see.
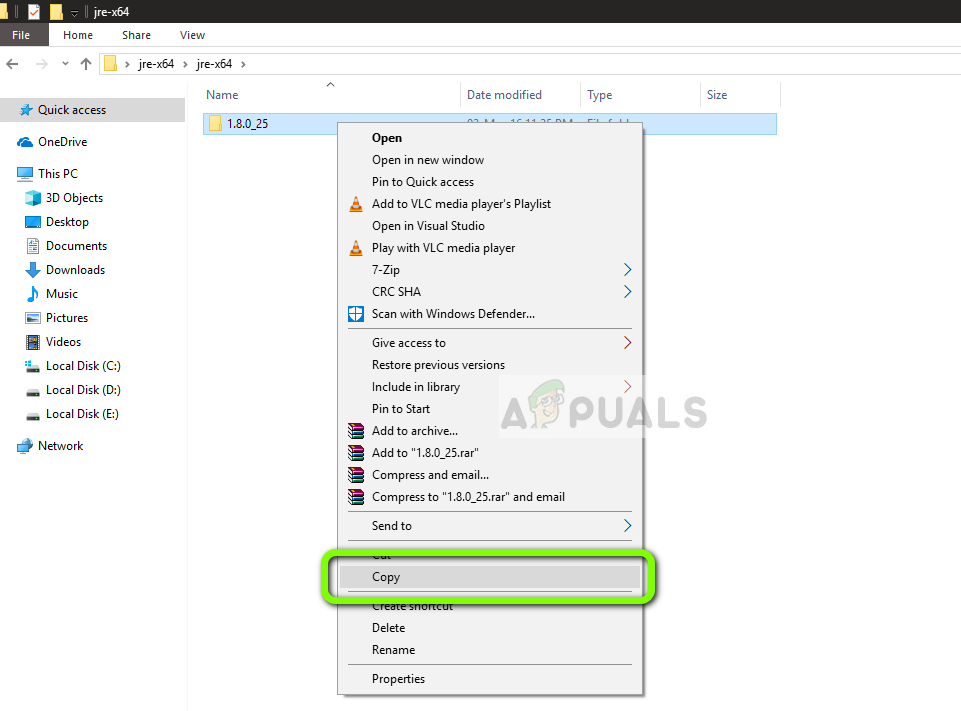
- Now press Windows + E to launch Windows Explorer and navigate to the following path:
C:\Program Files\Java   (for 32 bit)

C:\Program Files (x86)\Java   (for 64 bit)
Now paste the file which you copied to the location. Make sure that you copy the name of the folder which we just pasted.
- Now launch the Minecraft mod manager and click on Edit profile present at the bottom of the screen.
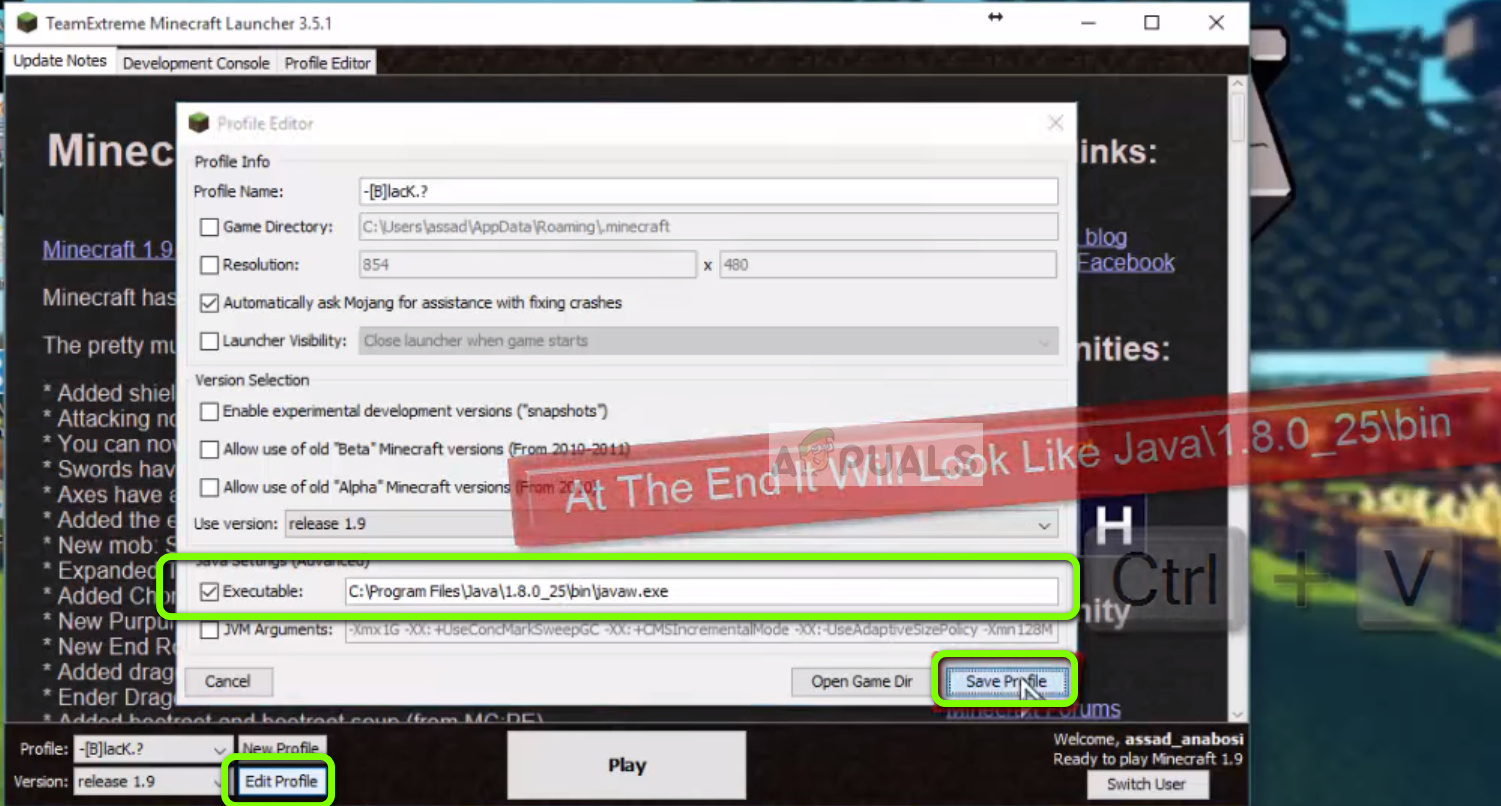
- Now underneath Java settings (Advanced), check the executable option and replace the correct path. In the picture above, the path of the file we just pasted is set correctly.
- Restart your computer and launch Minecraft again. Check if the issue is resolved.
Solution 5: Reinstalling Minecraft
If all the above methods don’t work, you can proceed and reinstall the entire game. Do note that this might erase your User data unless it is saved against your profile or you have backed it up. You can also copy the user data folder from the game’s directory another location.
- Press Windows + R, type “appwiz.cpl” in the dialogue box and press Enter.
- Once in the application manager, locate Minecraft, right-click on it and select Uninstall.
You can also uninstall the game by executing the uninstaller from the folder directory. Make sure that you also delete all the mod files and temporary setting files. - Now navigate to Minecraft’s official website, insert the credentials and download the game again.
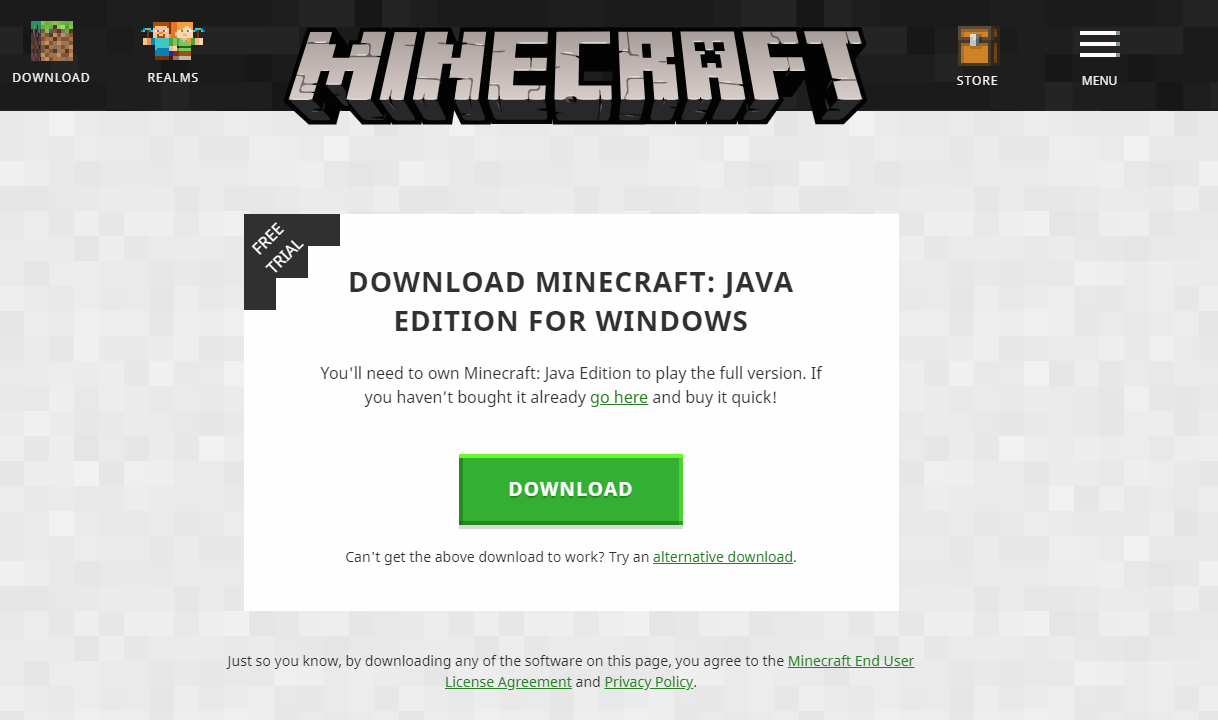
Note: Make sure that you have your credentials available as they will be needed for the download the game from the site.


