Fix: Microsoft Visual C++ Runtime Library Error In Windows
When the Microsoft Visual C++ Runtime Library error happens, apps may suddenly close, often showing a message saying the “application has requested the Runtime to terminate in an unusual way.” This suggests a problem with the Visual C++ Runtime Library, which helps apps run on Windows. It is usually caused by a missing or corrupted Visual C++ Redistributable, often due to updates.

Other causes include software compatibility issues, outdated graphics drivers, and corrupted system files.
In this article, we will discuss different ways to solve this error.
1. Update Display Driver
Outdated or faulty display drivers can cause errors with the Visual C++ Runtime Library during program use. Updating the display driver improves graphics and ensures compatibility with modern apps that need these libraries. This prevents memory issues or errors, allowing apps to run smoothly without trouble.
- Hold the Windows Key and Press X, then go to Device Manager.
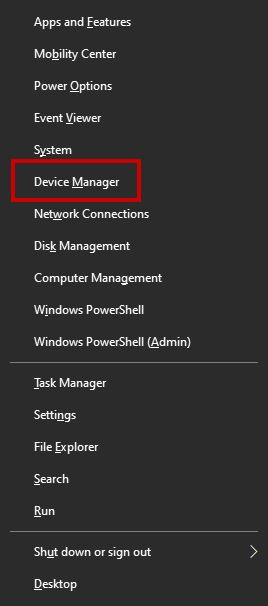
- Locate Display Adapters and Right Click your Display Adapter.
- Choose Update Driver.

- Choose Search Automatically for Updated Driver and wait for it to complete.
2. Reinstall Display Driver
Sometimes, a Visual C++ Runtime error is caused by display driver conflicts. Reinstalling the display driver can fix corrupted files or settings affecting runtime processes. This fresh install removes faulty driver files, allowing Visual C++ components to work properly with the display, often resolving errors with graphics-heavy apps.
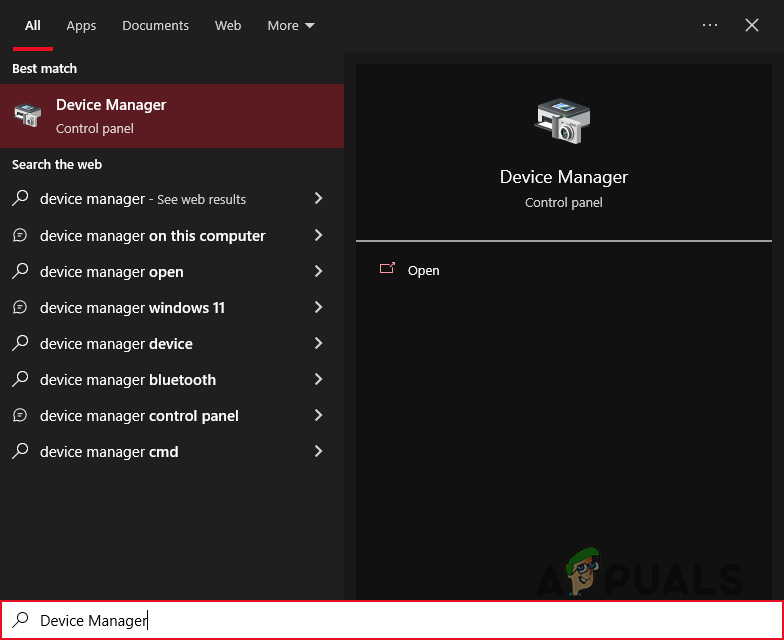
- Search for Device Manager in the search box and open it.
- Right-click on Display drivers and click the Uninstall button.
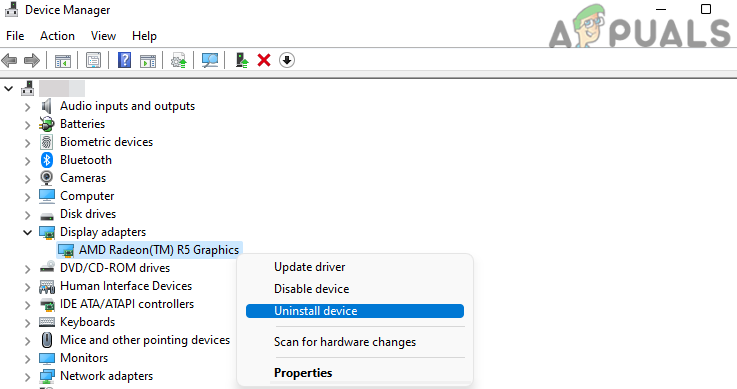
- Restart your PC, and Windows will automatically install new drivers.
3. Perform a Clean Boot
A clean boot disables unnecessary services and startup items, helping to find conflicts causing errors. This lets Windows start with only essential programs and drivers, helping identify if a third-party app or service is the issue. A clean boot helps find and fix conflicts without changing your system permanently.
- Press “Windows” + “R” to open the “RUN” prompt.
- Type “msconfig” and press “Enter“.
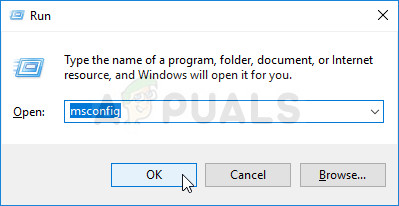
Running MSCONFIG - Click on the “Services” tab, and uncheck “Hide all Microsoft Services“.
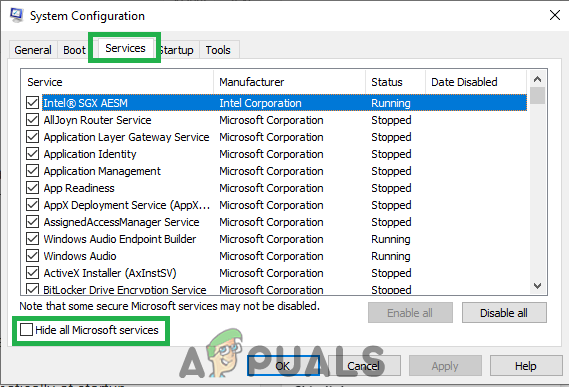
Clicking on the “Services” tab and Un-checking the “hide all Microsoft Services” option - Click “Disable All“, then “OK“.
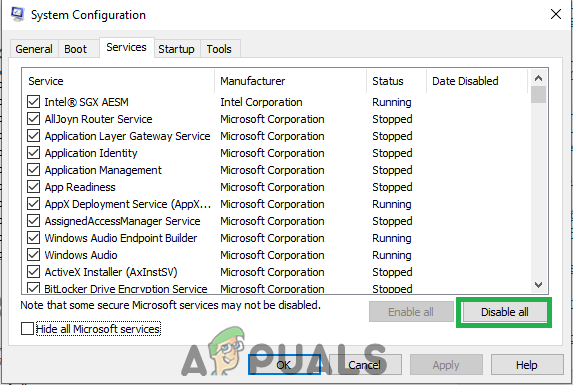
Clicking on the “Disable All” option - Click on the “Startup” tab, then click “Open Task Manager“.
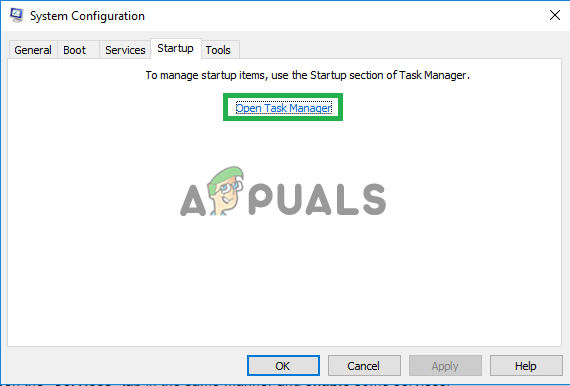
Clicking on the “Open Task Manager” option - Select the “Startup” tab in Task Manager.
- Click on any application marked “Enabled“, then click “Disable“.
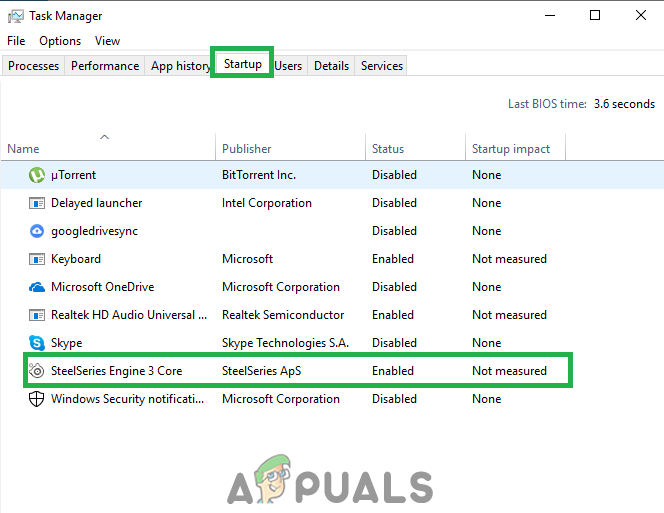
Clicking on the “Startup” tab and selecting an application listed there - Repeat for all applications listed and restart your computer.
- Your computer is now in “Clean Boot” mode.
- Check if the issue is resolved.
- If the error is gone, a third-party application or service was causing it.
- Enable one service at a time until the error returns to find the problematic service.
- Re-install or keep the problematic service/application disabled.
5. Uninstall Intel True Key
If Intel True Key is installed, it can sometimes cause conflicts with Microsoft Visual C++, leading to runtime errors. This password manager may interfere with Visual C++ files. Uninstalling True Key removes this conflict, allowing the system to work properly and may resolve the errors.
- Press the “Windows” + “I” keys simultaneously.
- Click on the “Apps” option.

Clicking on “Apps” - Scroll down and click on the “Intel True Key” option in the list.
- Select the “Uninstall” button and click “Yes” on the warning prompt.
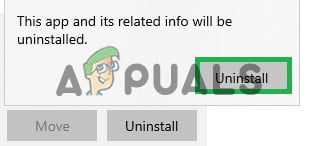
Clicking on Uninstall option - Wait for the software to uninstall and check if the issue persists.
6. Reinstall Visual C++ Runtimes
If none of the previous solutions work, reinstalling Visual C++ Runtimes might be needed to reset important files. This ensures corrupted or mismatched files are replaced, restoring the needed components to prevent errors.
- Press Windows + R to open the Run dialog.
- Type “Appwiz.cpl” and press Enter to open the Windows uninstaller.
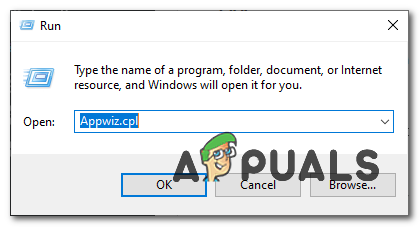
- Find and uninstall all VC++ Redists one by one.

- Press Windows + X and select “PowerShell (Admin)” or “Command Prompt (Admin)”.
- Type the following command and press Enter:
Dism.exe /online /Cleanup-Image /StartComponentCleanup
- Wait for the process to finish, then restart your computer.
- Download the file from this link (here).
- Unzip the file.
- Right-click “install_all.bat” and select “Run as administrator”.
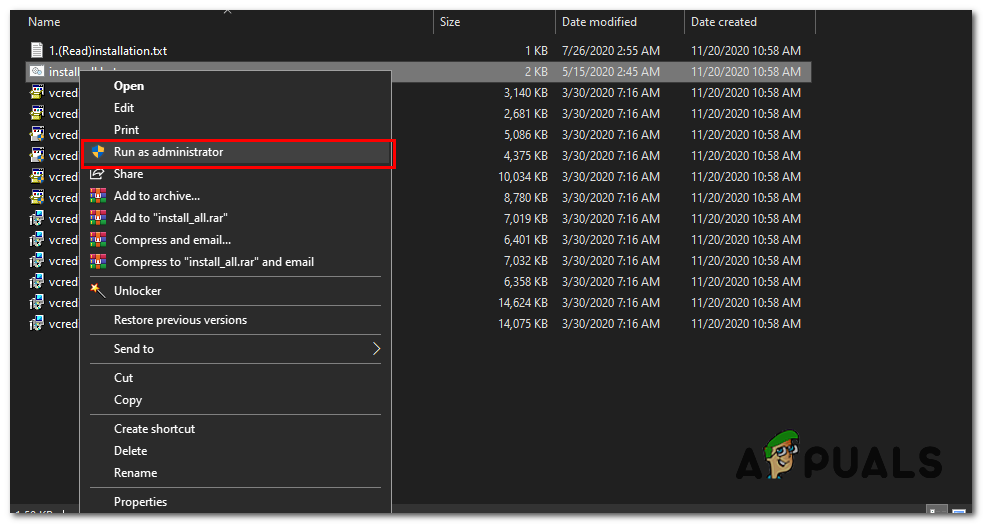
- Wait for all VC Runtimes to install automatically.
- Restart your computer and check if the issue persists.