Fix: Location is not available ‘Desktop is not Accessible’
This error, among many others, appears after users have installed a Windows update. The error is common for Windows 10, 8, and 7 and it usually manifests itself in the same manner. First of all, users are not able to see their desktop except the Recycle Bin and the Taskbar. The error appears on startup along the lines:
C:\WINDOWS\system32\config\systemprofile\Desktop is not accessible
Access is denied.
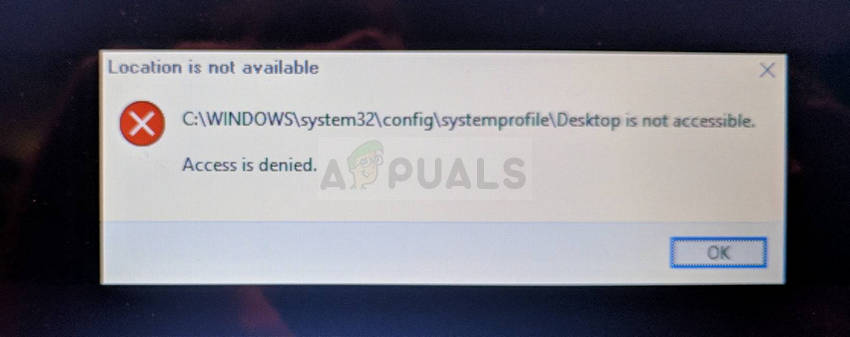
The screen is usually completely black with only the Recycle Bin and the Taskbar being visible. The error can be fixed in numerous ways so make sure you follow the instructions in this article to resolve this problem!
What Causes the Desktop is not Accessible Error?
- Faulty user account – the best way to circumvent the problem is to quickly create a new account and redownload the latest updates via Media Creation Tool to resolve the problem for good.
- Desktop folder – If the Desktop folder was moved, emptied or corrupted, you can fix the problem by replacing it with a different one.
- Third-party antiviruses – Tools like Avast and Norton are known to cause this error to occur so make sure you get rid of them.
Solution 1: Use a Different User Account and Install the Latest Updates
This method was used by plenty of users who have encountered the problem and posted about it online and it worked! Apparently, the Desktop will be okay if you try signing in with a different profile. After that, all it takes is installing the latest batch of updated using Media Creation Tool and you are ready! Try it out below.
- After your computer boots and gives you the error and a blank screen with only the taskbar, start with the steps below.
- Use the Windows Key + R key combination in order to bring up the Run dialog box. Type in “cmd” in the dialog box which appears and use the Ctrl + Shift + Enter key combination for admin Command Prompt.
- Type in the command below in order to navigate to the User Accounts screen. Make sure you click Enter afterwards:
control userpasswords2
- Click the Add button and follow the instructions which will appear on-screen. Make sure you create a non-Microsoft account by choosing the Sign in without a Microsoft account (not recommended) option from the bottom of the window.
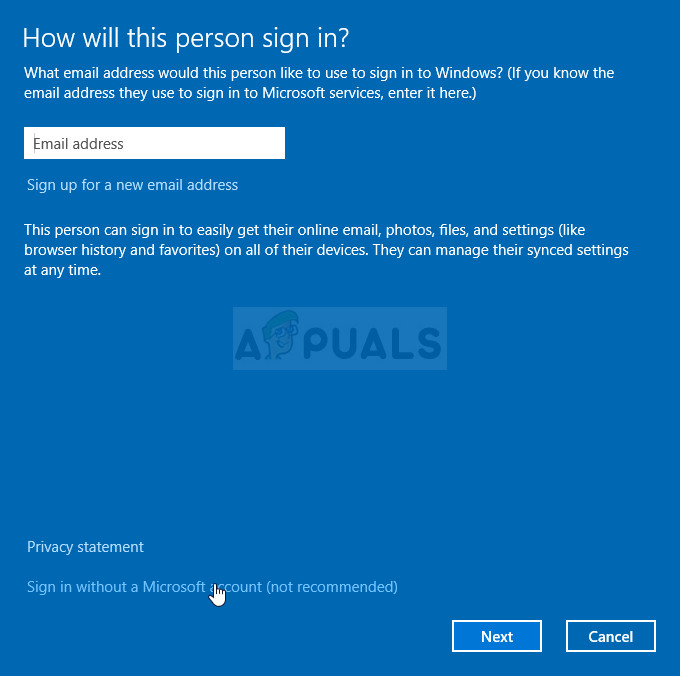
- Click Next and confirm your choice by clicking Local account in the next window. After that, fill out other information such as name and password and navigate through.
- After you have created the new account, head back to the Command Prompt window and use the following command to log out of your current account:
shutdown –L
- Log into the account you have just created and everything should be okay now. If ‘explorer.exe’ is crashing, restart it using Task Manager.

- Download the Media Creation Tool executable from Microsoft’s website and wait for the download to complete. Double-click on the downloaded file in your Downloads folder called MediaCreationTool.exe in order to open the setup. Tap Accept at the first screen.
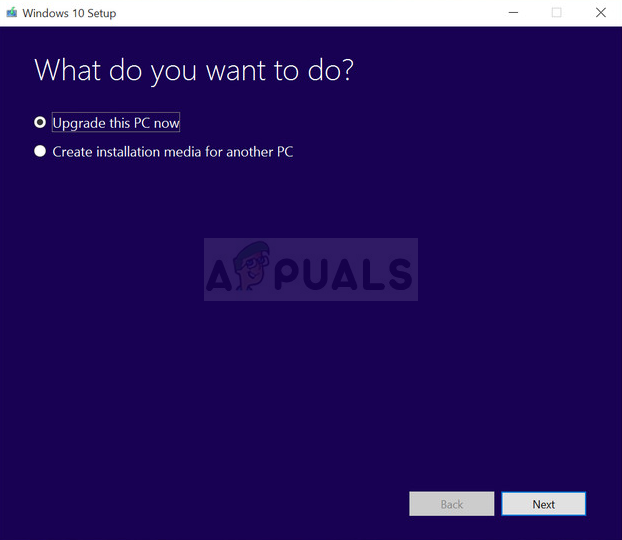
- Select the “Upgrade this PC now” option by enabling its radio button and click on the Next button to continue. The tool will download certain files, check for updates, and scan your PC to see if it is ready so please stay patient.
- Accept the license terms from the next window if you want to continue with the installation and wait again to communicate with Microsoft for updates (again).
- After that, you should already see the Ready to install screen with Install Windows and Keep personal files and apps options being listed. The install should now proceed so your computer should be updated after the tool finishes with its process and the error should no longer appear.
Solution 2: Copy the Desktop Folder
This error has attracted plenty of attention when it came out and this method came out of nowhere and pretty much took people by surprise as it worked for almost everyone for which the first method failed. Make sure you try this method before giving up!
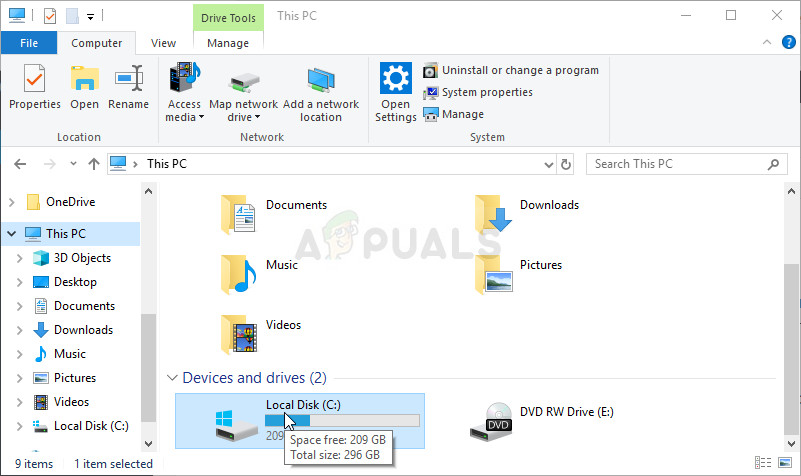
- Open your Libraries entry on your PC or open any folder on your computer and click on This PC option from the left side menu.
- Check down for Local Disk (C:) under Devices and drives and double-click to open it.
- Double-click the Users folder and the Default folder inside. If you are unable to see the Default folder, you may need to turn on the option which enables you to view hidden files and folders. Click on the “View” tab on File Explorer’s menu and click on the “Hidden items” checkbox in the Show/hide section.
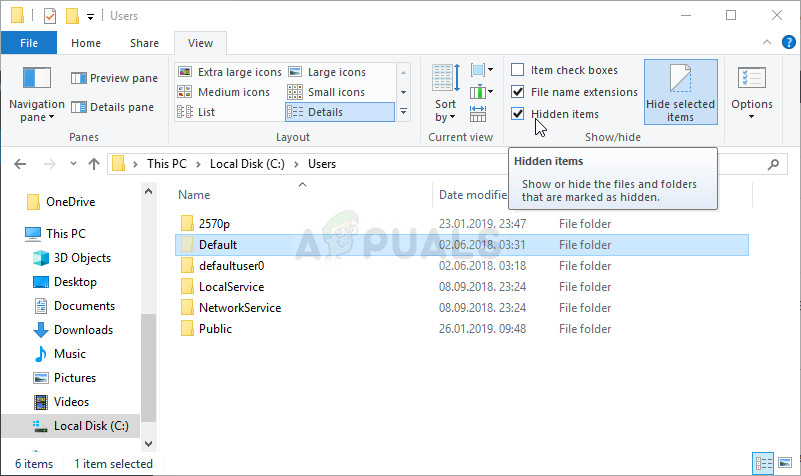
- Right-click the Desktop folder inside the Default folder and choose Copy from the context menu. After that, head back and navigate to C >> Windows >> System32 >> config >> systemprofile.
- Windows folder might also be hidden. In the systemprofile folder, right-click and paste the Desktop folder you copied. Restart your computer and check to see if the problem still appears.
Solution 3: Uninstall Problematic Antivirus Tools
Free third-party antivirus tools such as Avast or Norton are a known cause for this issue and you should definitely consider uninstalling them for good. For example, if your Norton license has expired, it may cause a certain file to misbehave and this problem occurs. The real solution is to uninstall them!
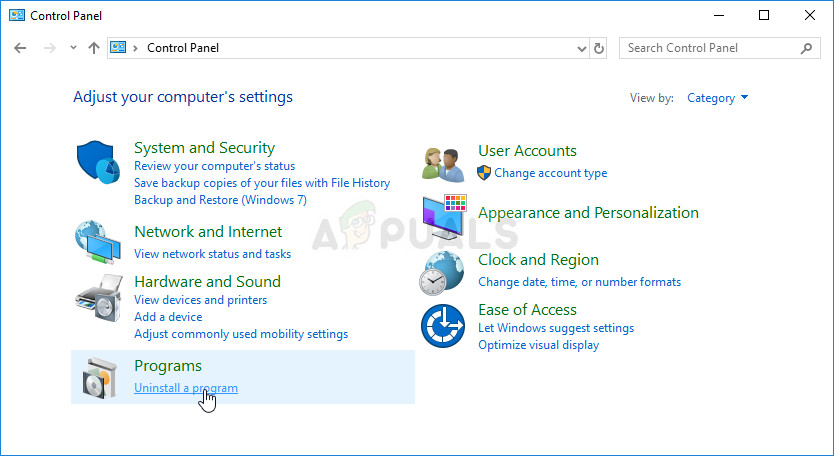
- Click on the Start menu and open Control Panel by searching for it. Alternatively, you can click on the gear icon in order to open settings if you are using Windows 10.
- In Control Panel, select to View as: Category at the top right corner and click on Uninstall a Program under the Programs section.
- If you are using the Settings app, clicking on Apps should immediately open a list of all installed programs on your PC.
- Locate the antivirus you are using on the list and click on it once. Click on the Uninstall button above the list and confirm any dialog boxes which may appear. Follow the instructions on-screen in order to uninstall it and restart your computer afterwards.
Solution 4: System Restore
System Restore is always the last resort but it’s a successful method and you shouldn’t lose anything if you have created restore points recently. The only thing you need to make sure is that the restore point you choose is before the error started to occur.
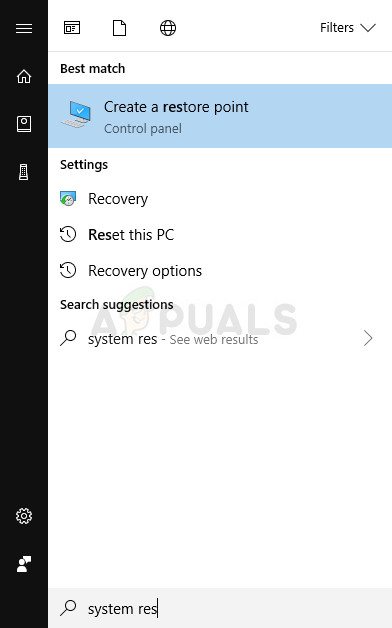
- Search for the System Restore tool using the Search button next to the Start menu and click on Create a restore point. In the System Properties window, click on System Restore.
- Inside the System Restore settings window, select the option named Choose a different restore point and click the Next button.
- Select a particular restore point your computer saved before. You can also select any restore point available on the list and hit the Next button to select it and restore the PC to that point in time. Make sure you choose the one before the error started to occur on your PC.

- After the process is over, you will be reverted to the state your computer was in at that period in time. Check to see if the ‘Desktop is not accessible’ message still appears!


for solution 1 it says ‘To use this tool, you must be signed in to Windows using an administrator account’