Fix: iTunes can’t verify the Identity of the server
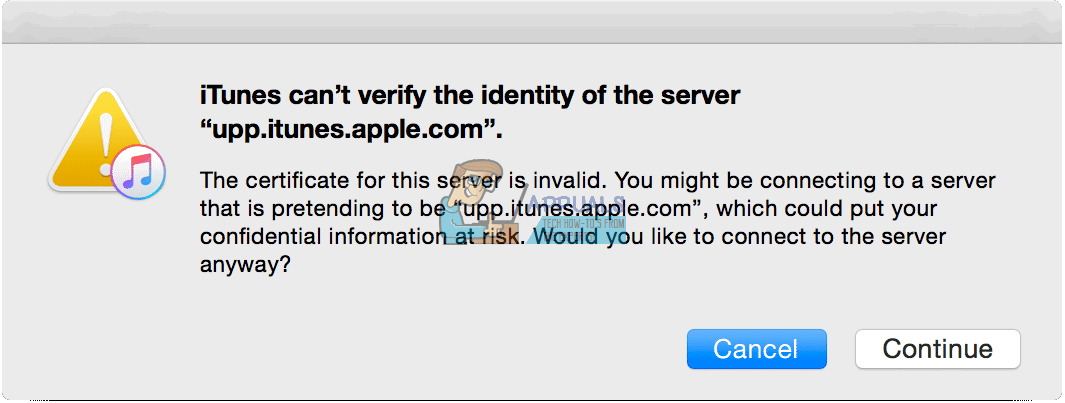
Since updating to iTunes 11.0.3 (or later), many users are experiencing server verifying errors whenever they launch iTunes on their Macs. In most cases, a message window pops up telling that the certificate for that particular server is invalid. It gives the option to continue and connect to the server. However, the message also informs that connecting to that server (which might be pretending to be xxx.apple.com) could put your confidential information at risk.
Here are examples:
“iTunes can’t verify the identity of the server upp.itunes.apple.com” OR “iTunes can’t verify the identity of the server p16-buy.itunes.apple.com.”
If these or similar can’t-identify-the-server messages annoy you on iTunes launch, here you can learn how to fix the problem. The method explained below is for Mac computers only.
How to Fix iTunes Can’t Verify the Identity of the Server
This solution is tested works for the majority server verifying errors with iTunes. However, you should know that this bypasses the built-in security for trusting unknown (in this case Apple’s) certificates.
The server-verifying errors are happening right after making an update through the App Store (official update for iTunes). So, the risk of getting malicious software, even when you disabled the built-in security for these Apple’s certificates, stays at a minimum level.
Note: Using this procedure in cases when the server-verifying errors DO NOT occur after an official iTunes update increases the risk of getting malicious software on your Mac.
- First, close iTunes and the App Store on your Mac.
- Launch Finder and navigate to Applications > Utilities.
- Now, open Keychain Access.

- Click on System Roots, under the Keychains section.
- Click on Certificates, under the Category section.

- Take a look at the certificates. For every one listed that shows a little blue dot with a plus (+) sign, do the following steps:
- Double–click on it to open up.
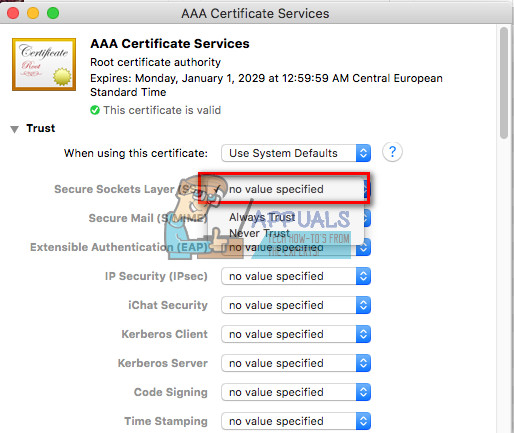
- Now, click on the triangle next to “Trust.”
- In “Secure Socket Layer (SSL)” select “No Value Specified.”
- Close the certificate (If required, enter your admin password).
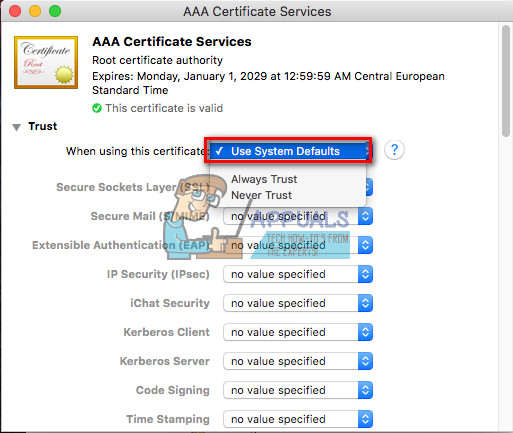
- Double-click the certificate, to open it up again.
- In “When using this certificate:” select “Use System Defaults.”
- Close the certificate (If required enter your admin password again).
- Now, the blue dot with the plus (+) sign should disappear.
- Make sure you do this procedure for every certificate with a blue dot.
- When no certificates have that blue dot anymore, close the Keychain Access
- Now, launch iTunes, and the connection should work just fine. You shouldn’t get the server verifying errors that you get before.
Until this point, no one has reported negative results with this solution. Make sure to share your own experience in the comments below.
I am having the “iTunes can’t verify host” error, but none of my certificates have blue dots?