Fix: Host Process for Windows Service Consuming Internet Bandwidth
If you are reading this article, you might have come across the behavior where the process “Host process for Windows Service” consumes huge amounts of bandwidth on your machine. This process is known to eat chunks as large as 250 MB at a time without any prior notice.
So what is this process? This process is used by some applications to download new settings/updates or other configurations over the internet. It is also used by Windows itself to fetch data from the internet. This process is also known as ‘scvhost.exe’. It is classified as a process on your computer that hosts or contains other individual services. There can also be multiple instances of this process running at the same time on your computer.
There are a few workarounds we can follow to solve this problem. Start with the first workaround and navigate your way down accordingly.
Solution 1: Clean Booting your Computer and using Resource Monitor
Before we start following other solutions where we configure system settings, we can try Clean Booting your PC.
This boot allows your PC to turn on a with minimal set of drivers and programs. Only the essential ones are enabled while all the other services are disabled. If the resource usage doesn’t occur in this mode, you should enable the processes back on only with small chunks and check if the resource usage returns. If it doesn’t, you can turn on another chunk and check. This way you will be able to diagnose which process is causing the problem.
- Press Windows + R to launch the Run application. Type “msconfig” in the dialogue box and press Enter.
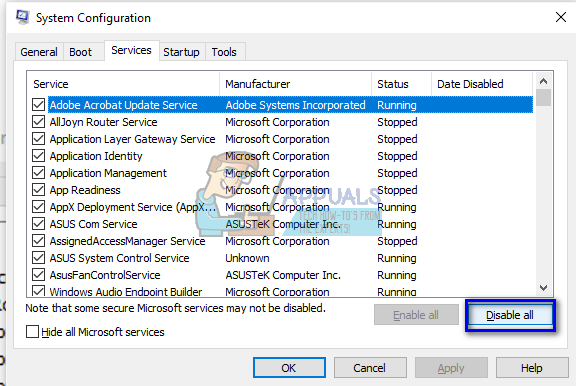
- Navigate to the Services tab present at the top of the screen. Check the line which says “Hide all Microsoft services”. Once you click this, all Microsoft related services will be disabled leaving behind all the third-party services (you can also disable all Microsoft related processes too and check more extensively if there are no third-party services causing the problem).
- Now click the “Disable all” button present at the near bottom at the left side of the window. All the third-party services will now be disabled.
- Click Apply to save changes and exit.
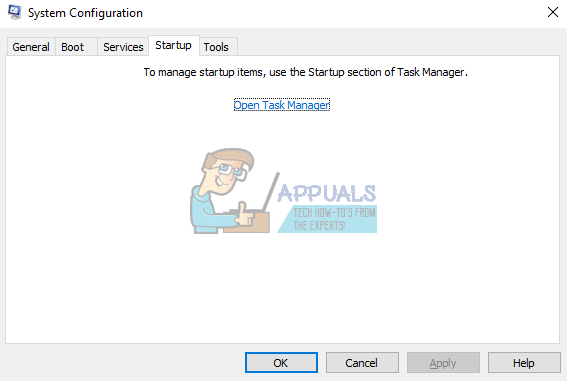
- Now navigate to the Startup tab and click the option of “Open Task Manager”. You will be redirected to the task manager where all the applications/services which run when your computer starts will be listed.
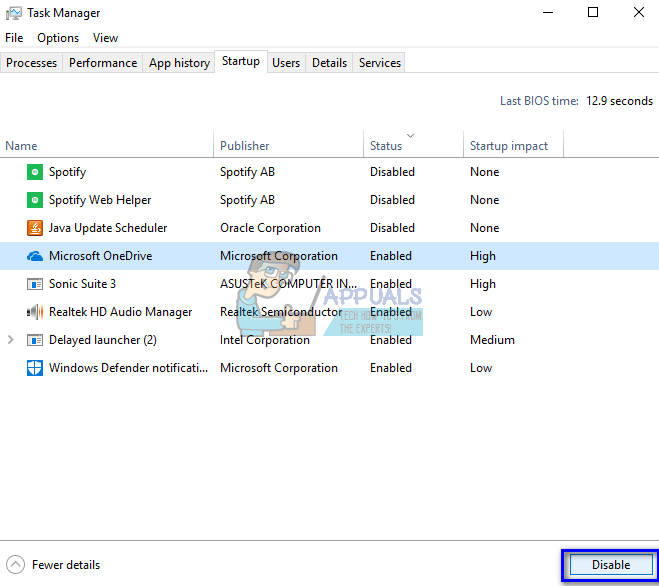
- Select each service one by one and click “Disable” at the bottom right side of the window.
- Now restart your computer and check if the problem appears again. If it doesn’t, enable a small chunk (explained at the start) and then check again. If you diagnose a specific service, you can try restarting or disabling it using services window.
If there isn’t a third-party process which is causing the problem, you start looking for a Windows process which might be responsible.
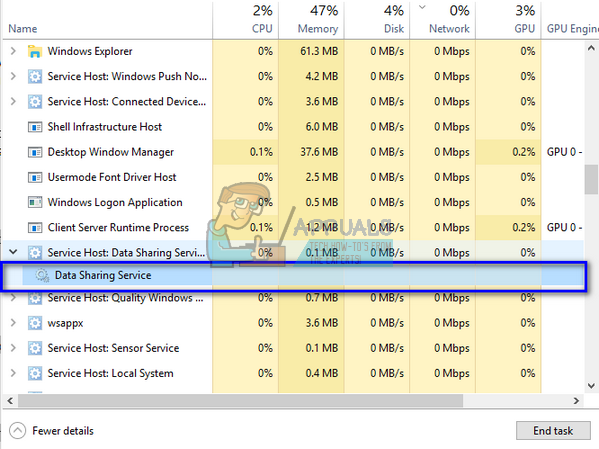
- Open the task manager and locate the service causing the problem. If there are many instances of Host process for Windows service, you should expand each one of them and see which Windows process might be causing the problem. One such example is listed below.
- Once you have identified the service, press Windows + R, type “services.msc” in the dialogue box and press Enter.
- Once in services, navigate through the list until you locate it. Right-click it and select Properties. Stop the service and set the startup type as “Disabled”. Press Apply to save changes and exit.
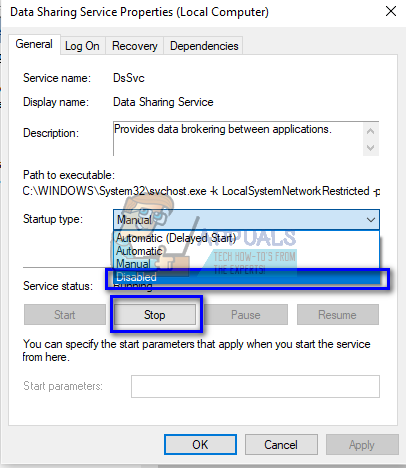
- Restart your computer and see if the bandwidth usage got fixed.
Solution 2: Setting your connection as Metered
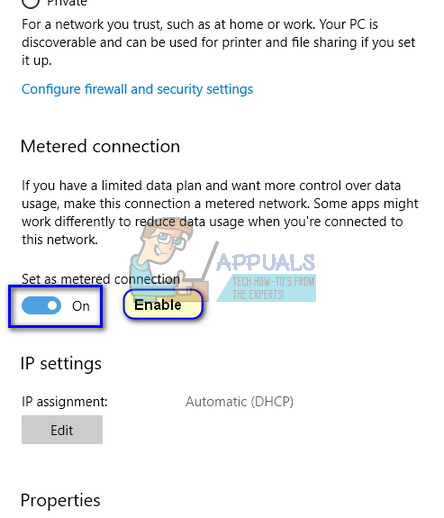
Another workaround which also works is setting the internet connection you use as ‘Metered connection’. A metered connection is a data connection where you have limited bandwidth available. When you flag a connection with this, Windows will not download Windows update or perform other data activities. This might temporarily stop the bandwidth usage under discussion.
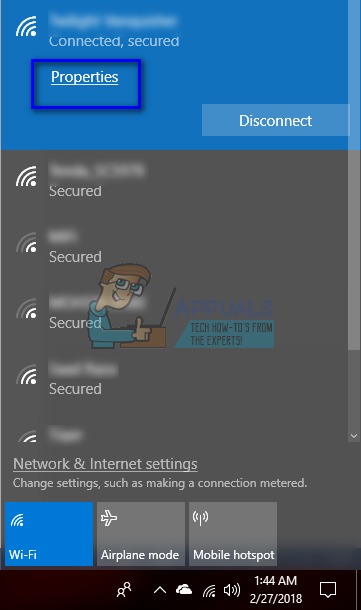
- Click on the network icon, expand the current internet connection you are connected with and select “Properties”.
- Check the option “Metered connection”. Your computer will almost instantly act and you should see a drop in the bandwidth. If not, restart your computer and check again.
Solution 3: Turning off Delivery Optimization
Windows has a feature named as “Delivery Optimization” enabled by default on your computer. Your computer might send or receive updates to neighboring computers or computers present on your network. This feature might mean that you may get much faster updates, but it also means that your bandwidth will increase. We can try disabling this feature and deleting the delivery optimization files and see if this fixes the problem at hand.
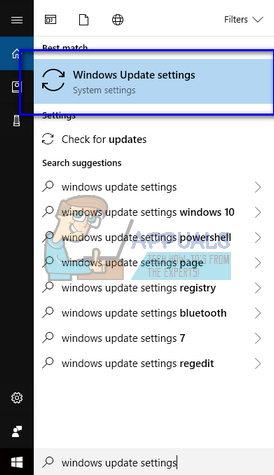
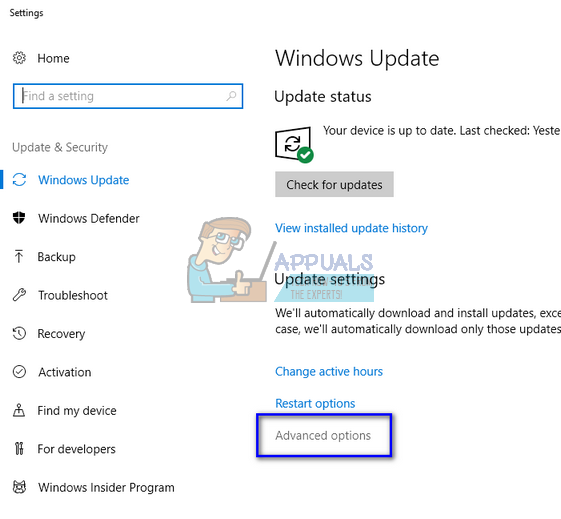
- Press Windows + S to launch the search bar, type “Windows Update Settings” and open the settings application which comes forth.
- Once in the update settings, navigate to the bottom of the page and click “Advanced options”.
- After navigating to the next page, click “Delivery optimization” present at the near bottom of the page.
- Turn Off the option “Allow downloads from other PCs”. After making the change, exit the settings application and restart your computer.

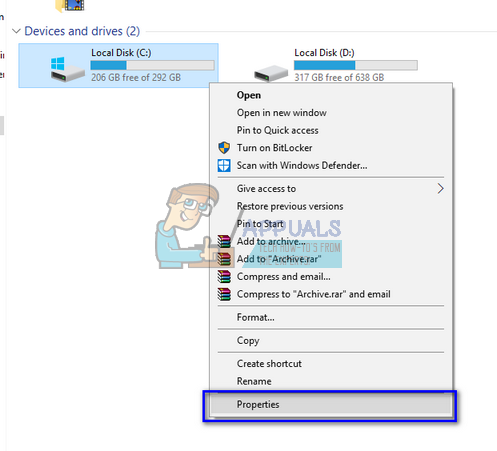
- Press Windows + E and right-click on Local Disk C (or any other drive where your system is installed) and select Properties.
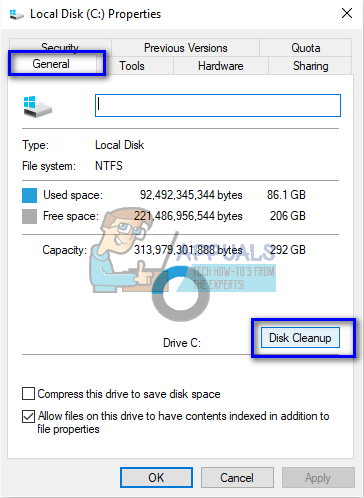
- Click the option “Disk Cleanup” under the category of “General”.
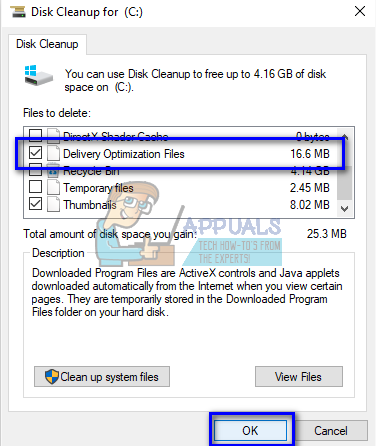
- Make sure you check the line “Delivery Optimization Files” and press OK. After the disk cleanup, restart your computer and see if there is any difference in the bandwidth.
Note: If even after following the above methods the bandwidth doesn’t get fixed because of Host Process for Windows Service, you can resort to disabling some services such as “Background Intelligent Transfer”. You can also use other third-party applications such as “GlassWire” to determine which process is consuming the bandwidth so you can disable it accordingly.
Dear Sir,
Do you have a ‘how to’ like this for Windows 7 Pro 64?
Thanx … Chris