Fix: High CPU Usage by OneDrive ‘OneDrive.exe’
OneDrive (previously known as SkyDrive, Windows Live SkyDrive, and Windows Live Folders) is a file-hosting service operated by Microsoft as part of its suite of online services. It allows users to store files in the cloud. Files can be synced to a PC and accessed from a browser or a mobile phone, as well as shared publicly or with certain people.
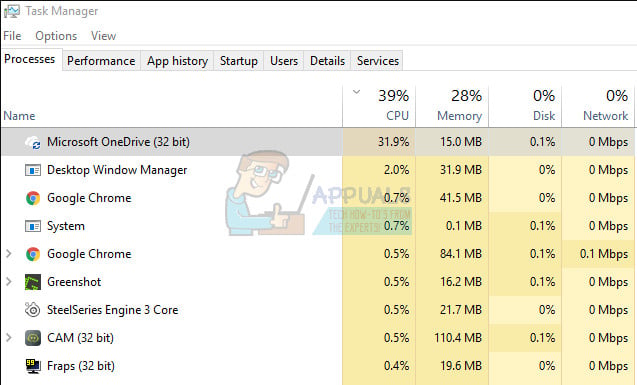
However, high CPU usage caused by this program is the main reason why people are complaining about it and it seems that the problem seems to be bigger than ever. Having a certain program lock up a high percentage of your memory and CPU power is not a great experience as other resource-heavy processes will fail to operate correctly and they are likely to perform badly.
Sometimes there is an issue with the actual tool and sometimes it’s the setup file which shows up clogging your PC.
Follow the solutions presented in several methods below in order to prevent OneDrive from eating up the resources of your PC.
Solution 1: Unlinking OneDrive
Unlinking OneDrive and replacing the contents of several folder was suggested by a user on an online forum aand his anser seems to have helped plenty of people if we were to judge by their responses. This method shouldn’t take a long time to accomplish and you are bound to see the results in no time.
- Open One Drive by double-clicking on its icon from its usual location on your computer.
- Under OneDrive settings option, click on “Unlink OneDrive”.
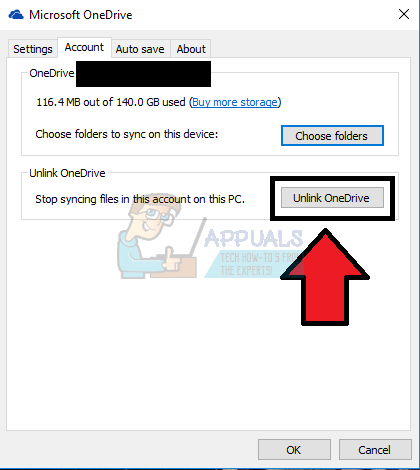
- Wait for the PC to unlink the OneDrive folder and start the setup wizard which you can download from Microsoft’s official site. Don’t do anything regarding the OneDrive setup process.
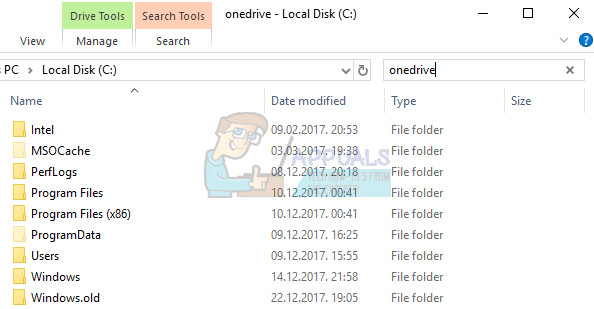
- Rename the OneDrive folder on your hard drive to OneDriveKeep. You can locate this folder by navigating to This PC >> Local Disk C and performing a search for OneDrive.
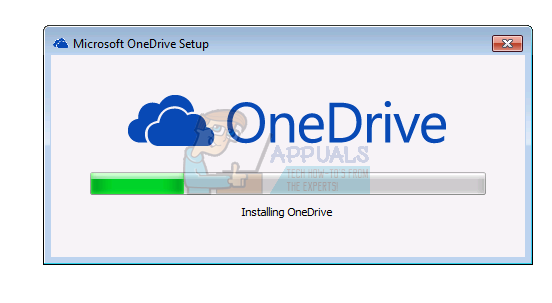
- Switch back to the OneDrive setup program and proceed with the installation again. This process will create a new OneDrive folder which shouldn’t provide any issues.
- Move the files and folders from the OneDriveKeep folder to the new OneDrive folder created by the setup. Please be patient if the contents of your OneDrive are large in size.
- After the files and folders are moved and after you check whether any data has been lost, you should restart your PC.
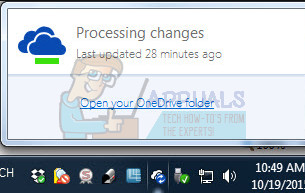
- Once you sign back on, OneDrive should start “Processing Changes”. This process might take a while since OneDrive is scanning the changes you have made manually in order to approve that no files have been damaged.
Solution 2: Disable the Following Option from OneDrive Settings
This option is called Improve upload speed and, when selected, it will consume more bandwidth and so if you are on a metered connection and up against a problem with your Internet connection than you can uncheck this option. Additionally, if you noticed that your CPU or memory usage is high, you should disable it and see how the program behaves in the future.
- You will see the OneDrive icon on the further right part of Windows taskbar. If it’s not there, you can access it the way you usually do. On the OneDrive icon, make a right click and select Settings.
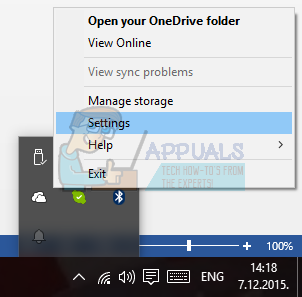
- When you are finally able to see the Microsoft OneDrive window, click on the the Performance tab.
- Select the checkbox of Upload section which will Improve upload speed by uploading files in batches. Make sure this option stays disabled.
- Restart your computer immediately and check to see if OneDrive still consumes your resources abnormally.
Solution 3: Somewhat Complicated but a Working Method
This method requires a certain portion of your time since some of its part might feel somewhat confusing to inexperienced users but this method was highly praised by the users who experienced the issue of the OneDrive setup taking up a large portion of the CPU power. Follow the steps below for more info.
- Navigate to Control Panel >> Administrative Tools ->>Computer Management >> Local Users and Groups >> Users. Create a new user with a local user and group name using only alphabets. This can be done by clicking on the More options button at the right side of the window. Add the created user to the Administrator group.

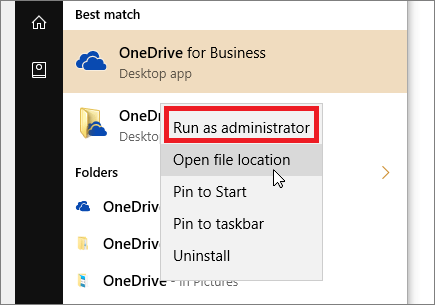
- Log off from the user account which is experiencing the problem, log in with the new user you just created, right click on the OneDriveSetup.exe file and execute it as “Run as administrator”.
- Setup will open and OneDrive should launch. The version which gets installed after you follow the instructions on screen is the one of the OneDriveSetup.exe file which you can download from Microsoft’s site.
- Log off from the new user account and log in as the original user. The OneDrive version for this user should remain the old one which didn’t experience this update.
- Exit OneDrive by right-clicking on the icon at the taskbar.
- Open the following folder:
- C: / Users \ (New User) \ AppData \ Local \ Microsoft \ OneDrive; and copy the following files and folders to the folder:
- C: \ Users \ (Problem user) \ AppData \ Local \ Microsoft \ OneDrive. Overwrite the copy.
- Even if you execute overwritten C: \ Users \ (problem user) \ AppData \ Local \ Microsoft \ OneDrive \ OneDrive.exe, the version notation portrayed by setting the icon right-click – settings remains outdated. Turn off OneDrive again.
- Right click on the OneDriveSetup.exe file and execute it as “Run as administrator”.
- After this, the installation should proceed again and the latest version should be installed for the user who was experiencing this issue in the first place.
Solution 4: Deleting the Problematic Files
There are two problematic files whose deletion might fix the problem for you entirely. This method firstly appeared on a Japanese forum but a certain user has translated it and it seems to have worked for some people immediately.
- Use the Ctrl + Shift + Esc key combination in order to bring up the Task Manager. Alternatively, you can use the Ctrl + Alt + Del key combination and select Task Manager from the menu. You can also search for it in the Start menu.
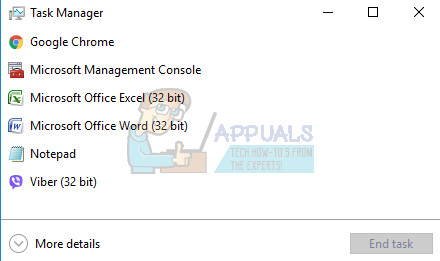
- Click on More details in order to expand the task manager and search for the OneDriveSetup entry on the list. Right-click on it and choose the End Task option.
- Navigate to the “C: \ Users \ your username \ AppData \ Local \ Microsoft \ OneDrive \ setup \ logs” folder and locate the following two files:
UserTelemetryCache.otc (delete)
UserTelemetryCache.otc.session (delete)
- 3.After you delete these two files, navigate to “C: \ Users \ your username \ AppData \ Local \ Microsoft \ OneDrive \ Update” and run the OneDriveSetup file again. This way, the installer should proceed to update OneDrive properly.