Fix: Google Chrome Ran Out Of Memory
The “Google Chrome Ran Out of Memory” error usually stops webpages from loading or causes tabs to crash. This happens because Chrome, which uses separate memory for each tab and extension, runs out of available memory. A common reason for this is high memory use from multiple open tabs or memory-intensive extensions.
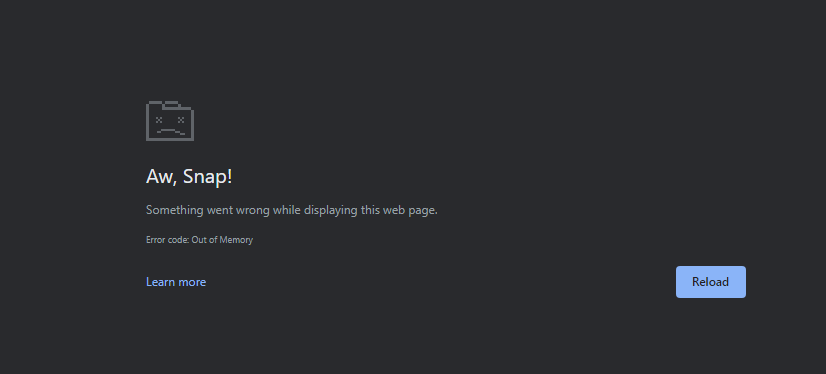
It can also result from cached data, background processes, or hardware limits.
In this article, we will discuss different ways to solve this error.
1. Update to 64-bit
The first thing you should check is whether you have the 64-bit version of Google Chrome. This should be a priority, especially if you believe you have more than enough RAM for Google Chrome. The 64-bit version of Google Chrome is designed to use more memory, so if Chrome is generating this memory error despite available memory, this might be the issue.
- Open Google Chrome.
- Type chrome://settings/help in the address bar and press Enter.
- Check if “64-bit” is mentioned after your Google Chrome version.

- If “64-bit” is not mentioned, or if “32-bit” is listed, you don’t have the 64-bit version of Google Chrome.
- Visit this link to download the 64-bit version, which is now the default. Download and install Google Chrome.
2. Use Task Manager
Sometimes, Chrome’s memory use can suddenly increase, causing crashes or slowdowns. Using the Task Manager to stop Chrome helps by shutting down all its processes and freeing up memory. This often fixes memory problems when you restart it.
- Press and hold CTRL, ALT, and DELETE keys simultaneously (CTRL + ALT + DELETE).
- Select Task Manager.
- Locate Google Chrome in the Task Manager.
- Select Google Chrome.
- Click End Task.
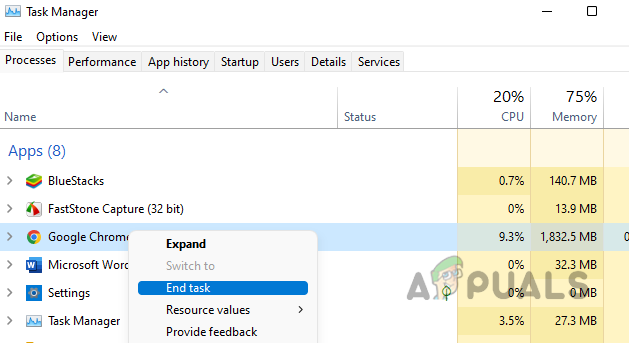
End Tasks of Google Chrome in the System’s Task Manager
3. Clear Cache
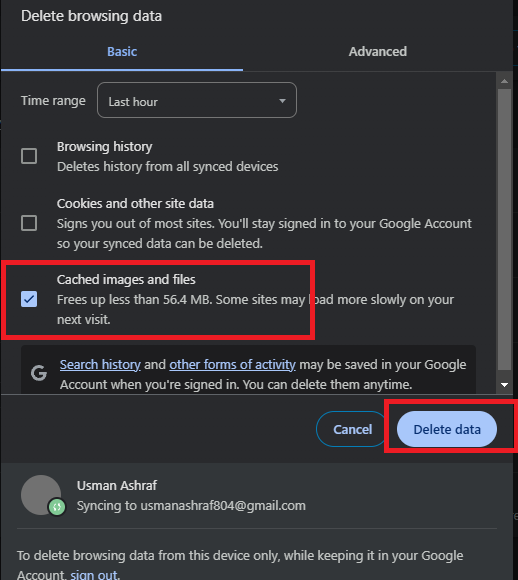
Clearing Chrome’s cache frees up memory used to store temporary files, images, and data from websites. Over time, this cached data can fill up space and slow things down. By clearing it, you reduce memory use and help prevent crashes or slowdowns.
- Open Google Chrome.
- Press CTRL, SHIFT, and DELETE keys simultaneously (CTRL + SHIFT + DELETE).
- Check the option for Cached images and files.
- Select Past hour or Past day from the drop-down menu.
- Click Delete Data.
4. Disable Extensions
Extensions in Chrome can use a lot of memory, even when not in use. Disabling or removing unused extensions frees up memory, helping Chrome run better and reducing crashes. This is especially helpful for computers with limited RAM.
- Open Google Chrome.
- Type chrome://extensions in the address bar and press Enter.
- View the list of all installed extensions.
- Uncheck the Enabled box for all extensions.
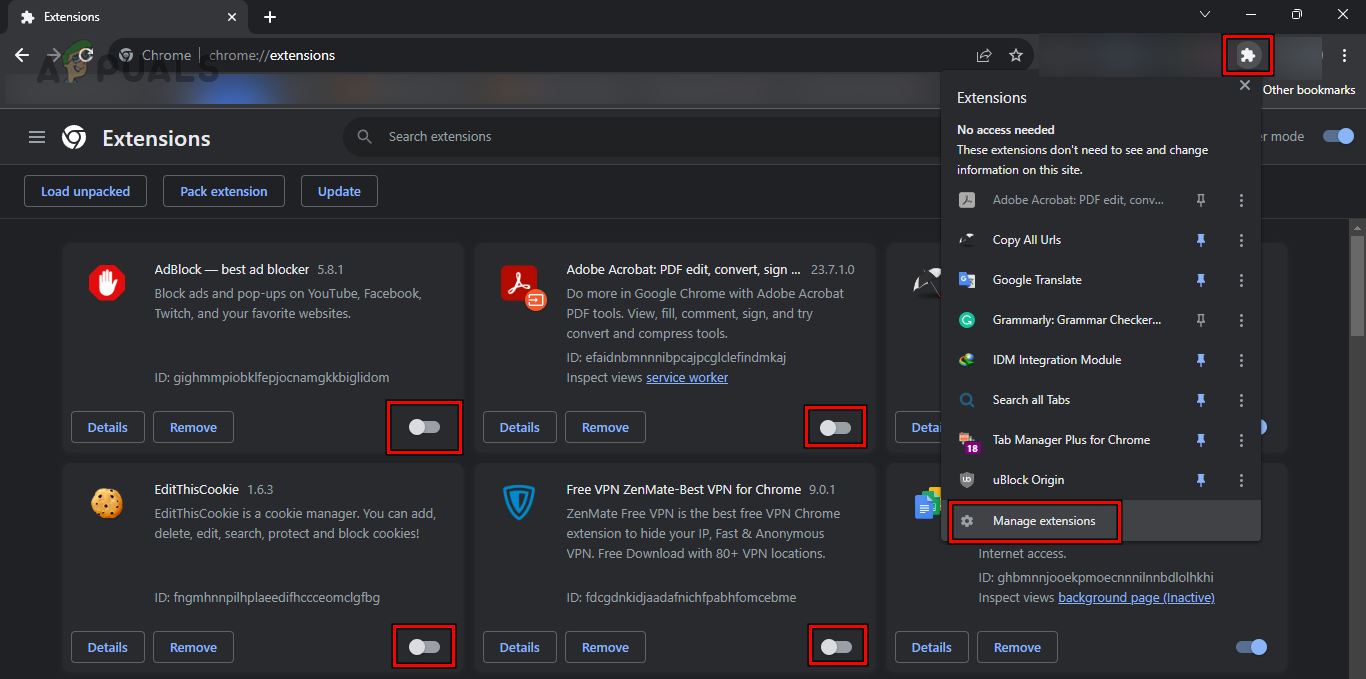
- If the problem stops, enable extensions one by one by checking the Enabled box. Delete the extension causing the issue by clicking the trash bin icon.
5. Create a New User Profile
Creating a new user profile can fix Chrome’s memory issues by resetting settings, extensions, and cache. This clears old or corrupt configurations, helping Chrome run smoothly.
- Ensure Google Chrome is completely closed.
- Press Windows key + R to open the Run dialog box, type %LOCALAPPDATA%\Google\Chrome\User Data\, and press Enter to open the location of the default Chrome folder.
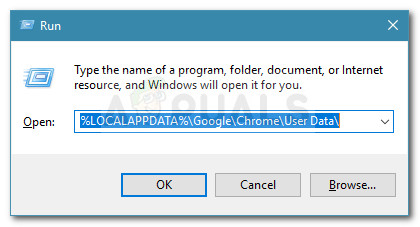
Opening the location of the Default Chrome profile - Find the folder named Default, right-click it, choose Rename, and rename it to Default-Bak.
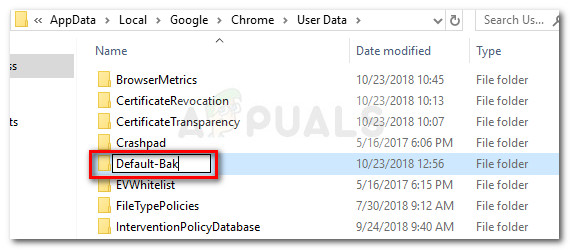
Renaming the Default folder to Default-Bak - Open Google Chrome to create a new Default folder. If needed, move data like Sync Data, Accounts, or Extensions from Default-Bak to the new Default folder.
for a samsung type lap top with chrome you can just powerwash and it will be good az new go to settings advance settings very bottom ….