Fix: Google Chrome Not Saving Passwords
Google Chrome might stop saving passwords if it doesn’t show the “Save Password” prompt or fails to autofill saved details. This usually happens due to problems with Google Account Sync, which stops data from syncing between devices. Common causes are disabled password-saving settings, corrupted browsing data, or conflicting browser extensions.
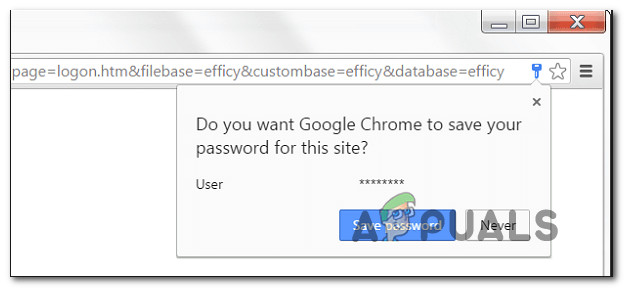
Using Incognito mode or an outdated Chrome version can also cause issues.
Now that you know the causes lets discuss the solutions.
1. Update Chrome to the Latest Version
Outdated Chrome versions might have bugs that affect saving passwords. Updating Chrome provides fixes and improvements to solve these issues, enhances website compatibility, and fixes security gaps.
- Open Google Chrome, click the action button (top-right corner), go to Help, and select About Google Chrome.
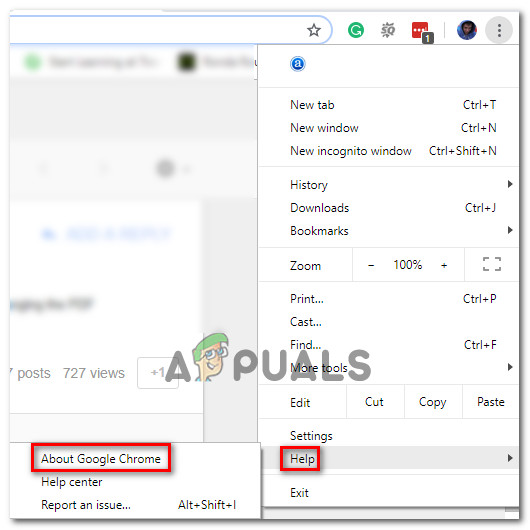
Accessing the About Google Chrome menu - Wait for the initial scan. If a new version is found, follow the installation steps.
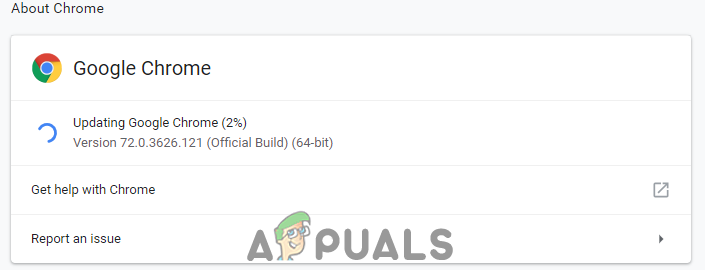
Chrome is downloading the updates. - Install the update when prompted and check if the password-saving issue is resolved at the next startup.
2. Modify Chrome’s Settings to Allow it to Keep Local Data
Allowing Chrome to keep local data is important for saving passwords. If this setting is off, Chrome deletes cookies and login details when you close it. Turning it on lets Chrome store your passwords and autofill them on websites, so your login info stays available even after closing the browser, making browsing easier.
- Open Google Chrome and click the action button (top-right corner). Select Settings.
- Scroll down in the Settings menu and click Advanced to see more options.
- Go to Privacy & Security and click Content Settings.
- Under Content settings, click Cookies.
- Ensure the toggle for Keep local data only until you quit your browser is unchecked.
- If you changed this setting, restart your browser to apply the changes.
- After restarting, try saving a password again to see if it works.
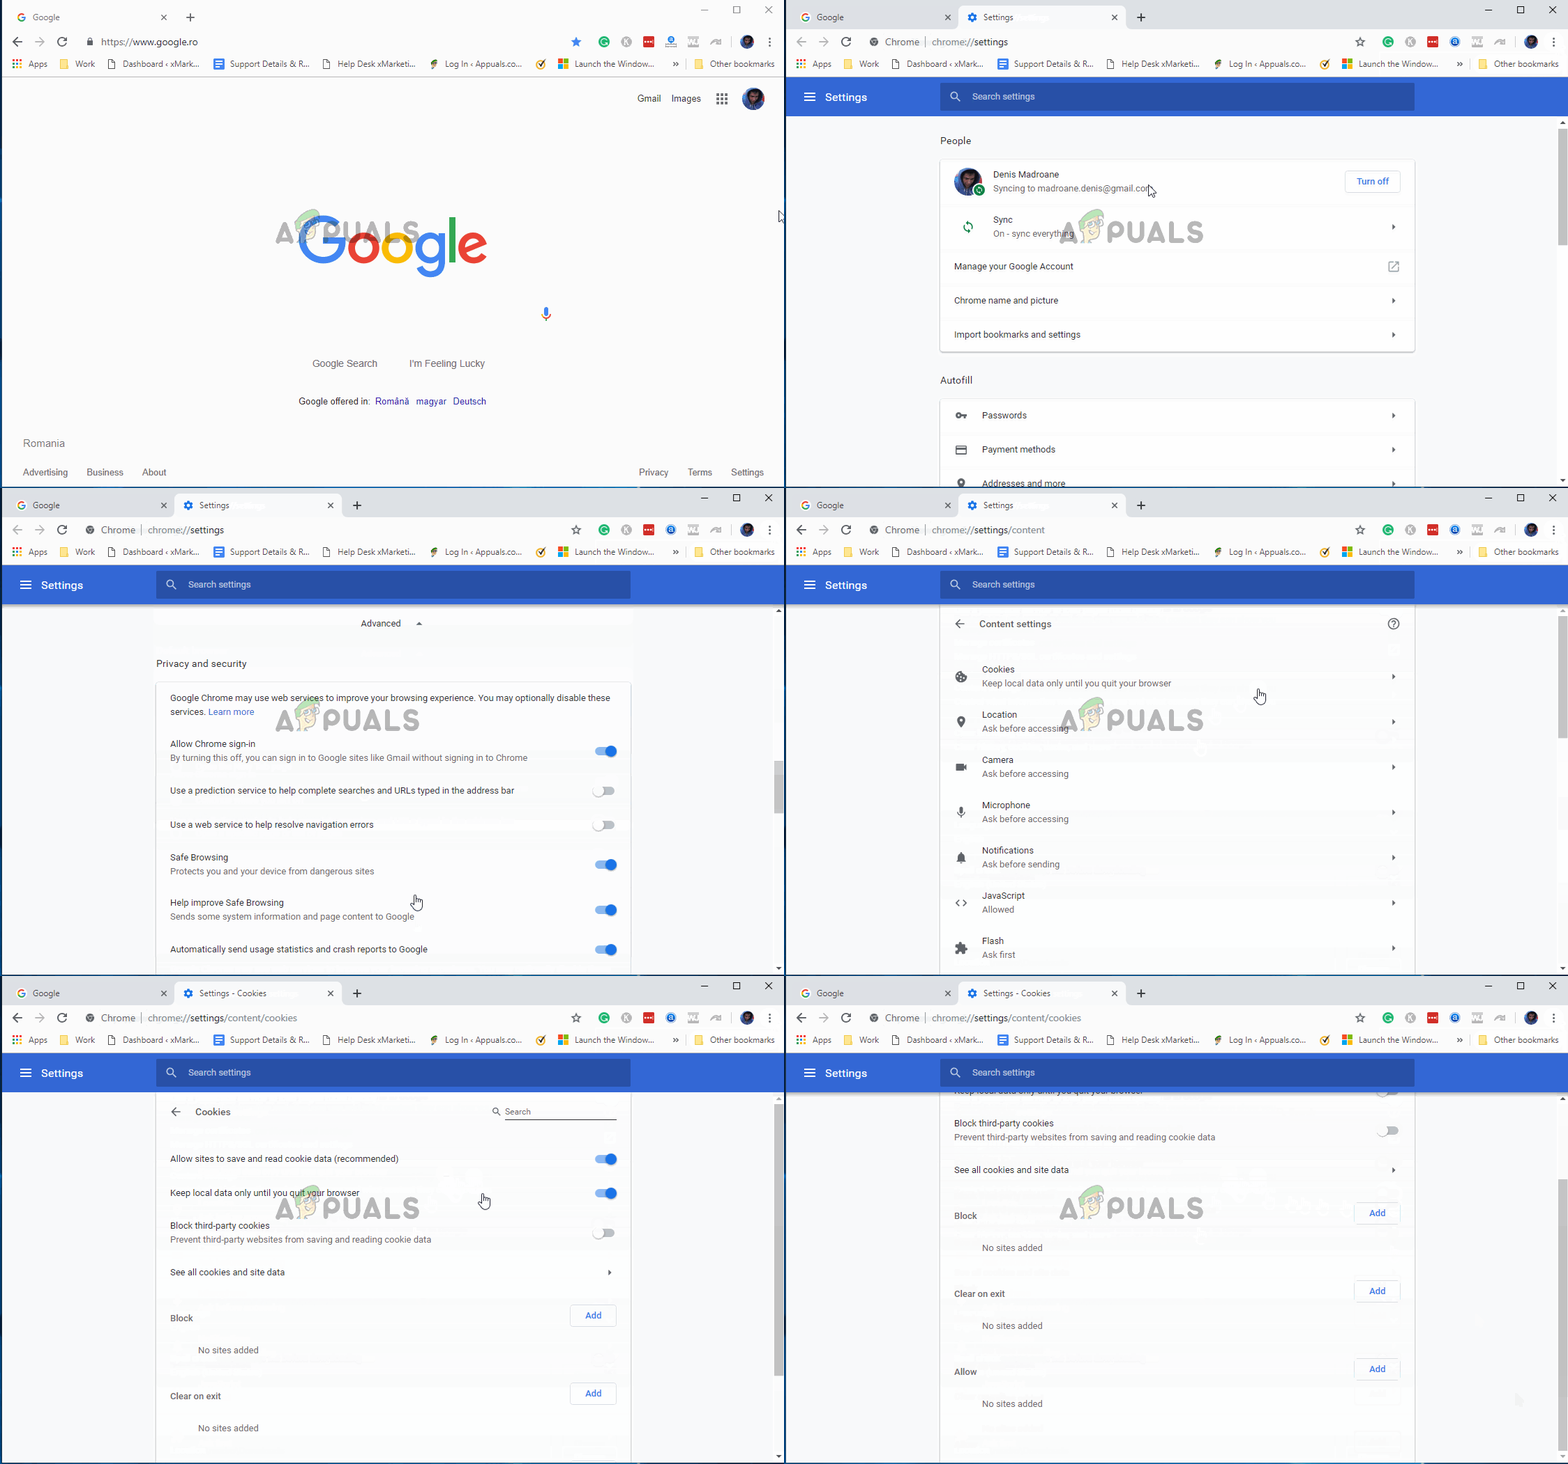
If you’re still encountering the same issue, move on to the next method below.
3. Enable the Save password box
Turning on the “Save password” option lets Chrome ask to store your login details when you sign into websites. If this isn’t enabled, Chrome won’t remember passwords, causing confusion. This setting helps Chrome save passwords for later use, making it easier and safer to log in with autofill.
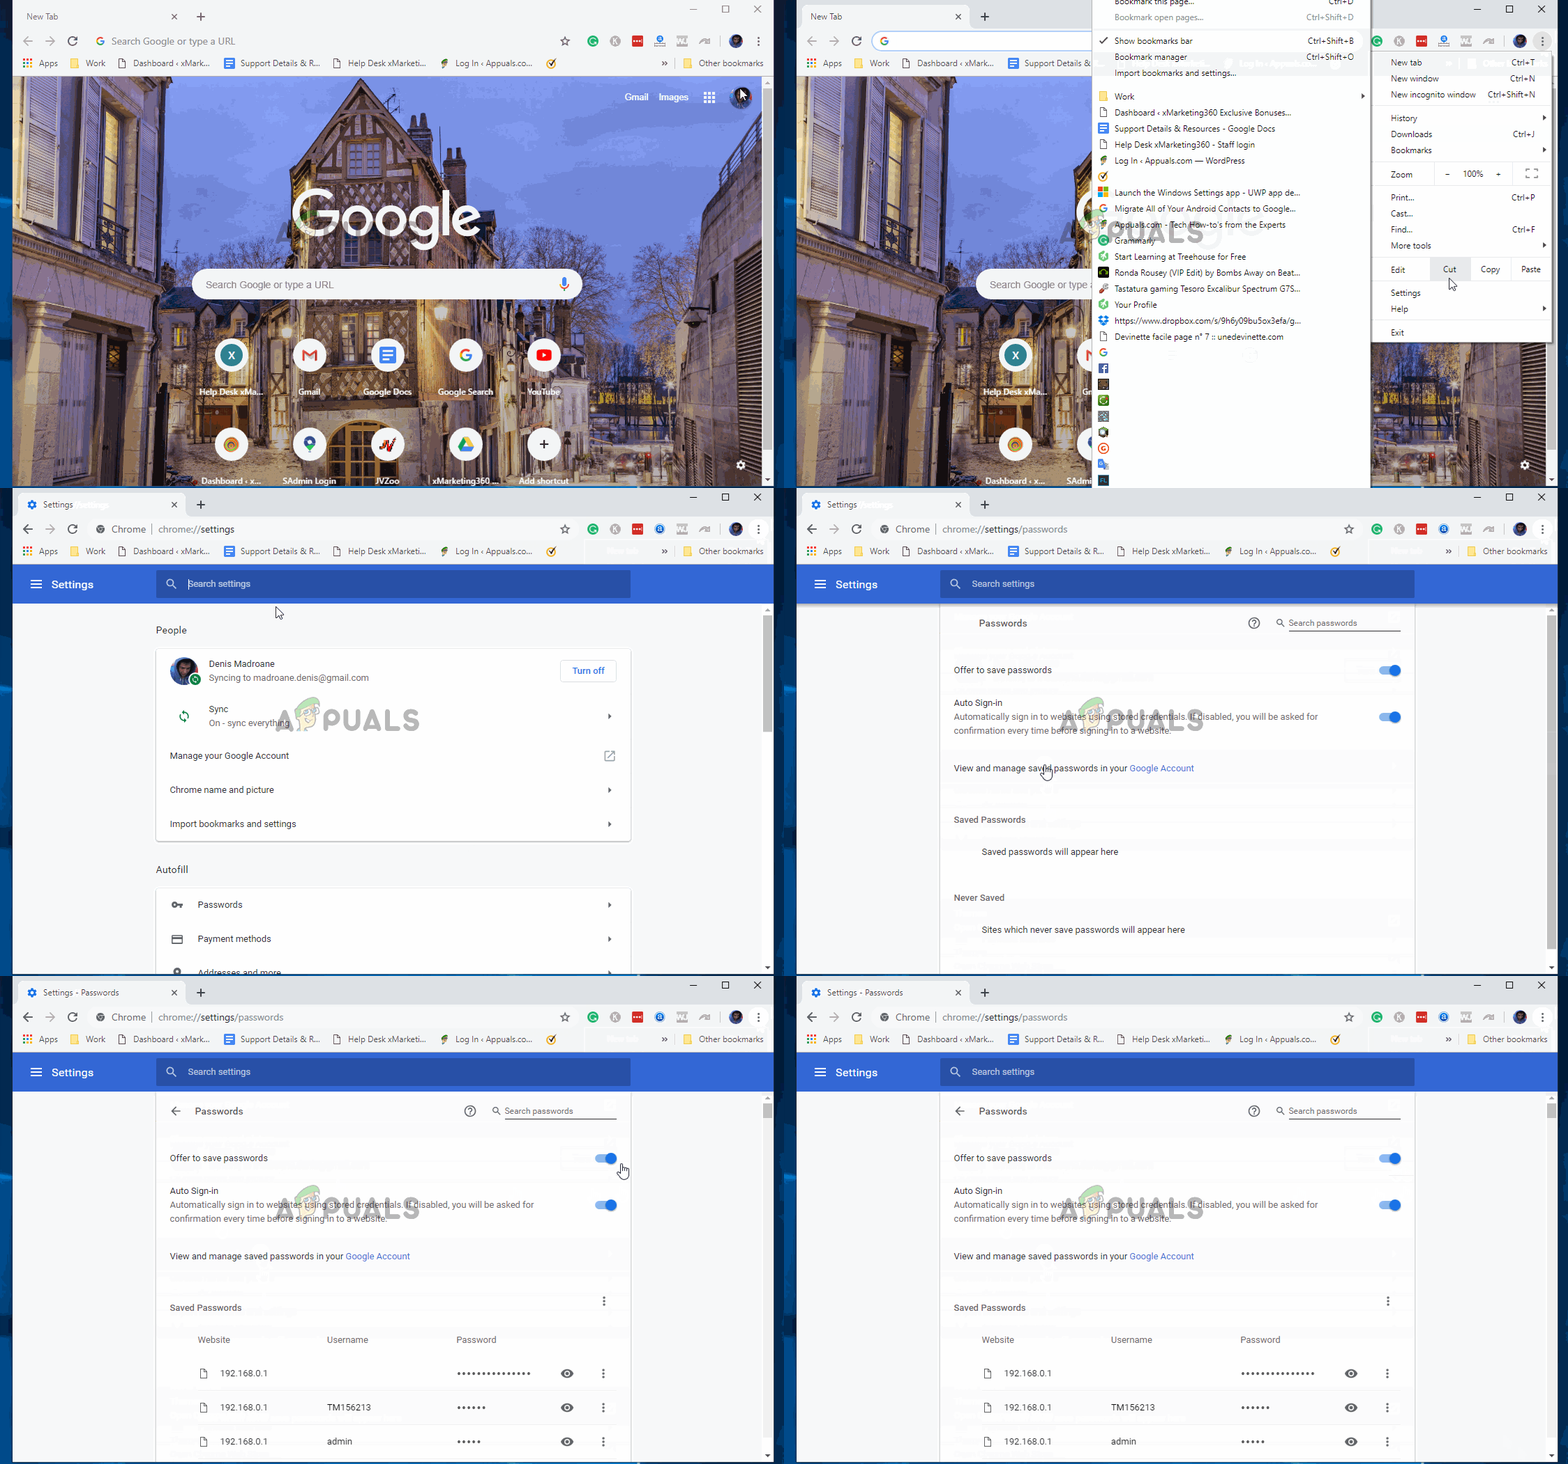
- Open Google Chrome and click the action button in the top-right corner. Select Settings.
- Go to the Autofill tab and click Passwords.
- Ensure the toggle for Offer to save passwords is checked.
- Restart your browser and check if the issue is resolved.
4. Create a New Chrome Profile
A new profile clears extensions and old data that might cause problems. This helps Chrome work properly and can fix issues with saving or autofilling passwords due to errors or wrong settings.
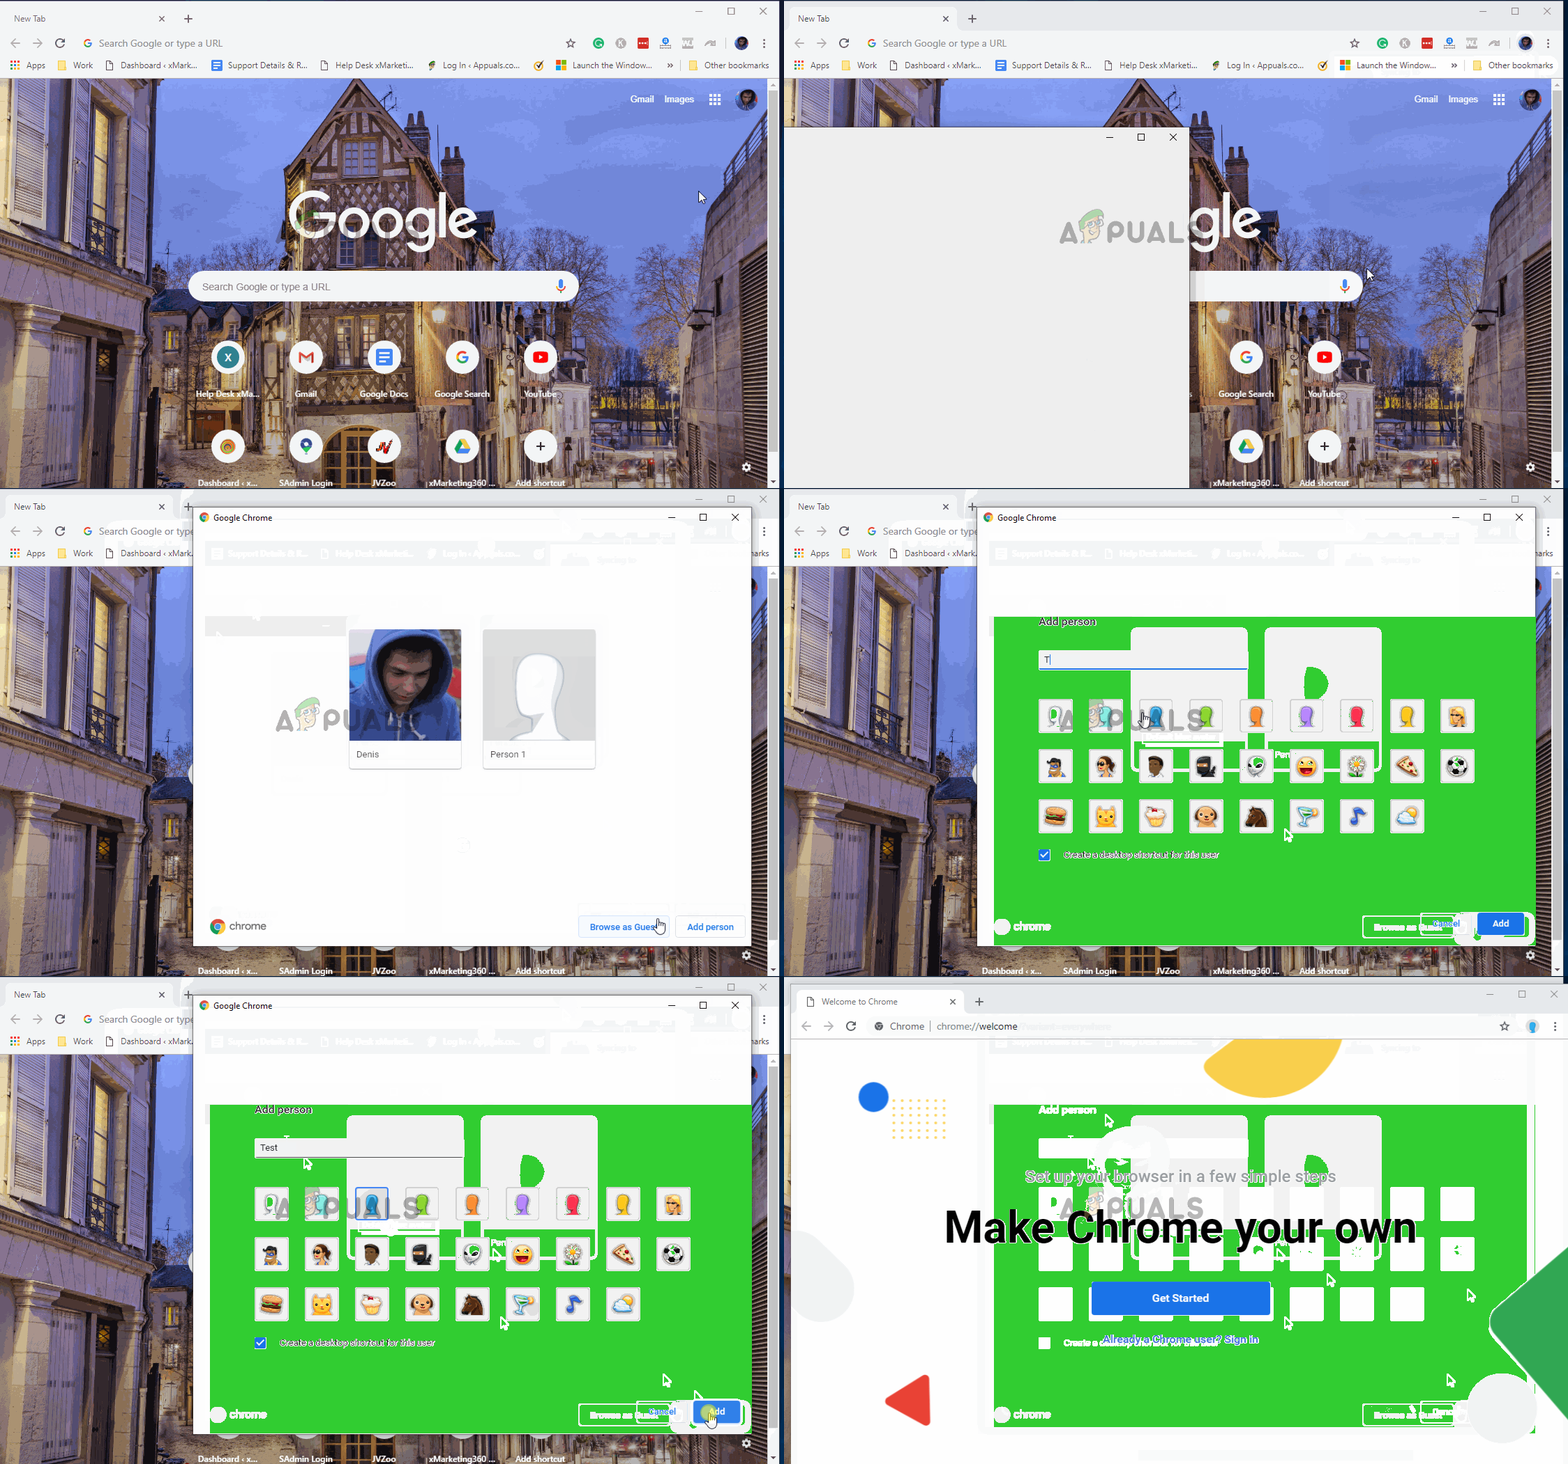
- Open Chrome and click your account icon (top-right corner).
- Select Manage People from the menu.
- Click Add person.
- Enter a name and choose an avatar, then click Add.
- Restart your computer and check if Chrome saves passwords with the new profile.
5. Use a Password Manager
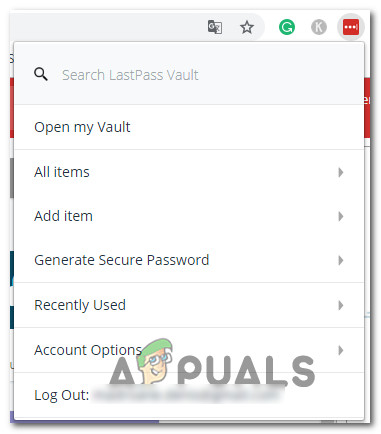
A password manager is more reliable than Chrome for storing passwords. It securely stores and autofills passwords across devices and browsers, avoiding Chrome’s sync issues and ensuring your passwords are always accessible and safe.
LastPass, Dashlane, and Sticky Password are good solutions with plugins for Chrome. All of these have a free version you can use.
6. Delete the Cache folder (Mac Only)
Clearing the cache on a Mac can fix Chrome password issues by removing corrupted files. This lets Chrome create new files and restores normal function without affecting saved passwords.
- Go to ~/<username>/Library.
Note: <UserName> is your username. - Delete the Google folder from ~/Library/Application Support.
- Remove all folders from ~/Library/Caches.
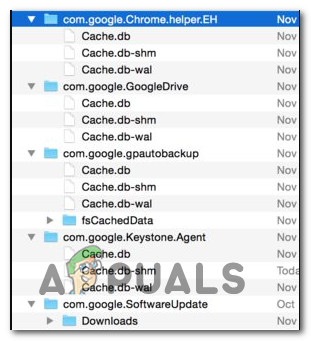
Deleting the Chrome cache folder on Mac - Restart your computer and check if the issue is resolved.


