Fix: Google Chrome Not Responding
Google Chrome is a freeware web browser developed by Google and is the most popular browser used around the world. It is popular for its ease of access, support across cross-platforms, and compability of various web formats.
No matter how popular a software might be, it is not exempt from its share of bugs and problems. One of these problems which emerged around 2015 was that the browser became not responsive whenever the user streams some content, when he viewed some web pages, or whenever the browser came across a gif. There are plenty of different workarounds available for this issue. Start with the first one and work your way down accordingly.
Solution 1: Disabling third-party cookies
A third-party cookie is placed on a user’s hard drive by a website other than the domain which the user is visiting. As with the case of standard cookies, third-party cookies are placed so a site can remember about you at a later time. They are mostly set by advertising networks that a site may subscribe to in hopes of increasing page hits or sales.
We came across the case where several third-party cookies were the root of the problem and disabling them solved the unresponsive Chrome problem. Disabling third-party cookies only mean that you will see fewer ads on websites. You can enable them back on if this doesn’t solve the problem.
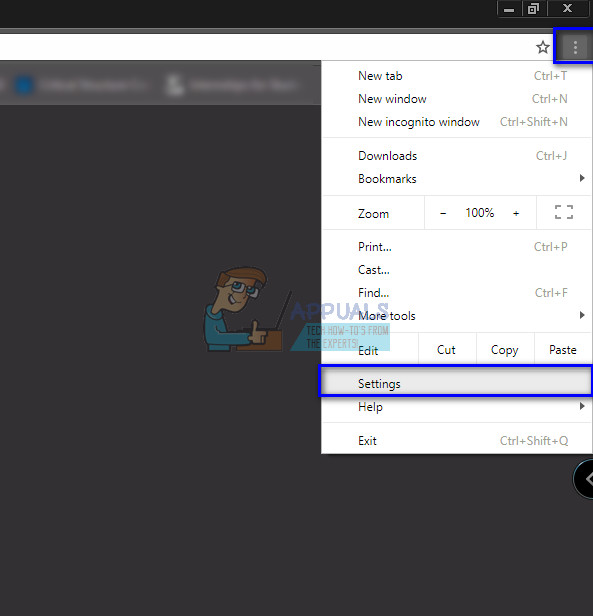
- Click the three dots present at the top-right of the screen to open the menu and select Settings.
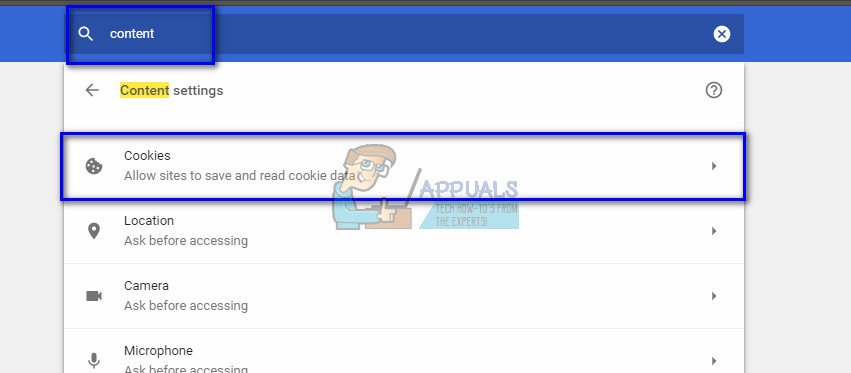
- Type “content” in the search dialogue box at the top of the screen and select Cookies from the list of results.
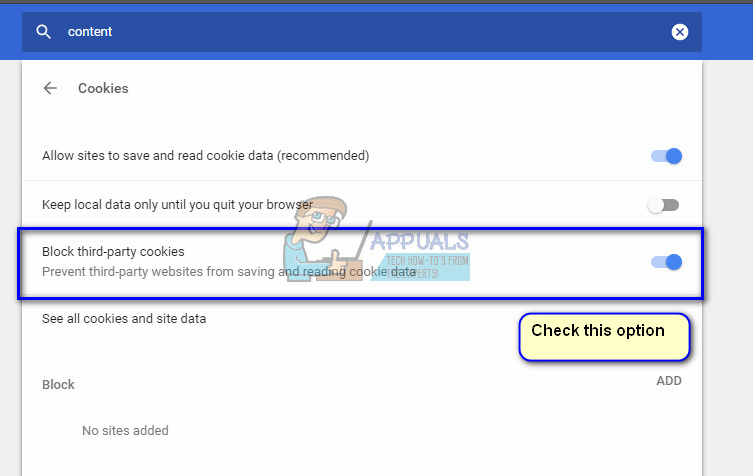
- Check the option “Block third-party cookies”. Save changes and exit.
- Restart your computer and see if Chrome is still unresponsive when you use it.
Solution 2: Deleting Cache and Browsing Data
Your browser may contain faulty files which may be causing Chrome to crash again and again. When we clear the browser data, everything gets reset and the browser behaves like you are visiting websites and browsing for the first time.
Note: Following this solution will erase all your browsing data, cache, passwords etc. Make sure you have all those backed up before you proceed with this solution.
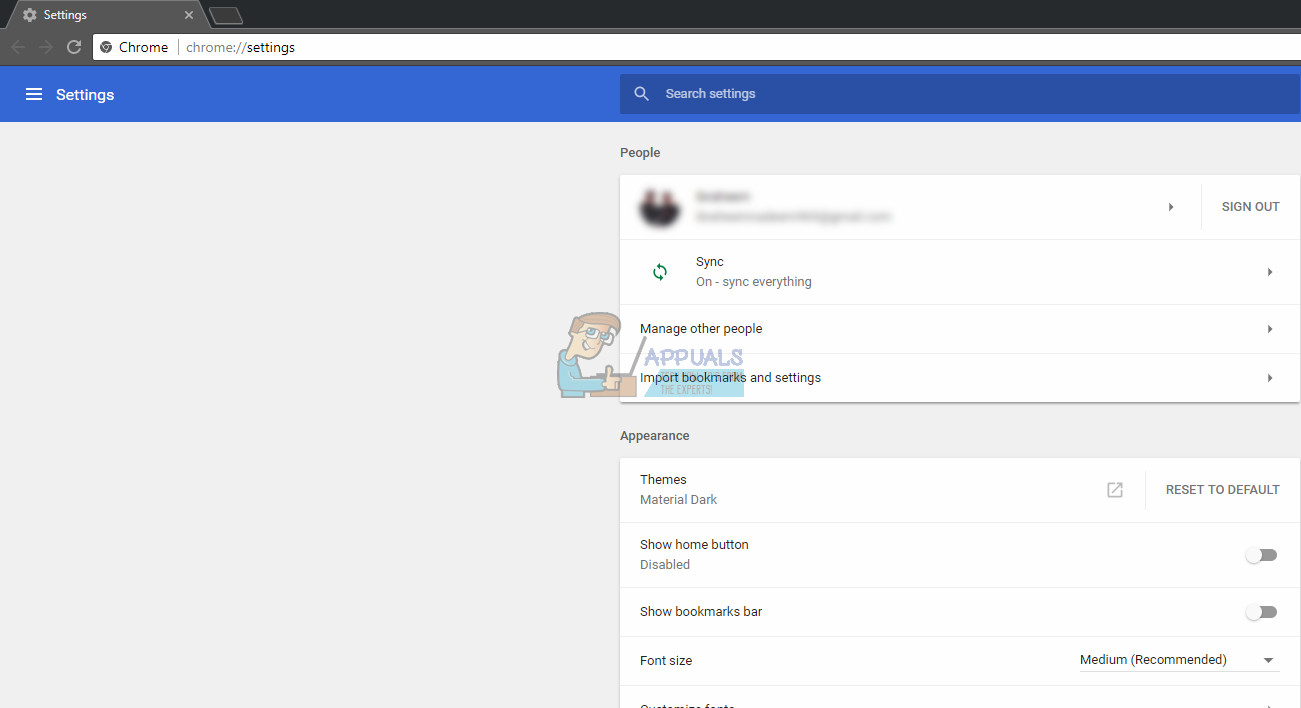
- Type “chrome://settings” in the address bar of Google Chrome and press Enter. This will open the browser’s settings.
- Navigate to the bottom of the page and click on “Advanced”.
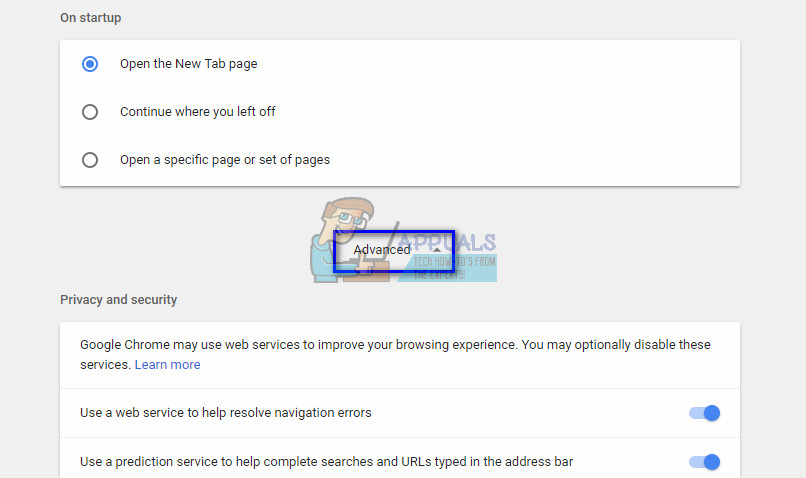
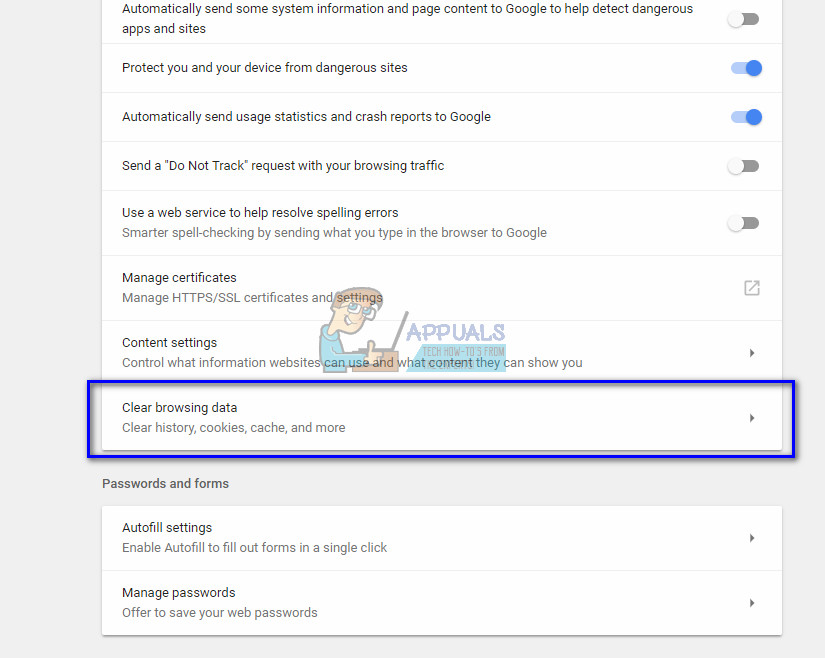
- Once the Advanced menu has expanded, under the section of “Privacy and Security”, click on “Clear browsing data”.
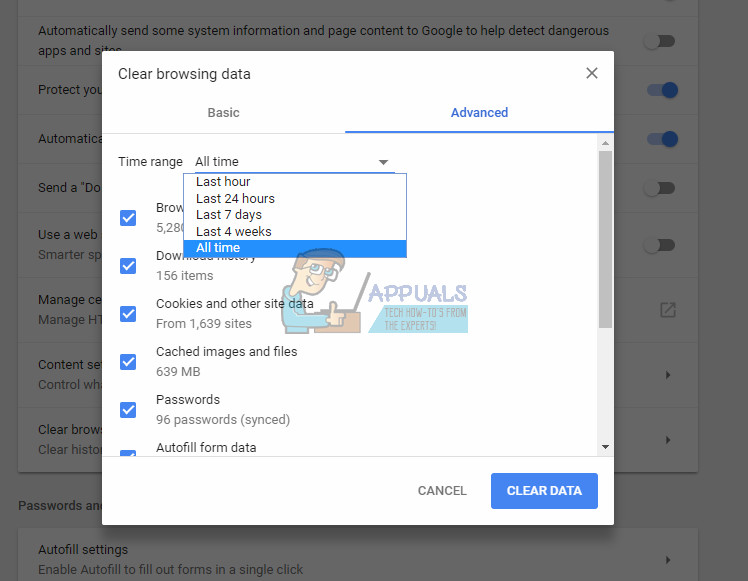
- Another menu will pop up confirming the items you want to clear along with the date. Select “All time”, check all options, and click “Clear browsing data”.
- Restart your browser after doing all the operations and check if the problem at hand got solved.
Solution 3: Disabling Antivirus Software
All Antivirus software constantly monitor your computer’s activity which also includes your online browsing. With that being said, there are cases where the antivirus conflicts with your browser causing it to crash. You can check our article on How to Disable your Antivirus. We have listed the ways on how to disable the software by covering as many products as we can. One specific Antivirus which was noted to cause the problem was McAfee. Nonetheless, you should disable your antivirus software no matter what it is.
After disabling your Antivirus, restart your computer and see if this made any difference. If it didn’t, feel free to enable the antivirus software back on.
Note: Disable your antivirus software at your own risk. Appuals will not be responsible for any damage caused to your computer.
Solution 4: Resetting Network Settings
We can also try resetting the network settings. It is possible that due to faulty network settings saved on your computer, you are facing this problem. Do note that for performing these actions, you require administrator account.
- Press Windows + S to launch the search bar. Type “cmd” in the dialogue box, right-click on the application and select “Run as administrator”.
- Once in elevated command prompt, execute the following commands one by one.
ipconfig /flushdns
nbtstat –r
netsh int ip reset
netsh winsock reset
- After executing all the commands, reset your computer and check if this solves the problem.
Solution 5: Adding a new profile and De-synchronizing your main one
Google Chrome saves your browsing history and passwords etc. on the profile through which you are logged in. If all the above methods fail, you can try making a new profile and log out from your old this. This will in result de-synchronize all your settings. If this doesn’t work, you can log into your main account back.
Note: You will be required to input your password back when you log into your account again. Make sure you have the password of your account at hand before logging off.
- Type “chrome://settings” in the address bar of Google Chrome and press Enter. This will open the browser’s settings.
- Click on “Manage other people” and then select “Add person”.
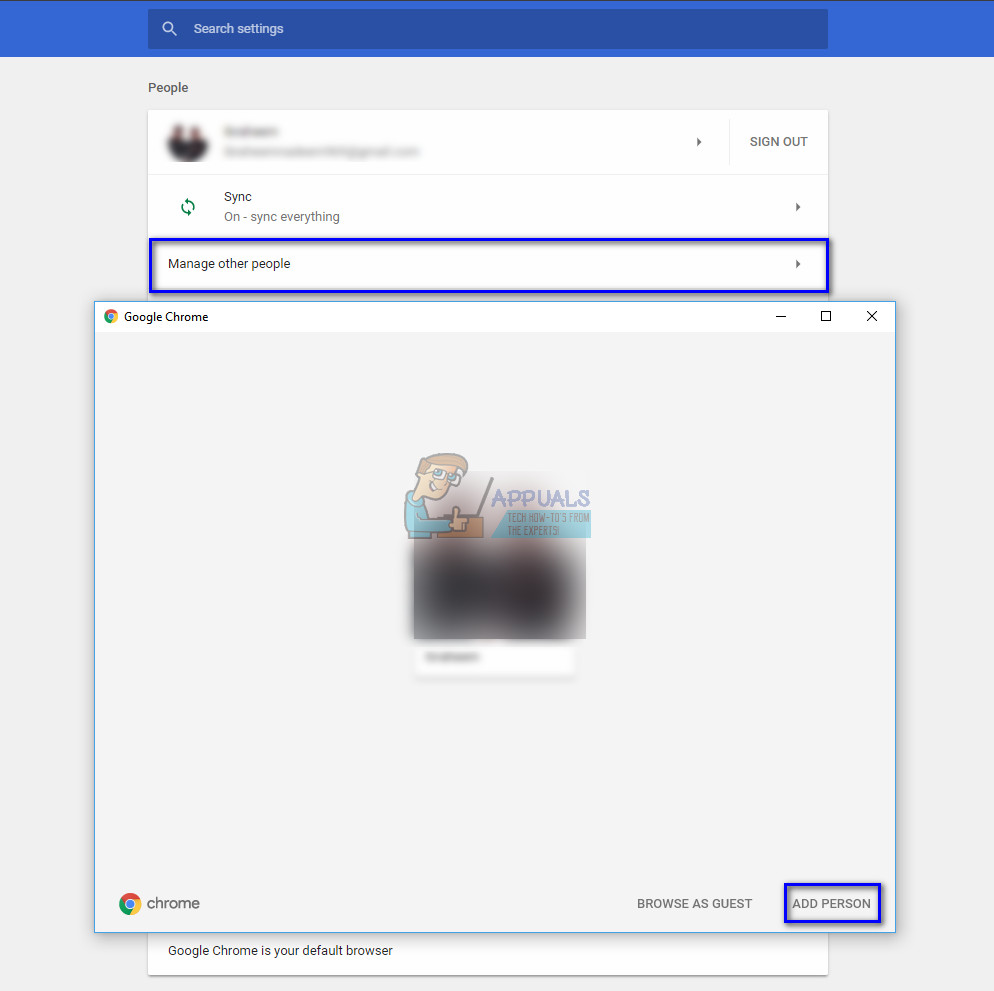
- A new window will pop up asking you to sign into Chrome. Decline and you will be navigated to a blank page. Navigate back to the settings and click ‘Sign out’ in front of your profile. Now you will be logged off and the new user will be selected.
- Restart Chrome and check if the problem went away.
Solution 6: Bypassing Proxy Server for Local Addresses
We can try another workaround before we resort to reinstalling Chrome altogether. A proxy server is a type of web cache which used for faster accessing of websites which are already accessed by other computers in a specific time period. They are mostly used in institutions to reduce the load on the main link and try to resolve a request instantly if it has been requested earlier on. There are some cases where when some settings of this module conflict with your browser.
We can try disabling Chrome to consult the proxy server if you are accessing a local address. This will prohibit the browser to forward the request to the proxy server if you enter a local address in the address bar.
Note: This solution is only targeted for systems which are using Proxy Servers to access the internet.
- Press Windows + S, type “configure proxy server” in the dialogue box and press Enter.
- Open the tab “Connections” and click on “LAN Settings”. Now check the options “Bypass proxy server for local addresses”.
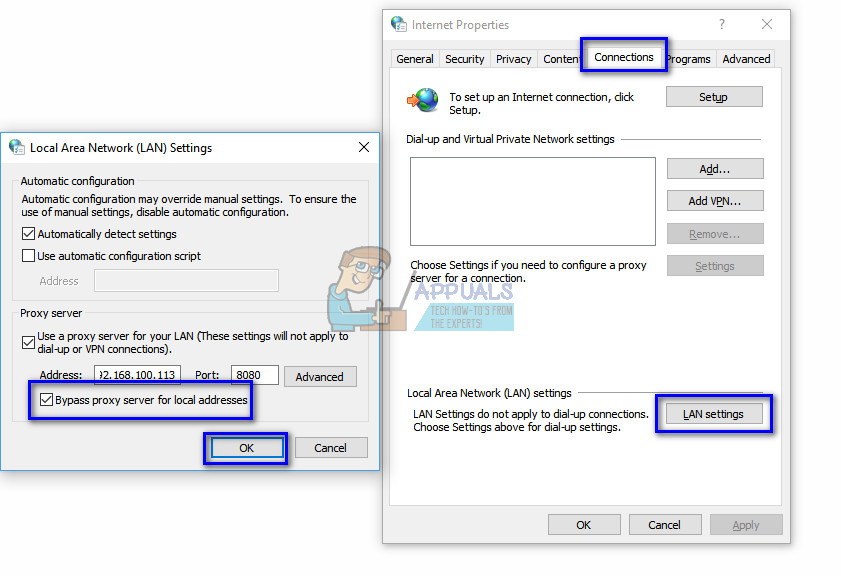
- Press OK to save changes and exit. Restart Chrome and check if this solves the problem at hand.
Solution 7: Reinstalling Chrome
If all the above methods don’t work out, you can try reinstalling Chrome. This will remove all the current files and folders of the application and force to install new files when you install the whole package. Remember to backup all your bookmarks and important data before following this solution.
- You can download the latest installation file of Google Chrome by navigating to the official website.
- Press Windows + R, type “appwiz.cpl” in the dialogue box and press Enter.
- Search for Google Chrome through all the applications, right-click it and select “Uninstall”.

- Now launch the installation executable and follow the on-screen instructions for the installation.