Fix: GeForce Experience Unable to Open Share
If you are using an NVidia graphics card then you will have the GeForce Experience application on your system. The GeForce Experience application allows you to take advantage of various NVIDIA related features and helps you keep the drivers updated. But, some users are experiencing issues when using the Share feature of GeForce. You will see the error message “GeForce Experience was unable to open share” every time you click Share from the GeForce Experience application. This will happen even if you have turned on the Share feature from the settings. Some users noticed that there Share feature was disabled from the settings but turning that on didn’t help because they saw the error message “That didn’t work, try restarting your system”. So the bottom line is that you won’t be able to use the GeForce Experience Share feature.

What causes the GeForce Experience Unable to Open Share problem?
There are a lot of things that can cause this issue.
- Antivirus: Antivirus applications can prevent applications from getting started and that might be what’s going on here. If this is the first time you are using GeForce Experience then there’s a high chance that your antivirus is blocking the Share feature.
- Exe File Settings: This problem can be caused by a bug as well. If your main executable file has its Run as administrator option enabled then you won’t be able to use the Share feature. This option is usually turned on by default so this can happen without you changing any settings. The usual solution for this is to simply turn off that option.
- Corrupt or Incompatible Installation: If you started seeing this problem after a new update from NVidia then the issue might be with the update or installation. Sometimes the new update doesn’t install properly. This can happen because of some incompatibility issue (your previous drivers) or corrupted files. The most common solution for this is to completely reinstall the application rather than updating it.
Note
If you have an antivirus application installed on your system then start by disabling the application. Antivirus applications are known to block other applications. In this specific case, your antivirus might be blocking share. In fact, Bitdefender is known to cause issues with GeForce. Almost every major antivirus application comes with a disable option nowadays so you don’t have to completely uninstall it. Just disable your antivirus for a short period of time and check if that resolves the issue.
Method 1: Change Settings for nvspcaps64.exe File
nvspcaps64.exe by default has its Run as administrator option enabled. Since enabling this option can cause the issue at hand, it’s wise to turn off this option and see if it resolves the issue. Follow the steps given below to disable the Run as administrator option for the nvspcaps64.exe file.
- First, make sure the GeForce Experience application is turned off
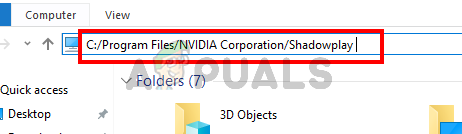
- Hold Windows key and press E
- Type C:/Program Files/NVIDIA Corporation/Shadowplay in the address bar and press Enter
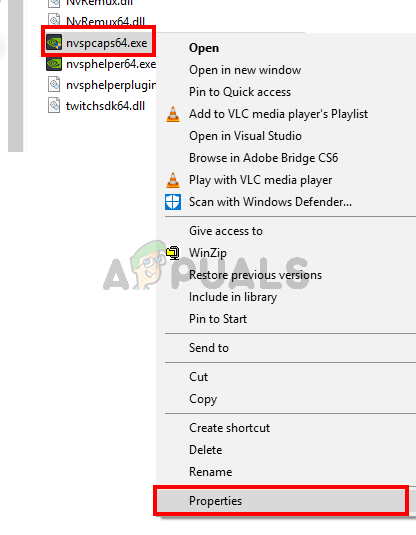
- Locate the file named nvspcaps64.exe and right click it
- Select Properties
- Click the Compatibility tab
- Uncheck the option Run this program as an administrator
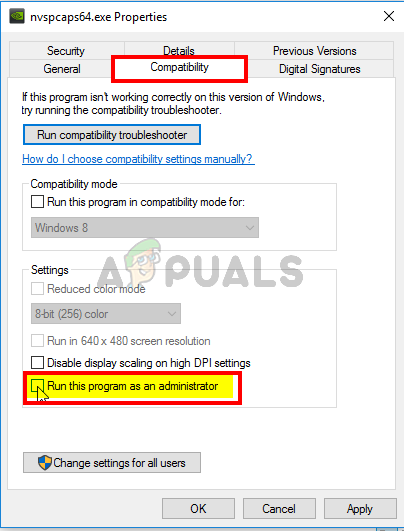
- Click Apply then select Ok
Now turn on GeForce Experience and see if you can enable Share.
Method 2: Uninstall and Reinstall GeForce Experience
A simple solution for this problem is to just uninstall and reinstall the whole GeForce Experience. This works because sometimes the new updates might not install properly. So, uninstalling and reinstalling will make sure you have all the fresh files and everything is updated. A lot of users solved this issue by reinstalling the GeForce Experience.
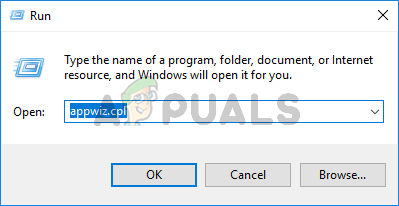
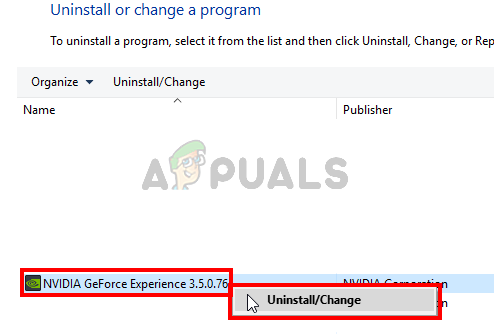
- Hold Windows key and press R
- Type appwiz.cpl and press Enter
- Locate the GeForce Experience application from the list and right click Select Uninstall/Change and follow the on-screen instructions
- Once the application is uninstalled, reboot
- Now download a fresh copy of the setup from the official website and install the GeForce Experience
Everything should be working normally after the reinstall.
Method 3: Run NVidia Share as Administrator
Another solution to this problem is to run the NVidia share with admin privileges. This might be a bit confusing because we turned off the Run as administrator settings in method 1 but method 1 was applied on the NVidia executable file whereas this method will be done for the actual NVidia Share file. A lot of users solved this issue by running the NVidia Share with admin privileges so follow the steps given below if you aren’t sure how to do just that.
- Hold Windows key and press E
- Type C:/Program Files (x86)/NVIDIA Corporation/NVIDIA GeForce Experience in the address bar and press Enter
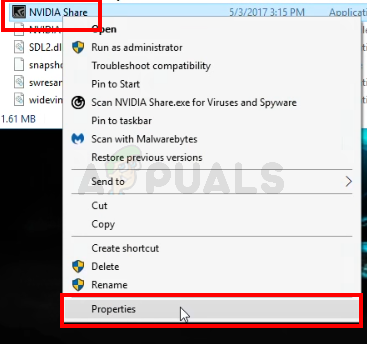
- Locate and right-click NVidia Share. Select Properties
- Click the Compatibility tab
- Check the option Run this program as an administrator
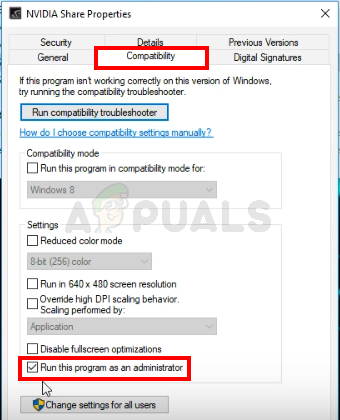
- Click Apply then select Ok
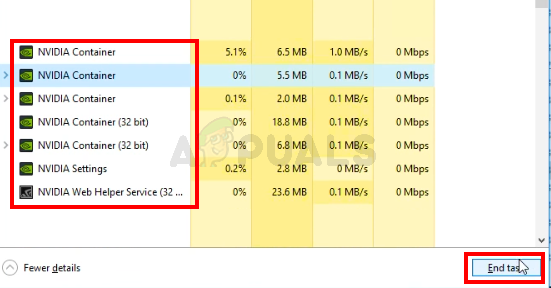
- Now close the File Explorer. Hold SHIFT, CTRL, and Esc keys simultaneously (SHIFT + CTRL + Esc) to open the Task Manager
- Locate NVidia processes from the processes list. Select one of the NVidia process (any one) and click End Task. Repeat this process for all the NVidia processes.
- Navigate back to where the NVidia Share file was located by following steps 1 and 2
- Right-click NVidia Share and select Run as administrator

- Give it a minute. Let the NVidia Share start
- Now restart the system. Make sure you actually restart and not shutdown the system. This won’t work if you shut down and start the system.
- Once the system is rebooted, follow steps 1 and 2
- Right click NVidia Share and select Run as administrator
Now start NVidia GeForce Experience and everything should be working fine.


I have tried all those but one because I do not have nvspcaps64.exe.Apparently they changed it to a dll and plugin only.I’m also missing a few files.I have searched a lot into my problem.Can’t get a fix. I want to avoid using ReImage cause it requires me to pay.