Fix: Fingerprint Sensor not Working in Galaxy S Phones
Fingerprint sensors in Galaxy S series phones might stop recognizing fingerprints or not work properly, causing error messages. This usually indicates a problem with biometric processing, often due to software issues, bad updates, or physical barriers like dust on the sensor. The most common cause is using the wrong screen protectors, which can affect sensor accuracy. 
Galaxy Phones SamsungOther reasons could be environmental factors, like dry or cold skin, that make fingerprint detection difficult.
In this article, we will discuss several ways to solve this problem.
1. Check Biometric Hardware
Start by checking the biometric hardware for fingerprint sensor issues. A diagnostic can reveal if it’s a software or hardware problem, ensuring the sensor isn’t blocked by dirt, damage, or screen protectors. Fixing these issues can restore performance.
- Unlock your phone and tap the “Dialer” icon.
Note: Ensure you use the Stock Dialer that came preinstalled on the phone. - In the dialer, type “*#0*” and tap “Call“.
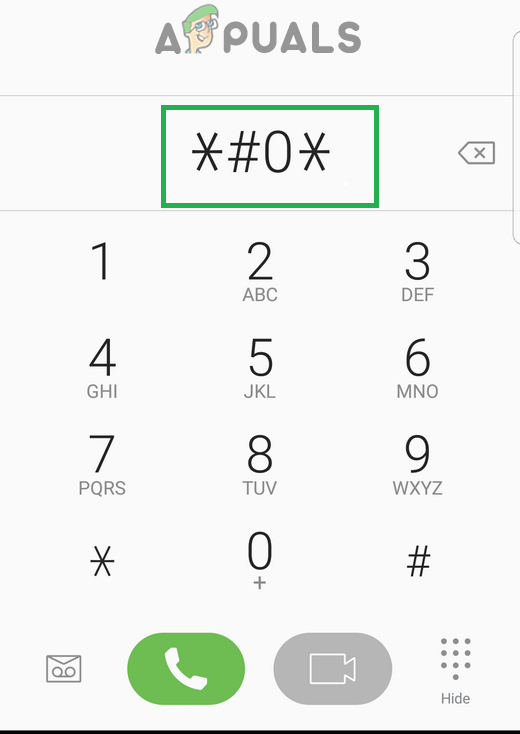
Typing “*#0*” in the dialer - The diagnostics menu will open. Tap “Sensors“, then “Fingerprint Scanner“.
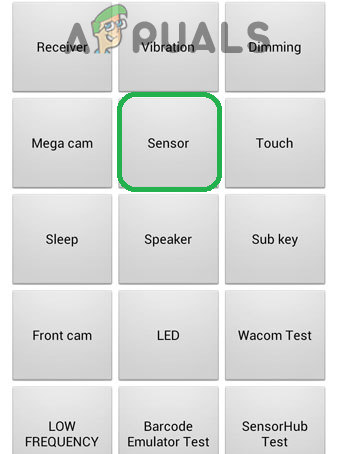
Tapping on the “Sensors” Option - Place your finger on the scanner and check if it works properly.
- If the scanner detects your finger and functions properly, it’s not a hardware issue and can be fixed with other methods below.
- If the scanner doesn’t detect the finger, it’s likely a hardware issue, requiring service.
2. Check for Updates
If your device’s software is outdated, it might be why the fingerprint sensor isn’t working. Updates usually fix bugs and problems, including those with the sensor. Installing the latest updates can solve conflicts that affect the sensor. This step improves security, system stability, and sensor performance.
- Drag down the notification panel and tap the “Settings” icon.

Dragging down the notification panel and tapping on the “Settings” icon - In settings, tap “Software Update” or “About Device” for older models.
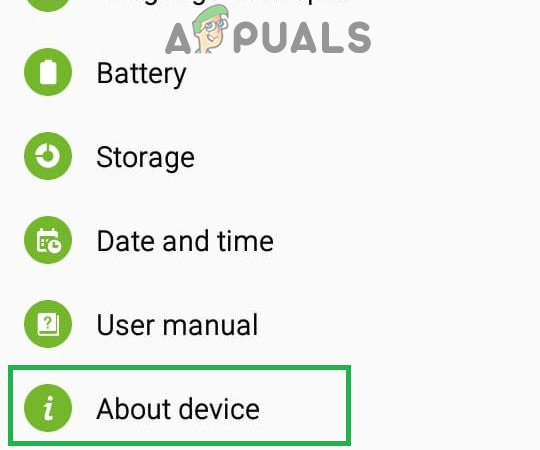
Scrolling down to the bottom and clicking on the “About Device” option - Tap “Software“, then “Software Update“.
- Tap “Check for Updates” and wait while the phone checks for updates.
- If updates are available, tap “Download Updates Manually“.
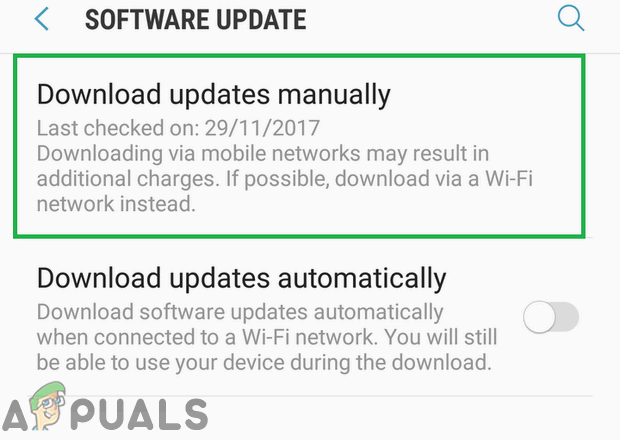
Clicking on the “Download Updates Manually” option - Once downloaded, tap “Install Now“.

Tapping on the “Install Now” option - The phone will now restart with the new Android version installed.
3. Disable Fingerprint Gestures
Sometimes, fingerprint gestures interfere with the sensor’s accuracy. Turning them off allows the sensor to work solely on reading fingerprints, which can fix unresponsiveness and improve reliability.
- Drag down the notifications panel and tap “Settings“.
Dragging down the notification panel and tapping on the “Settings” icon - Tap “Advanced Features“.
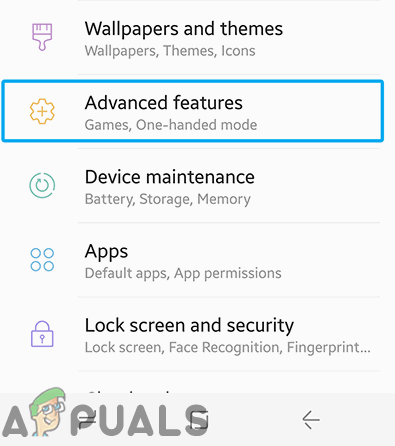
Tapping on “Advanced Features” - Switch off the “Fingerprint Sensor Gestures” toggle.
- Restart the phone and check if the issue persists.
4. Add New Fingerprints
The issue might be because the sensor can’t read old or incomplete fingerprint data. Adding new fingerprints lets the sensor get a fresh and accurate scan. This helps fix problems from changes in skin texture, like dryness, so the sensor works better and faster.
- Drag down the notifications panel and tap “Settings“.
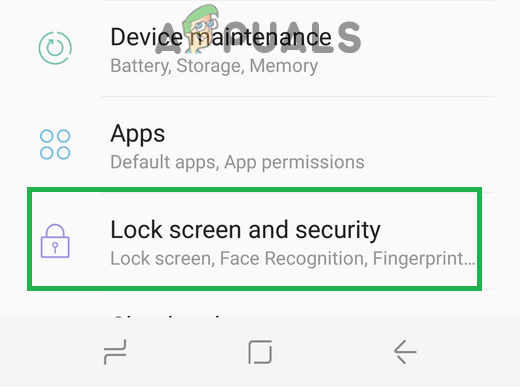
Dragging down the notification panel and tapping on the “Settings” icon - Tap on “Lock Screen & Security“.
- Tap “Fingerprint Scanner“, then enter your password or pin code.
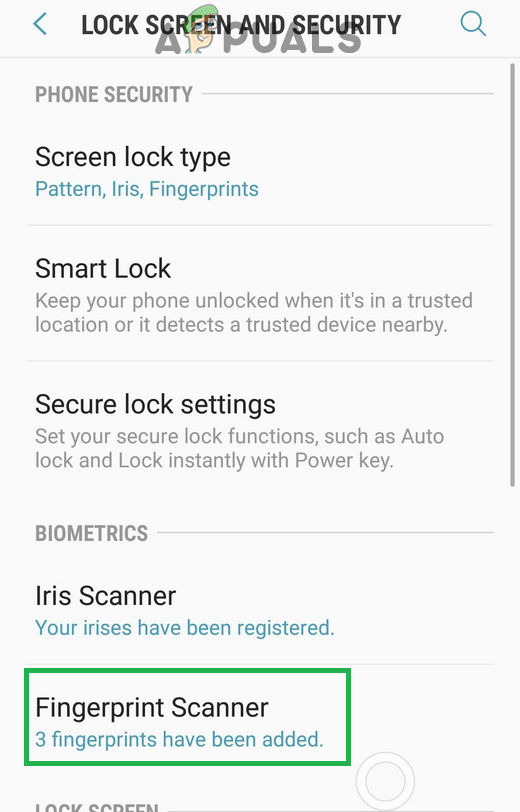
Tapping on the “Fingerprint Scanner” option - Tap the “Trash Can” icon next to each fingerprint to delete them.
- Repeat for all fingerprints and reboot the phone.
- Drag down the notifications panel again and tap “Settings“.
Dragging down the notification panel and tapping on the “Settings” icon - Tap “Applications“, then the “Three Dots” in the top right corner.
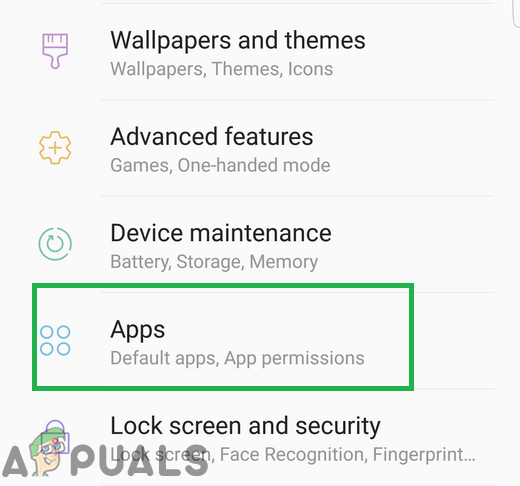
Tapping on the applications option inside settings - Tap “FingerprintASM“, then go to “Storage“.
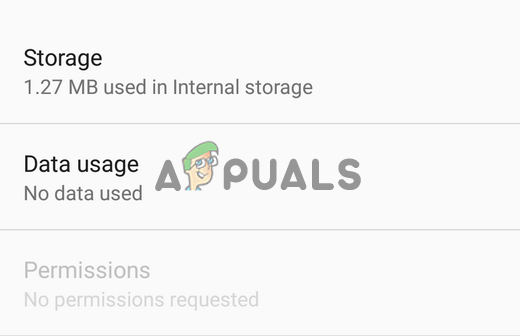
Tapping on the Storage option - Tap “Clear Cache“, then “Clear Data“.

Tapping on the “Clear Data” and the “Clear Cache” option - Return to the app list and tap “Fingerprint Authenticator“.
- Tap “Storage“, then “Clear Cache” and “Clear Data“.
- Go back to “Lock Screen & Security” and tap “Fingerprints“.
Tapping on the “Fingerprint and Security” Option - Tap “Add a new Fingerprint” and complete the verification.
- Once added, lock the screen and check if the issue persists.
5. Wipe the Cache Partition
If the previous solutions didn’t work, try clearing the cache partition. This removes old or damaged system files that might affect the sensor. Clearing the cache doesn’t delete personal data but gets rid of temporary files causing conflicts. This can fix issues and improve phone performance, restoring the fingerprint sensor’s function.
- Press and hold the power button, then tap “Power Off“.
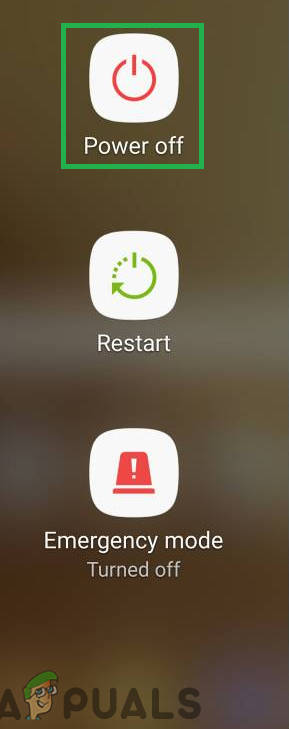
Tapping on the Power off option - For older devices, hold “Volume Down“, “Home“, and “Power“. For newer devices, hold “Volume Down“, “Bixby“, and “Power“.

Button layout on Samsung Devices - Release the “Power button” at the Samsung Logo, and release all buttons at the “Android” logo.

Releasing the power key on Samsung’s Boot logo - The device may show “Installing System Updates“.
- Use “Volume Down” to highlight “Wipe Cache Partition“.
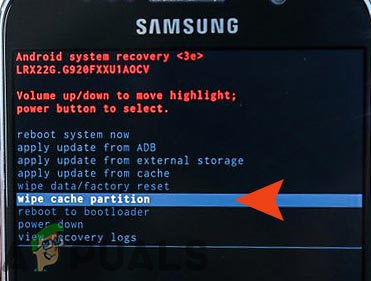
Highlighting the Wipe Cache Partition option and pressing the power button - Press “Power” to select, and wait for completion.
- Use “Volume Down” to highlight “Reboot System Now” and press “Power“.
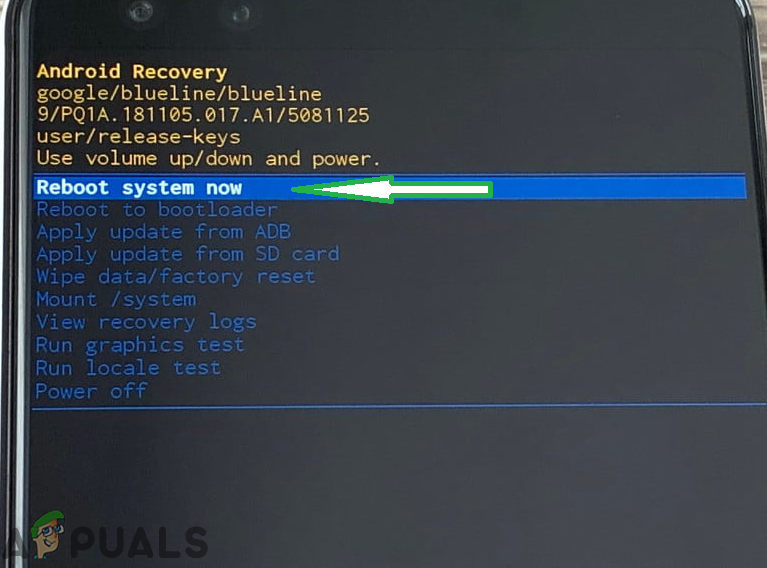
Highlighting the “Reboot System Now” option and pressing the “Power” button - The phone will reboot. Check if the issue persists.


i first day use smartphone(by it for comfortable use viber only, as i desktop guy… fingertip was stoped work after system update and restart, then she need pin cod, and after that in settings you can use saved fingertip or add new one