Fix: Keyboard not Working on Fallout 4
This error occurs randomly during Fallout 4 gameplay and the players have noticed that the keyboard sometimes ceases to work completely and the problem persists until the game is restarted or even longer. The problem is sometimes accompanied by mouse problems as well and the mouse sometimes receives the same treatment.
There have been plenty of useful solutions since the error originally appeared and we have chosen the ones which have helped the most users and presented them with step-by-step solutions. Follow the methods below and good luck on resolving the problem!
What causes the Keyboard to stop working on Fallout 4?
There are a few causes for this serious problem which prevents players from playing normally and we have chosen them based on real feedback from the game’s players. Checking out this list might help you resolve the problem faster:
- The game is preventing you from playing with both keyboard + mouse and gamepad since it can be considered cheating. This can appear if you merely have your controller connected to the console or installed as a device.
- A certain app’s overlay is preventing the game from running normally and users have reported that it’s usually Steam or Overwolf causing the problems. Consider disabling them for Fallout 4.
Solution 1: Edit the Preferences File
The best and the most common solution to this problem is to simply edit the preferences file located in Documents in order to disable the game controller from being used at all. This might be a problem if you change your mind later on so make sure you undo the changes if you ever wish to play with a game controller.
- Navigate to the folder’s location in the File Explorer simply by opening a folder and clicking This PC or My Computer from the left navigation pane or by searching for this entry in the Start menu.
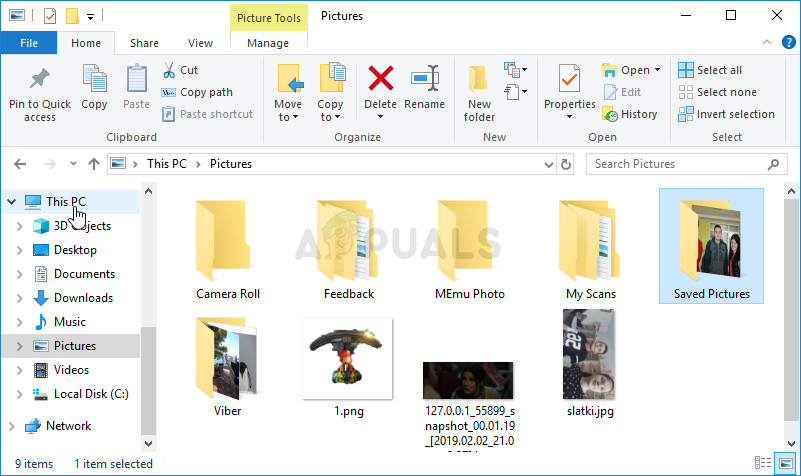
- Anyway, in This PC or My Computer, double-click to open your Local Disk and navigate to Users >> Your Account’s Name >> Documents >> My Games >> Fallout 4. Windows 10 users can simply navigate to Documents after opening File Explorer from the right-side navigation menu.
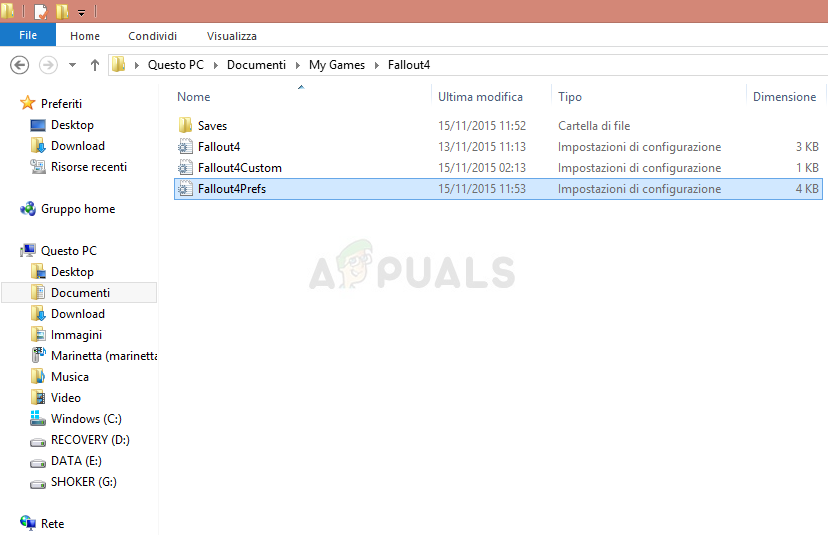
- Right-click the file called named ‘Fallout4Prefs’ and choose to open it with Notepad.
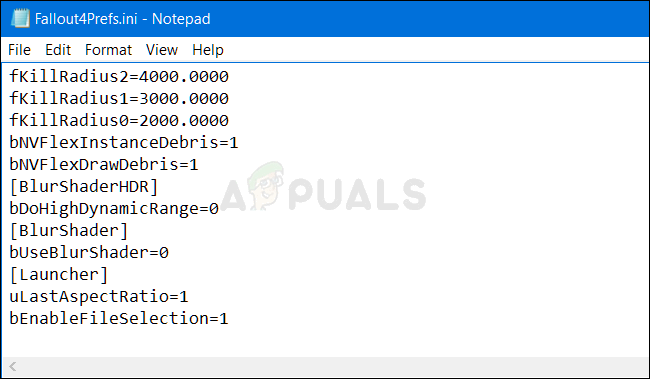
- Use the Ctrl + F key combination or click Edit at the top menu and select the Find option from the dropdown menu in order to open the Search box.
- Type “bGamepadEnable” in the box and change the value next to it from 1 to 0. Use the Ctrl + S key combination in order to save the changes or click File >> Save and exit Notepad.
- Try running the game again in order to check if the Fallout 4 keyboard not working problem still appears!
If you are able to manage just enough in the game, you can always use the easier method and turn of the controller using in-game settings. This will definitely appeal more to regular users!
- Open up Steam by double-clicking its entry on the Desktop or by searching for it in the Start menu. Windows 10 users can also search for it using Cortana or the search bar, both of them next to the Start menu.
- Navigate to the Library tab in the Steam window, and locate Fallout 4 in the list of the games you own in your library. Right-click on the game and choose the Play Game Non-Steam users can simply double-click the game’s icon.
- Click the Settings button from the home screen in order to open the Settings Scroll down until you locate the Controller entry and switch the option from ON to OFF. Save the changes you have made and check to see if the problem still appears.

Note: If you have decided to try out this method in order to resolve the problem with keyboard and mouse, you should definitely undo the changes you have made to the .ini file if you ever start playing the game with a game controller!
Solution 2: Disable Overwolf Overlay
This software is a favorite among PC players as it allows users to add overlay apps to the game including Game capture, Twitch streaming, TeamSpeak overlay, a browser, etc. However, it can become problematic and cause the keyboard and mouse to stop working so it’s recommended you disable it for Fallout 4.
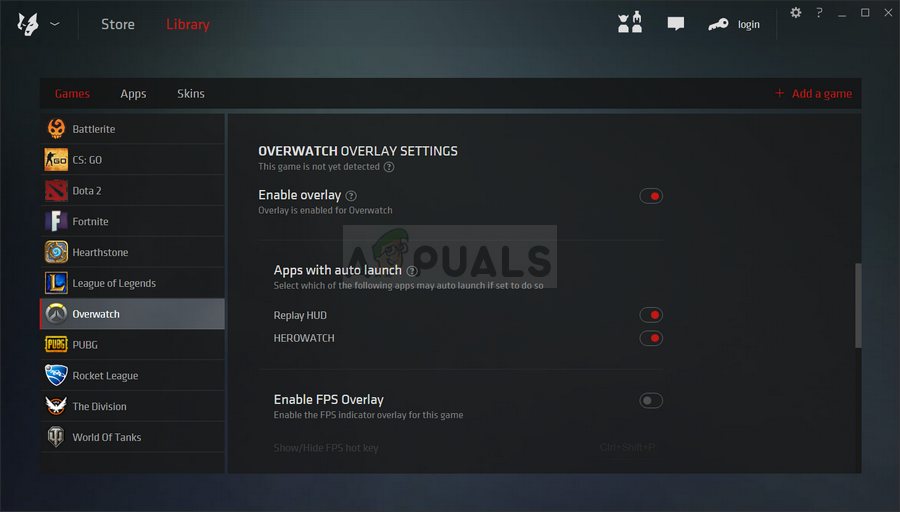
- Click the System Tray in order to show hidden icons or locate the Overwolf icon immediately. Right-click on it and choose the Settings option. Click on Overlay.
- Navigate to Library >> Games and locate Fallout 4 in the list of games you have installed. Click on it once in the left pane and click the Enable overlay option in order to slide it to the left and disable it.
- Save the changes and check to see if the problem still appears.
Solution 3: Disable Steam Overlay
This fix is a standard one for plenty of Steam game-related issues. Obviously, this method is aimed at Steam users only (users who have purchased the game via Steam) and it’s pretty much an easy method which shouldn’t be skipped while troubleshooting.
- Open up Steam by double-clicking its entry on the Desktop or by searching for it in the Start menu. Windows 10 users can also search for it using Cortana or the search bar, both of them next to the Start menu.
- Navigate to the Library tab in the Steam window, and locate Just Cause 2 in the list of the games you own in your library.
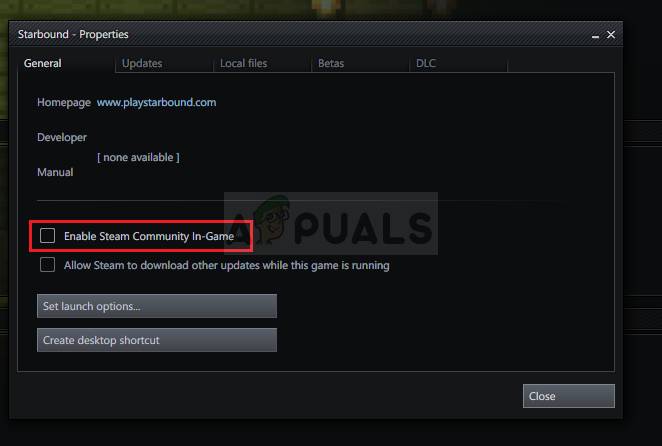
- Right-click the game’s entry in the library and choose the Properties option from the context menu which will appear. Stay in the General tab in the Properties window and clear the box next to the “Enable the Steam Overlay while in-game” entry.
- Apply the changes, exit, and try running the game. Check to see if keyboard problems still appear while playing Fallout 4!
Solution 4: Delete the Controller from Device Manager
If you are currently not using a connected game controller to play any game and if the methods above didn’t work for you, there might be a bigger problem of the game being tricked into believing you are using some of the game controllers you have installed some time ago. If you are not using that controller now, you can uninstall it using Device Manager.
- Type “Device Manager” into the search field next to the Start menu button to open the device manager window. You can also use the Windows Key + R key combination in order to open the Run dialog box. Type devmgmt.msc in the box and click OK or Enter key.

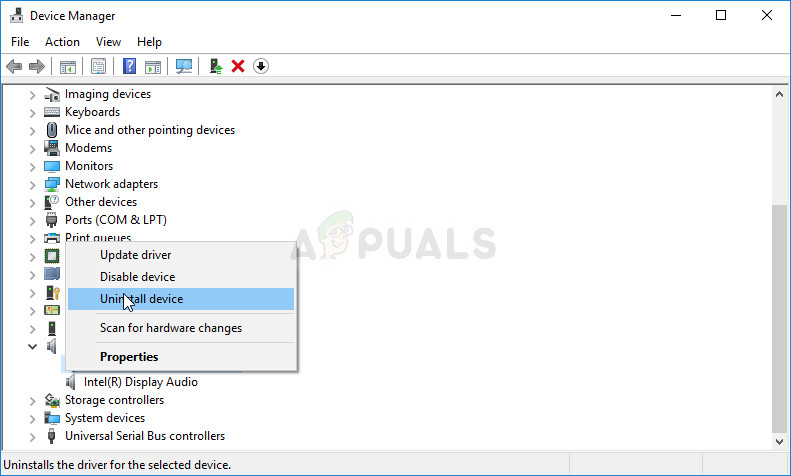
- Expand the “Sound, video and game controllers” section. This will display all installed similar devices your machine currently has. The controller might also be located in the Universal Serial Bus controllers
- Right-click on each game controller you locate on the list and choose the Uninstall device option from the context menu. Make sure you repeat the same process for all gamepad entries on the list.
- Confirm any dialog prompts, close Device Manager and restart your computer. Reopen the game and check to see if the keyboard not working problem persists.


