Fix: Failed to Obtain IP Address
As you know, relying solely on your mobile data plan for internet connections can make up for an unforgettable phone bill. If you don’t have an unlimited data plan, using Wi-Fi networks whenever you can is much more affordable and usually a lot faster. But what happens when your smartphone refuses to connect or stay connected to Wi-FI networks?
A lot of Android users have reported that their devices fail to obtain the IP address when trying to connect to a WI-FI network or a hotspot. Even more, the issue is not restricted to a certain manufacturer, and it seems all versions of Android are vulnerable to this error.
It usually goes like this: you turn on your WI-FI, try to connect to a Wi-Fi/hotspot and after you insert the password you’ll see a message like “Connecting…” or “Obtaining Ip address” or “Obtaining IP address from *Your Network*. The problem is, it goes on in a loop for a while until it displays a message that says “Failed to obtain IP address“. The end result is you won’t be able to connect to the internet.
Some users have this problem with only one WI-FI network while others can’t connect to any networks or hotspots. The bad thing is, the problem can originate from a lot of different places. Here are some potential culprits:
- a wireless interference
- a router glitch
- faulty wireless security settings
- black-list settings in the MAC address
- a software conflict
If you are unfortunate enough to have this problem, don’t worry. We have prepared a master guide with the most effective solutions for the “failed to obtain IP address” error. Go through all of them in order until you find a fix that works for you.
Method 1: Removing and re-adding the network
Sometimes, fixing this issue is as easy as removing the network from your device before adding it again. This will force the router to automatically reconfigure some settings and assign you a new IP address. Here’s how:
- Go to Settings > Wi-Fi.
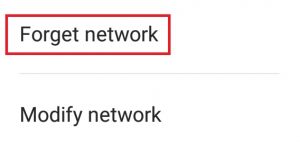
- Long press on the network that refuses to connect and tap on Forget Network.
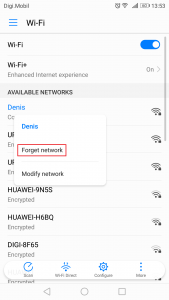
- Tap on the network again, enter the password and reconnect.
Method 2: Setting the phone to airplane mode
This fix will end up working most of the time, but it will only be temporary. The science behind it is similar to method one. By turning on flight mode, you’re forcing the router to reconfigure the network settings.
- Turn on Airplane mode/flight mode.
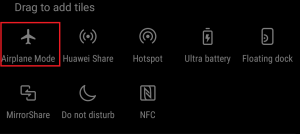
- Wait 10 – 15 seconds.
- Disable Airplane mode/flight mode and see if the phone manages to connect to the Wi-FI network.
Method 3: Rebooting your Android device and router
Of course, this is only applicable to your home networks. If you can connect to a local cafe bar Wi-FI, you can’t expect them to reboot the network just for you. If you’re at home and the issue is caused by a software conflict in your phone or a rooted glitch, rebooting both might solve the problem for good.
Most routers have a web-based configuration that you can access via your web browser as long as you’re on the same local network as the router. The router’s default IP address (default gateway) is used to connect to the web configuration of your router. Follow the steps below to reboot both your android device and your local router:
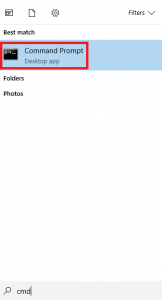
- Open a command prompt by typing “cmd” in the search bar.
- Type “ipconfig” inside the newly opened command prompt.
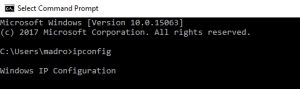
- Scroll all the way down to Wireless Lan adapter Wi-FI and copy the Default Gateway IP.

- Paste the Default Gateway inside your web browser and hit Enter.

- Most routers will ask you to log in with your username and password. If you don’t know these and you never changed them before, the router is most likely using default credentials. Most of the times you’ll get through by inserting “admin” in both boxes.
 Note: If “admin” is not working for you, do a web search with your *router model* + default password. You should be able to find the default credentials quite easily. If the default credentials don’t work, your modem is probably running on a custom firmware provided by your internet carrier, in which case you need to reach them and ask for the right credentials.
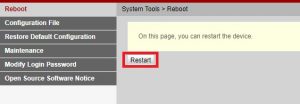
 - Once you’re in the web-based application of your router, look around for a Restart or Reboot button. Some router models have it under System tools. Click on it and wait for your router to restart.
- Move over to your Android device and restart it as well.
- Connect to the local Wi-Fi network again and see if your device manages to obtain an IP address.
Method 4: Setting the WPA2 – PSK
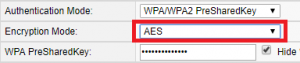
Some Android devices don’t play well with some WPA encryption methods. Will some have trouble with the AES encryption, others glitch out when the router is set to TKIP. Here’s how to switch between them:
- Go to your routers web interface. If you’re not sure how – just follow the steps 1 to 5 presented in method three.
- Look around for the Wireless security settings. Depending on your router, you’ll sometimes find them under Security or WLAN.
- Once you’ve managed to find them, see which encryption your router uses. If it’s set on AES, change it to TKIP. If it’s TKIP, change it to AES.
- Look for the Save button and click on it.
- Switch over to your phone, go to Settings > Wi-Fi and long press on your router’s network.
- Tap on Forget network and then reconnect to it again by inserting the password.
Method 5: Turning OFF the MAC filter
If the method above didn’t help you, your router might refuse to allow your Android device based on the MAC address. If the MAC filter is ON and your Android device is not in the white list, you’ll be stuck with the error “obtaining IP address“.
There’s also the possibility that your Android device has managed to find itself on the blacklist – Android can be affected by a virus that does that. In any case, this can be fixed by accessing your router settings and ensuring that your Android device is not affected by the MAC filtering. You can also try to look up and change your MAC Address. For the sake of simplifying the steps, I’m going to show how to deactivate MAC filtering first, so you can pinpoint if that’s the cause of your issue. Here’s how:
- Log in to the web interface of your router. Consult method three if you’re not sure how.
- Look around for a security tab and expand it.
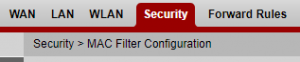
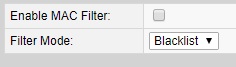
- Make sure Enable MAC Filter is deactivated. If it was enabled, uncheck the box and don’t forget to hit Save.
- Switch over to your phone, go to Settings > Wi-Fi and long-press on your router’s network.
- Tap on Forget network and then reconnect to it again by inserting the password.
- If this fixed your issue, go back to the Security tab of your router, re-enable the MAC Filter and examine it. If the filter mode is set to blacklist and you can see your android device, remove it and hit Save.
Note: If the MAC filter works with a whitelist and you can’t see your device there, add the MAC address of your Android device and hit Save.
Method 6: Assigning a static IP address
If the solutions above haven’t yielded any results, let’s try assigning a static IP address. If your device cannot obtain the IP address automatically, you can assign one manually. But keep in mind that this fix is also temporary, and it will require you to reconfigure the network settings whenever you switch Wi-Fi networks, turn your WI-FI off or restart your Android device.
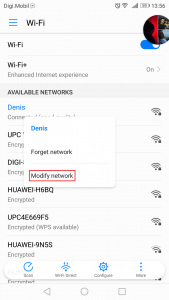
- Go to Settings > Wi-Fi and long press on the network that refuses to connect.
- Tap on Modify Network.
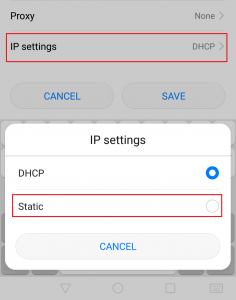
- Scroll down and make sure the Show advanced options box is checked.
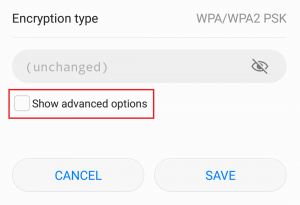
- Change the IP settings to Static.
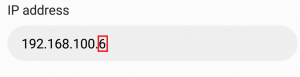
- In the IP address field, change the last octet with any number from 10 to 255. Make sure it’s a different one than the one you already have.
- Hit Save and see if your Android manages to connect to the Wi-FI network.
Note: There’s a small chance the number you choose might conflict with another device connected to that network that was given the very same IP address. To make sure that’s not the case, try assigning 2-3 different numbers before moving on to the next method.
Method 7: Performing a malware wipe
If you’ve followed all the methods above but nothing changed, this might be the result of malware interference. Malware capable of doing can easily find its way on your Android device, but there’s also the possibility that the virus found its way inside your router. Some trojans are capable of avoiding a factory reset, so it’s best to scan your device before doing this. Here’s what you need to do:
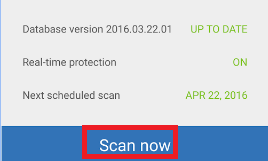
- Download and install an anti-malware app on your Android device. Malwarebytes Anti-Malware is a solid malware remover.
- Open the app and tap on Scan now.

- Wait for the process to complete then go to Apps > Settings > Backup and reset.
- Since doing a factory reset will erase all your personal data, it’s probably best to create a backup by tapping on Back up my data.
- Tap on Factory data reset and tap on the Reset device.
- Tap on Erase Everything. It will take a while, and your device will restart at the end.
- Check to see if the device is able to connect to the Wi-Fi network. If you still have the same problem continue with the steps below.
- Log in to your router’s web interface and access System Tools and look for an entry similar to “Restore default configuration“. Click on it and wait until your router restarts.

Method 8: Clearing Google Play Services cache
It is possible that the Google Play Services application on your computer has acquired some corrupted cache due to which this issue is being triggered while trying to connect to the network. Therefore, in this step, we will be navigating through the storage settings of the mobile and clear the cache manually. In order to do that:
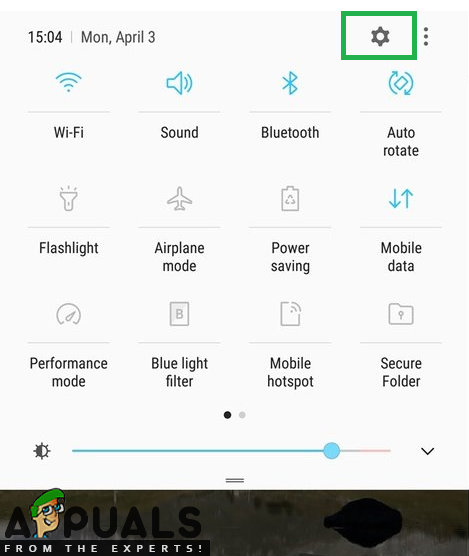
- Unlock your phone, drag down the notifications panel and click on the “Settings” icon.
- In settings, click on “Applications” and then tap on the “Apps” option.
- Click on the “Three Dots’ at the right corner and select “Show System Apps” from the menu.
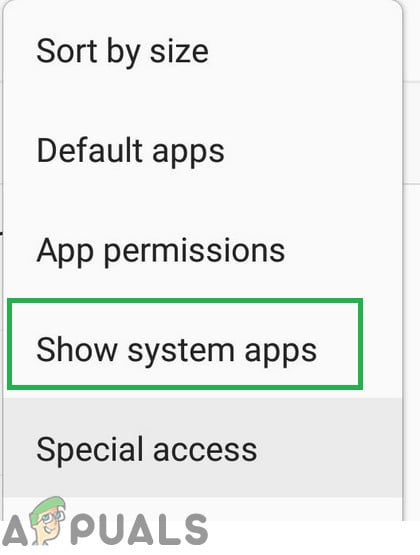
Tapping on the “Show System Apps” option - Click on the “Google Play Services” option and then click on the “Storage” button.
- Click on the “Clear Cache” and then on the “Clear Data” button to delete the cached data by the application.

Clear Cache - Try to connect to the Wifi network and check to see if the issue persists.
Method 9: Changing Device Name
It is possible that the Device name that you have set for your mobile phone has been blocked or blacklisted from the router due to which this connection issue is being triggered while trying to connect. Therefore, in this step, we will be changing our mobile’s name and then check if the issue is fixed by doing so. For that:
- Unlock your phone, drag down the notifications panel and tap on the “Settings” option.
Dragging down the notification panel and tapping on the Settings icon - In settings, scroll down to the bottom and tap the “About” option.
- In the about device option, click on the “Device Name” button.
- Enter a new device name for your mobile and exit back to the home screen.
- Try to connect to the Wifi network and check to see if you are able to do so.
Method 10: Disable Private DNS Mode
In some cases, the Private DNS mode on your mobile phone might be the reason due to which this error is being triggered. If the mode has been enabled on your mobile but you haven’t properly configured its settings, the error message will be seen while trying to connect to a Wifi network. Therefore, in this step, we will be turning this feature off. For that:
- Unlock your phone, drag down the notifications panel and click on the “Settings” icon.
- In the settings, click on the “More Connections” option and then click on the “Private DNS” button.
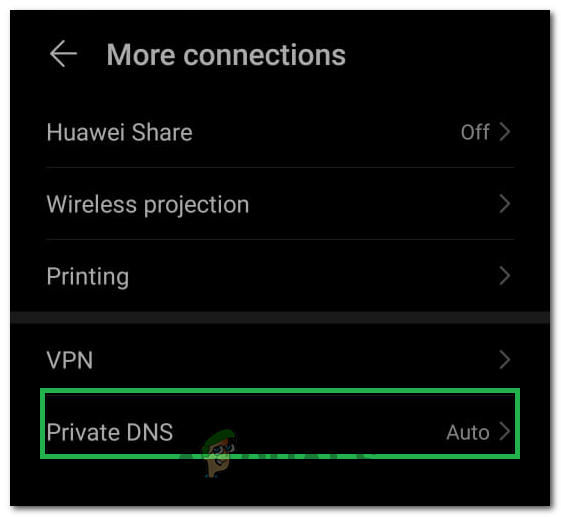
Selecting this option in the settings - Set the option to “Off’ and navigate back to the home screen.
- Try to connect to the Wifi network and check to see if the issue still persists.
Method 11: Defining Settings
It is possible that sometimes your mobile phone might not be able to automatically detect the appropriate settings for the Wifi connection due to which this issue is being triggered while trying to connect to the network. Therefore, in this step, we will be entering these ourselves to fix this issue. In order to do that:
- Drag down the notifications panel and click on the “Settings” cog.
- In the settings, click on the “Wifi” option and then long-press on the Wifi network that you are trying to connect to.
- Select the “Modify Network” option and then check the “Show Advanced Settings” button.
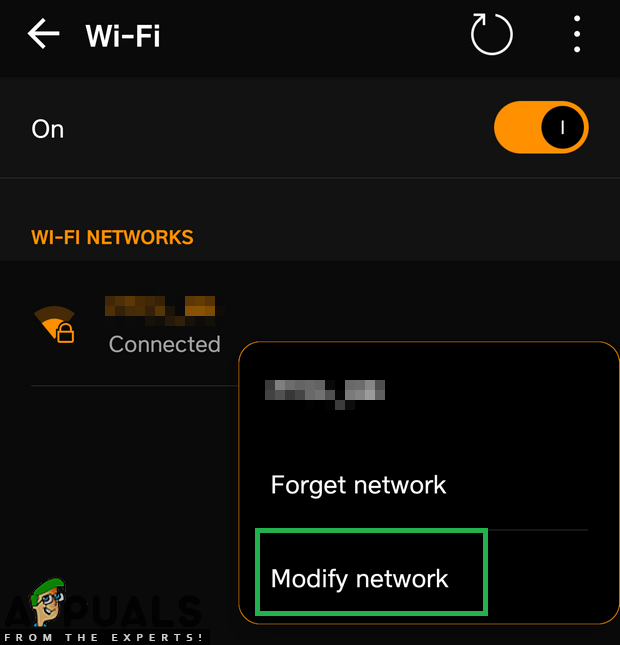
Long pressing on the Wifi which we are connected to and tapping on the Modify Network option - Make sure to set the IP settings to Static to unlock further control.
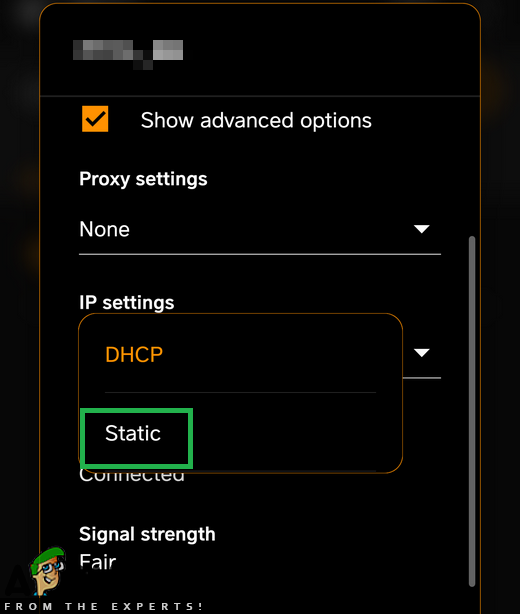
Selecting “Static” in the IP settings - In the advance settings, make sure to enter the IP address yourself and enter “8.8.8.8” as the primary DNS server and “8.8.4.4” as the secondary DNS server.
- Save your changes and connect to the network.
- Check to see if doing so fixes the issue for your mobile phone.