Fix: Failed to Load Channels in Bluestacks
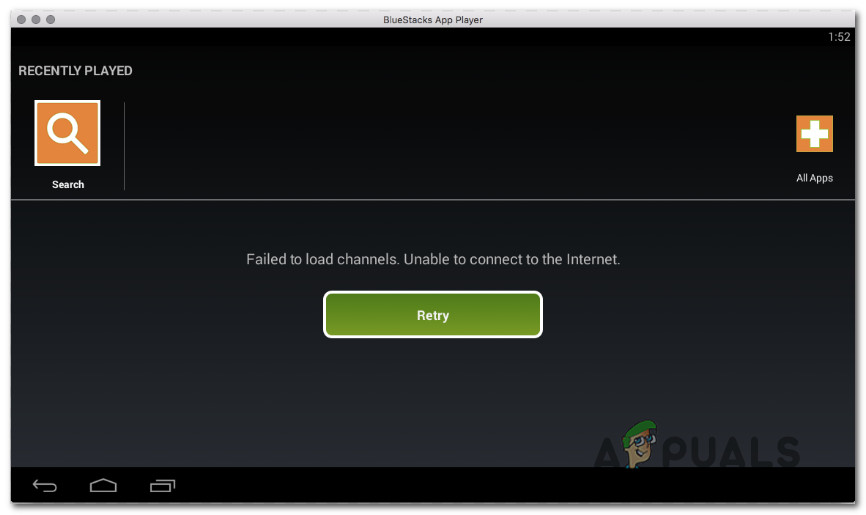
Several users are encountering the “Failed to load channels: Unable to connect to the Internet” error when trying to open Bluestacks. Other users report that for them the error message appears whenever they try to launch an application within Bluestacks. The issue is not exclusive to Windows (Windows 7, Windows 8 and Windows 10) since it’s also confirmed to appear on MAC computers.
What is causing the “Failed to load channels. Unable to connect to the Internet” error in Bluestacks?
We investigated this particular issue by looking at various user reports and the repair strategies that they successfully used to resolve this particular error message. As it turns out, there are several different potential culprits that are known to trigger this particular error message:
- The current version of Bluestacks is outdated – As it turns out, you might be encountering this particular if you’re using a severely outdated Bluestacks version. This is typically reported to occur with builds that were released prior to Bluestacks 4.0. In this case, the solution is to uninstall the current version and install the latest build from the official download page.
- Firewall is blocking Bluestacks from accessing the network – Several third-party firewall tools, as well as the built-in Windows firewall, are known to cause this particular error by preventing the main executable from accessing the Internet. If this scenario is applicable, you’ll be able to resolve the issue by whitelisting the application or uninstalling the culprit firewall.
- Geo-restrictions – Certain countries will not allow access to the Google Play store, so this particular error message will be displayed as a result. In this case, using a VPN solution should allow you to circumvent the issue.
If you’re looking to resolve the “Failed to load channels: Unable to connect to the Internet” error, this article will provide you with several troubleshooting steps. Down below, you’ll encounter several methods that other users in a similar situation have successfully used to get the issue resolved.
Since the issue occurs on multiple operating systems, not every method will be applicable to your particular scenario. Because of this, we advise you to follow the potential fixes in the order that they are presented in. One of them is bound to resolve the issue in your particular scenario.
Method 1: Install the latest Bluestacks build
As it turns out, this particular issue can also occur due to some corrupted files in the Bluestacks installation are corrupted. Several users finding themselves in a similar situation have reported that the issue was resolved after they uninstalled their current Bluestacks client and installed the latest build.
Here’s a quick guide on how to do this:
- Press Windows key + R to open a Run dialog box. Then, type “appwiz.cpl” and press Enter to open up Programs and Features.

Type appwiz.cpl and Press Enter to Open Installed Programs List - Inside the Programs and Features screen, scroll down through the list of programs and right-click on the Bluestacks installation. Then, choose Uninstall and follow the on-screen prompts to uninstall the current Bluestacks build.
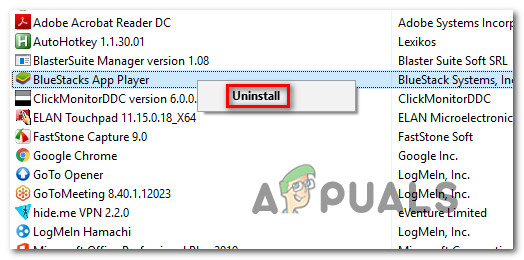
Uninstalling Bluestacks - Restart your computer. At the next startup, visit this link (here) and click on Download Bluestacks to download the latest version available.
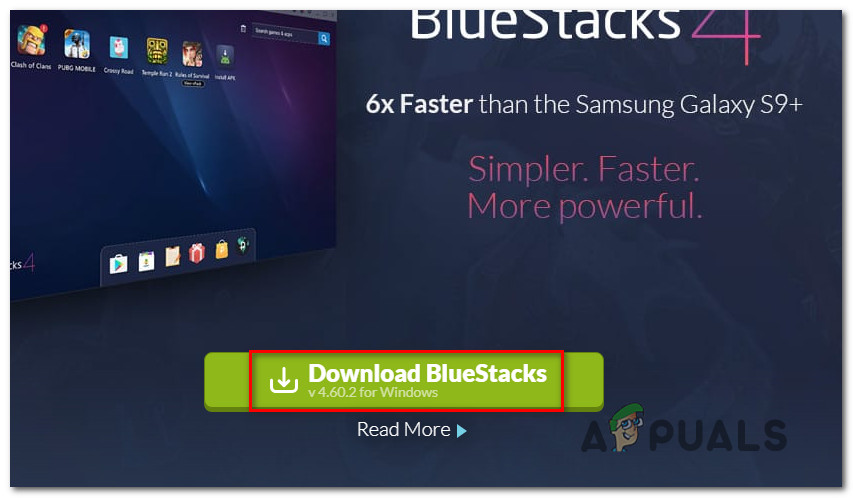
Downloading the latest version of Bluestacks - Once the download is complete, open the installation executable, click Yes at the UAC (User Account Control) prompt to grand admin privileges, then click install and follow the on-screen prompts to complete the installation of the latest version of Bluestacks.
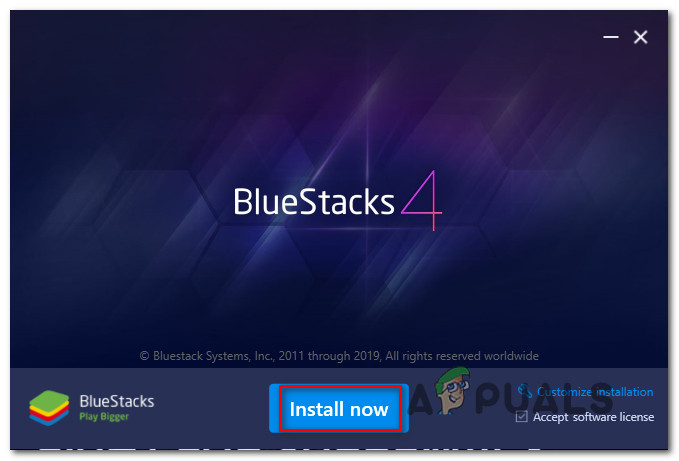
Installing the latest version of Bluestacks - Wait until the application is complete, then open the newly installed version of Bluestacks and see if you’re still encountering the “Failed to load channels: Unable to connect to the Internet” error.
If you’re still encountering the same error message when trying to launch the application, move down to the next method below.
Method 2: Adding an exception to firewall / uninstalling firewall
Based on various user reports, there are several different firewall clients that are known to block some networking features of Bluestacks, which will end up creating the “Failed to load channels: Unable to connect to the Internet” error.
Several users have managed to resolve this inconvenience by adding an exception to their firewall (this mostly works with Windows Firewall), while others have reported that the issue was only resolved after they uninstalled their firewall client completely.
If you’re using Windows Firewall, here’s a quick guide on making sure that Bluestacks is not blocked by it:
- Press Windows key + R to open up a Run dialog box. Then, type “control” and press Enter to open up Control Panel.
- Once you’re inside the classic Control Panel menu, use the search function in the top-right corner to search for “firewall”. Then, click on Windows Defender Firewall.
- From the Windows Defender Firewall menu, click on Allow an app or feature through Windows Defender Firewall.
- In the Allowed app menu, click the Change settings button. Then, scroll down through the list of Allowed apps and features and make sure that both the Public and Private boxes associated with the Bluestacks service are checked.
Note: If the BlueStacks Service is not present in the list of Allowed apps and Features, click on Allow another app and add it manually. - Restart your system and see if you are able to open the BlueStacks application normally at the next startup.
If you’re using a different Firewall client, the steps of whitelisting the Bluestacks application will be different. But keep in mind that people have been having mixed results with whitelisting the Bluestacks app from 3-rd party firewall clients.
In some cases, the Bluestacks client was still prevented to communicate over the network even if the main executable was whitelisted. One surefire way to make sure that your firewall client is not interfering with your is to uninstall the client completely. You can make sure that you’re not leaving any remnant files behind by following this article (here).
If you’re still encountering the “Failed to load channels: Unable to connect to the Internet” error, move down to the next method below.
Method 3: Installing a VPN app
As a lot of users have reported, one popular reason why the “Failed to load channels: Unable to connect to the Internet” error will occur is when something within Bluestacks is unable to communicate through the network connection that they’re using. Most commonly, this happens because of geo-restrictions but it’s not a given rule.
Although there’s no official explanation of why this error occurs, it has been confirmed that using a VPN app tricks the application into thinking it’s using another network, which will resolve the error automatically.
Here’s a quick guide on avoiding the error message entirely by using a VPN solution (Hide.Me):
Note: You can use any VPN client you want. We used Hide.Me just for explanation purposes.
Note: The procedure below is created for Windows PCs, but the Hide.Me application can also be installed on Mac computers.
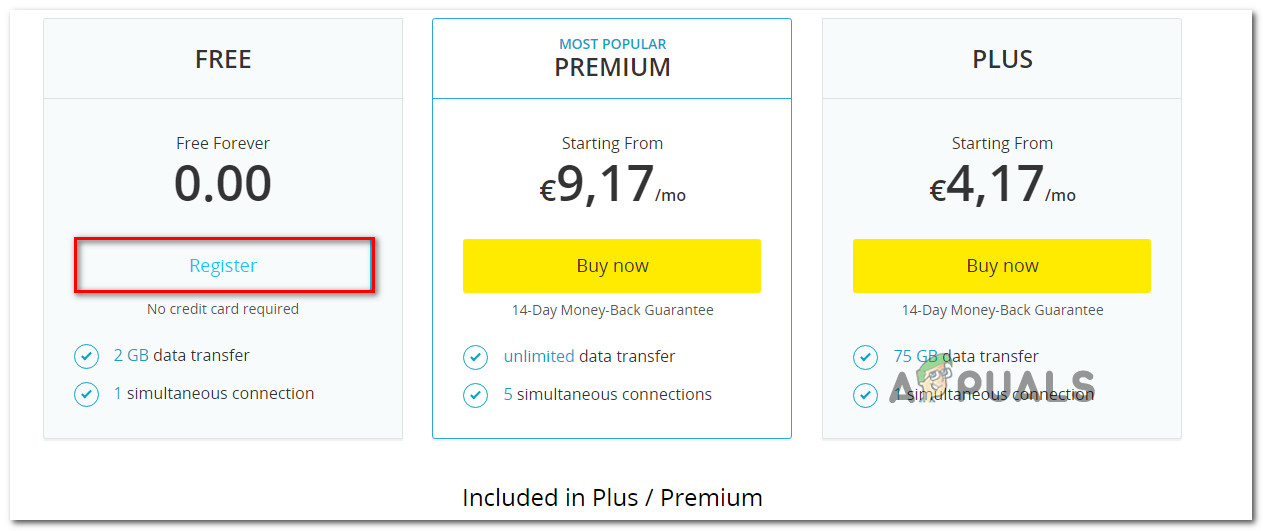
- Click on this link (here) and then click Download Now. Then, click on Register (under Free) to download the free version of Hide.me VPN.
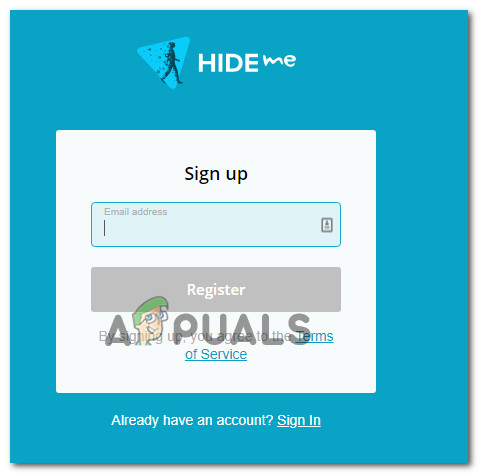
Downloading the VPN solution - Enter an email address in the registration box to create an account. You’ll need to verify it (you’ll receive a verification link) by opening an email to begin the registration.
Registering for the service - Open the verification email and click the Activate my account button to get started with the account registration.
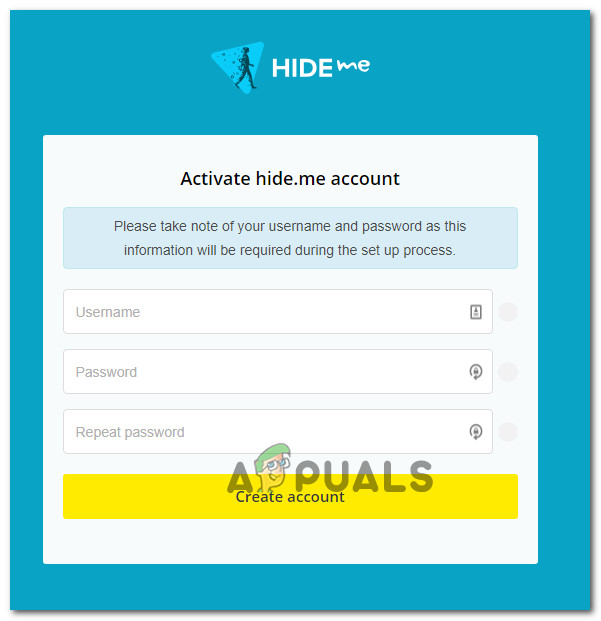
- In the next screen, choose an appropriate username and password for your account, then press Create account.
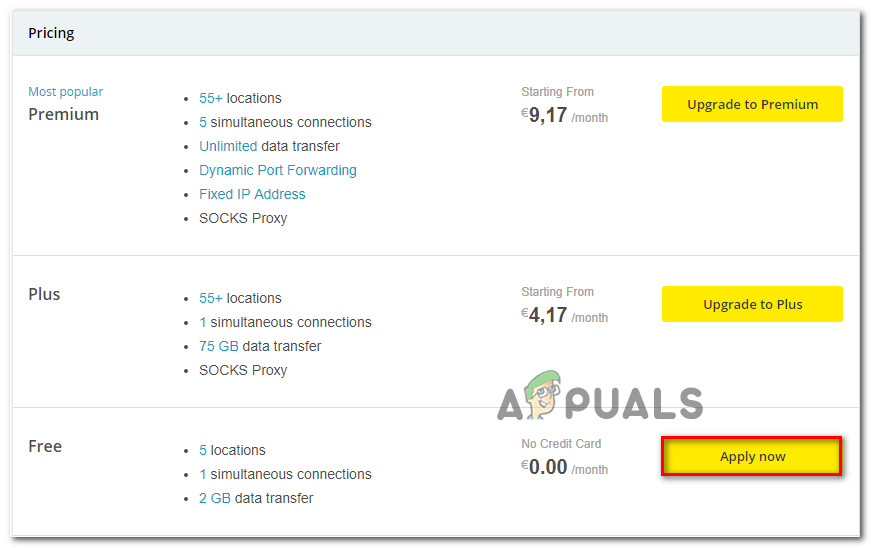
Creating an account with Hide.me - Once you’ve successfully signed out into your account, go to Pricing > Free and click on Apply now to open a free account.
Apply for the free account - When the free account is opened, move over to the Download Clients tab and click on the Download button to download the installation executable of Hide.Me. But make sure to download the correct installer according to your operating system
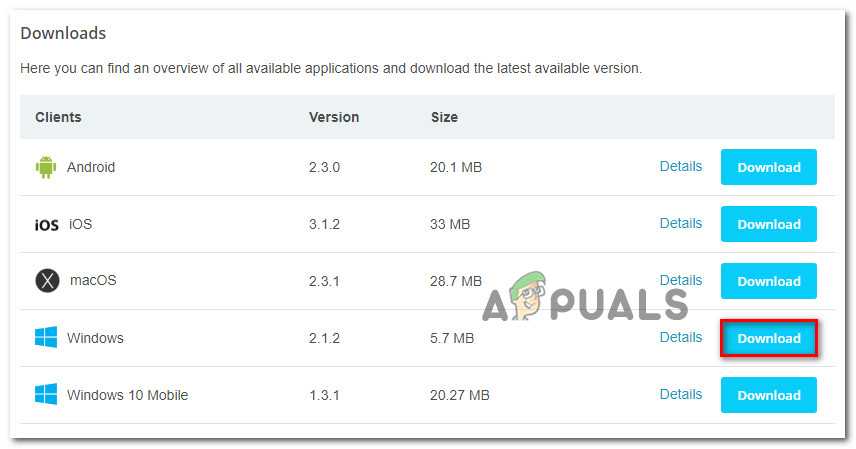
Downloading the Windows client - Once the installer is downloaded, open it and follow the on-screen prompts to install the Hide.me application.
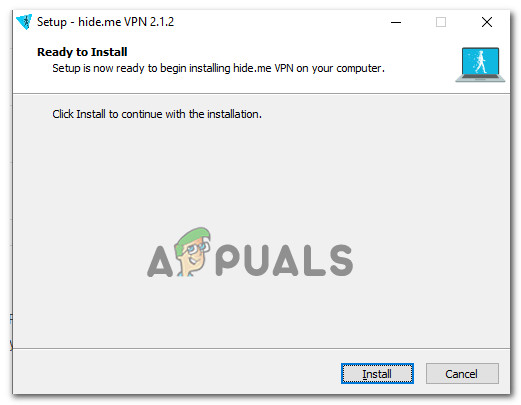
Installing the Hide.Me VPN application - When the installation is complete, enter your user credentials and press Start your free trial. Next, click the Change button (bottom-right corner) and select the location used by the VPN.
- Now, all that’s left to do is to click Enable VPN to change your IP.
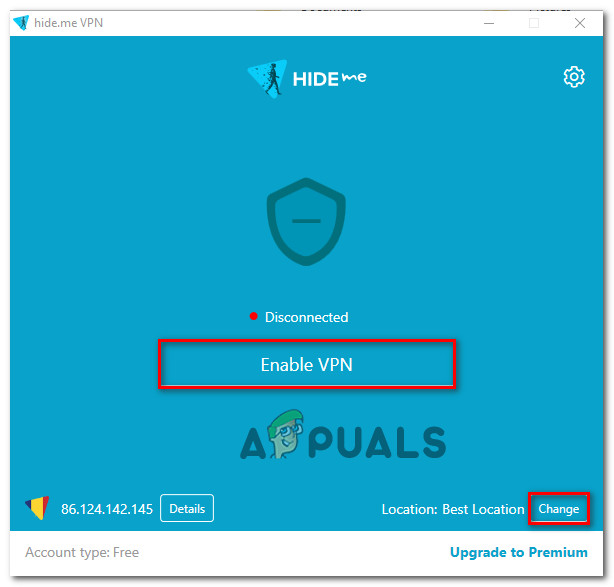
Enabling the VPN solution - Launch Bluestacks and see if you’re still seeing the “Failed to load channels: Unable to connect to the Internet” error when you try to launch the application.


