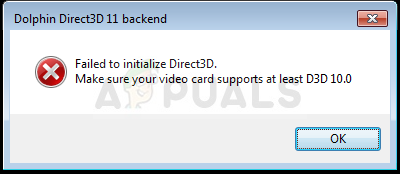
Fix: Failed to initialize Direct3D
Make sure your video card supports at least D3D
Direct3D, which is a part of DirectX, is a graphics API interface for Windows, which is used to render the three-dimensional graphics in applications or games. Direct3D uses the hardware acceleration if it is available on the video card, and allows the hardware acceleration of the 3D rendering pipeline.
Failing to initialize it in a video game can mean all sorts of things as the explanation is somewhat too vague. It can be anything from old drivers to missing important files but we have decided to gather all known working methods and put them together in an article for you to check out!
Solution 1: Force the Game to Use DirectX11
DirectX errors you see when they appear when you try to run the game can be solved simply by making the game use DirectX11 instead of DirectX9 which it tries to use by default. The problem is that different games use different methods to enable this tweak.
Sometimes users need to edit a configuration file in Notepad and sometimes it can be fixed simply by using in-game settings. However, here we will present an almost universal method which can be used for almost any game.
- Navigate to the problematic game’s installation folder. If you haven’t made any changes during the installation, it should be Local Disk >> Program Files.
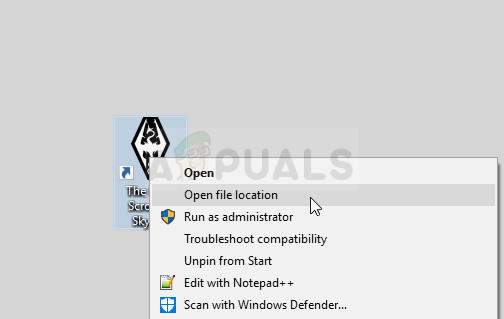
- However, if you have the game’s shortcut on the desktop, you can simply right-click on it and choose Open file location from the context menu.
- Locate the d3d9.dll file in the folder, right-click on it and choose the Rename option from the context menu. Rename it to something like d3d9.old.dll so that you have a backup ready if something goes wrong.
- The game should now automatically switch to using DirectX11 if it’s available (and it’s available for Vista and older).
Solution 2: Update Your Video Card Drivers
This is an important solution if you want to troubleshoot this problem properly as DirectX and Direct3D are closely related to your graphics card. The graphics card will need the latest drivers if you want to perform certain feature available in newer games requested by the DirectX utility.
- Click on the Start menu button, type in “Device Manager” with the menu open, and select it from the list of results by simply clicking on the first result. You can also use the Windows Key + R key combination in order to open the Run dialog box. Type in “devmgmt.msc” in the box and click OK in order to run it.

- Since we want to update the graphics card, expand the Display adapters category, right click on your video card and select the Uninstall Device option.

- Confirm any dialogues which may ask you to confirm your choice and wait for the process to finish.
- Look for your graphics card driver on the card’s manufacturer’s website and follow their instructions which should be available on the site. Save the installation file on your computer and run it from there. Your computer may restart several times during the installation.
Nvidia Drivers — Click Here!
AMD Drivers — Click Here!
Solution 3: Download and Install the Latest Version of DirectX 9.0
Sometimes the solution may be obvious and you may need to install a newer version of DirectX. It’s often the case among games who do not provide their own installation of DirectX and the problem can be solved quite easily if that is the case; and that is by updating DirectX to the latest version.
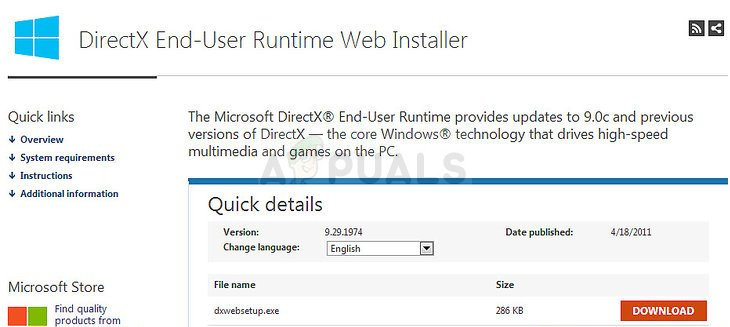
- Navigate to the DirectX End-User Runtime Web Installer Download Page on Microsoft’s official website which is linked here.
- Scroll down, locate, and click on red Download button at the site and follow the instructions which will appear on screen in order to directly download the Web Installer for DirectX on your computer.
Note: Microsoft will probably offer a couple of their applications after you click the Download link, but you should uncheck those products if you’d rather not have them on your computer. If you choose not to download these utilities, the Next button will be renamed to No thanks and continue.
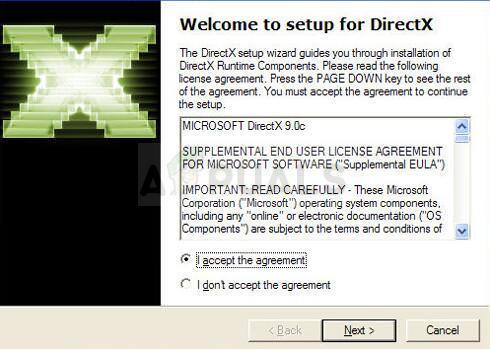
- Perform the DirectX installation by following any instructions from Microsoft’s website or from the DirectX installation wizard. You will need to scroll through the Terms & Conditions page and click on the Next button.
- Restart your computer and check to see if the “Failed to initialize Direct3D” error still appears.


