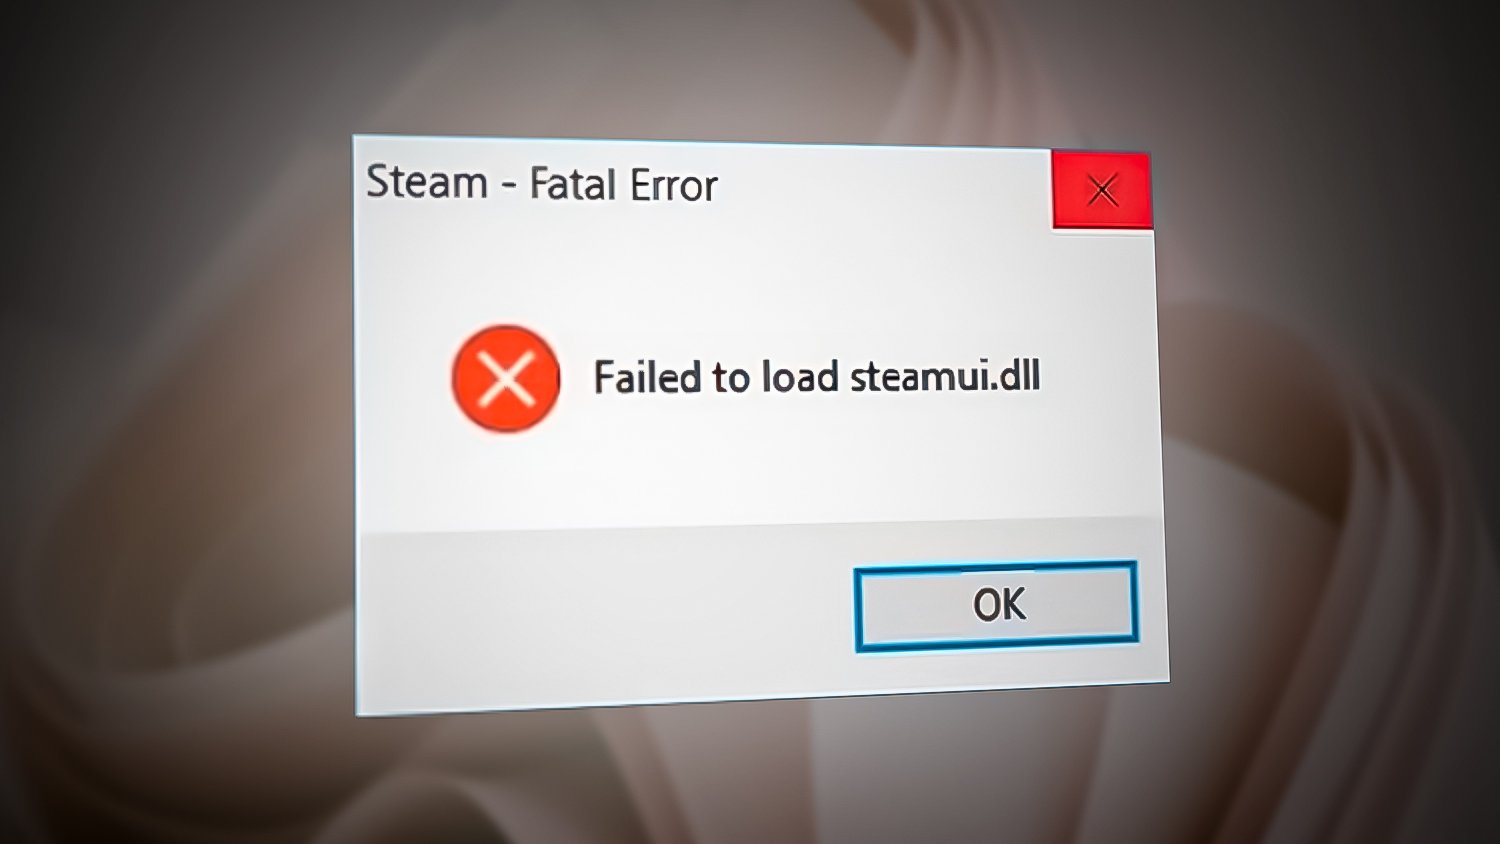
How to Fix ‘Failed to load steamui.dll’ while launching Steam?
The Failed to load steamui.dll error occurs when Steam is unable to load steamui.dll. It is an essential Dynamic link library (DLL) file responsible for loading the User Interface (UI). Launching Steam with a corrupted steamui.dll file will result in a failure after the verification process. To fix this error, you will have to restore the steamui.dll, run the SFC or DISM commands, clear the Steam cache data, and restore or reset the Windows without losing the data.
As the error message says failed to load steamui.dll, which simply means that it gets corrupted or missing. If it gets corrupted due to the antivirus software or a third-party application, you will need to restore it in order to run Steam without any error message.
It is also possible that this error message is due to corrupted system files. Having corrupted system files might lead Windows not to load DLL files. A DLL file contains a piece of code that is designed to execute a specific task. Another possible reason is corrupted Steam cache data. Even though cache data is just temporary data, it can lead users to this error message.
1. Delete and Restore steamui.dll
Oftentimes, this error can occur due to a damaged steamui.dll file. So the best way to start troubleshooting is by restoring the steamui.dll file to fix this issue. In this solution, you need to delete the Steamui.dll file and restore the file by running the Steam.exe file, which might fix this error. Follow the steps to restore the steamui.dll file:
- Right-click the Steam icon on the desktop and select Open file location or go to the following location.
C:\Program Files (x86)\Steam

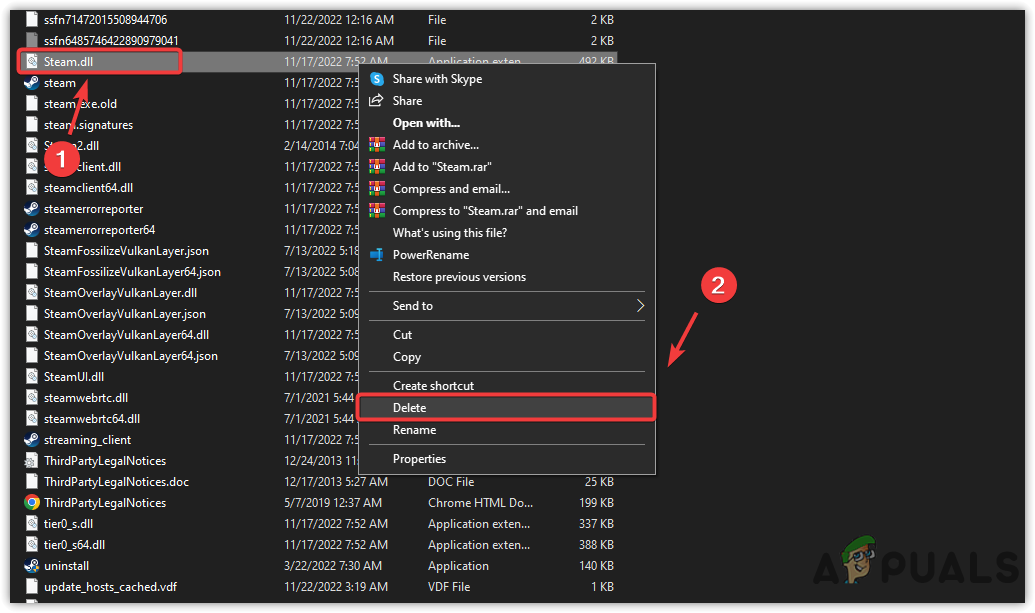
Opening the Steam app location - Then, find and right-click the Steamui.dll file.
- And select Delete to delete the file.
Deleting Steamui.dll file - Once it is deleted, run the Steam.exe file, wait for the extraction to complete, and check if the issue is fixed.
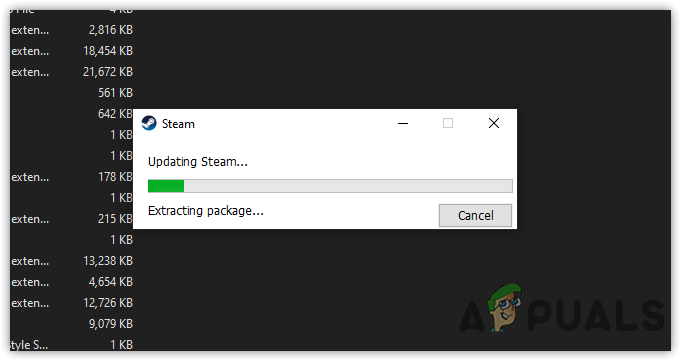
Extracting Steam Package
2. Run SFC or DISM commands
If this error occurs due to the corrupted system files, then running the DISM and SFC commands might help fix this issue. SFC, or System File Checker, is an inbuilt troubleshooting utility that users can use to fix corrupted system files, including DLL files. DISM, or Deployment Image Servicing and Management, is also a utility that users can use to restore Windows images. Hence, follow the steps to fix the system files:
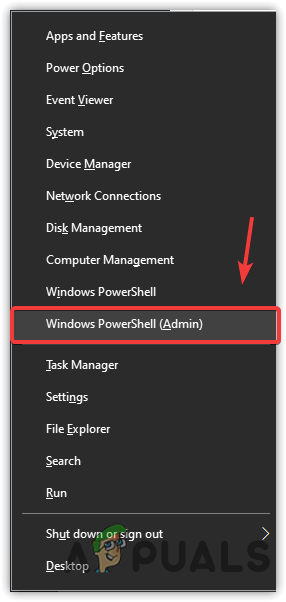
- To run the SFC or DISM commands, press the Windows + X keys together.
- Select Windows PowerShell (Admin) from the given options.
Opening WindowsPowershell - Once the PowerShell is opened, paste the following command one by one and press Enter on the keyboard.
sfc /scannow
DISM /Online /Cleanup-Image /RestoreHealth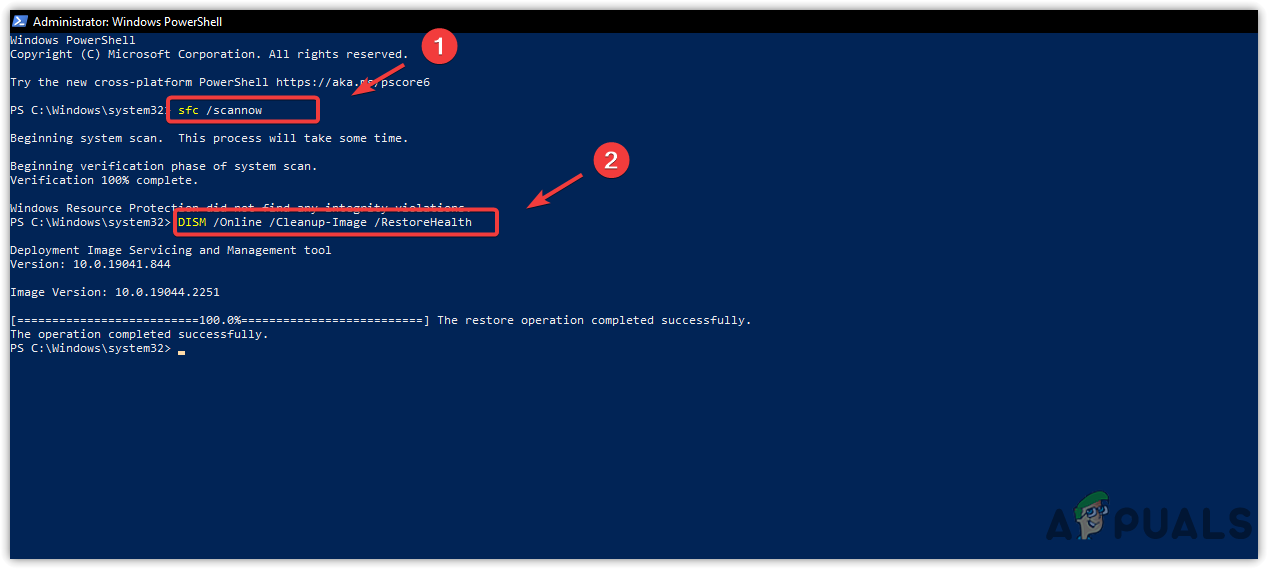
Running DISM and SFC commands using Windows PowerShell - Wait for the verification and restoration process to be completed.
- Once done, launch Steam to check if the issue is fixed.
3. Delete the Steam folder from the Appdata
Deleting the Steam folder from the AppData clears the cache, configuration, cookies, local storage, and session storage. Removing the Steam folder should fix this issue if the Steam AppData folder contains any corrupted cache files. We have given instructions to delete the Steam folder:
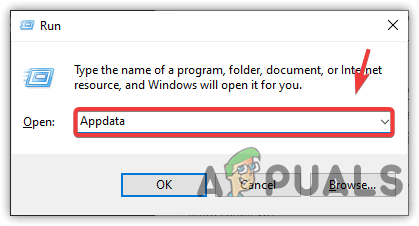
- Press the Windows + R keys to launch the Run Window.
- Input Appdata in the search box and click OK.
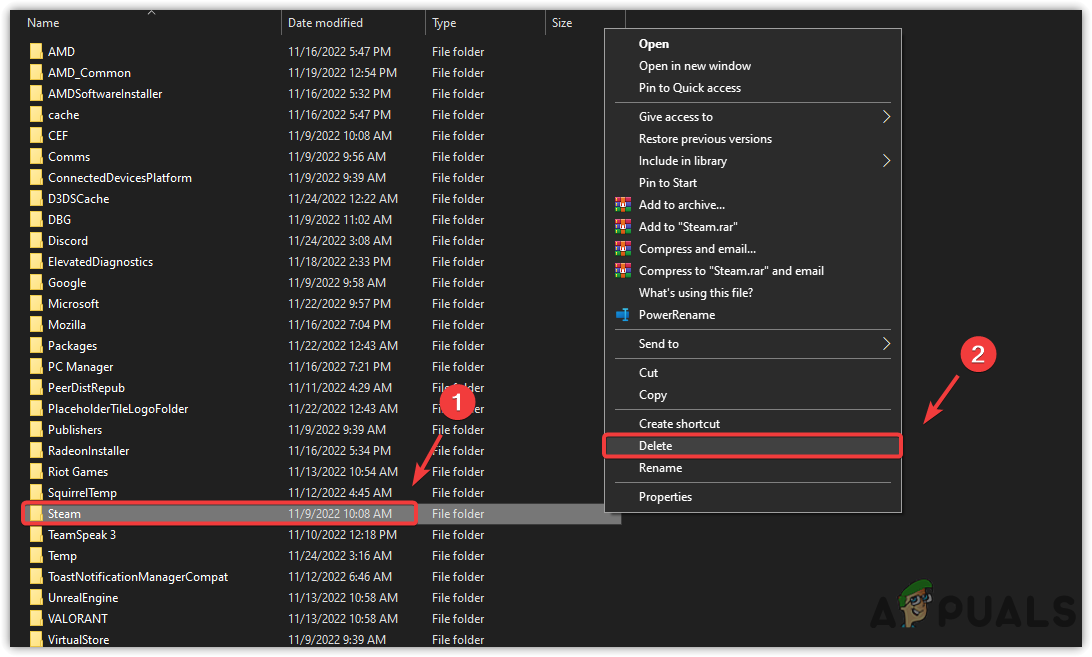
Opening Appdata folder - Go to the Local folder and right-click the Steam folder.
- Select the Delete option to delete the folder
Deleting Steam Configuration Folder - Launch Steam to check if this issue is resolved.
4. Reinstall the Steam application
If none of the methods have worked, you can try reinstalling the Steam application to replace the Steamui.dll file. If the Steamui.dll file is corrupted, you will be able to fix it by reinstalling the application. Follow the steps:
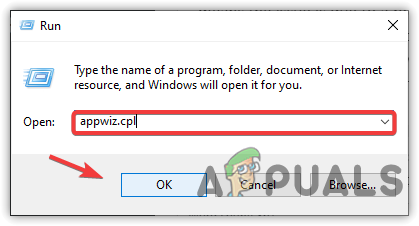
- Press the Windows + R keys to launch the Run program.
- Enter appwiz.cpl in the search box and click OK to open Programs & features.
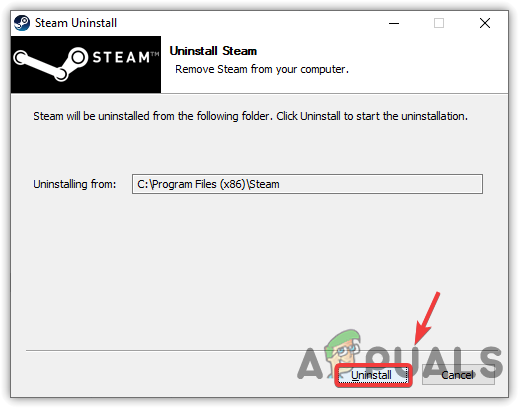
Navigating to control panel programs and features - Right-click the Steam application and select Uninstall.

Clicking to Uninstall - Click Yes when UAC prompts.
- Then, click Uninstall and wait for the Steam application to uninstall.
Uninstalling Steam application - Once the application is uninstalled, download and install Steam from the official website.
5. Use a System Restore
So far, we have tried all the methods to restore or repair the Steamui.dll file. However, if the error persists, it means the issue is due to a problem with your Windows. In this case, you can try restoring the Windows using the system restore utility, which takes the Windows back to a state when it is working fine. If you are familiar with system restore, you might have created a restore point, but if you did not create any restore point in the past, skip this method and move on to the last one.
- To use a system restore utility, press the Windows key and type rstrui.
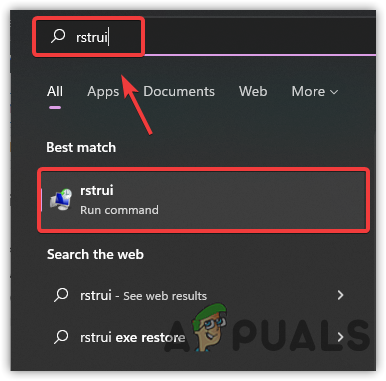
Opening System Restore utility settings - Open the System Restore settings.
- Click Next and select a restore point.
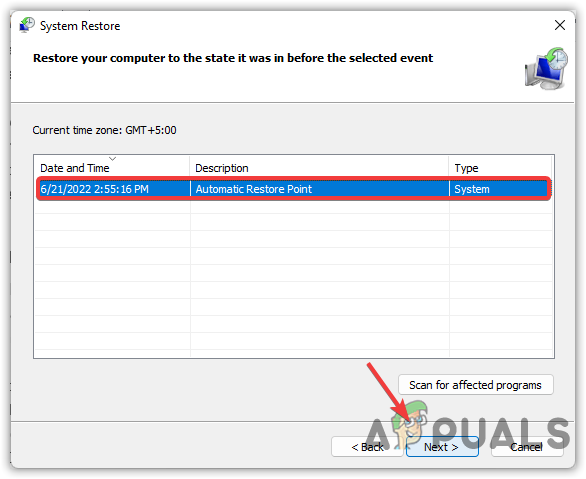
Picking a Restore Point - Then, click Next and Finish to start the restore process.
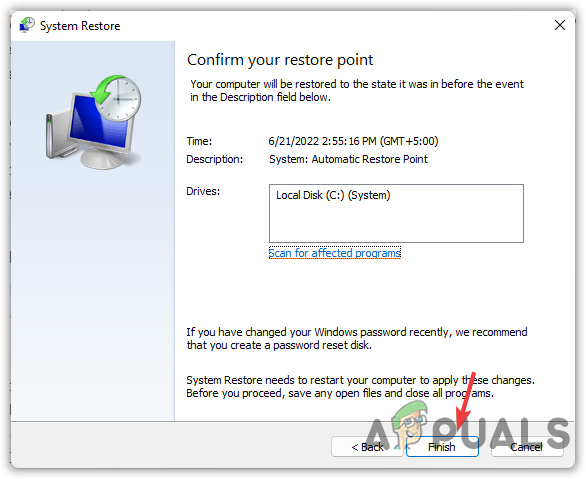
Clicking Finish to start a process
6. Reset your Windows
If you don’t have a restore point, resetting the Window might be your last option. Remember, you will not lose your data if you choose to reset your Window without losing the data. However, you will lose applications and drivers installed on your computer, follow the steps and restore your Windows to fix this issue.
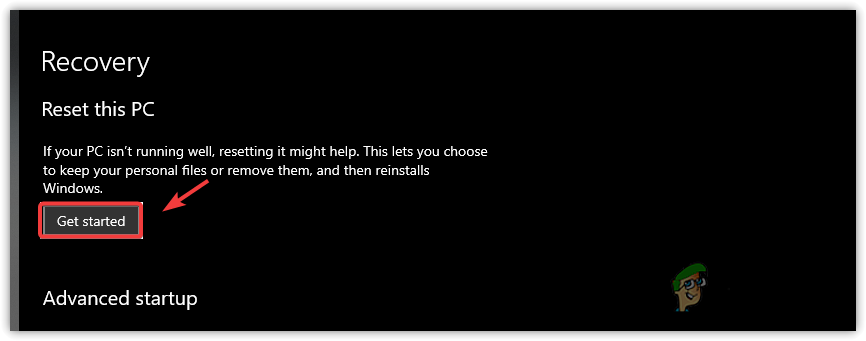
- Press the Windows key and type Reset This PC.
- Open the settings and click Get Started.
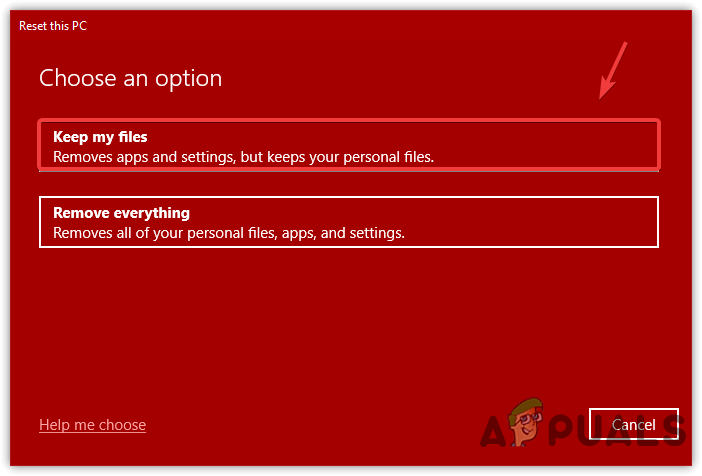
Clicking Get started - Select Keep my files > Local reinstall.
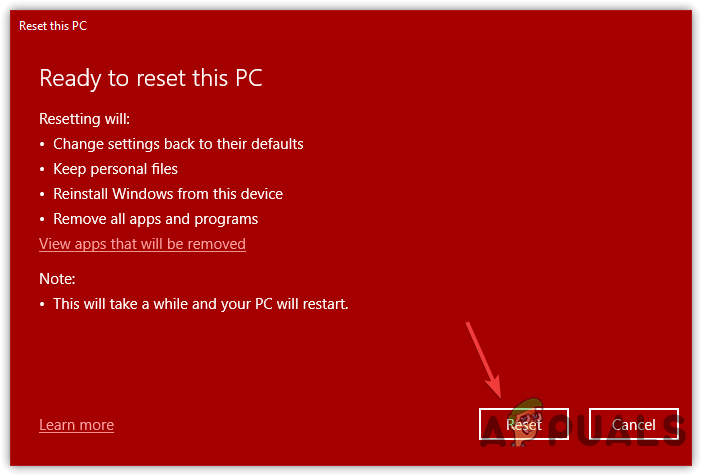
Selecting Keep My Files - Click Next and then click Reset to start the Windows resetting.
Resetting Windows - Once done, download Steam and install it on your computer, and the issue should be fixed.