Fix: Facebook Gameroom Won’t Install
Facebook is not only a social platform but also an online gaming hub where people can play single/ multiplayer games without requiring any additional resources on their Internet Browsers. Playing Facebook games on desktop browsers isn’t as immersive as playing on a dedicate software that can efficiently utilize resources of a computer to provide the best experience. Facebook kept that into consideration and developed a standalone application for Windows called Facebook Gameroom that lets you play Facebook games with high frame rates on your PC.
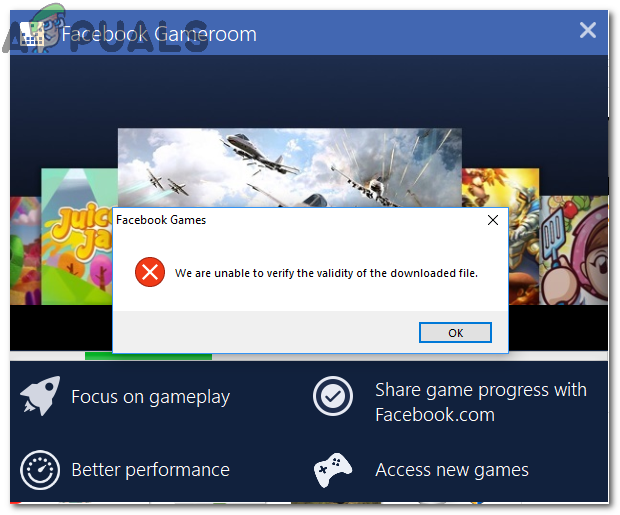
Unfortunately, a lot of users are experiencing issues with the installation of Gameroom on PC. A majority of the users have faced an error i.e. ‘We are unable to verify the validity of the downloaded file’ that represents expiry of the installer certificates. On the other hand, some users have also reported an error indicating missing libraries that are required to proceed for the installation of Gameroom.
Why Won’t Facebook Gameroom Install in Windows?
Facebook Gameroom doesn’t install in Windows due to some of the issues listed below.
- Expired Installer Certificate: Windows OS requires a certificate for the installation of a program. It that gets expired, Windows doesn’t let the installation process to continue. Facebook Gameroom won’t install if the certificate is expired.
- .NET Framework Library Missing/ Not Updated: .NET Framework is required to be updated for installation of Gameroom. If that is missing or not updated, Windows won’t let the installer to run.
Solution 1: Installing Facebook Gameroom Certificate
To install Gameroom, you need to install the latest certificate in order to ensure that Windows doesn’t put the installer in a blacklist.
- Right-click on the installer file you downloaded from Facebook and click ‘Properties’.
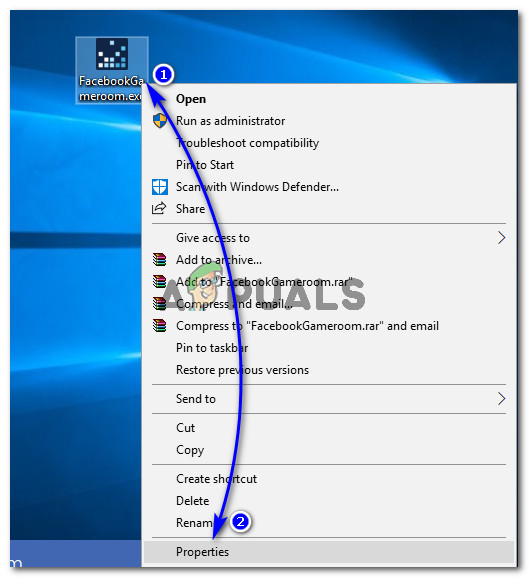
Accessing Facebook Gameroom Installer Properties - Inside Properties, click on the ‘Digital Signatures’ tab at the top and select name of the signer i.e. Facebook Inc and click on ‘Details’ button.
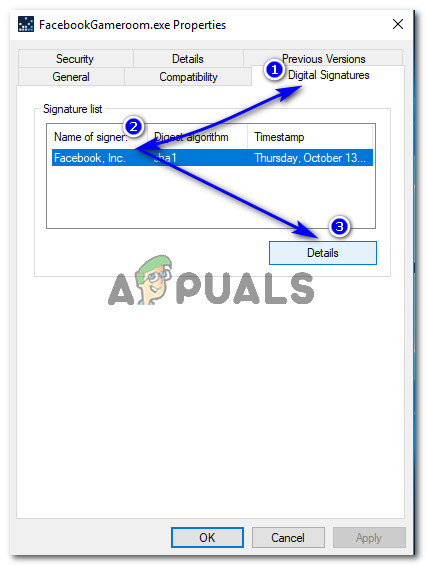
Accessing Name of the signer under Digital Signatures Section - Under the Signer Information section, click on ‘View Certificate’. There, you would see the validity detail of the certificate. Under the Certificate Information section, click ‘Install Certificate’.
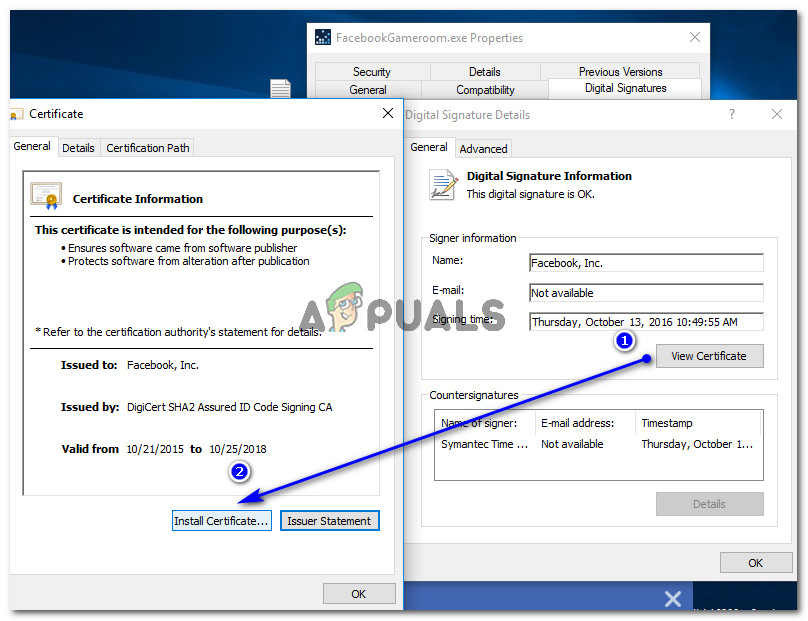
Accessing and installing Facebook Gameroom Certificate - Under Certificate Import Wizard, click Next, select Automatically select the certificate store option and at the end, hit ‘Next’ and ‘Finish’ buttons respectively. This process would import the necessary certificate for installation to complete.
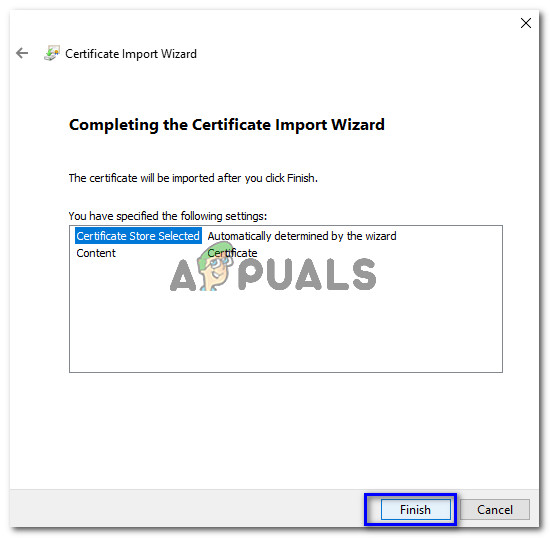
Finishing Gameroom Certificate Import Wizard - After the process is done, if you are using Windows 10, right-click on the Gameroom installer again and click ‘Troubleshoot compatibility’. It would run a compatibility check. Click on ‘Try recommended settings’ when prompted. It would apply the Windows 8 compatibility mode. Click ‘Test the program..’ in order to check if the problem is resolved.
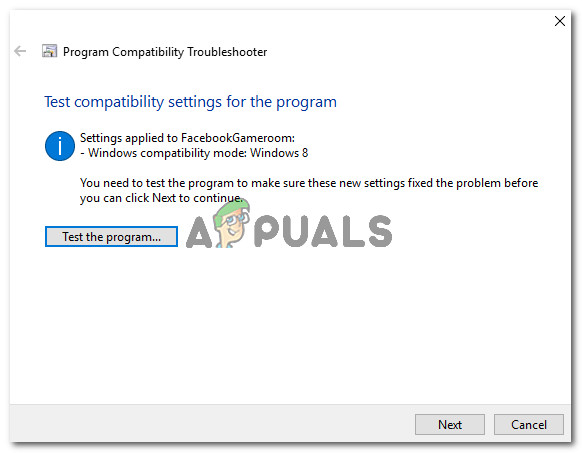
Troubleshooting Gameroom installer using Windows Program Compatibility Troubleshooter - After testing the installer, run it by right-clicking and selecting Run as administrator.
Solution 2: Modifying System Date before Expiry Date of Certificate
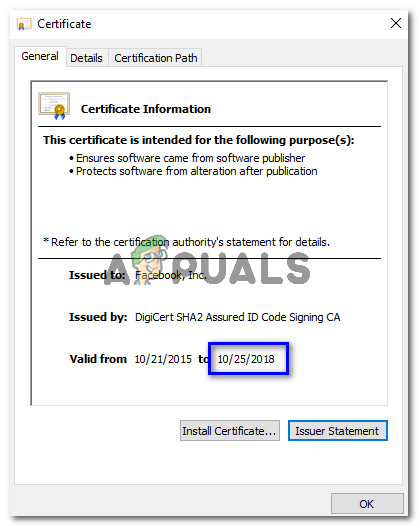
If the installation of the certificate doesn’t work for you, all you need to do is to change your system’s date to at least one day before the expiry date of the Gameroom certificate. To do so, follow Steps 1 to 3 of the above solution in order to view detail of the current Gameroom certificate. Inside the Certificate window, no expiry date of the certificate.
- Afterward, right-click on the date & time present at the right corner of your Windows taskbar and select ‘Adjust date/time’.
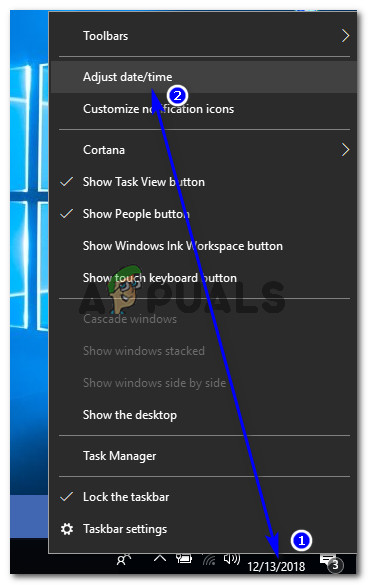
Accessing Date/ Time settings in Windows 10 On Windows 7, click on the date/ time at the bottom right and select Change Date/ time settings.
- Set the automatic time to off and click ‘Change’ Now, choose the date to at least one day before the expiry date of the Gameroom certificate you noted before and click ‘Change’.
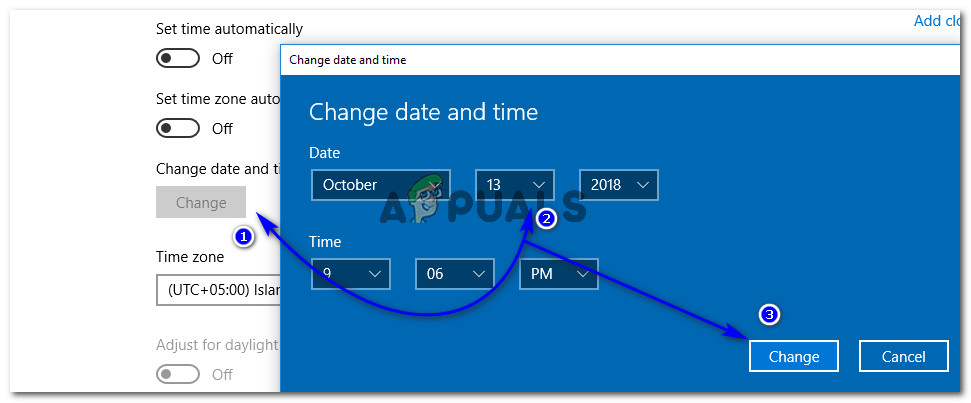
Modifying Date and Time inside Settings of Windows - Run the installer and follow the instructions. After Facebook Gameroom is installed, you can revert back to your current date/ time settings.
Solution 3: Install .NET Framework for Windows 7
For Windows 7 users, it is necessary to update to version 4.6.2 of .NET Framework before installation of Gameroom. For that purpose, you can download the offline installer from the (here) and install it using administrator rights. Install Gameroom afterward.
Solution 4: Troubleshoot Compatibility
In some cases, the app might not be compatible with your computer due to which this error is being triggered. Therefore, in this step, we will be troubleshooting the compatibility of Gameroom and hopefully get it to work that way. For that:
- Right-click on the launcher and select “Properties”.
- Click on the “Compatibility” tab and then select “Run the Compatibility Troubleshooter” option.
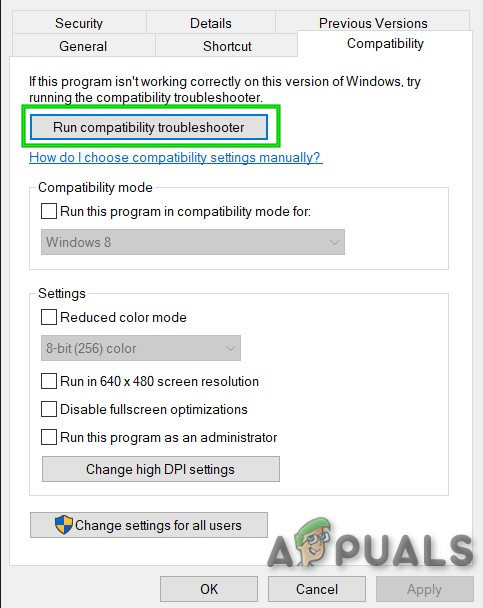
Run Compatibility Troubleshooter - Follow the on-screen instructions to troubleshoot the compatibility.
- Also, check the “Run this program as an administrator” option.
- Once you are done, click on “Apply” to save your settings and check to see if the issue persists.
Solution 5: Reinstalling Completely
In certain cases, the issue is triggered if the user reinstalls their Gameroom and there are already leftover files present on the computer from the previous installation. Therefore, in this step, we will be removing these files from our PC registry. For that:
- Download IObit Uninstaller from here.
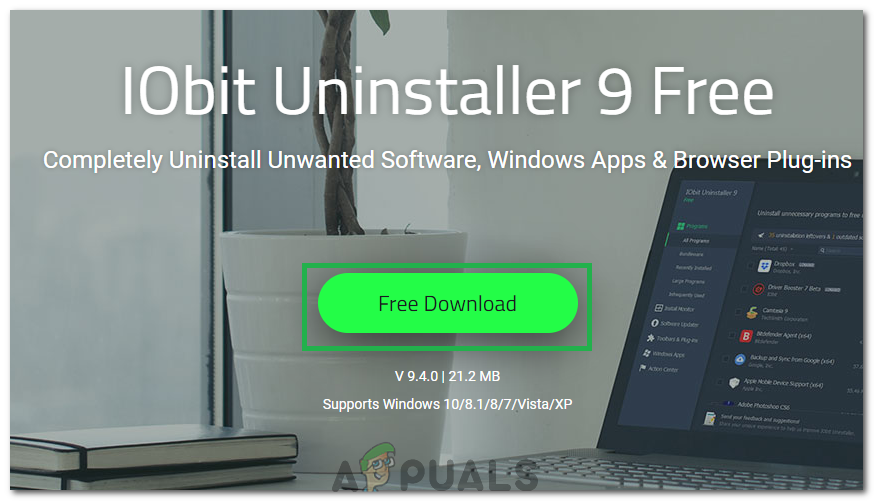
Clicking on the “Download” button - Install the application and follow the on-screen prompts to uninstall Gameroom.
- Download and reinstall Gameroom.
- Check to see if the issue persists.
Solution 6: Reset Browser Settings
At other times, the issue was fixed by simply resetting the browser settings. In order to do that, you can follow the guide below.
- Open your browser and click on the “Three Dots” on the top right.
- Select “Settings” from the list and scroll to the bottom.
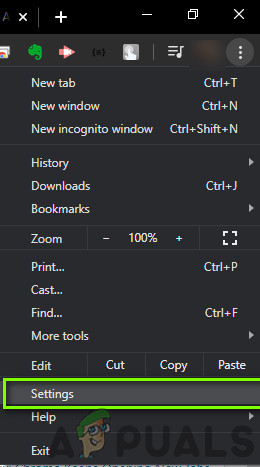
Chrome Settings - Click on the “Advanced” option and navigate to the “Reset and Cleanup” heading.
- Select the “Reset Settings to their Original Defaults” option and check to see if the issue persists.
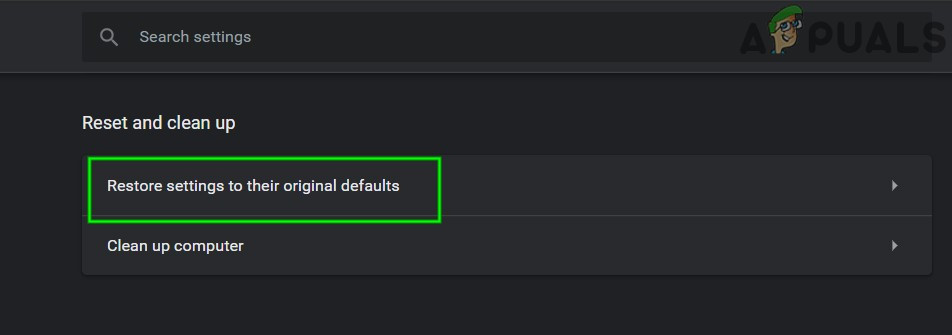
Click Reset Settings to their original defaults
Solution 7: Copying a File (Workaround)
There is a mysterious case with a user which fixes the issue by copying a file onto the temp folder. This might not work for all of you but it has worked for some users. The issue is fixed by the following method.
- Navigate to the following address on your computer.
C:\Users\(accountname)\AppData\Local\Temp
- Locate a file that is around “52 Mb”.
Note: The file might have different names in different cases but it should be around the 52 Mb mark. - Right-click on this file and select “Rename”.
- Now save the file as “Gameroom.zip”.
- There should be a file named “FacebookGamesArcade.msi” in this zip file.
- Copy this file into the temp folder and install it.
- Check to see if the issue persists.


