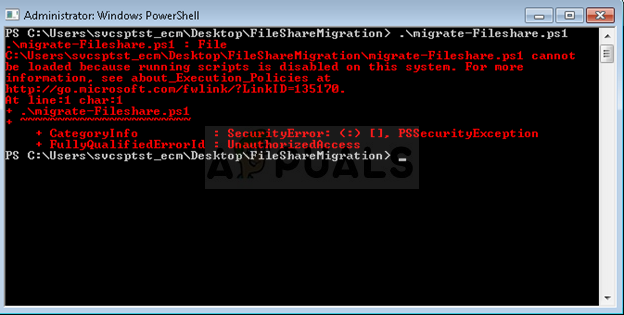
Fix: Execution of scripts is disabled on this system
This error occurs when users try to run scripts or specific commands in PowerShell as a part of their job or to troubleshoot a problem which is bothering them on their PCs. The execution of scripts is often disabled by default on users’ systems and this options needs to be tweaked to allow it.
There are other causes to this problem as well and that is why we have come up with an article which should help you solve this problem if you follow the methods carefully. Good luck!
What Causes the “Execution of scripts is disabled on this system” Error?
There aren’t many different causes to this problem and they often differ from one system to another. Still, they can be listed easily and you should see whether your problem can be categorized as some of the options below:
- Sometimes the execution of scripts is disabled by default on users’ systems and it needs to be enabled manually using methods such as running commands in PowerShell or tweaking the registry.
- If the execution is disabled at a higher scope, you may need to enable it using the Local Group Policy Editor (GPEdit). There is an option to do so in Windows 10 Settings as well.
- You might want to provide administrator issues to PowerShell when running the commands.
Solution 1: Run PowerShell as Administrator and Run a Command
There is a command in PowerShell which deals exactly with this problem and it can be solved in a matter of minutes. This includes actually changing the script execution policy from within the PowerShell window. Try it out and see for yourself!
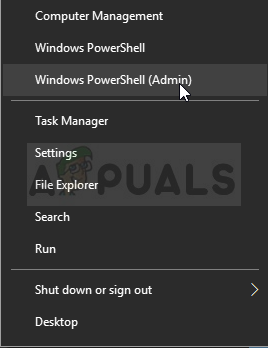
- Open the PowerShell utility by right-clicking the Start menu button and clicking on the Windows PowerShell (Admin) option at the context menu. Windows 7 users can just search for it.
- If you see Command Prompt instead of PowerShell at that spot, you can also search for it in the Start menu or the search bar next to it. This time, make sure you right-click on the first result and choose Run as administrator.
- In the Powershell console, type in the command shown below and make sure you click Enter afterwards:
Set-ExecutionPolicy RemoteSigned
- Let this command do its thing and check to see if the message has appeared indicating that the process was indeed successful. This method can be applied to all Windows operating systems, including Windows 10.
Solution 2: Edit Group Policies
If the method above has failed to yield success, which often appears on newer versions of Windows such as Windows 10, you might need to change policies on a higher scope. This is the usual error message which appears after running the command from Solution 1:
Set-ExecutionPolicy: Windows PowerShell updated your execution policy successfully,
but the setting is overridden by a policy defined at a more specific scope.
Due to the override, your shell will retain its current effective execution policy of...
In order to solve the problem, you should head over to the Group Policy editor and change the setting from there immediately.
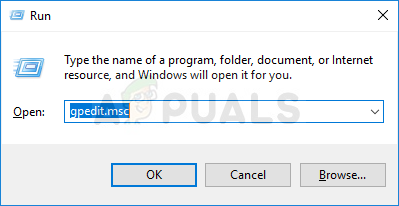
- Use the Windows Key + R key combination (tap the keys simultaneously) to open the Run dialog box. Enter “gpedit.msc” in the Run dialog box, and press the OK button in order to open the Local Group Policy Editor tool. On Windows 10, you can try simply type Group Policy Editor in the Start menu and click the top result.
- On the left navigation pane of Local Group Policy Editor, under Computer Configuration, double click on Administrative Templates, and navigate to the Windows Components >> Windows Powershell section.
- Select the Windows Powershell folder by double-clicking on it and check out its right side section.
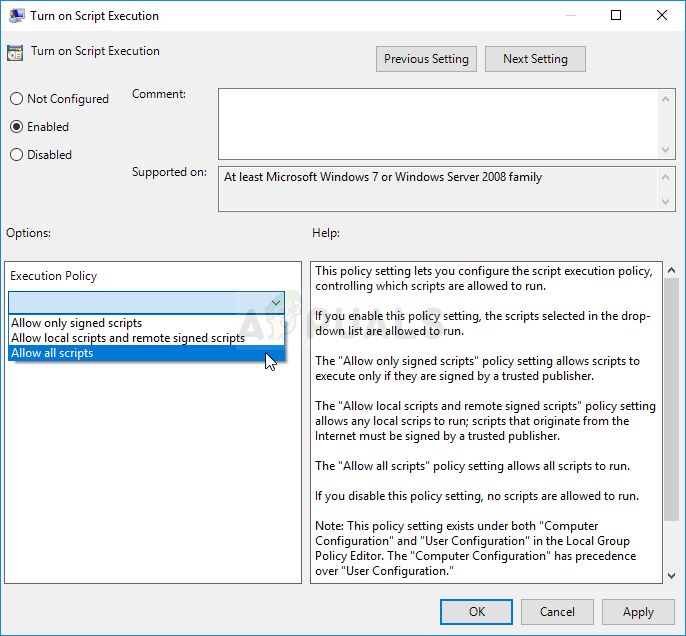
- Double click on the “Turn on Script Execution” policy option, check the radio button next to the “Enabled” option. Under the Execution policy menu, chose Allow all scripts, apply the changes you have made before exiting. The changes won’t be applied until you restart.
- Finally, reboot the computer to save the changes and check to see if you are still being targeted with the error
Solution 3: Change it in Windows 10 Settings
Windows 10 users can also change script settings in their Windows 10 Settings app, under the For developers section. Generally, this is the place where you should head for if the steps above have failed to produce any quality results in order to resolve the problem. Note that this can only be applied to users running Windows 10.
- Use the Windows Key + I key combination to open Settings on your Windows 10 PC. Alternatively, you can search for “Settings” by using the search bar located at the taskbar or you can click the cog icon right above the Start menu button after it opens
- Locate and open the “Update & security” sub-entry in the Settings app by clicking on it once.
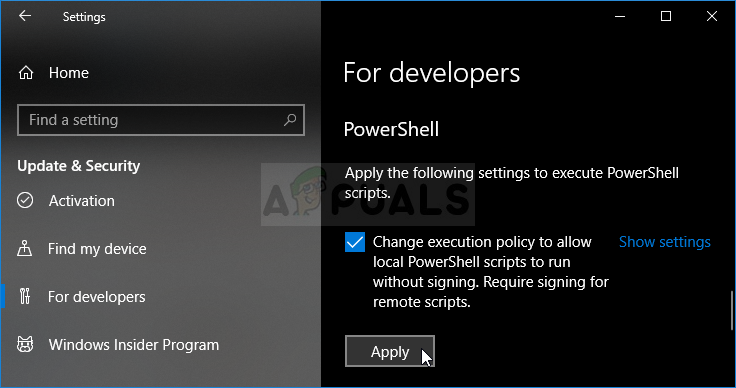
- Navigate to the For developers tab and check under the Powershell section for the option called “Change execution policy to allow local PowerShell scripts to run without signing. Require signing for remote scripts”.
- Click the check box right next to it in order to enable it and click the Apply button right below.
- Restart your computer immediately and try running a script in PowerShell to see if the “Execution of scripts is disabled on this system” error still appears.
Solution 4: Resolve the Method Using the Registry
If the methods above have failed to solve your problem, the only thing left to do is to head over to the registry and change the settings manually at the highest scope possible. This method is pretty straight-forward but you should still be careful when editing the registry to make sure nothing goes wrong.
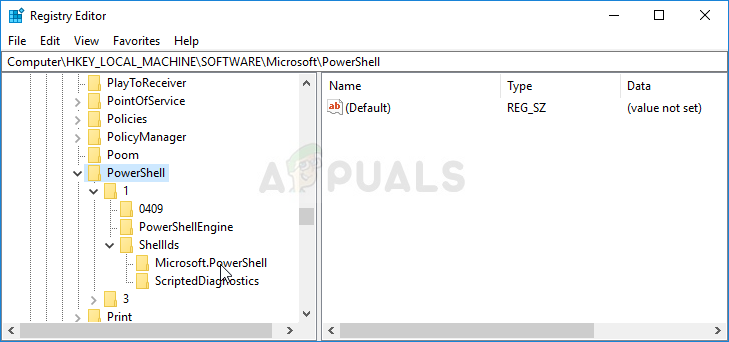
- Open the Registry Editor window by typing “regedit” in either the search bar, the Start menu, or the Run dialog box which can be accessed with the Windows Key + R key combination. Navigate to the following key in your registry by navigating at the left pane:
HKEY_LOCAL_MACHINE\SOFTWARE\Microsoft\PowerShell\1\ShellIds\Microsoft.PowerShell
- Click on this key and try to locate a string entry called ExecutionPolicy at the right side of the window. If such option exists, right-click on it, and choose the Modify option from the context menu.
- In the Edit window, under the Value data section change the value to Unrestricted or RemoteSigned and apply the changes you have made. Confirm any security dialogs which may appear during this process.
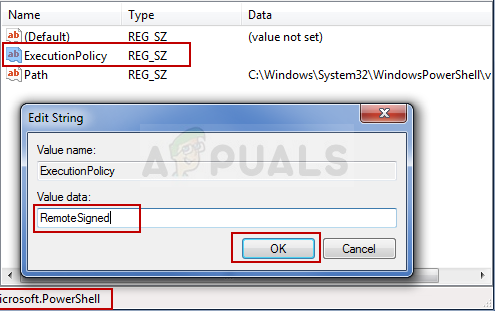
Changing the Script Policy in Registry Editor - You can now manually restart your computer by clicking Start menu >> Power button >> Restart and check to see if the problem is gone.


First solution solved my problem with Yarn. Thank you!