Fix: Error 0xc0000409 when Upgrading or Installing Windows
Some users have been reaching us with questions after being prevented to upgrade or install a pending Windows update by the 0xc0000409 error. The error doesn’t seem to be specific to a particular Windows version or build and is occurring regardless of the installation method that is deployed.
What causes the 0xc0000409 error
After looking at various user reports, it turns out that the 0xc0000409 error can be caused by multiple factors. To make it easier for you to identify the culprit in your particular scenario, here’s a list with the most common causes that will trigger this issue:
- Code from Insider Channel is blocking the installation – The reason why this error is frequently reported on machines running on Insider builds is that most builds feature code that might (or might not) act as a blocker when a new update needs to be installed. In this case, the solution would be to perform a repair install (or clean install).
- Firewall is blocking the installation – There are occurrences where external firewalls or security suites prevented the upgrade or update from completing. In this case, the solution would be to remove the external antivirus and let the built-in firewall to filter the external connections.
- Corrupted or missing Windows Update components – Files used during Windows Update chores are prone to get corrupted. If this error is triggered as a result of file corruption, resetting the Windows Update components will most likely resolve the issue.
How to fix the 0xc0000409 error
If you’re currently struggling to fix this particular issue with no apparent success, this article will provide you with a collection of troubleshooting steps. Below you have a curated list of methods that users in a similar situation have deployed to resolve the 0xc0000409 error.
For the best results, please follow the potential fixes in order until you manage to find a fix that is effective in your particular scenario. Let’s begin!
Method 1: Using the Windows Update troubleshooter
Windows has a number of built-in mechanisms that have the potential to resolve the issue automatically. One of these built-in mechanisms is the Windows Update troubleshooter. This utility will scan the files and dependencies related to Windows Update and apply various repair strategies that might just resolve the issue for you.
Here’s a quick guide on using the Windows Update troubleshooter to resolve the 0xc0000409 error:
- Press Windows key + R to open up a Run window. Next, type or paste “ms-settings:troubleshoot” and press Enter to open the Troubleshooting tab of the Settings app.
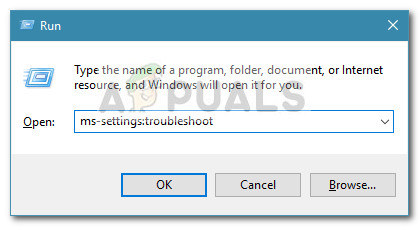 Note: If you’re on Windows 7 or Windows 8, use this command instead: “control.exe /name Microsoft.Troubleshooting”
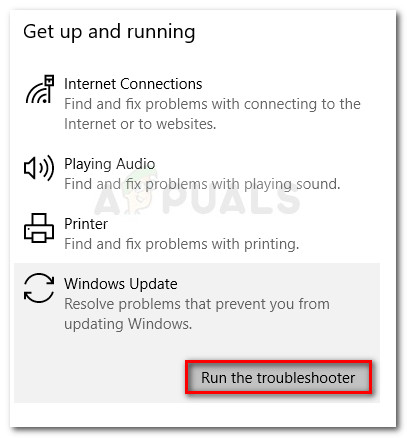
 - In the Troubleshooting tab, click on Windows Update (under the Get up and running tab) and choose Run the troubleshooter.
- Wait until the initial wizard detects the problem that is causing the issue. If an issue has been identified, click on Apply this fix to implement the repair strategy.
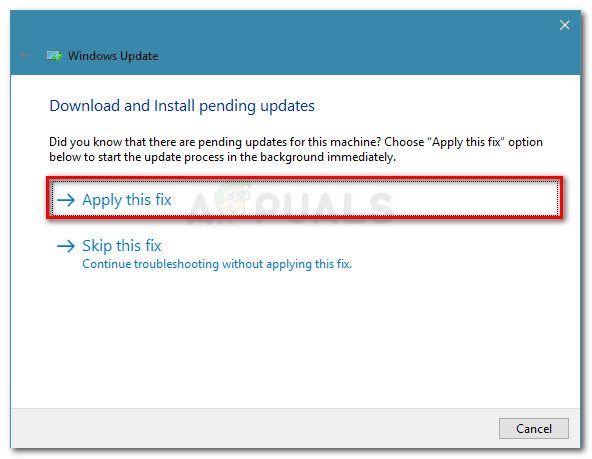 Note: If the troubleshooter recommends multiple repair strategies, make sure that you apply them all.
 - Once the repair strategy has been applied, reboot your machine and see if the issue has been resolved at the next startup.
If the issue is still not fixed, continue down with the next method below.
Method 2: Resetting Windows Update Components manually
If the first method was not effective, let’s try resetting the Windows Update Components manually. If you’re getting the 0xc0000409 because of a Windows Update glitch, performing the steps below should fix the issue. Users in a similar situation have reported being finally able to complete the installation after resetting the Windows update components.
Here’s a quick guide on doing this:
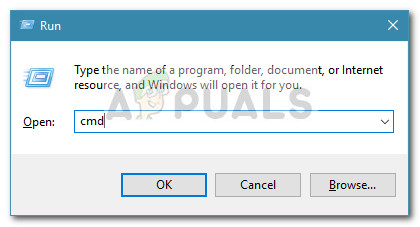
- Press Windows key + R to open up a new Run box. Next, type “cmd” and press Ctrl + Shift + Enter to open up an elevated Command Prompt.
Note: If prompted by UAC (User Account Control), choose Yes.
- In the elevated Command Prompt, we are going to stop Windows Update Services, MSI Installer, Cryptographic services, and BITS services by running a series of commands. Type or paste the following commands and press Enter after each one to disable the services one by one:
net stop wuauserv net stop cryptSvc net stop bits net stop msiserver - Once all Windows Update services have been disabled, enter the following command in the same elevated Command prompt to rename the SoftwareDistribution and Catroot2 folders. Same as in step 2, you must press Enter after each command:
ren C:\Windows\SoftwareDistribution SoftwareDistribution.old ren C:\Windows\System32\catroot2 Catroot2.old - Next, let’s restart the same services that were disabled during step two. To do so, type or paste the following commands and press Enter after each command:
net start wuauserv net start cryptSvc net start bits net start msiserver - Exit the elevated Command Prompt and reboot your computer.
- At the next startup, try to install an update or perform the upgrade again to see if the 0xc0000409 error is resolved.
In the event that you’re still seeing the 0xc0000409 error, continue down with the next method below.
Method 3: Uninstall 3rd party firewall
If you’re using a 3rd party security suite, keep in mind that it’s entirely possible that your security suite is preventing the update/upgrade from taking place.
Sadly, you can’t test if the interference is caused by your external security suite by simply disabling the software – the security rules will still be in place. However, you can confirm if the antivirus is causing the problem by uninstalling the 3rd party firewall completely.
After you do so, restart your computer and check if the issue has been resolved at the next startup by running the update/upgrade again. If it fails with the same 0xc0000409 error, continue down with the next method below.
Method 4: Perform a repair install
If you burned through all the methods above without luck, a reinstall is probably your best way out. However, a clean install is painful since you’ll lose your personal files and applications. Luckily, there’s a better alternative – a repair install will reset all Windows components that might be causing the issue and allow you to keep your personal files and applications.
If you decide to perform a repair install, consider following our complete guide (here) for step by step guidance


