Fix: Error 0x80244018 when Installing Apps
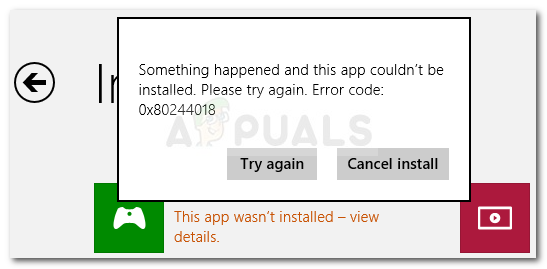
Something happened and this app couldn't be installed. Error Code: 0x80244018
Several Windows users have been reporting the 0x80244018 error when they try to apply a Windows update or when they try to download & install an application from the Microsoft Store. The 0x80244018 error code stands for WU_E_PT_HTTP_STATUS_FORBIDDEN which is very similar to a status 403 HTTP request – the server understood the request but declined to fulfill it.
What is causing the 0x80244018 error code?
After investigating the issue by looking at various user reports and their resolve, we managed to identify a collection of scenarios that are confirmed to be producing this particular error message. Here’s a list of culprits that might lead to the 0x80244018 error code:
- 3rd party application is interfering with the process – This is the primary cause for which the error occurs. Most of the time, overprotective security applications or other programs that monitor or filter your Internet communications are responsible for the error message.
- The update is blocked by VPN or proxy – The issue can also be encountered if you’re using a VPN or proxy service. the WU (Windows Update) component is known for acting up when the machine is using an anonymity service.
- The BITS service is disabled – The BITS (Background Intelligent Transfer Service) is an extremely important Windows service required to provide your OS with new updates. This error might occur I the service is not running.
- Component services are glitched – Any of the Windows Update Services, MSI Installer or Cryptographic services might contribute to the apparition of the error.
- System file corruption is causing the error – Corrupted system files can also be responsible for the error if they get in the way of the updating component.
If you’re currently struggling with the same error code, this article will provide you with a collection of verified troubleshooting steps. Below you have a collection of methods that other users in the same situation have used to get the issue resolved.
For the best results, follow the methods in the order that they are presented until you find a fix that is effective in resolving the problem for your particular scenario.
Method 1: Using the Windows Update troubleshooter
Let’s start simply by making sure that your OS is not equipped to handle this issue automatically. Even if the Windows Update troubleshooter doesn’t have the highest success percentages, some users have managed to fix the error by running the Windows Update troubleshooter.
This built-in utility will scan your system for any inconsistencies related to the updating component and apply various repair strategies targeted towards fixing the issue. Here’s a quick guide on running the Windows Update troubleshooter:
- Press Windows key + R to open up a Run dialog box. Next, type “ms-settings:troubleshoot” and press Enter to open the Troubleshooting tab of the Settings app.
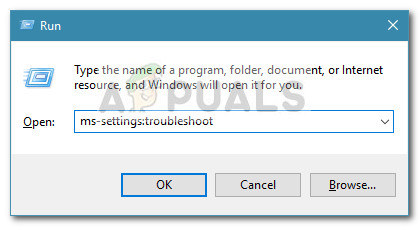
Run dialog box: ms-settings:troubleshoot - Next, scroll down to the Get up and running tab, click on Windows Update and then choose Run the Troubleshooter.
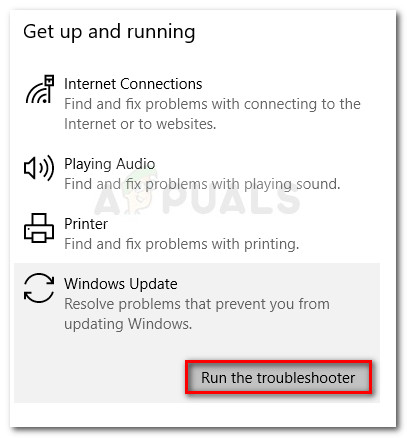
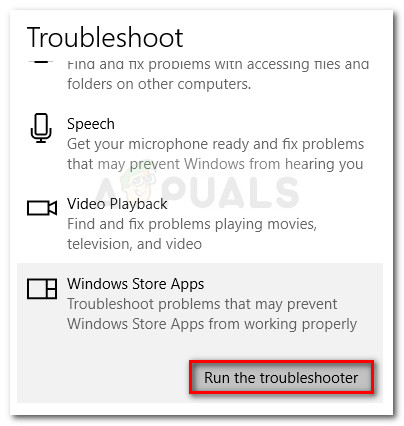
Running the Windows Update troubleshooter Note: If you’re encountering the issue while trying to install or open a Store application, open the Troubleshooter of Windows Store Apps instead.
- Wait until the utility finishes the initial scan. If any inconsistencies are found, click on Apply this fix to try and fix the issue with the suggested repair strategy.
- Once the process is finished, reboot your computer and see if the 0x80244018 error code is resolved at the next startup.In the event that the error message is still occurring, continue down with the next method below.
Method 2: Uninstall 3rd party application that might be interfering
The most common cause for the apparition of the 0x80244018 error code is 3rd party interference. Third party antivirus software and network monitoring programs might end up inhibiting or blocking Windows from updating itself.
There are certainly more overprotective applications that might be blocking the update, but most commonly user report Avira Security Suite and AVG for being responsible.
If you are using a 3rd party antivirus on the machine that is displaying the error, follow this guide (here) from steps on removing your 3rd party security program completely from your computer.
Note: Keep in mind that simply disabling the real-time protection of the security suite will not be effective since the same rules will remain in place.
If the issue is still not resolved even after uninstalling your 3rd party security option, move down to the next method below.
Method 3: Force start the BITS service
The BITS (Background Intelligent Transfer Service) is responsible for providing updates to your client. You could be seeing the 0x80244018 error code because the BITS service was manually stopped or because it was disabled by a 3rd party application.
Several users in a similar situation have managed to get the issue resolved by starting the BITS service via the Services screen manually. Here’s a quick guide on how to do this:
- Press Windows key + R to open up a Run dialog box. Then, type “services.msc” and press Enter to open up the Services screen.
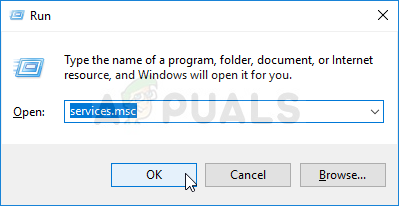
Run dialog box: services.msc - Once you’re inside the Services screen, scroll down through the services using the right-hand menu until you locate the Background Intelligent Transfer Service. Once you do so, double-click on it.
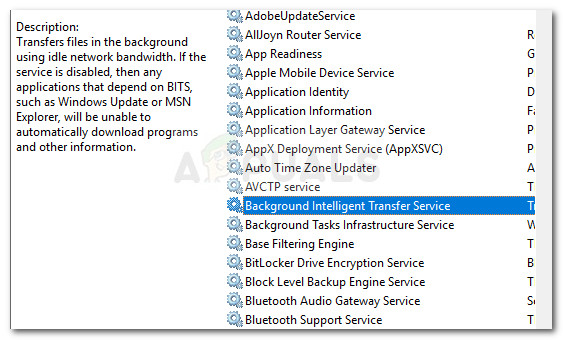
Double-click on Background Intelligent Transfer Service - In the next screen, go to the General tab and change the Startup type to Automatic (Delayed Start) if it’s set to something different. Then, press the Start button (under Service status) to force start the service.
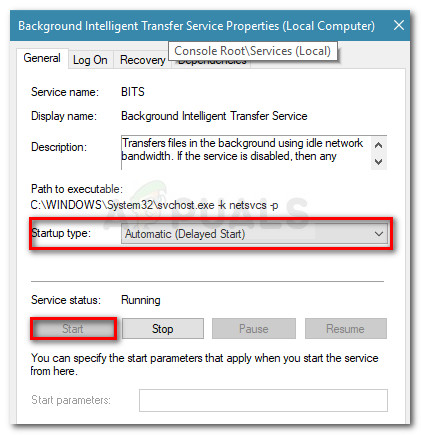
Change the startup type to Automatic and start BITS service - Return to the WU screen and see if you can apply the update without seeing the 0x80244018.
If the same error repeats or the BITS service was already enabled, continue with the next methods below.
Method 4: Disable Proxy server or VPN service
VPN services and Proxy servers are also viable suspects since Windows servers are not keen on sending sensitive data to machines filtering the network connection through another server. Several users encountering the 0x80244018 error have reported that the issue was fixed as soon as they disabled their VPN or Proxy server.
If you’re using a VPN service, check if it’s responsible for the issue by temporarily disabling it. With the VPN service disabled, try to repeat the action that was triggering the 0x80244018 error. If the error is not occurring anymore, disable the VPN service whenever your os needs to update. You can also try to look for a different service that doesn’t create this kind of problem.
If you’re using a proxy server to hide your surfing location, you might want to disable it and see if the issue is resolved. Here’s a quick guide on how to do this:
- Press Windows key + R to open up a Run dialog box. Next, type “ms-settings:network-proxy” and press Enter to open up the Proxy screen of the Settings app.
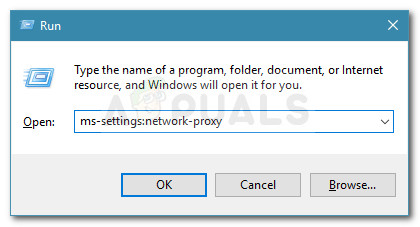
Run dialog: ms-settings:network-proxy - Once you’re inside the Proxy tab, go down to Manual proxy setup and disable the toggle associated with Use a proxy server.
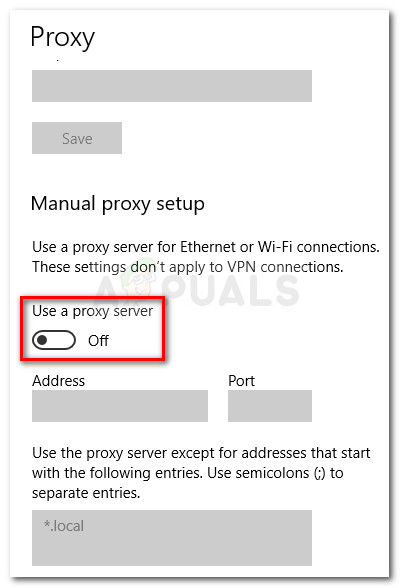
Disable the Use a proxy server toggle - Restart your computer and see if the error is resolved at the next startup. If you’re still encountering the 0x80244018 error, move down to the next method below.
Method 5: Resetting the Windows 10 Update components
Some users struggling with the same error message have reported that the issue was fixed after they reset all Windows 10 update components. If the error message is triggered due to a Windows Update glitch, resetting all WU components should get the issue resolved
There are two main ways that you can follow in order to reset the Windows Update components. We will cover both below, but keep in mind that the manual way is confirmed to work by a lot of users.
Resetting the Windows Update components automatically
- Visit this Technet webpage (here) and download the Reset Windows Update Agent.
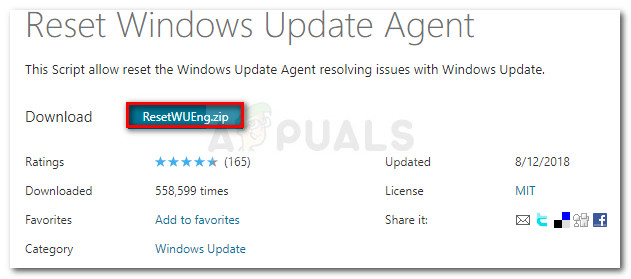
Download Windows Update Reset Agent - Extract the .zip archive and run the ResetWUEng executable.
- Follow the on-screen instructions to reset your WU components.
- Restart your computer and see if the error code has been resolved.
Resetting the Windows Update components manually
- Press Windows key + R to open up a new Run dialog box. Next, type “cmd” and press Ctrl + Shift + Enter to open up a Command Prompt with administrative privileges. When prompted by the UAC (User Account Control), choose Yes to open an elevated command prompt.
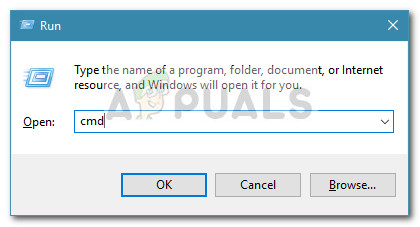
Run dialog: cmd and press Ctrl + Shift + Enter - In the elevated CMD, we will stop a series of WU components by running the following commands and pressing Enter after each one. The affected services are Windows Update Services, MSI Installer, Cryptographic services, and BITS services.
net stop wuauserv
net stop cryptSvc
net stop bits
net stop msiserver
- Once the services have been disabled, run the following commands in the same CMD window to rename the SoftwareDistribution and Catroot2 folders.
ren C:\Windows\SoftwareDistribution SoftwareDistribution.old
ren C:\Windows\System32\catroot2 Catroot2.old
- Now, let’s restart the services stopped at step 2 by running the next series of commands and pressing Enter after each one.
net start wuauserv
net start cryptSvc
net start bits
net start msiserver
- Close the elevated Command Prompt and restart your computer. At the next startup, check if the issue has been resolved. If it wasn’t, continue with the next method below.
Method 6: Running SFC and DISM scans
Another method that seems to have helped a lot of users in resolving system file corruption by running a couple of built-in utilities. While this method is usually successful, it’s known to take several hours, so arm yourself with patience before beginning.
Here’s a quick guide on attempting to fix the 0x80244018 error by running an SFC and DISM scan:
- Press Windows key + R to open up another Run dialog box. Next, type “cmd” and press Ctrl + Shift + Enter to open up an Elevated Command Prompt. When prompted by the UAC (User Account Control), choose Yes to grant admin privileges.
Run dialog: cmd and press Ctrl + Shift + Enter - In the elevated Command Prompt, type the following command to run an SFC scan. This utility will scan your system for corruption and substitute any corrupted occurrences with cached copies.
sfc /scannow
- Once the procedure is complete, reboot your computer and see if the error has been resolved at the next startup. If the 0x80244018 is still occurring, continue down with the next methods below.
- Follow step 1 again to open up another elevated CMD window. Next, run the command below to start a DISM scan. This utility will replace any corruption with copies downloaded from MS servers. Ensure that you have a stable internet connection before doing this.
dism /online /cleanup-image /restorehealth
- When the process is complete, restart your computer and see if the error returns the next time you try to apply an update.


