Fix: ERR_TUNNEL_CONNECTION_FAILED
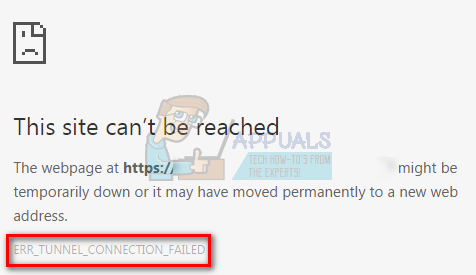
The error “ERR_TUNNEL_CONENCTION_FAILED” usually occurs on Google Chrome when it is unable to establish a tunnel connection to the target host. It usually arises when you are using a proxy server to connect to the internet which is usually implemented in institutions and organizations.
This problem is very common and its workarounds are very simple and straightforward too. We will start by disabling your proxy settings and enabling automatic configurations. If this doesn’t work, we will try refreshing your internet settings and clearing cache, browsing data etc. Start with the first solution and work your way down.
Solution 1: Disabling Proxy Settings
If you use proxy settings for your work or university, it is possible that this is causing the issue. Proxy settings provide another path for the internet to work. This implementation is mainly done in institutions or workplaces who don’t allow full internet access or monitor it. You can try disabling the proxy server, get a working internet connection without proxy and check if this solves our case.
- Press Windows + S to launch the search bar of your start. Type “proxy” in the dialogue box and select the first result which comes forth.
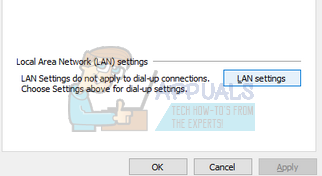
- Press LAN Settings button present at the near end of the window.
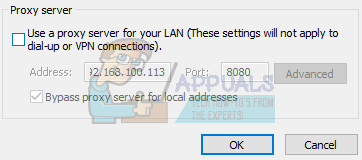
- Uncheck the box which says “Use a proxy server for your LAN”. Press Ok to save changes and exit.
- Now check if the problem got fixed.
Solution 2: Resetting Network Settings
We can also try resetting the network settings. It is possible that due to faulty network settings saved on your computer, you are facing this problem. Do note that for performing these actions, you require administrator account.
- Press Windows + S to launch the search bar. Type “cmd” in the dialogue box, right-click on the application and select “Run as administrator”.
- Once in elevated command prompt, execute the following commands one by one.
ipconfig /flushdns
nbtstat –r
netsh int ip reset
netsh winsock reset
- After executing all the commands, reset your computer and check if this solves the problem.
Solution 3: Changing DNS
Another workaround which we can try before we clear your browsing data and cache is changing your DNS manually. We will use Google’s DNS and check if the connection problem goes away. If it doesn’t, feel free to revert the changes using the same method we implemented them.
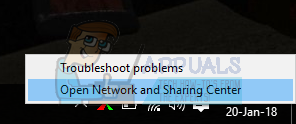
- Right-click on the Network icon present at the bottom-right side of your taskbar and select “Open Network and Sharing Center”.
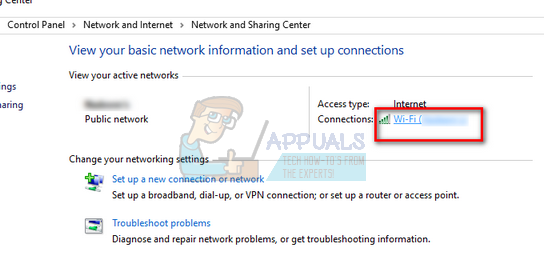
- Click on the internet connection you are using to open its settings.
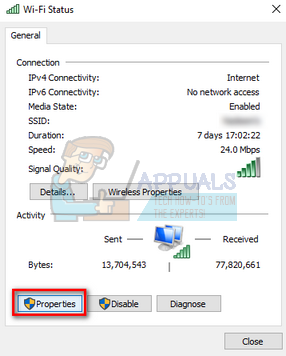
- Click on “Properties” present at the bottom left side of the screen.
- Double-click on “Internet Protocol Version 4 (TCP/IPv4)” so we can change the DNS server.
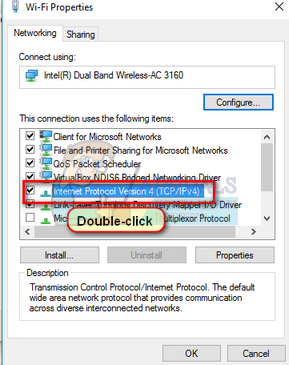
- Click on “Use the following DNS server addresses:” so the dialogue boxes below become editable. Now set the values as follows:
Preferred DNS server: 8.8.8.8
Alternate DNS server: 8.8.4.4
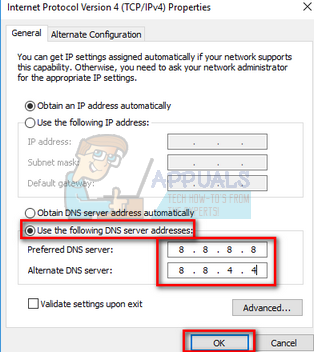
- Press OK to save changes and exit. Now restart your Chrome browser and see if this solved your problem.
Solution 4: Checking with Other Browsers
If all the above methods don’t solve your problem, you should check accessing the same website using different browsers/devices but they should be connected to the same network. If you are experiencing a problem with them as well, you should try connecting to another network and see if the website is accessible.
If another device on your network can easily access the website while you cannot, we would have to clear your browsing data which includes the browsing history, cache etc.
Solution 5: Clearing Browser data
If the problem only lies with your problem (with the website opening in other devices), we can try clearing your browser data. Your browser may contain fault files which may be causing the problem. When we clear the browser data, everything gets reset and the browser behaves like you are visiting the website for the first time.
Note: Following this solution will erase all your browsing data, cache, passwords etc. Make sure you have all those backed up before you proceed with this solution.
We have listed a method on how to clear the browsing data in Google Chrome. Other browsers may have slightly different methods to clear the data.
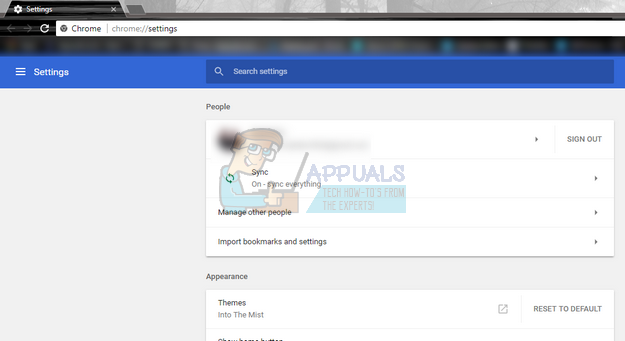
- Type “chrome://settings” in the address bar of Google Chrome and press Enter. This will open the browser’s settings.
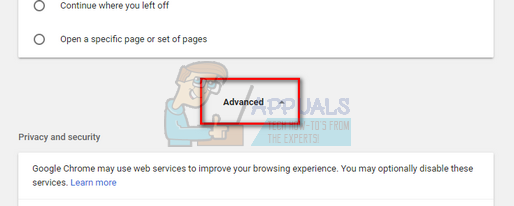
- Navigate to the bottom of the page and click on “Advanced”.
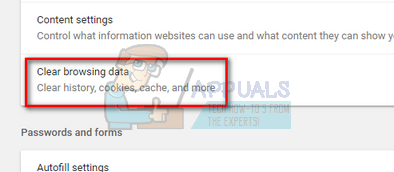
- Once the Advanced menu has expanded, under the section of “Privacy and Security”, click on “Clear browsing data”.
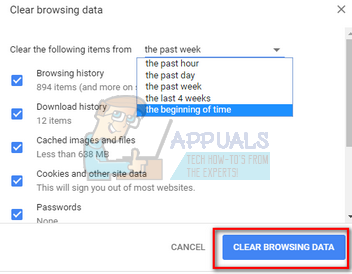
- Another menu will pop up confirming the items you want to clear along with the date. Select “the beginning of time”, check all options and click “Clear browsing data”.
- Now restart your browser after ending all applications using the task manager and check if the website is accessible again.