Fix: DISM error 1726 “The remote procedure call failed”
Whenever an SFC scan doesn’t manage to get the issue resolved, DISM commands are usually sufficient to resolve the vast majority of system file corruption. DISM commands (Deployment Image Servicing and Management) use the Internet to download and replace damaged or incorrect files in an attempt to fix system issues.
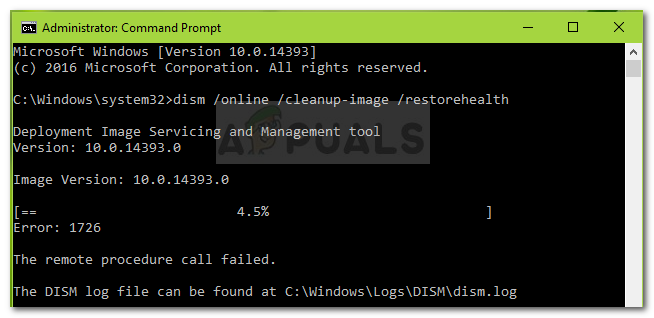
Even though DISM commands are usually effective in resolving even the most severe cases of system file corruption, there are situations where the deployment operation itself becomes corrupted and returns an error. Such is the case with the 1726 Error: “The remote procedure call failed”. Some users report that this DISM failure occurs right before the process is supposed to end.
After researching the error, we came to the conclusion that the issue typically occurs due to one of the following reasons:
- A third party software (most likely an external firewall or antivirus) interrupts the current DISM operation and ends up triggering the 1726 Error: “The remote procedure call failed”.
- The issue occurs because there is currently a pending corruption repair. This typically occurs if you previously tried to run a DISM command that was manually terminated or was halted due to a machine malfunction.
- The 1726 error might also occur because the process responsible for the procedure (Remote Procedure Call) is disabled or prevented from running.
How to fix the DISM 1726 Error
If you’re currently struggling to resolve this particular DISM error, this article will provide you with a bunch of troubleshooting steps that other users in a similar situation have used to eliminate the error. For the best results, please follow the methods below in order until you discover a fix that is effective in allowing you to circumvent the issue. Let’s begin!
Method 1: Update to latest Windows build available
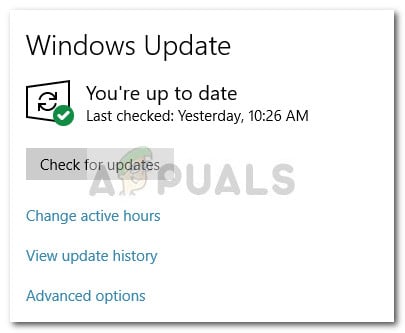
Because the issue is specific to certain Windows 10 builds, it’s important to make sure that your system is up to date before you try anything else. Microsoft has already addressed this issue with a couple of hotfixes, so take the time to install every pending Windows Update.
To do this, press Windows key + R to open up a Run box. Then, type “ms-settings:windowsupdate” and hit Enter to open the Windows Update screen. Next, click on Check for Updates and follow the on-screen prompts to apply every pending update. Once every update has been applied, reboot your computer and run the DISM command again to see if the issue has been resolved.
If you’re still encountering the same 1726 error, move down to the next method below.
Method 2: Changing the Startup Type of the Remote Procedure Call (RPC) service
Since the DISM error 1726 is most likely occurring because the Remote Procedure Call (RPC) service is disabled or prevented from running for some reason or another.
The Remote Procedure Call (RPC) service is the service control manager for COM and DCOM servers. It’s responsible for performing object variation requests, exporting resolution and distributing collection for COM and DCOM servers.If this server is disabled, all programs using COM and DCOM (including DISM commands) will not function properly.
Here’s a quick guide on making sure that the RPC service is scheduled to enable itself at every startup:
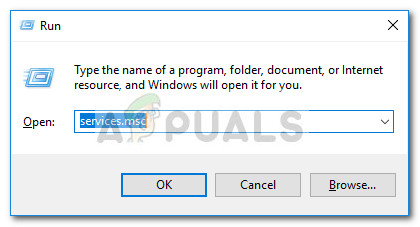
- Press Windows key + R to open up a Run box. Then, type “services.msc” and hit Enter to open the Services window.
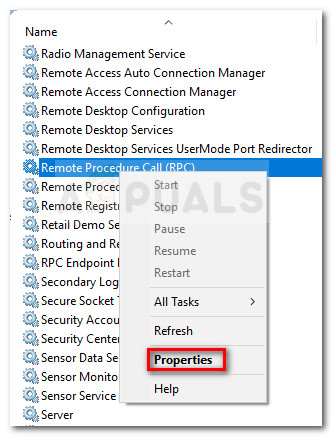
- In the Services, window, scroll down through the list of local services and locate the Remote Procedure Call (RPC) service. Once you do, right-click on it and choose Properties.
- In the Properties screen of the RPC service, go to the General tab and change the drop-down menu next to Startup type to Automatic.
- Hit Apply then Ok and restart your computer. At the next startup, run the DISM command again and see if the operation completes without the 1726 error.
If you’re still encountering the same error during a DISM operation, continue down with the next method below.
Method 3: Modifying the value of the RpcSs registry key
If the DISM 1726 error could not be avoided using Method 2, let’s try resolving the issue by doing some registry changes. Some users have managed to get the issue fixed by enabling the Remote Procedure Call (RPC) service via Registry Editor.
Warning: The procedure below involves manipulating the registry. Even though the changes done in the steps below are safe if done correctly, improper registry manipulation might provoke adverse reactions to your system. Because of this, we strongly advise that you back-up the registry before doing the modifications presented below.
Here’s a quick guide on modifying the RpcSs registry key via Registry Editor to fix the DISM 1726 error:
- Press Windows key + R to open up a Run box. Then, type “regedit” and hit Enter to open Registry Editor. Next, click Yes at the UAC (User Account Control) prompt.
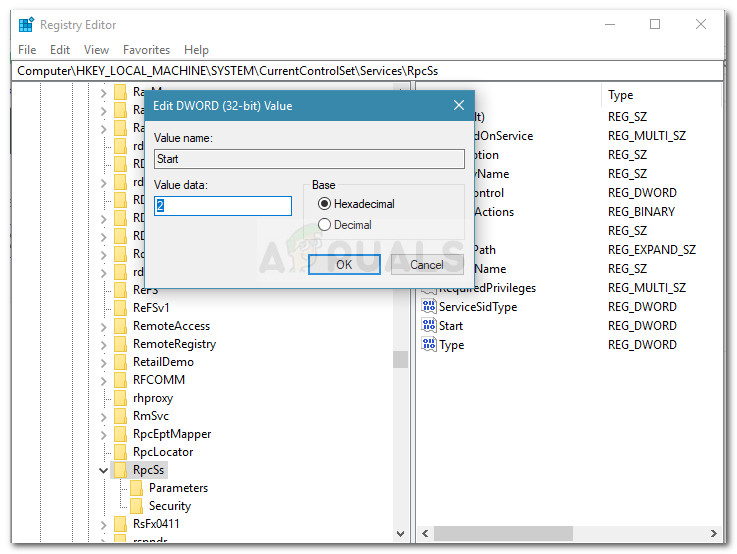
- Using the left pane of Registry Editor, navigate to the following Registry key:
HKEY_LOCAL_MACHINE \ SYSTEM \ CurrentControlSet\ Services\ RpcSs
- With the RpcSs registry key selected, move over to the right pane and double-click on the Start value.
- Change the Value data of Start to 2 and press Ok to save the changes.
- Close Registry Editor and restart your computer. At the next startup, see if the issue has been resolved and you are able to complete the DISM command.
If this method wasn’t effective in allowing you to fix the 1726 DISM error, continue down with the next method below.
Method 4: Temporarily disabling the Windows Search service
As some users have discovered, the issue can be resolved by making sure that the Windows Search service is disabled while the DISM command is running. If the DISM process is interrupted by the Search service, you’ll be able to complete the operation if you turn off the Windows Search service from Services window.
Here’s a quick guide on doing this:
- Press Windows key + R to open up a Run box. Then, type “services.msc” and hit Enter to open the Services window.
- In the Services screen, scroll down through the services list and double-click on the Windows Search service.
- In the Properties window of Windows Search, select the General tab and click the Stop button to temporarily prevent the service from running.
- With the service disabled, run the DISM scan again. If the error was triggered by the Windows Search service, the scan should complete without the 1726 error.
- To restart the Windows Search service, either return to the Properties window (using steps 1 to 3) and click Start or restart your computer.


