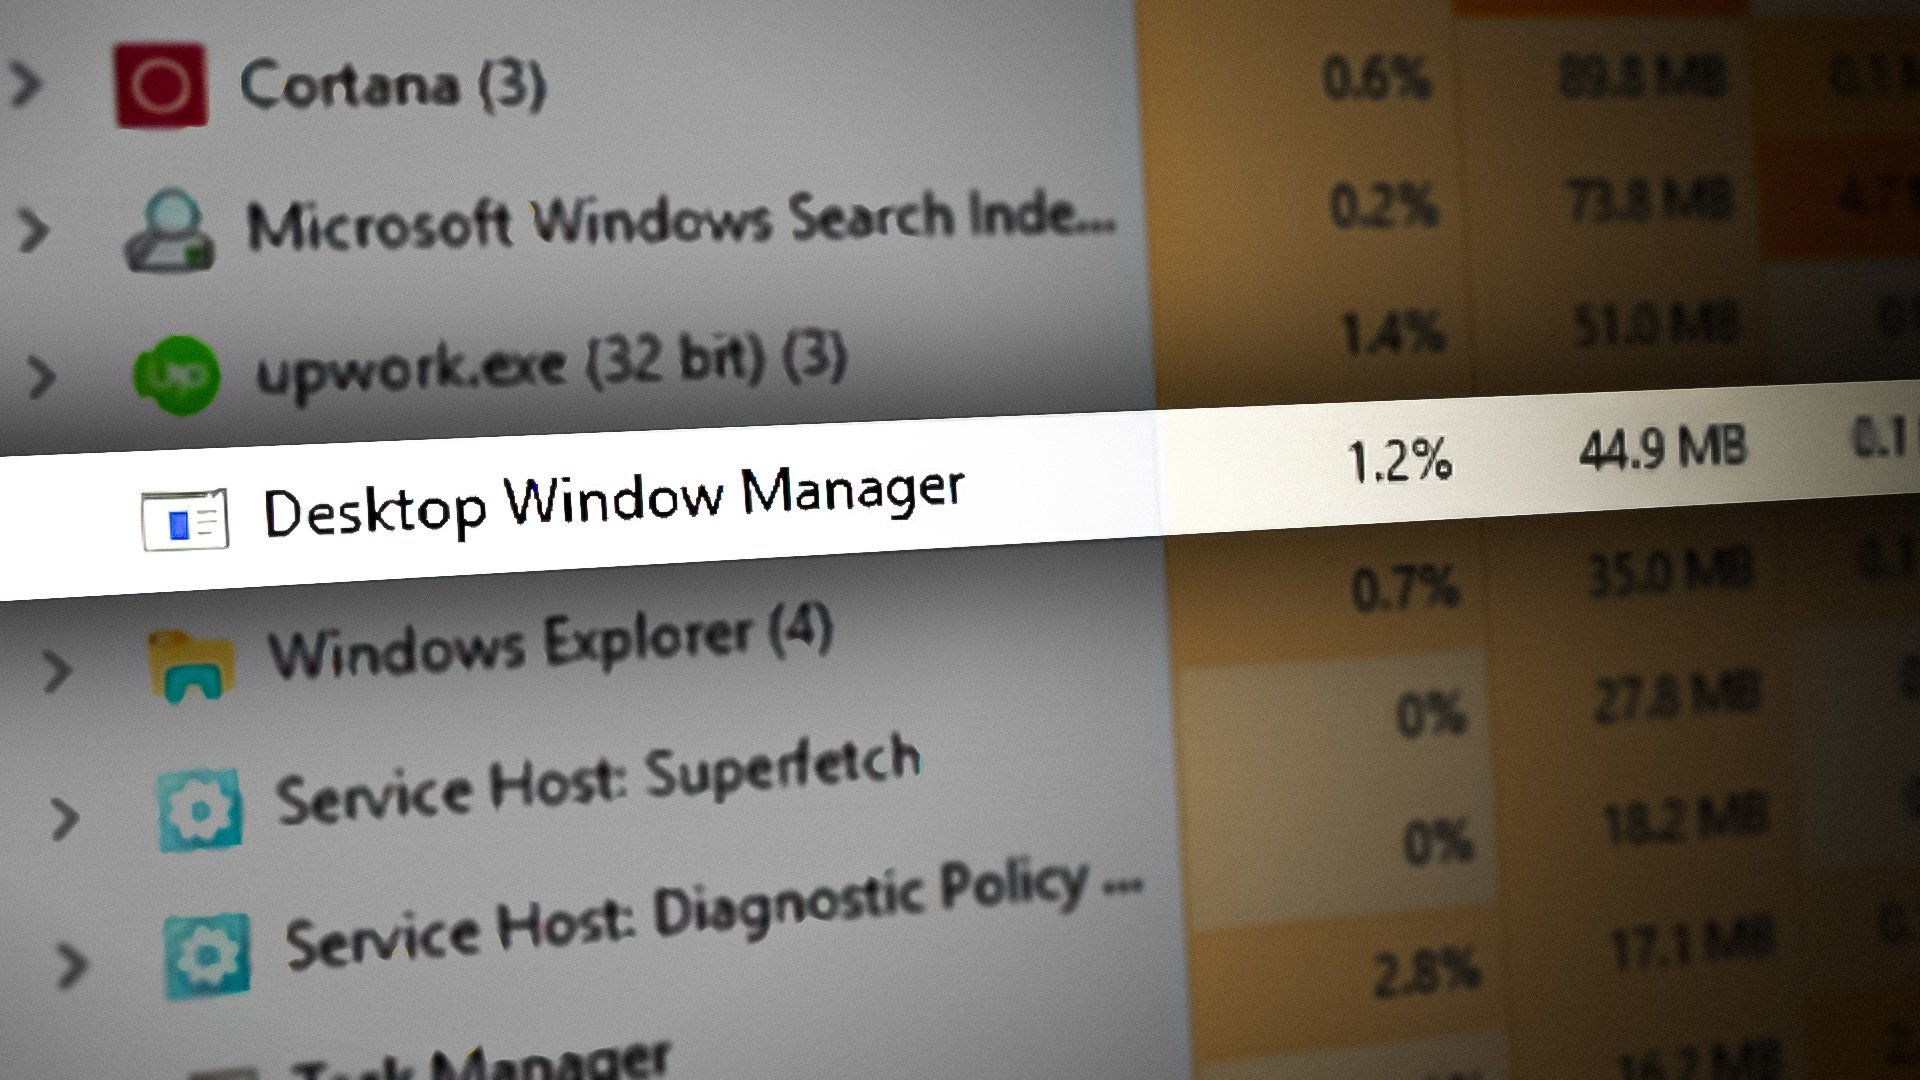
Fix: Desktop Window Manager High CPU Usage ‘dwm.exe’
Desktop Windows Manager is a manager which is responsible for enabling visual effects on your desktop. In the latest version of Windows (Windows 10), it is responsible for managing glass window frames, high-resolution support, 3D window transitions animations etc. According to Microsoft officials, this process is always running in the background and consuming a certain amount of processor to operate.
However, many users reported that they experienced high CPU usage from the service itself. This can be due to a number of different as each computer has a different configuration and it is very difficult to exactly create the same conditions each time. We have listed down a number of different workarounds for you to try. Take a look.
Solution 1: Changing Wallpaper/Theme
Since desktop window manager is responsible for managing your wallpaper and theme, it is possible that your current settings are causing the service to consume so many resources. We can try changing the current wallpaper or theme and check if this solves anything.
- Press Windows + I to launch the Settings application.
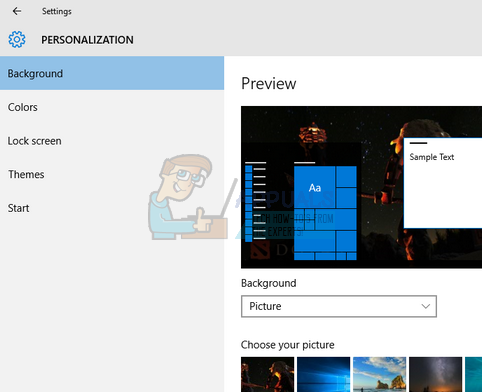
- Once in settings, click on “Personalization”

- Now change your current theme and wallpaper using the settings and check if they make any difference.
Solution 2: Disabling Screensaver
Desktop Windows Manager is also responsible for managing your screensavers. Since the creators update, there are many reports that the screensaver causes extreme high CPU usage due to unknown circumstances at the moment. If your screen saver is activated, try deactivating it and check if this brings any difference to our problem.
- Press Windows + S to launch the search bar of your start menu. Type “lock screen settings” in the dialogue box and hit enter.
- Select the first result which comes and click it. You will be navigated to your computer’s lock screen settings.
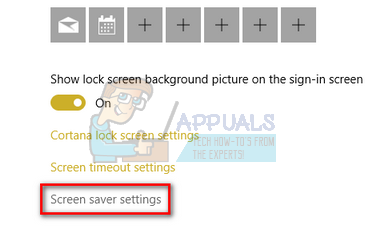
- Navigate to the bottom the screen and click on “Screensaver settings”.
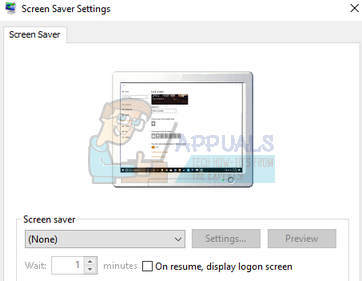
- It is possible that there is a default screensaver active on your computer. Many users gave feedback that the screensaver was activated with a black background which didn’t let it distinguish whether it was a screensaver or not. Make sure that it is disabled and try checking the problem again.
Solution 3: Scanning for Malware
Sometimes, this unusual behavior is caused by malware or virus present on your machine. They may have special scripts which run in the background which can be extracting your data or making changes to the settings.
Scan your computer using your antivirus utility and ensure that your PC is clean. If you don’t have any specific antivirus utility installed, you can use the Windows Defender utility and scan.
- Press Windows + S to launch the start menu’s search bar. Type “Windows Defender” and open the first result which comes forward.

- At the right side of the screen, you will see a scan option. Select the full scan and click on Scan This process might take some time as Windows scans all of your computer’s files one by one. Be patient and let the process complete accordingly. Restart your computer at the end and check if the problem is solved.

Solution 4: Removing Specific Applications
If all the above solutions didn’t work for you, we can try removing some specific programs. After surveying and reviewing a lot of cases, we determined that there were several applications which seemed to be causing the problem. Some of them are SetPoint, OneDrive etc. Also, try stopping or temporarily disabling your current antivirus utility and check the CPU usage. Look for programs which are interacting with your desktop and diagnose accordingly.
Solution 5: Disabling Hardware Acceleration for Office Products
Another workaround which worked prominently for various users was disabling the hardware acceleration for Microsoft Office products installed on your computer. Hardware acceleration is the use of computer hardware to perform some functions more efficiently as compared to its software solution.
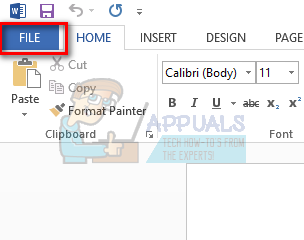
- Open any blank page of any Office product and click “File” present at the top left side of the screen.
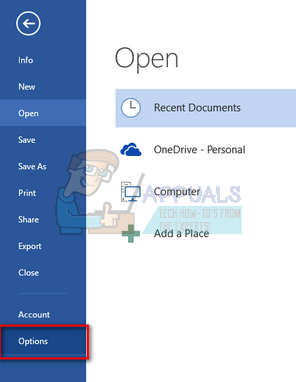
- Click on “Options” using the navigation pane present at the left side of the screen.
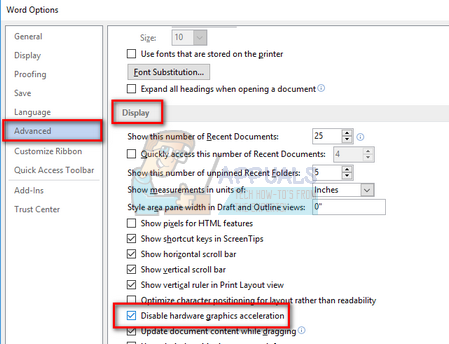
- Select “Advanced” using the left navigation pane, scroll through the entries until you find the heading “Display” and check the option “Disable hardware graphics acceleration”. Press Apply to save changes and exit.
- Restart your computer and check if the problem at hand got solved.
Solution 6: Changing Default App Mode
This is the new feature introduced by Microsoft in Fall Creators Update 1709. There are two modes available to you; Light and Dark. By default, the mode is set to Light. If you have changed to the dark mode, you should revert back to the light one. This is known to be one of the causes for the high CPU usage under discussion.
- Press Windows + S to launch the search bar. Type “settings” in the dialogue box and open the application.
- Once in Settings, open the sub-category of Personalization.

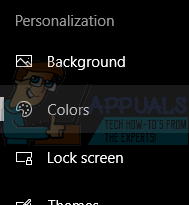
- Once in Personalization, select “Colors” using the navigation menu present on the left side of the screen.
- Scroll to the bottom of the screen until you find the option “Choose your default app mode”. Select the option “Light”.

- Reboot your computer and observe the CPU usage.
Solution 7: Running the Performance Troubleshooter
Before we move on to updating the graphics drivers on your computer, we can run the Performance Troubleshooter. This troubleshooter will automatically detect anomalies regarding the speed and performance of your Windows and take actions accordingly. Make sure you are logged in as an administrator to carry out this solution.
- Press Windows + S, type “command prompt”, right-click on the application and select “Run as administrator”.
- Once in elevated command prompt, execute the following instruction:
msdt.exe /id PerformanceDiagnostic
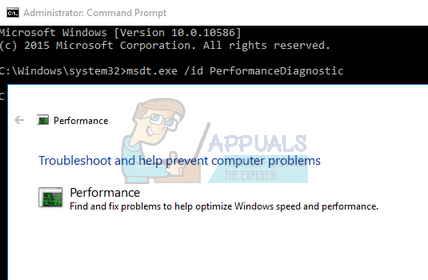
- Click “Next” when the troubleshooter pops up to start the process.
Solution 8: Updating Graphics Driver
If all the above solutions don’t produce any improvement, we can try updating your graphics drivers. Graphics hardware is responsible for visual representations on your computer. If the drivers are outdated or corrupted, they can be causing the high CPU usage. Navigate to your manufacturer’s website and download the drivers to an accessible location.
Note: Other than installing the latest drivers, you should also try rolling them back to a previous build.
- Right-click on Windows key and select Device Manager from the list of options available.
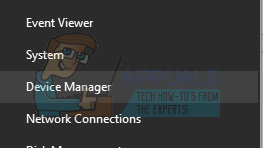
Another way to launch the device manager is by pressing Windows + R to launch the Run application and typing “devmgmt.msc”.
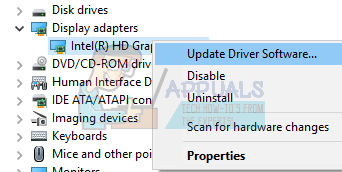
- Right-click on the adapter and select “Update Driver”.
- Now a new window will pop up asking you to whether update the driver manually or automatically. Select “Browse my computer for driver software”.
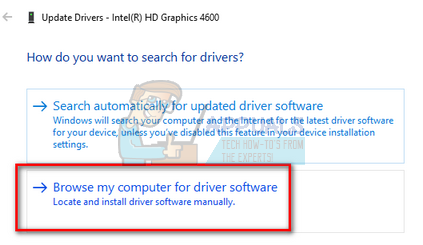
- Now browse through the folders to where you downloaded the drivers. Select it and Windows will install the required drivers. Restart your computer and check if the problem got solved.
Solution 9: Changing a Policy in Group Policy Editor
If you are getting this issue when you are trying to use remote display protocol (RDP) you can try this fix to get your problem resolved. Follow these steps:-
- Press and hold the Windows key and press the R key to open the run program.
- Type “gpedit.msc” and press enter to open Group Policy Editor. (If you are using Windows 10 Home you can follow this tutorial to know how to run gpedit.msc on Windows 10 home).
Opening GPedit.msc - Now Navigate to the following address:-
“Computer Configuration > Administrative Templates > Windows Components > Remote Desktop Service > Remote Desktop Session Host > Remote Session Environment” - Now double-click on “Use WDDM graphics display driver for Remote Desktop Connections”.
- Select “disabled” and restart your computer.
- Check to see if the issue persists

Editing the Policy
Great post. I may have missed it, but when I discovered WDM was drawing almost 1G of RAM on a newly purchased Dell XPS 5200, I updated drivers and BIOS. WDM then dropped to only 48MB of RAM.