Dell Touchpad Not Working? Here’s How to Fix It
When your Dell touchpad stops working, it can be frustrating because you can’t control your cursor without an external mouse. This issue usually happens if the touchpad is accidentally disabled through function keys or settings, which can be fixed by turning it back on.
Other possible causes include outdated drivers, BIOS setting changes, or hardware problems like grounding issues. Before trying advanced solutions, make sure the touchpad is enabled in the system settings and that drivers are up to date.
1. Enable Touchpad from Your Keyboard
Many Dell laptops let you turn the touchpad on or off using a function key combination. This feature is especially useful if your touchpad stops working after a system update or conflict, which can accidentally disable it. By pressing these keys, you can quickly reactivate the touchpad without having to dig into system settings or update drivers.
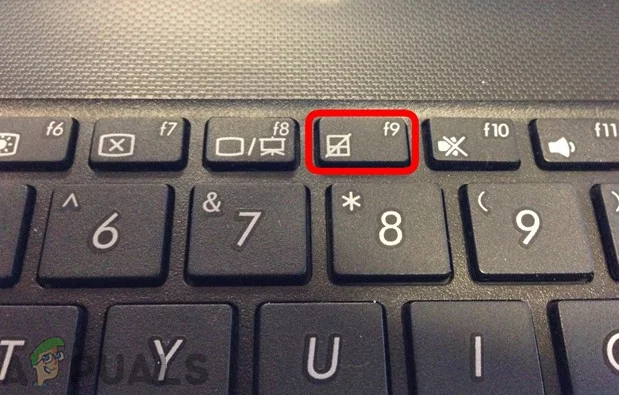
On Dell laptops, the most common keys used to enable or disable the touchpad are typically F6, F8, or a combination of the Fn key with F6, F8, or Delete. These function keys may vary depending on the model, but pressing them toggles the touchpad’s functionality, either enabling or disabling it.
2. Enable the Touchpad from the Mouse Settings
- Press the Windows key and type main.cpl in the input box.
- Click OK to open the mouse properties settings.
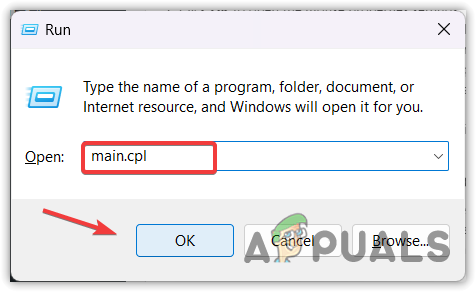
Opening Mouse Properties Settings - Find the touchpad tab, usually next to the Hardware option.
The name of the touchpad tab is usually the name of the touchpad manufacturer, such as Alps Electric Corporation, Elan Microelectronics, Synaptics, etc.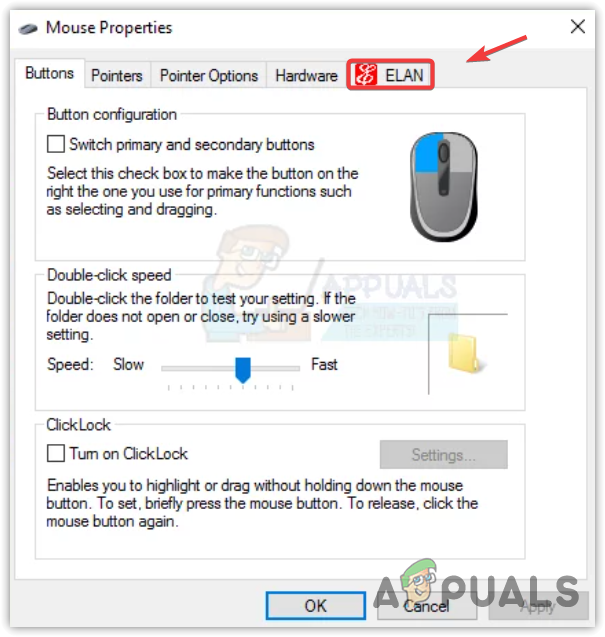
Navigating to Touchpad Settings - Ensure the Enable Touchpad option is checked or the Enable Device button for the touchpad is active.
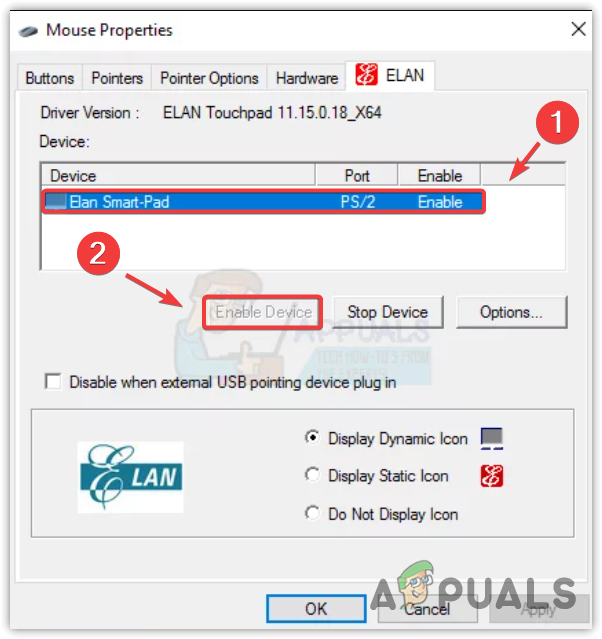
Enabling Touchpad from Mouse Settings - Verify if your touchpad is working. If not, move on to the next method.
3. Disable Cursor Suppression from the Registry Editor
Turning off cursor suppression in the Registry Editor can help when the touchpad works but the cursor is hidden. Disabling this feature ensures the cursor is visible and responsive.
Note: Be cautious when making changes in the Registry Editor, as incorrect modifications can affect system stability. It’s recommended to back up the registry before proceeding.
- Press the Windows key and type Registry Editor.
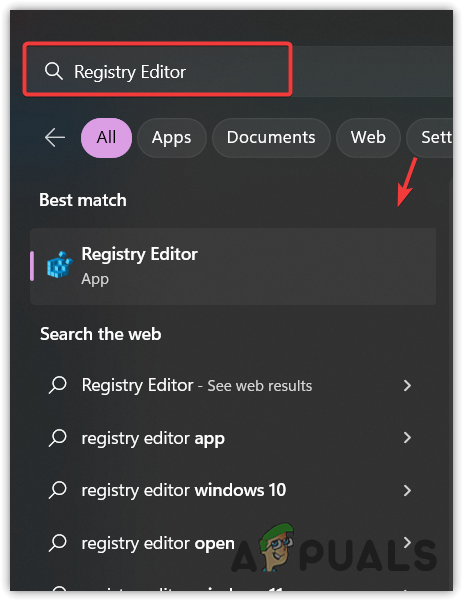
Opening Registry Editor - Open the Registry Editor and navigate to the following path using the left-side menu:
Computer\HKEY_LOCAL_MACHINE\SOFTWARE\Microsoft\Windows\CurrentVersion\Policies\System
- Double-click the EnabledCursorSuppression entry and change the value data to 0 to disable cursor suppression.
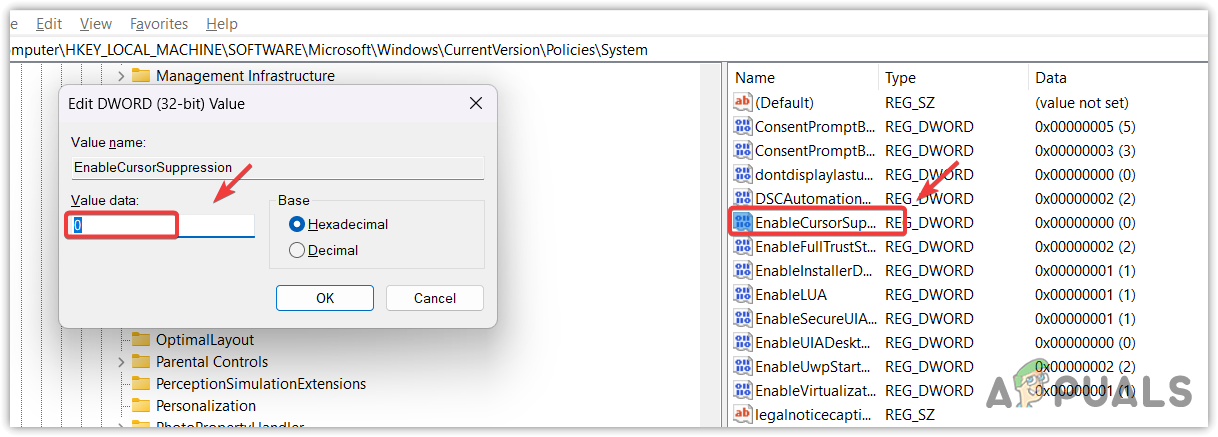
Disabling Cursor Suppression - Restart your computer for the changes to take effect.
- Verify if your problem is fixed.
4. Update or Reinstall Touchpad Driver
If the touchpad driver is outdated or corrupted, it can cause the touchpad to stop working. Updating or reinstalling the driver replaces the faulty software, restoring normal communication between the system and the hardware. This often resolves the issue quickly.
4.1 Update Touchpad Drivers
- Right-click the Start Menu and select Device Manager.
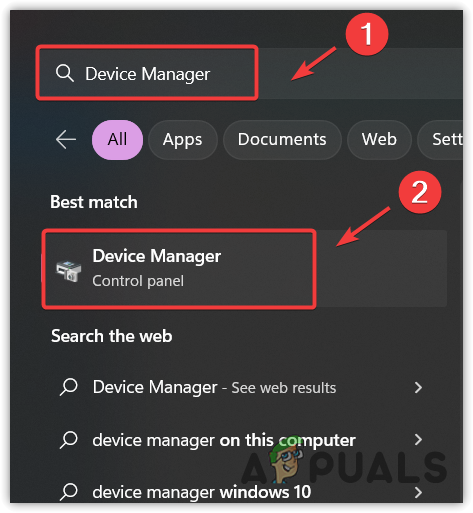
Opening Device Manager - Expand the Mice and other pointing devices tab.
- Right-click the touchpad driver and select Update Driver.
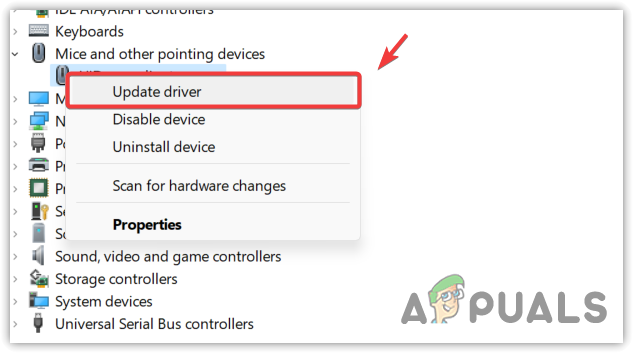
Selecting Update Driver - Click Search automatically for drivers. If you receive a message saying “The best drivers for your device are already installed,” try the following steps.

Searching automatically for drivers - Right-click the touchpad driver and select Update Driver again.
- Choose Browse my computer for drivers.
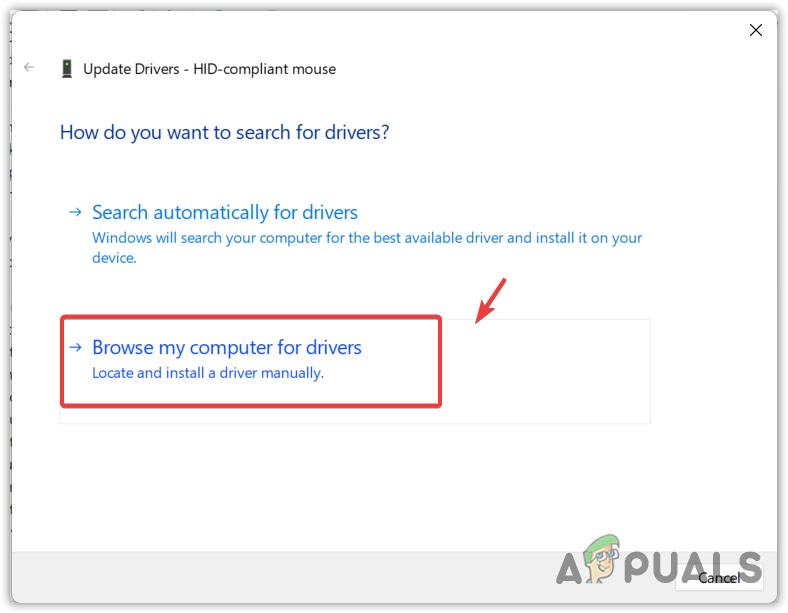
Browsing my computer for drivers - Click Let me pick from a list of available drivers on my computer.
- Select the compatible touchpad driver from the list.
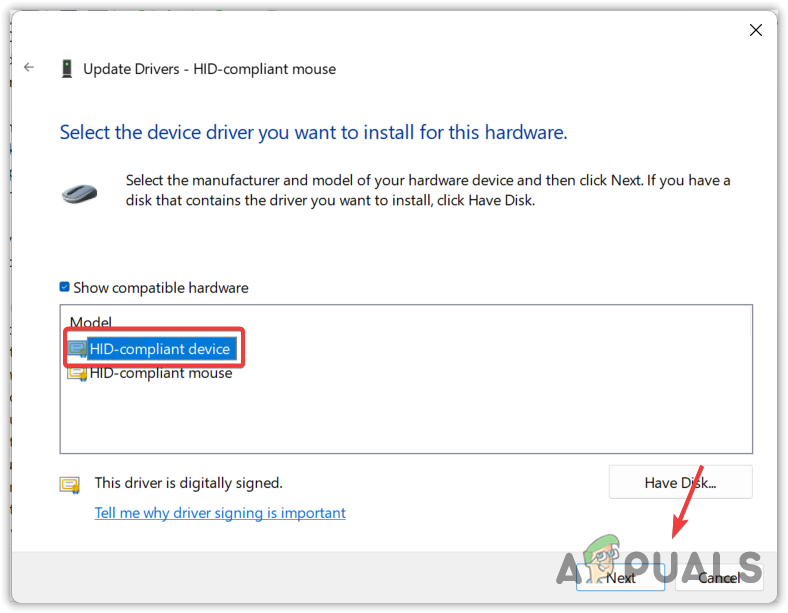
Installing touchpad drivers - Click Next to install the driver and check if your problem is resolved. If the issue persists, install the touchpad drivers from the manufacturer’s site.
4.2 Reinstall Touchpad Drivers
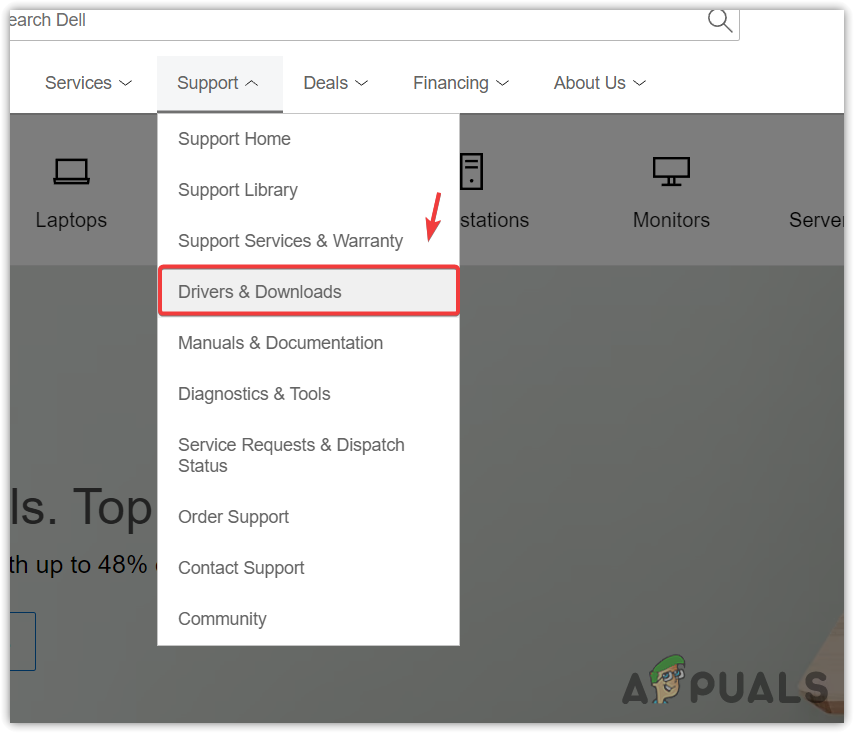
- Go to the official Dell website.
- Hover over Support and click Drivers and Downloads.
Navigating to the Drivers and Downloads section - Search for your laptop using the model number.
- Click Find drivers and download the touchpad driver.
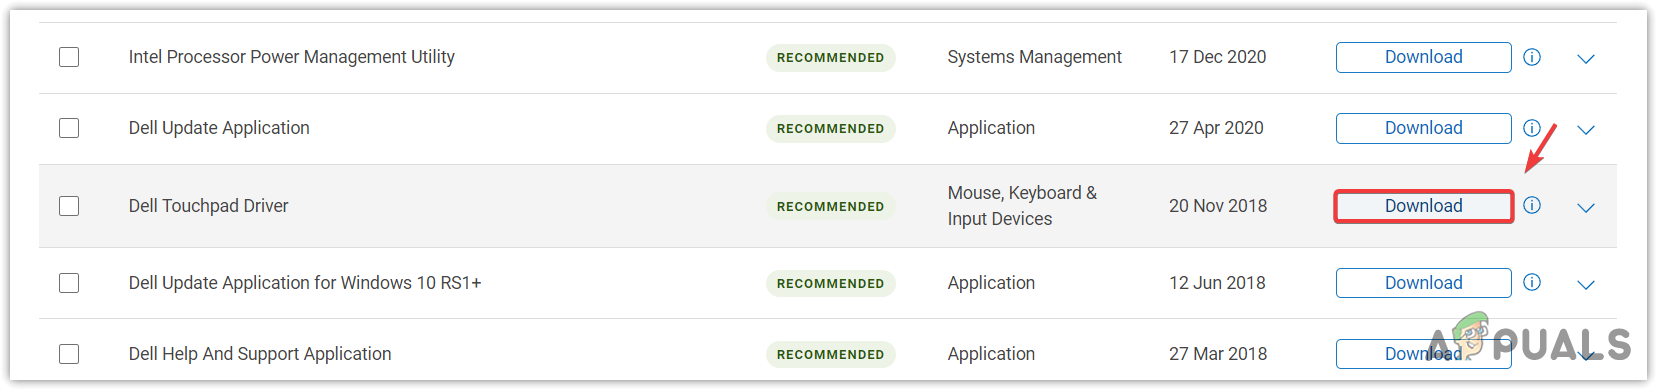
Downloading touchpad driver - Once the download is complete, install the driver by following the on-screen instructions.
- Restart your computer and check if your touchpad is now working.
5. Enable Touchpad from Motherboard BIOS Settings
Sometimes, the touchpad is turned off in the BIOS, stopping it from working even if software settings are correct. Turning it on in the BIOS ensures the hardware is recognized when the computer starts, avoiding software issues.
- Restart your laptop and wait for the manufacturer’s logo to appear.
- Press the Delete or F12 key to access the motherboard BIOS settings. The most common keys to access BIOS settings are Esc, F2, F8, F10, and F12.
- Go to the Advanced settings and find Internal Pointing Device to ensure it is enabled. Once done, save the changes and exit the BIOS settings.
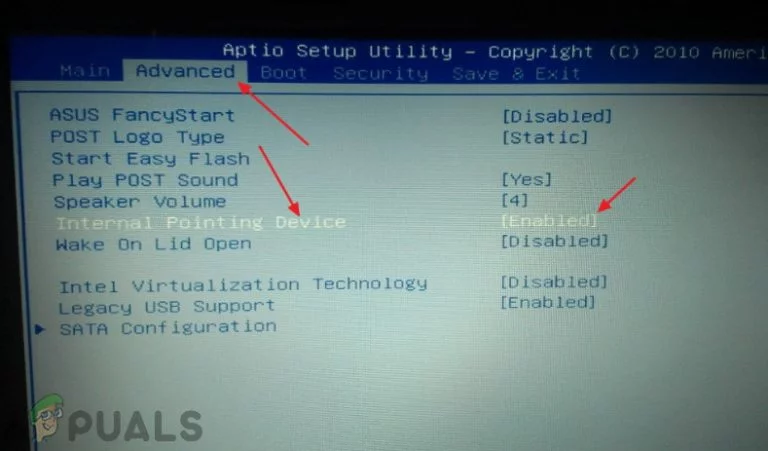
Enabling Internal Pointing Device from motherboard BIOS Settings - Wait for the laptop to turn on and see if the touchpad is working. If it is still not working, contact your laptop manufacturer.


Informative Blog, thanks for your blog information i have found the way when i have lost in this touch pad problem. I was working in the IT Training Institutes website but suddenly my touch pad stop working i was totally confused then i search a keyword on google or your blog is showing on the top of the Google. Thanks for your Blog Keep sharing this type of blogs in google.