How to Fix DaVinci Resolve Keeps Crashing?
Crashes in DaVinci Resolve can occur for various reasons, including inconsistencies in the app’s cache or preferences, obsolete or problematic plugins, an outdated Windows build, and other factors.
Crashes can also happen if DaVinci Resolve uses the incorrect GPU on your computer. To help you troubleshoot crashes in DaVinci Resolve, we’ve compiled a list of straightforward solutions.
1. Update Windows
Ensure your computer is running the latest Windows version. Crashing issues with DaVinci Resolve can frequently arise when the Windows build is outdated, particularly if the editing software has been updated to a newer version that requires a more recent Windows build. To address this issue, simply install any pending updates.
- Open the Settings app by pressing the Win key + I.
- Navigate to the Windows Update section.
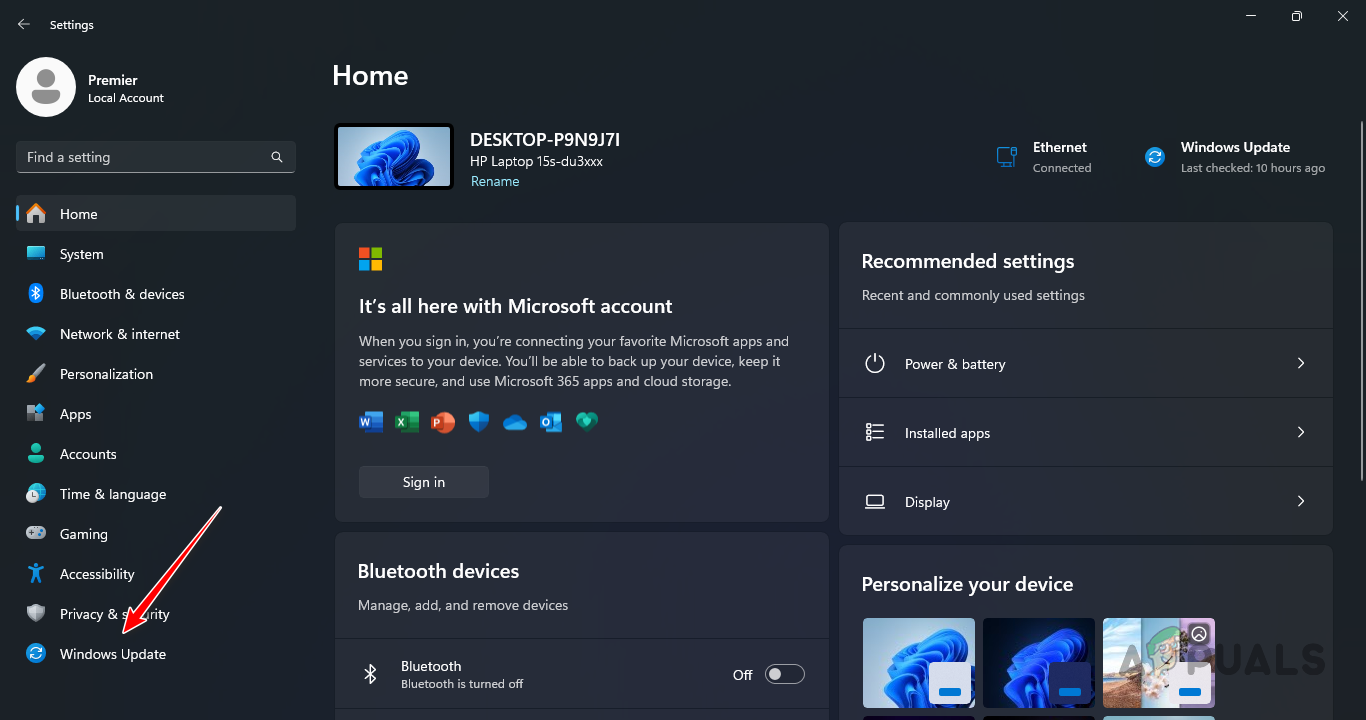
Navigating to Windows Update - Use the Check for updates button to download and install available updates.
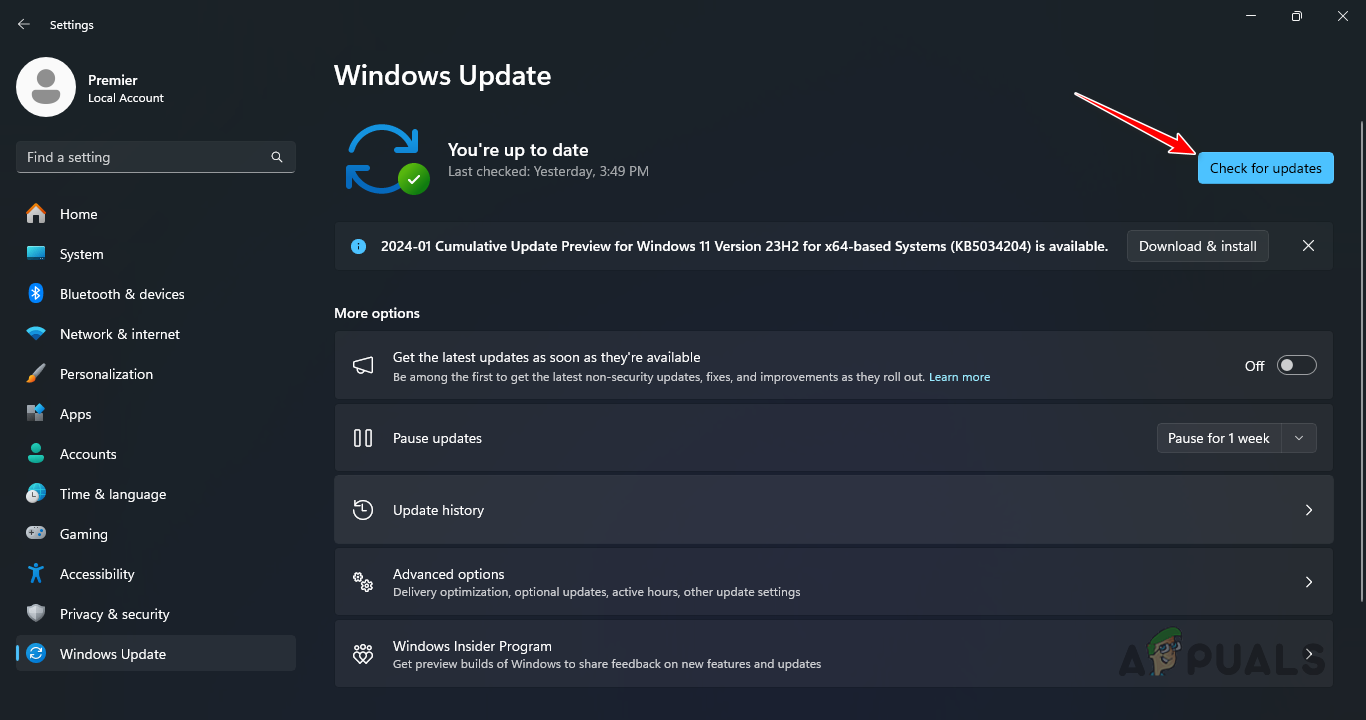
Downloading Available Windows Updates - If updates are already checked, a Download option will appear next to the updates.
2. Force Dedicated GPU
A common cause for DaVinci Resolve crashes is the use of the wrong graphics card, particularly on systems with an onboard GPU, which is usually less powerful.
Ensure DaVinci Resolve uses your dedicated GPU for demanding tasks.
- Press the Win key + I to open the Settings app.
- Navigate to the System > Display > Graphics section.
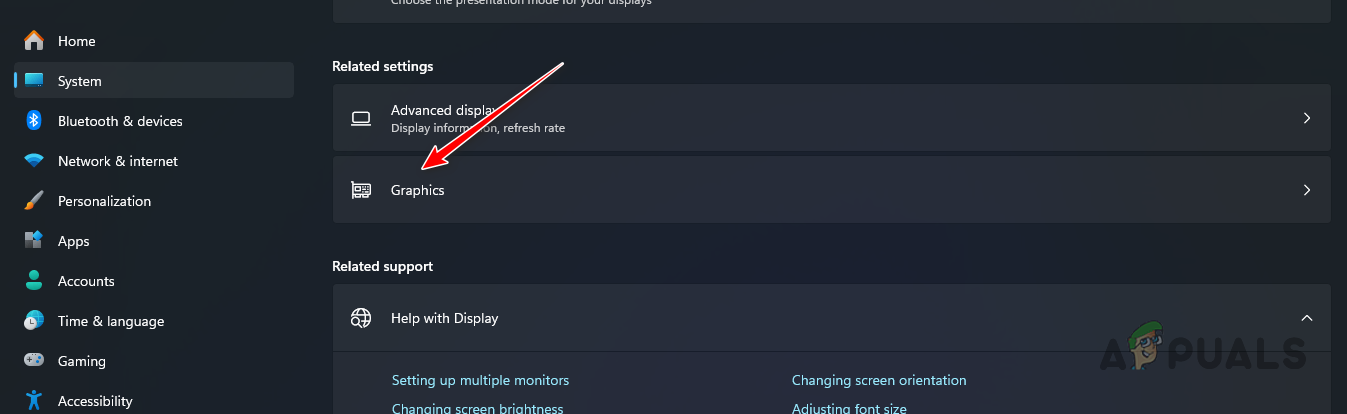
Navigating to Graphics Settings - Click on DaVinci Resolve and select Options.
- If DaVinci Resolve is not listed, add it using the Add an app option.
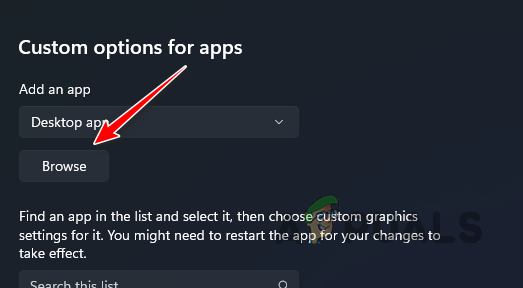
Adding an App to Graphics Settings - In the Graphics Preference menu, choose the High Performance option.
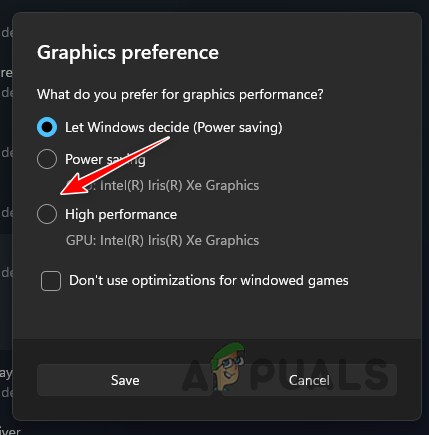
Changing Graphics Preference of DaVinci Resolve - This action will set your dedicated GPU for DaVinci Resolve.
- Check if the program still crashes.
3. Update Graphics Driver
Outdated or corrupted graphics drivers can cause DaVinci Resolve to crash.
Update your graphics driver by performing a clean installation.
- Download the third-party Display Driver Uninstaller (DDU) from the official website here.
- Extract the downloaded file and open the Display Driver Uninstaller.exe.
- In DDU, click the Continue button on the General Options screen.
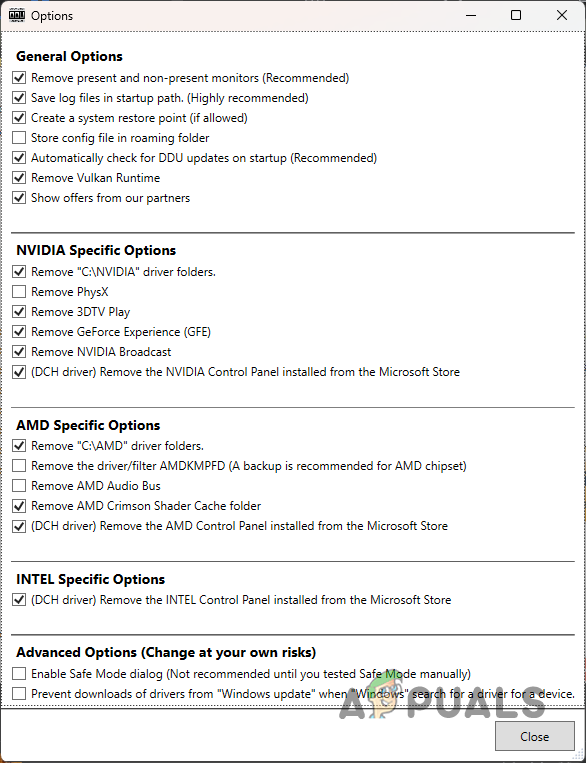
General Options Menu in DDU - To uninstall the GPU driver, select GPU from the Select device type dropdown.

Selecting Device Type in DDU - Select your GPU manufacturer under the Select device dropdown.
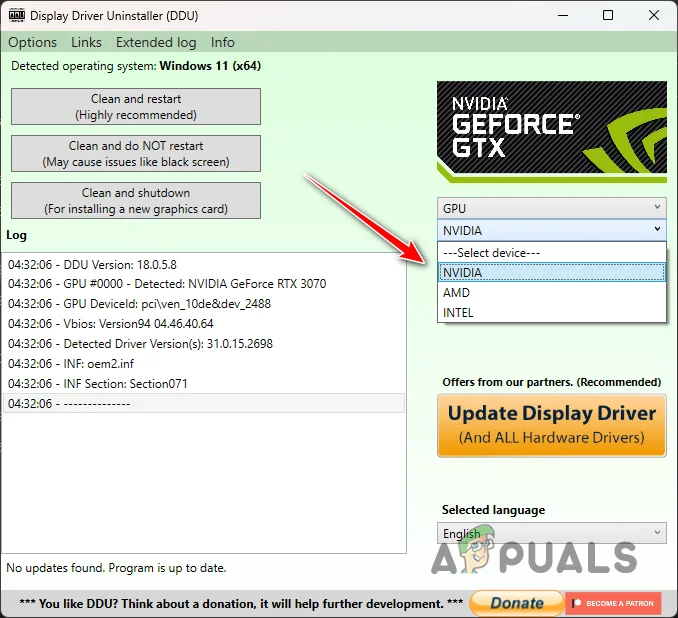
Selecting Brand of Device in DDU - Click Clean and restart to uninstall the driver.
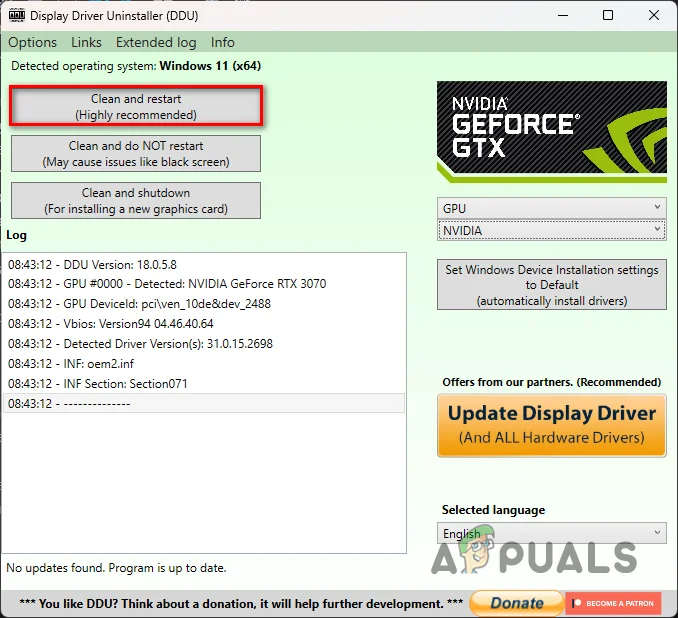
Uninstalling Graphics Drivers with DDU - After rebooting, visit the manufacturer’s website and download the latest display driver for your card.
- Install the new drivers and check if the issue still exists.
4. Update DaVinci Resolve
Bugs in specific versions of DaVinci Resolve can cause the software to crash. Updating the program can resolve these issues.
- Launch DaVinci Resolve on your computer.
- Click on the DaVinci Resolve menu at the top.
- Select Check For Updates.
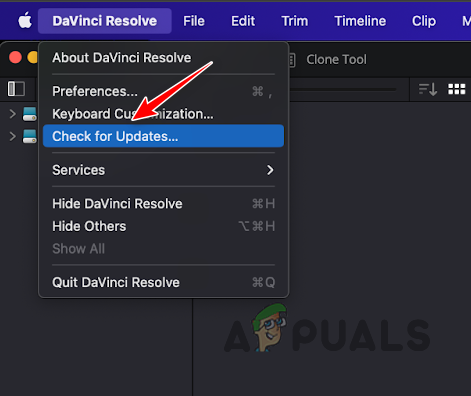
Updating DaVinci Resolve - Wait for the update process to finish.
If DaVinci Resolve crashes on startup, download the latest version from the official webpage. Uninstall the current version of DaVinci Resolve before installing the new version.
- Open the Control Panel by searching for it in the Start Menu.
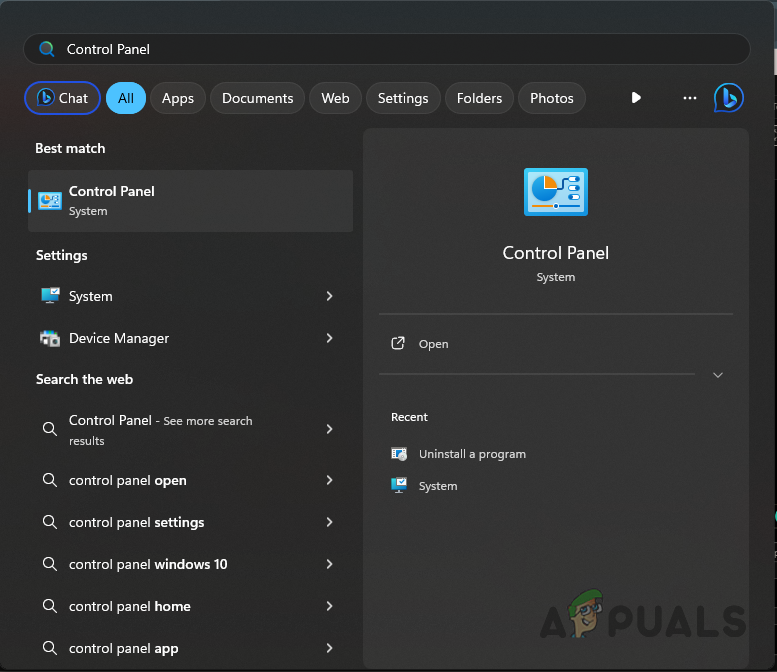
Opening up the Control Panel - Click on Uninstall a program.
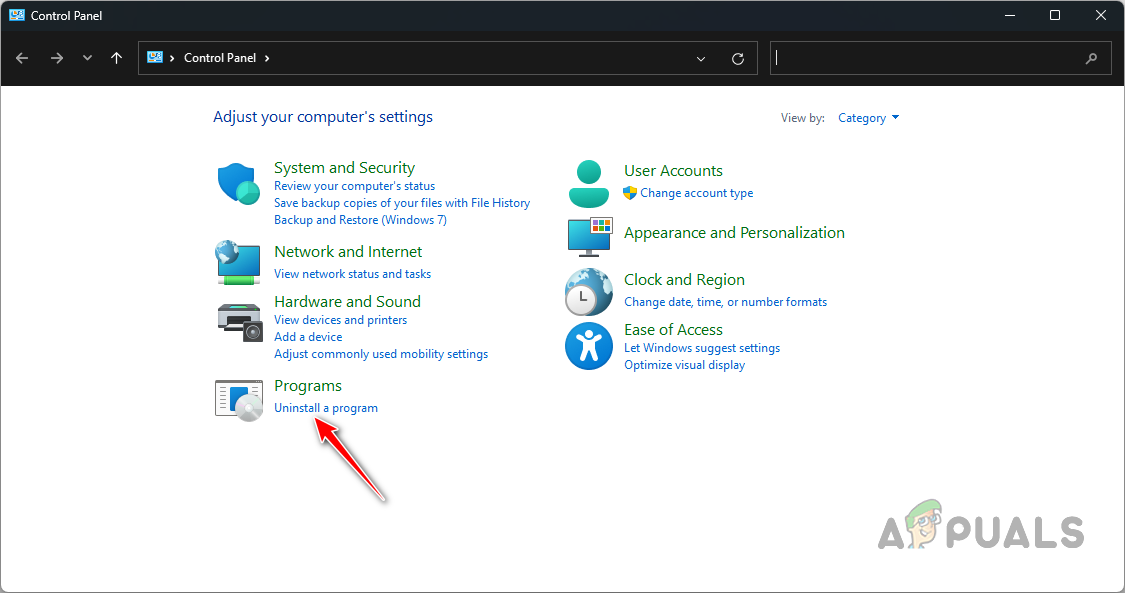
Navigating to Uninstall a Program - Find DaVinci Resolve in the list and click on it to start the uninstallation.
- Wait until the uninstallation is complete.
- Install the latest version to see if the crashes stopped.
5. Change Export Codec (for Rendering Crashes)
Crashes that occur during rendering may stem from the chosen export codec. To fix this, simply change the codec.
- In DaVinci Resolve, navigate to the Deliver page.
- Change the export codec from the Codec dropdown.
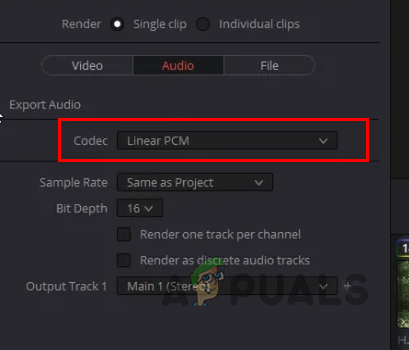
Changing Export Codec in DaVinci Resolve - Determine if the problem continues after the change.
6. Delete Cache Files
Damaged cache files may result in DaVinci Resolve crashing upon opening a project. Delete the cache to resolve this.
- Launch DaVinci Resolve.
- Click on Playback in the menu bar.
- Select Delete Render Cache > All.
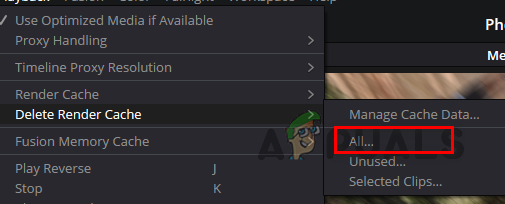
Clearing Render Cache in DaVinci Resolve - Check if the crashing issue persists.
Alternatively, manually navigate to your specified cache location with File Explorer and delete all files and folders inside the cache directory.
7. Reset DaVinci Resolve Preferences
- Press Win key + R to open the Run dialogue.
- Type %AppData% and hit Enter.

Navigating to the AppData Folder - Navigate to the Blackmagic Design > DaVinci Resolve > Preferences folder.
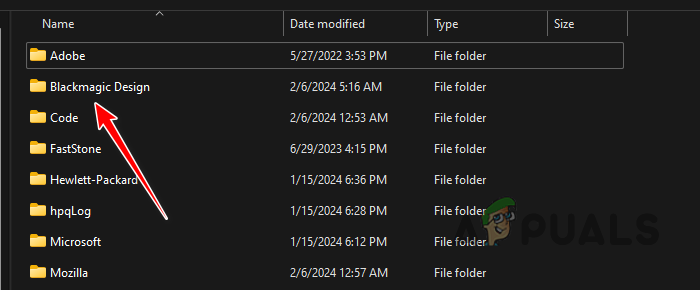
Navigating to the Blackmagic Folder - Delete all files and folders inside.
If you’re using macOS, find the preferences folder at:
Library > Preferences > Blackmagic Design > DaVinci Resolve
8. Disable Third-Party Plugins
Incompatible third-party plugins can lead to crashes within DaVinci Resolve. Disable them using these steps:
- Open DaVinci Resolve.
- From the menu bar, click on DaVinci Resolve and select Preferences.
- Use the Video Plugins and Audio Plugins tabs to disable any third-party plugins.
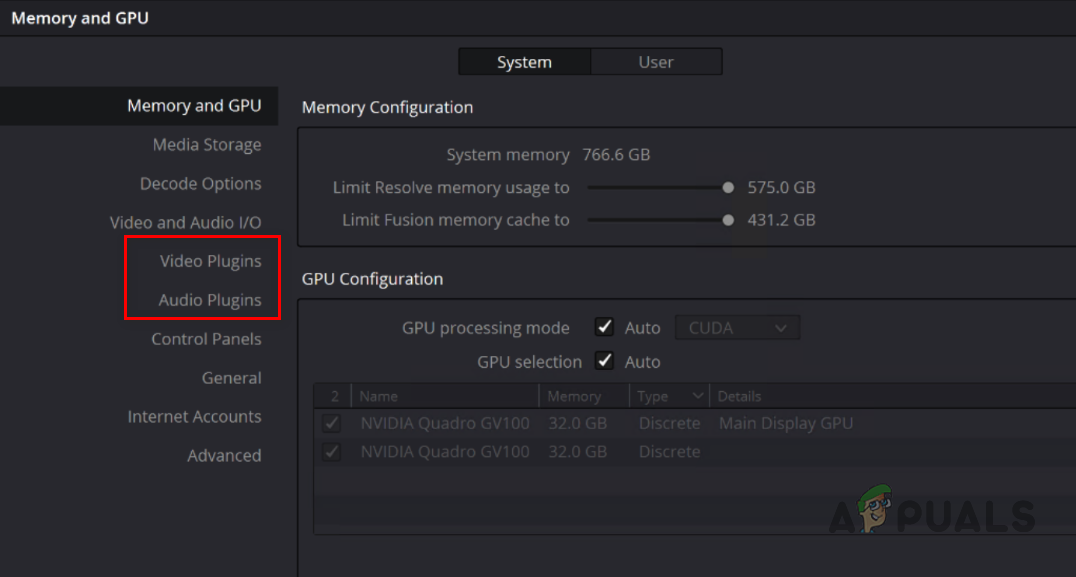
DaVinci Resolve Plugins - See if disabling the plugins solves the issue.
9. Downgrade Graphics Driver
Certain graphics drivers can cause compatibility issues with DaVinci Resolve. AMD users, in particular, have reported crashes following driver updates.
- Use the Display Driver Uninstaller (DDU) tool, which you can download from here.
- Extract the tool and run the Display Driver Uninstaller.exe file.
- Proceed by clicking Continue on the Options screen.
General Options Menu in DDU - Choose GPU from the Select device type menu.
Selecting Device Type in DDU - Select the brand of your GPU from the Select device menu.
Selecting Brand of Device in DDU - Choose the Clean and restart option.
Uninstalling Graphics Drivers with DDU - After reboot, download an older, stable graphics driver version for your GPU.
- Install the driver and verify if crashes still occur.
10. Downgrade DaVinci Resolve
If none of the above methods work, consider downgrading DaVinci Resolve. Version 18 has been unstable for some users.
- Search for the Control Panel in the Start Menu and open it.
Opening up the Control Panel - Click on Uninstall a program.
Navigating to Uninstall a Program - Locate DaVinci Resolve in the list, then double-click it to initiate the uninstallation process.
- Once uninstalled, visit the official website and download an older version of DaVinci Resolve.
- Complete the installation process and check if the software works without crashes.
If you continue to experience crashes with DaVinci Resolve despite applying the aforementioned solutions, consider reaching out to the official support team for further assistance. Visit the community forums or access the support center. The technical support team can review your crash logs to diagnose and address the issue more accurately.


Cool. Thank you