Fix: D3D11.dll is not designed to Run on Windows
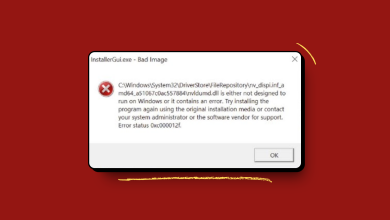
The error “C:\Windows\SysWOW64\D3D11.dll is either not designed to run on Windows or it contains an error” is usually encountered when the user opens an application or a game.
The D3D11.dll file is part of the DirectX11 distribution and is regularly utilized by games and applications that require a lot of graphical processing.
Although most D3D11.dll errors are usually resolved after the user reinstalls the DirectX software collection, this particular issue is a little different. Most users encountering this error reported that reinstalling the redistributable collections has not been successful in resolving the issue.
Warning: Do not attempt to replace your d3d11.dll version with a so-called “clean version” from DLL download sites. A lot of the files hosted there will contain malicious code that will leave your system exposed to future security attacks. In situations like this, the preferred approach is to go through the official channels.
If you’re currently struggling with the “C:\Windows\SysWOW64\D3D11.dll is either not designed to run on Windows or it contains an error“, the fixes below will most likely resolve the issue. We have managed to identify a few viable methods that will solve the problem posted by users that were in the same situation. Please follow the methods in order until you encounter a fix that resolves your situation.
Method 1: Running an SFC scan
Before we dive into the tech-heavy stuff, let’s see if a simple SFC scan can resolve the issue. Some users have reported that the issue has been resolved after they ran the System File Checker utility.
Note: System File Checker is a locally-stored utility that allows users to scan and restore corrupt Windows system files. A scan by the SFC utility will look for any changes inside the protected system files. If any changes are spotted, the utility will replace any corrupted/tempered occurrences with locally stored fresh copies.
Follow the steps below to perform a System File Checker scan and see whether it manages to resolve the “C:\Windows\SysWOW64\D3D11.dll is either not designed to run on Windows or it contains an error” issue:
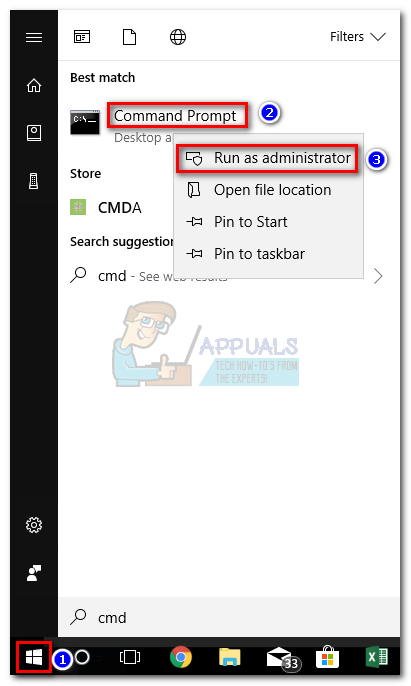
- Open an elevated Command Prompt by accessing the Windows Start menu in the bottom-left corner and searching for “cmd“. Then, right-click on Command Prompt and choose Run as Administrator.
- In the elevated Command Prompt, type “sfc /scannow” and hit Enter to commence the System File Checker scan.

- Wait for the scan to complete. Depending on your hard drive size and other PC specifications, this process will take a little under or well over 20 minutes.
- Once the process is complete, close the elevated command prompt and restart your computer.
- Check if the “C:\Windows\SysWOW64\D3D11.dll is either not designed to run on Windows or it contains an error” has been resolved at the next startup. If you’re still struggling with the same issue, move over to Method 2.
Method 2: Re-registering the D3D11.dll file
Regardless of the outcome in Method 1, let’s try to re-register all .DDL files on your computer and see if this manages to resolve the “C:\Windows\SysWOW64\D3D11.dll is either not designed to run on Windows or it contains an error” issue. Some users have reported that the problem has been solved at the end of this process.
Here’s a quick guide on re-registering the .DLL files on your computer (D3D11.dll included):
- Acess the Windows Start menu in (bottom-left corner) and type “cmd“. Then, right-click on Command Prompt and select Run as Administrator to open an elevated Command Prompt.
- In the elevated Command Prompt, type the following command and press Enter:
for %d in (*.dll) do regsvr32 -s %d - Wait for the process to complete. When you get the confirmation message, close the elevated Command Prompt window and reboot your PC.
- At the next startup, reboot your computer, open the application that was displaying the “C:\Windows\SysWOW64\D3D11.dll is either not designed to run on Windows or it contains an error” message and check whether the steps above have resolved the issue.
If you’re still encountering the same error, move down to the final method.
Method 3: Replacing the d3d11.dll file with a local copy manually
If both of the methods above have proven to be a bust, let’s take a more drastic approach. Some users struggling with the same problem have managed to resolve the issue after taking ownership of the d3d11.dll file from the sysWow folder and then replacing it from a fresh copy from the winsxs folder.
Note: Keep in mind that there are two different d3d11.dll files – one is located in the sysWOW folder and one in system32. The steps below will be performed on the d3d11.dll file located in the sysWOW folder.
Warning: The steps below will get quite technical and if they’re not performed correctly might end up creating additional problems with your PC. Please continue with the following steps only if you’re confident in your abilities.
Here’s a step-by-step guide to taking ownership of the d3d11.dll file ( from sysWOW), deleting it manually and then replacing it with a local copy from the winsxs folder:
- Acess the Windows Start menu in (bottom-left corner) and type “cmd“. Then, right-click on Command Prompt and select Run as Administrator to open an elevated Command Prompt.
- Paste the following command inside the elevated Command Prompt and hit Enter to take ownership of the d3d11.dll file: takeown /f C:\Windows\SysWOW64
Note: In case you’re running on a 32-bit architecture, change the SysWow64 folder to SysWow. - Even now that we have ownership of the file, we still can’t delete it because we don’t have the appropriate rights. To get them, we’ll need to run a cacls command inside an elevated command prompt to give yourself full control. To do this, paste the following commands inside an elevated Command Prompt and press Enter:
cacls C:\Windows\System32\en-US\winload.exe.mui /G *appuals*:FNote: Keep in mind that *appuals* is simply a placeholder for your username. In order for this command to work, you’ll need to substitute it with your own username. - At the “Are you sure?” prompt, type the letter “Y” and hit Enter again. At this point, you can safely close the elevated Command Prompt.

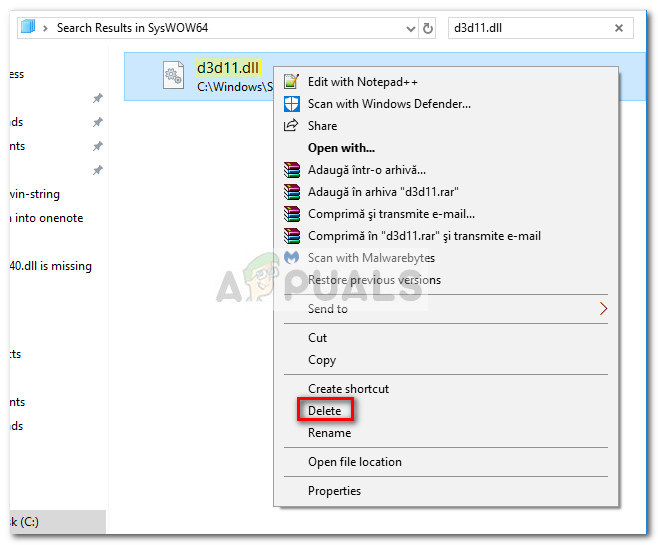
- Once step 4 is complete, you will be able to delete the d3d11.dll file conventionally. The easiest way to do this is to navigate to C:\ Windows \ SysWOW64, search for the d3d11.dll file and delete it.
- Next, navigate to C:\ Windows \WinSxS \ wow64_microsoft-windows-directx-direct3d11_31bf3856ad364e35_10.0.16299.248_none_079cb6546cd25135 and copy the clean d3d11.dll file from there.
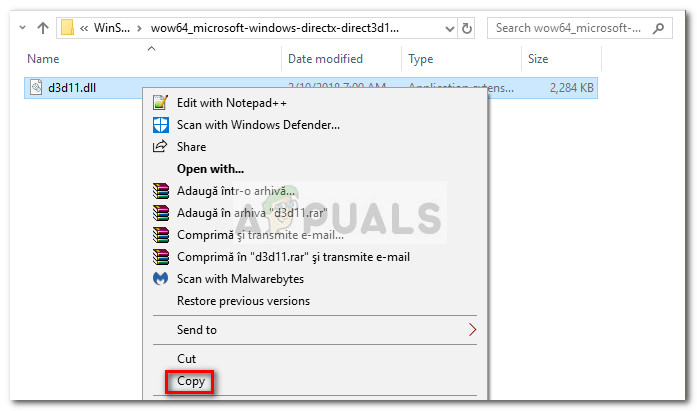 Note: If you can’t find the d3d11.dll at this location, use the search bar in the top-right corner to search for d3d11.dll. If the search function finds multiple occurrences, copy the one that has the latest date.
- Finally, paste the previously copied d3d11.dll file in the SysWow (or SysWOW64) and reboot your computer. See if the “C:\Windows\SysWOW64\D3D11.dll is either not designed to run on Windows or it contains an error” issue is fixed at the next startup.
why is it on cacls C:WindowsSystem32en-USwinload.exe.mui /G *appuals*:F access is denied?