Fix: Could not Find the Recovery Environment on Windows
The “Can’t reset Windows 10, Could not find Recovery Environment” error usually appears when using Windows 10, after you choose to Reset your PC from the Settings app on Windows 10 or other places.
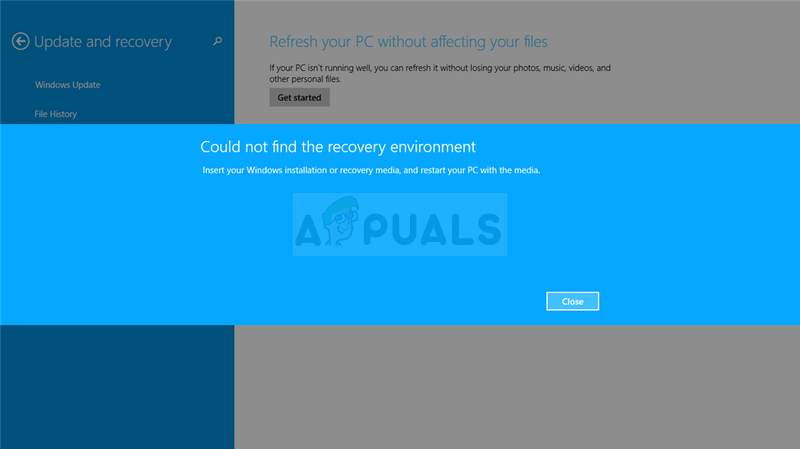
This prevents you from resetting your computer at all and it’s a probably because there is probably another error on your computer which is making you want to reset your computer. We have gathered several working solutions and made an article. We hope it will help you fix the problem and reset your PC easily.
What Causes the Could not Find the Recovery Environment Error
For the most part, you can circumvent the problem by using the Windows 10 Recovery Storage as it often has to deal with the recovery partition not being able to boot when you go to reset your PC via settings and you use this external source to solve the problem.
In other cases, the recovery partition itself gets corrupted and you need to delete it from your computer in order for the problem to reset itself.
How to Fix ‘Could not Find the Recovery Environment’
Solution 1: Use the Windows 10 Media Creation Tool
If you are unable to reset your PC using the Reset this PC option from the Settings app, you might able to do so from within the Windows 10 Recovery Media surrounding. In order to do this, you first need to have a DVD or USB which has this installed on it. This can be the DVD or USB you used to install Windows with but you can also make it yourself easily.
- Download the Media Creation Tool program from Microsoft’s website. Open the executable file you just downloaded and accept the terms and conditions which will appear in the initial.
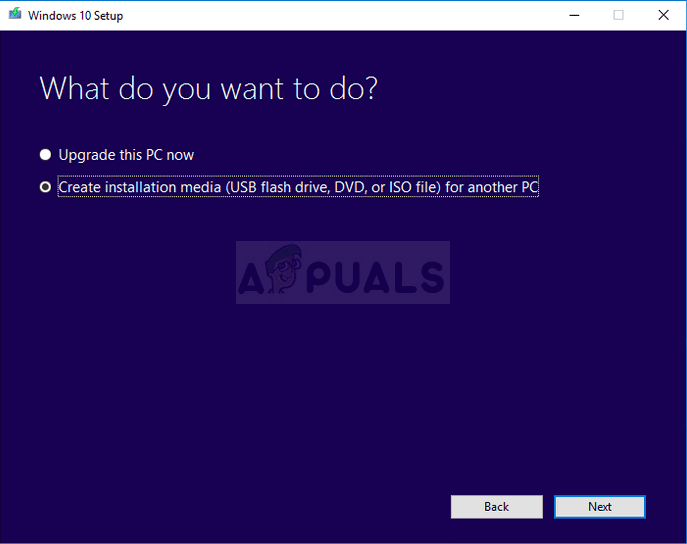
- Select the Create installation media (USB flash drive, DVD, or ISO file) for another PC option from the second window.
- The language, architecture, and other settings of the bootable drive will be chosen based on your computer, but you should uncheck the Use the recommended options for this PC in order to select the correct settings for the PC which you are trying to fix the problem for as you need to perform this on a different computer
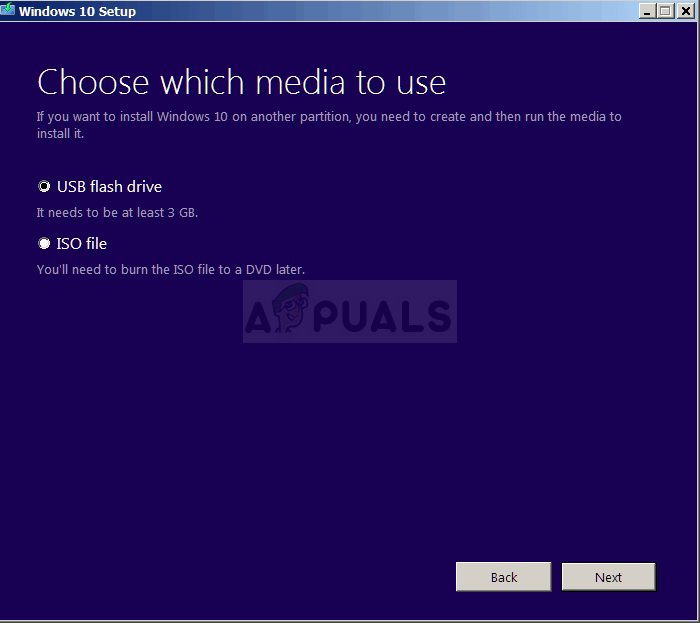
- Click Next and click on the USB drive or DVD option when prompted to choose between USB or DVD, depending on which device you want to use to store this ISO file on.
- Click Next and choose the USB or DVD drive from the list which will show the storage media connected to your computer.
- Click Next and the Media Creation Tool will proceed to download the files necessary to install create the installation device.
Now that you probably have your recovery media, we can start actually solving the resetting problem by inserting this installation media you should boot from.
- Insert the installation drive you own or which you have just created and boot your computer. The following steps are specific for Windows 10 so make sure you do this carefully.
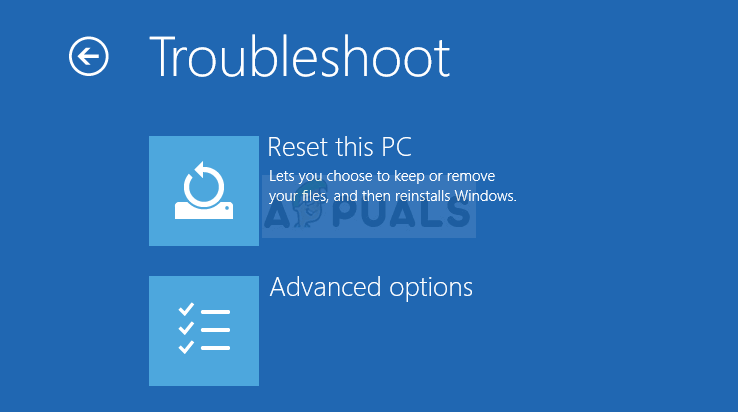
- You will see a Choose your keyboard layout window so choose the one you want to use. The Choose an option screen will appear so navigate to Troubleshoot >> Reset this PC.
- From the Reset this PC window, choose either Keep my files or Remove everything depending on your intentions and how you want to reset your PC.
- The Keep my files option will remove all installed programs and reset all settings but your personal files will remain intact. The Remove everything option does as it says: resets your PC completely.

- Wait for the process to finish before your computer boots again and you are now able to start your freshly reset PC.
Note: If your computer won’t automatically boot from the installation DVD, you might have to tweak certain settings in BIOS before proceeding. This has to be done because sometimes the default booting priority favors your hard drive before the installation media and it simply boots from the HDD.
- Boot your computer and immediately press the BIOS Setup key repeatedly, about once every second, until the Computer Setup Utility or BIOS settings opens. This key will be indicated on your screen as Press _ to run Setup.
- Use the right arrow key to navigate to the Security menu when the BIOS settings window opens, use the down arrow key to select the Secure Boot Configuration from the menu, and press Enter.
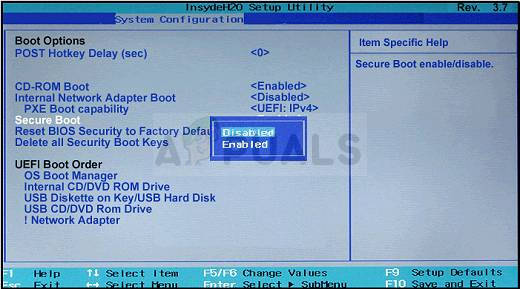
- Before you can use this option, a warning will appear. Press F10 to continue to the Secure Boot Configuration menu. Use the down arrow key to select Secure Boot and use the right arrow key to modify this setting to Disable.
- Use the down arrow key to select Legacy Support, and then use the right arrow key to switch it to Enable.
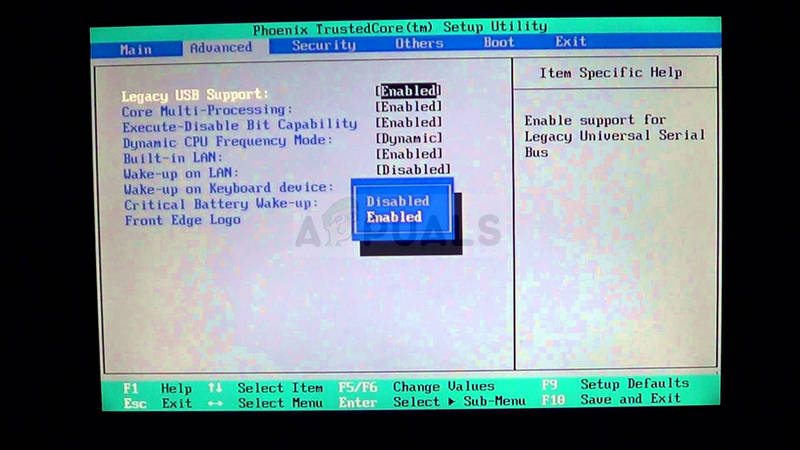
- Press F10 to accept the changes. Use the left arrow key to navigate to the File menu, use the down arrow key to select Save Changes and Exit, then press Enter to select Yes.
- The Computer Setup Utility will now shut down and the computer should restart. When the computer has restarted, use the power button to turn the computer off.
In order to boot from your DVD, you need to know just which option to select when the boot menu opens. It will ask you from which device you want to boot your computer. Follow the instructions below to boot from your recovery media easily.
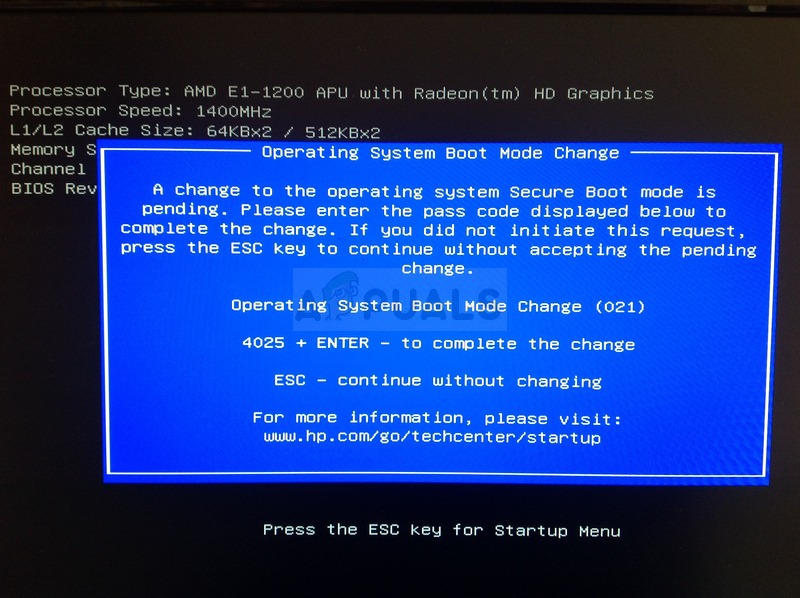
- Press the power button to boot your computer. As soon as the computer starts, a message appears indicating that the boot mode has now changed.
- You will see a security window which will display a four-digit code. Type the four-digit code which is shown in the message, then press Enter to confirm the change.
NOTE: No text field displays for the code so make sure you type it correctly.
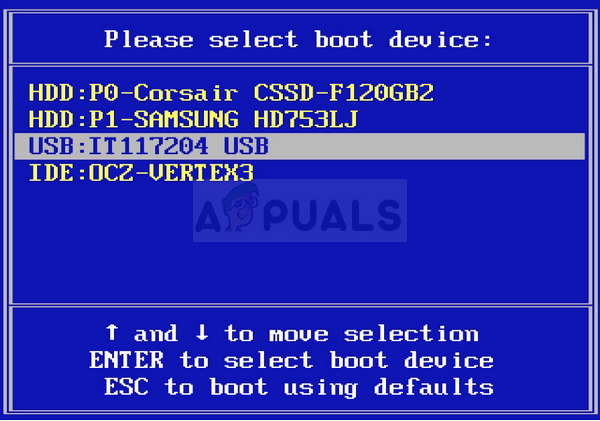
- Press the power button to turn off the computer, wait a few seconds, then turn on the computer and immediately press the ESC key a couple of times, about once every second, until the Startup menu opens.
- Press the F9 key to open the Boot Menu. Use the down arrow key to select recovery media. It can be your Removable USB device or DVD so make sure you choose this option.
- Restart the computer again and you should boot from the USB or DVD easily and gain access to the Reset this PC option.
Solution 2: Use the Following Command in Administrative Command Prompt
This command is used by the REAgentC. You can use the REAgentC.exe tool to configure a Windows Recovery Environment (Windows RE) boot image and to administer recovery options for your computer. You can run the REAgentC command in regular boot but you will need admin permissions.
- Search for “Command Prompt” either right in the Start menu or by tapping the search button right next to it. Right-click on the first result which will appear at the top and select the “Run as administrator” option.
- You can also use the Windows Logo Key + R key combination in order to open up the Run dialog box. Type in “cmd” in the box which appears and use the Ctrl + Shift + Enter key combination in order to run Command Prompt as an administrator.
- Type in the following command and make sure you press Enter afterwards to confirm your choice. Wait for the “Operation completed successfully” message or something similar to know that the command has worked.
reagentc /enable
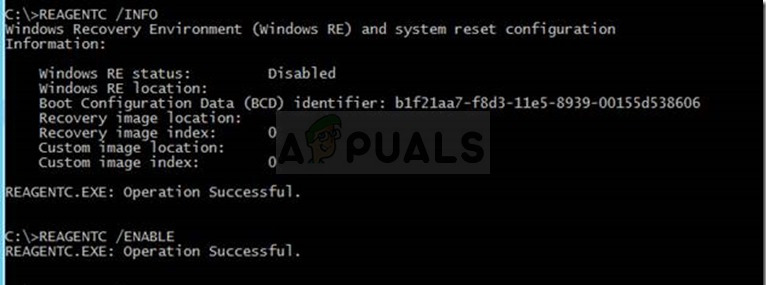
- Restart your computer and check to see if you are able to Reset your PC now without problems.
Solution 3: Delete Your Current Recovery Partition Using Diskpart
Deleting the corrupt recovery partition has helped users simply use the Settings app to Reset this PC as this partition is pretty much useless and can get corrupt if you are running Windows normally. In other words, if you are able to boot into Windows at all, you can delete this partition and try the whole process again.
- Search for “Command Prompt” either right in the Start menu or by tapping the search button right next to it. Right-click on the first result which will appear at the top and select the “Run as administrator” option.
- You can also use the Windows Logo Key + R key combination in order to open up the Run dialog box. Type in “cmd” in the box which appears and use the Ctrl + Shift + Enter key combination in order to run Command Prompt as an administrator.

- At this command prompt window, type in simply “diskpart” in a new line and click the Enter key in order to run this command.
- This will change the Command Prompt window to enable you to run various Diskpart commands. The first one you will run is the one which will enable you to see the complete list of all available physical disks. Type this in and make sure you click Enter afterwards:
list disk
- Make sure you choose the correct disk for this as it needs to be the physical disk where the recovery partition is stored. If you are in doubt, follow the steps below:
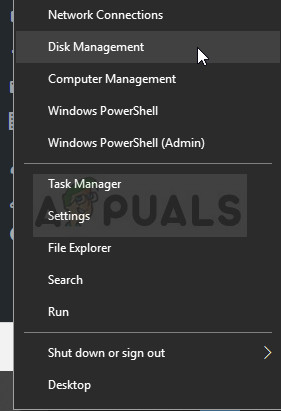
- Open the Disk Management utilility by searching for it in the Start menu or the search bar and clicking the first option. The alternative is to either use the Windows Key + X key combination or right-click on the Start menu and choose the Disk Management option in order to open its console.
- After its window opens, take a look at the bottom for numbered disks starting with Disk 0. In here, locate the numbered disk where you see the partition marked with Recovery Partition. Take note of the number of the Disk.
- Go back to Command Prompt and type in the following command before tapping Enter to execute. Here x stands for the number where the recovery partition is located.
DISKPART> select disk x
- A message should appear saying something like “Disk x is the selected disk”. After this execute the command below to gain view of all partitions in that specific disk.
list partition
- In order delete the recovery partition, first of all, you need to identify it from the list of partitions. It should be marked as the Recovery partition from the Command Prompt where the list will appear. You need to take note of its number and use it instead of n in the following command:
select partition n
- The final step is actually deleting this partition using this last command. Now this part of the disk will be joined in with the disk and you should see some extra space available in there.
delete partition override


