Fix: Cnext.exe cannot start because MSVCP120.dll or Qt5Core.dll is missing
If you are an AMD user then you might experience this issue. Actually, the dll missing errors aren’t specific to AMD users but the dll causing the cnext.exe to crash is specific for the AMD users because cnext.exe is a part of the AMD catalyst control center program for the Radeon graphics card. You will see an error like this
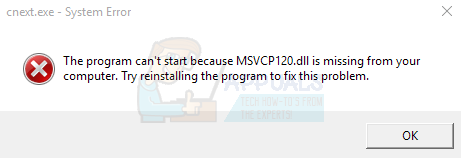
This error will pop up either randomly or while trying to run a game. The error message will crash the cnext.exe and it will prevent the use of applications like games that need this process. Some users might see a RadeonSettings.exe – system error with the Qt5Core.dll file missing.
The Qt5Core.dll file missing will appear just like the MSVCP120.dll missing message. Both of these problems are quite similar with the same solutions. So, if you have any of these problems then the solutions provided in this article will work for you.
These errors happen because of the Radeon crimson driver. The driver has a problem that causes your system to misbehave. That is why these problems will most likely start after updating your AMD drivers. The problem can also happen because of the corrupted files or improper installation of the AMD related applications. If you started seeing these errors specifically after installing an AMD related application then it’s highly likely that there was a problem in the installation. If none of these two scenarios apply to you then the problem might simply be caused by a corrupted file. It is also common that a system file gets corrupted.
The good thing about this situation is that the problem can easily be solved. The missing dll error can be rectified.
Method 1: Download Microsoft Redistributable
If you are seeing the Cnext.exe cannot start because it cannot find MSVCP120.dll error then the problem can easily be solved by installing the latest Visual Studio C++ 2015 Redistributable. The error is happening because a dll file is missing from the computer. There can be many reasons why the file is missing, the most common one being corruption, but the simple solution for this is to get the file on the computer. This file is a part of the Visual Studio C++ 2015 Redistributable and reinstalling this will resolve the issue.
We already have a detailed article on how to solve this issue via the Microsoft Redistributable. Click here and follow the instructions given in this article.
Once the redistributable is installed, check if the error appears again.
Method 2: Run System File Checker
SFC stands for System File Checker. This is basically Windows built-in tool for fixing any Windows related corrupt files. You can use this tool to fix any corrupt files that might be causing the issue.
We have an article explaining how to use the System file checker tool. Click https://appuals.com/msvcr120-dll-is-missing-on-windows-7-8-and-10/ and follow the instructions given in this article.
Method 3: Re-register the dll files
Sometimes the issue might be related to the registration of the dll file. Regsvr32 is a tool built by Microsoft and it comes with almost every version of the Windows. Regsvr32 stands for Microsoft Register Server. As you might have already guessed by the name, this tool is used to register or unregister certain files including the dll files.
So, if the problem is caused because the dll file isn’t registered then that will be solved via the Regsvr32. Here are the steps for registering your dll file.
- Press Windows key once
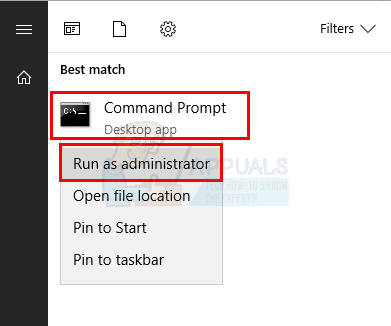
- Type command prompt in the Start Search
- Right click Command Prompt from the search results and select Run as administrator
- Now you need to navigate to the System32 folder. Look at the left side of the blinking cursor. It should be something like C:\WINDOWS or C:\WINDOWS\system32. If it’s the latter then skip the next step otherwise continue
- Type cd System32 and press Enter
- Now you should be in the System32 folder. The address on the left side of your blinking cursor should be C:\WINDOWS\system32
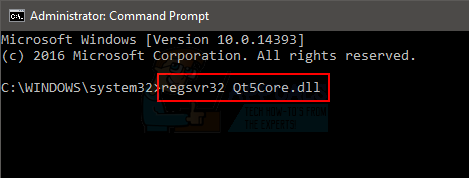
- Type regsvr32 <dll file name> and press Enter. Replace the <dll file name> with the actual dll name (including the .dll extension). For example, it should look like regsvr32 Qt5Core.dll.
- Repeat the step 7 for all the dll files you are missing.
Once done, check if the problem persists.
Method 4: Clean Install Drivers
If nothing else worked then you should try reinstalling the drivers. Make sure it’s a clean install because this is what worked for a lot of users.
Note: Before trying to install the drivers, make sure your anti-virus application is disabled. These security applications are known to cause some issues with the installation process. You can simply right click your anti-virus application icon from the system tray (right bottom corner) and select Disable. If you don’t see any Disable option then simply double click the anti-virus application icon from the system tray and look for the Disable option on that panel. Almost all the major anti-virus applications have an option to disable the application temporarily.
- Click here and download the Display Driver Uninstaller Utility. This utility basically clears up the previous graphic drivers and any of their left over files. This is useful because it makes sure that the newer driver is installed properly. A lot of the times your new driver won’t be installed properly because of the previous version and its conflicting left over files.
- Once done, click here. Select the appropriate settings from the Manually Select Your Driver section and click Display results. Download the drivers suitable for your Windows version. Note: We would advise you not to use their auto detect tool for driver installation. If you want the best results, download the drivers manually.

- Now, we will empty the contents of the AMD folder found in the C drive. Hold Windows key and press R
- Type C:\AMD and press Enter

- Hold CTRL key and press A (this will select all the files)
- Press the Delete key and confirm any additional prompts
- Now, it’s time to turn off Windows updates. This is to prevent Windows from downloading and installing the graphic drivers automatically. If your Windows is set to automatic then it might automatically download the graphics drivers. Turning Windows update off for a while will prevent this from happening.
- Hold Windows key and press R
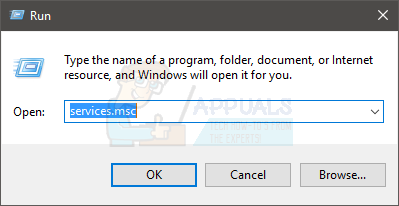
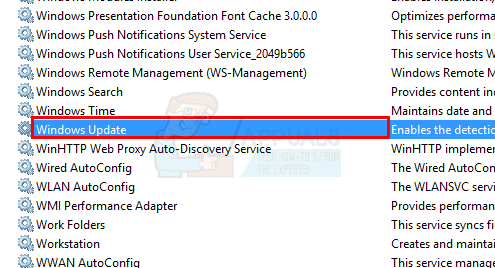
- Type services.msc and press Enter
- Locate and double click Windows Update
- Select Disabled from the drop down menu in Startup Type
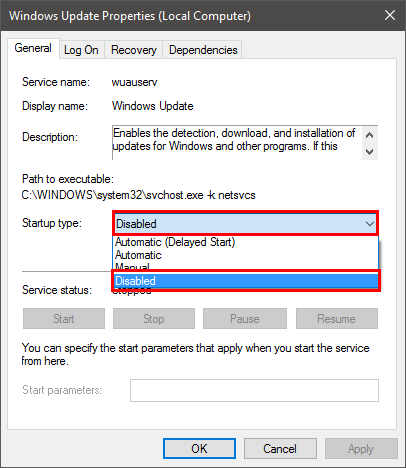
- Click Stop button if the Service Status isn’t set to Stopped
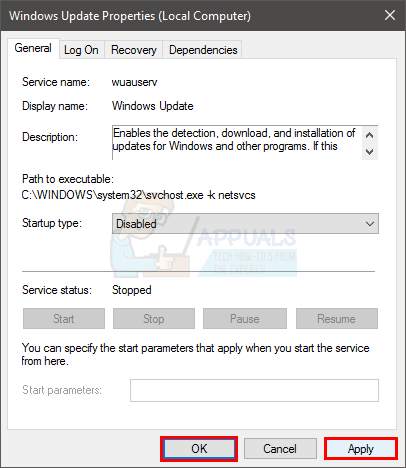
- Click Apply then select Ok
- If you are a Windows 7 or 8 user, make sure your Windows are up to date. To download and install the Windows updates, follow the steps given below
- Hold Windows key and press R
- Type control panel and press Enter
- Select Small icons from the drop down menu in front of View By
- Click Windows update
- Select Check for updates
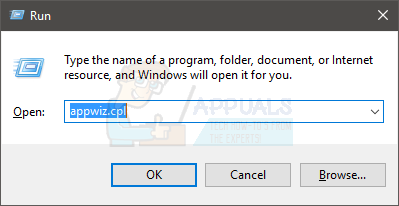
- Hold Windows key and press R
- Type appwiz.cpl and press Enter
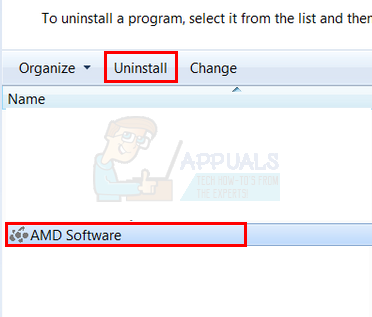
- Locate the AMD Software and select it
- Click Uninstall and follow any additional on-screen instructions. Make sure you uninstall everything
- Now we will log in to Safe Mode to run the Display Driver Uninstaller.
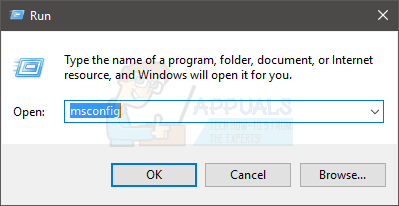
- Hold Windows key and press R
- Type msconfig and press Enter

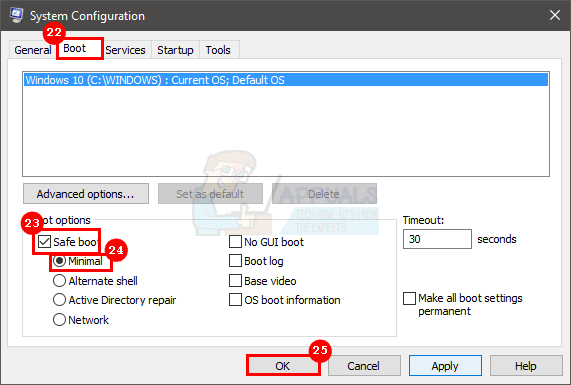
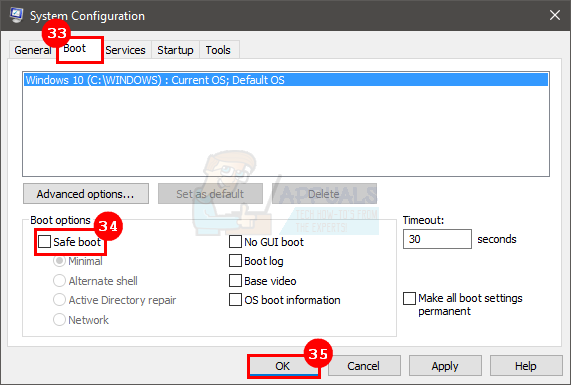
- Select Boot tab
- Check the option Safe Boot in the Boot options section
- Select the option Minimal under the Safe Boot option
- Click Ok
- Windows will ask you to restart. Click Restart
- Once the system reboots, you will be in Safe Mode. Run the Display Driver Uninstaller file
- Select AMD from the drop down menu and click the Clean and Restart (Highly Recommended)
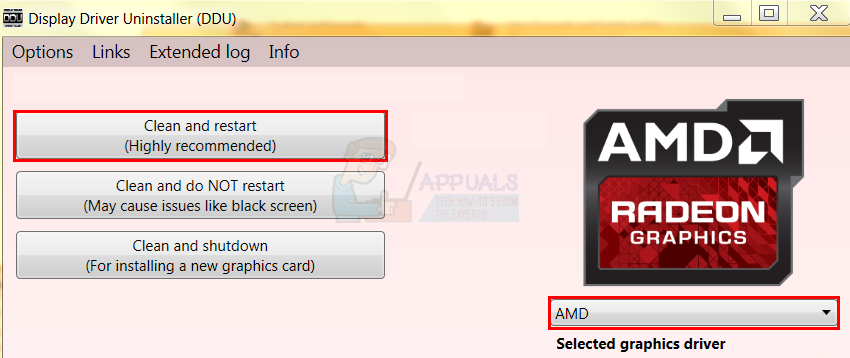
- Let Display Driver Uninstaller do its job. When it’s done, you PC will restart.
- Run the AMD drivers (that you downloaded earlier) once the system restarts. Follow the on-screen instructions to install the drivers
- When the drivers are installed, you need to turn off the Safe Mode option. Hold Windows key and press R
- Type msconfig and press Enter
- Select Boot tab
- Uncheck the option Safe Boot in the Boot options section
- Click Ok
- Windows will ask you to restart. Click Restart
You should be good to go once the system reboots. You will have a clean installation of the new drivers.