Fix: Cant Eject External Hard Drive on Windows
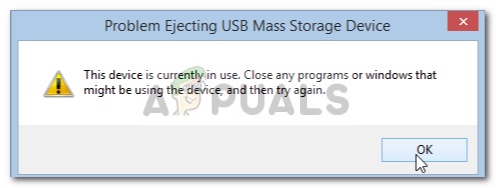
When trying to eject an external hard drive on Windows, you might see a message like “This device is currently in use,” preventing safe removal. This error usually occurs because Windows detects a background process or application still accessing the drive, even if nothing appears to be open.
The most common causes are background processes like file indexing or antivirus scans. Other potential causes include open files or programs that haven’t fully closed or even a system driver issue.
To circumvent your issue, please follow the solutions down below in the same order as provided.
1. Restart your System
Before trying anything else, restart your PC. Temporary bugs or background processes might be preventing the safe removal of the external drive. Restarting closes all applications and system services, clearing any potential lock on the drive.
2. Checking the Hard Drive policy
Modifying the “Removal Policy” to “Better Performance” can help resolve eject issues by improving how Windows manages data transfers to the external drive. In this mode, Windows uses write caching to increase performance, ensuring large files or processes complete efficiently.
- Hold the Windows Key and Press X. Choose Device Manager.
- Now expand the “Disk Drives” section then find the Drive you want to eject.
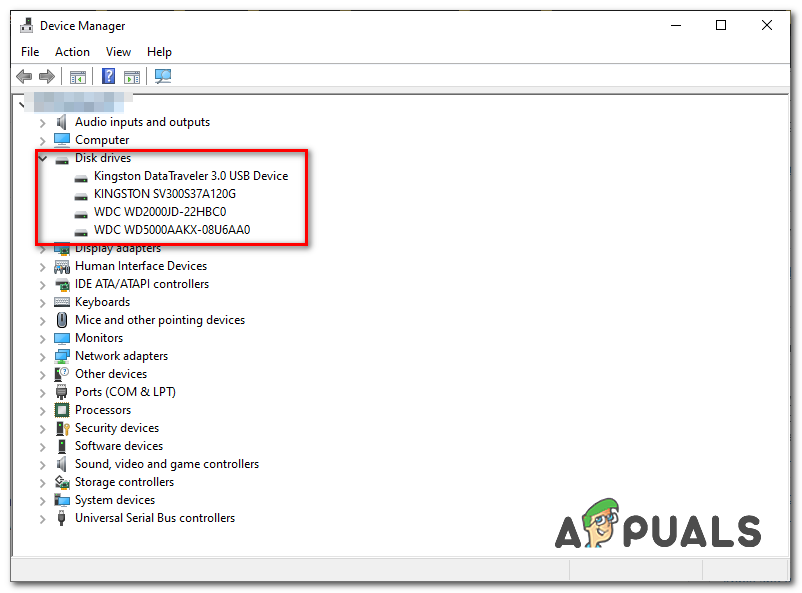
Selecting New Policy - Right-click on the drive you want to eject and click “Properties”.
- Head over to the “Policies” tab and make sure to select “Better Performance”.
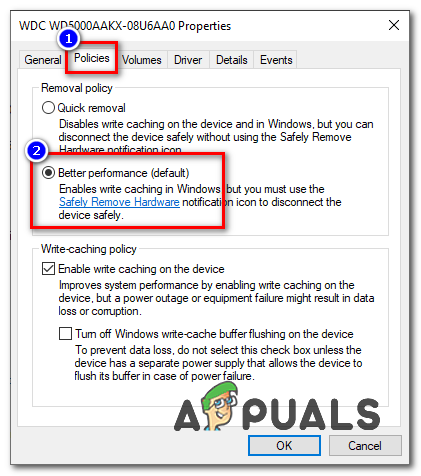
Selecting Policy - Now simply restart your computer and check if you have the option to eject the drive.
3. Using Safely Remove Hardware utility
Using the “Safely Remove Hardware” option tells the system to finish any ongoing operations with the external drive. This ensures that any files being written or read are completed and disconnects the drive from any hidden background tasks.
- Press and hold the “Windows + R” keys together to open the Run program.
- Now type this shortcut and press enter:-
RunDll32.exe shell32.dll,Control_RunDLL hotplug.dll

Accessing the Utility - It should bring up the Safely Remove Hardware utility for you.
- Now simply select the drive you want to eject and click “Stop”.
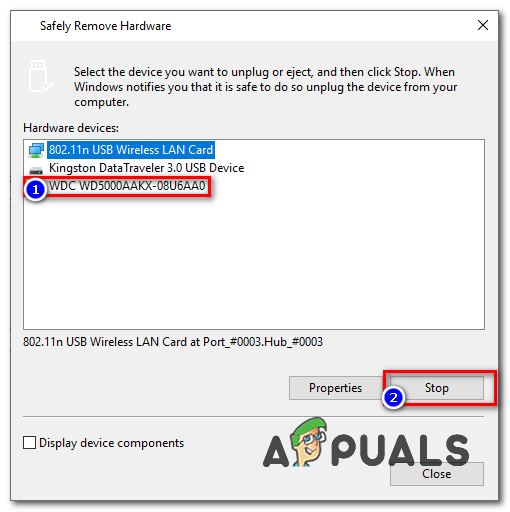
Safely Remove Hard drive - Check to see if the issue persists.
4. Run the Windows Hardware and Devices Troubleshooter
This issue can be resolved using Windows’ built-in Hardware and Devices Troubleshooter, which helps to identify and fix problems that could be preventing safe ejection. The utility scans for driver conflicts, hardware malfunctions, or misconfigured settings that may cause the system to keep the drive in use.
- Press Windows Key + I to open Settings.
- Go to Update and security.
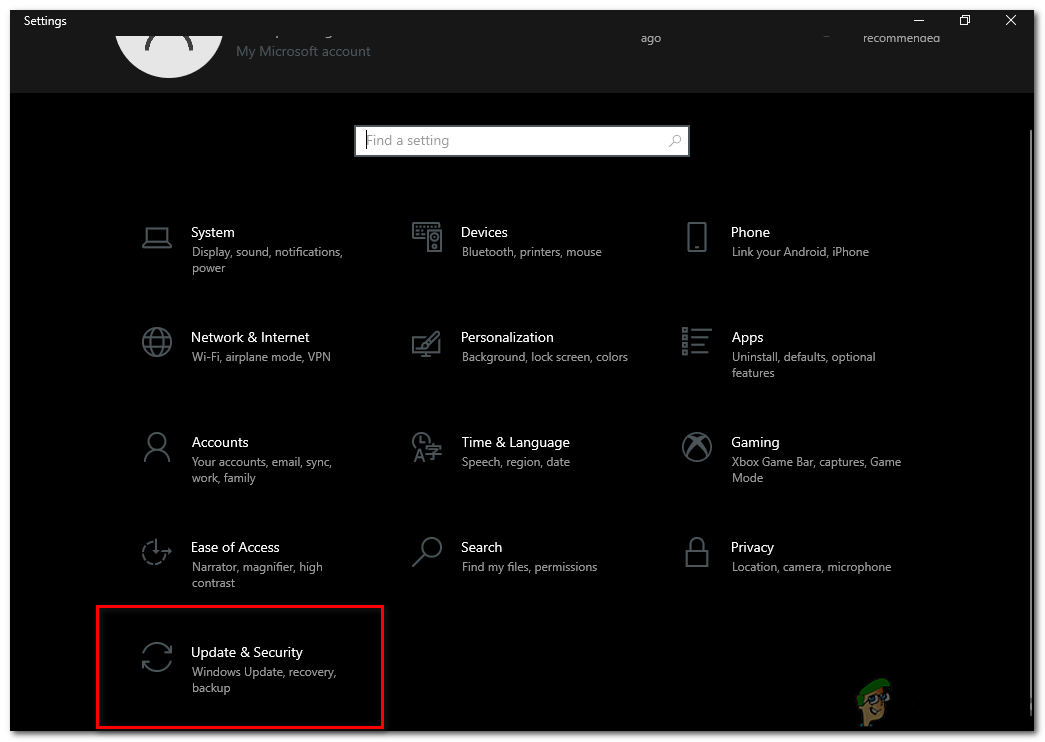
Update & Security - Navigate to the Troubleshoot panel.
- Scroll down and locate ‘Hardware and devices’.
- Select it and click ‘Run the troubleshooter’.
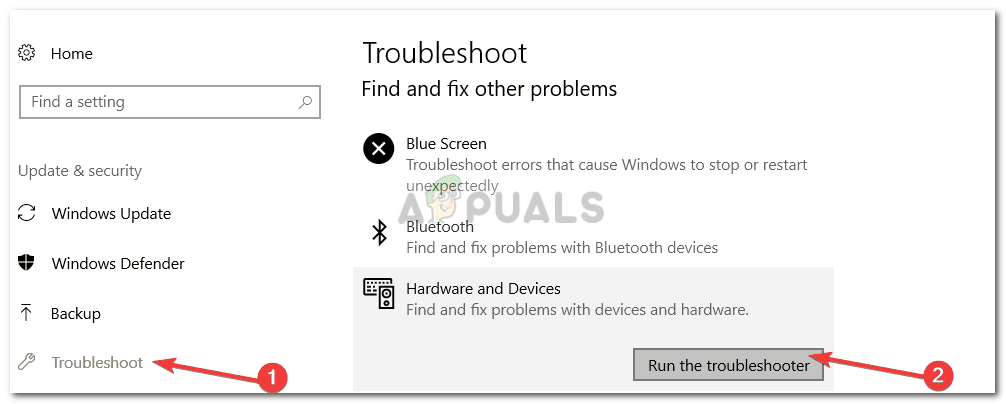
Running the Hardware and Devices Troubleshooter
5. Eject the Drive Using Disk Management
Disk Management is a built-in Windows tool that offers more control over drives. By marking the external drive as “offline” with this tool, you force Windows to disconnect from it completely. This ensures that any background tasks or processes no longer use the drive, making it safe to remove.
- Go to the Start Menu, type in Disk Management and hit Enter.
- Locate the external hard drive that you want to eject.
- Right-click on your external hard drive and select ‘Eject’.
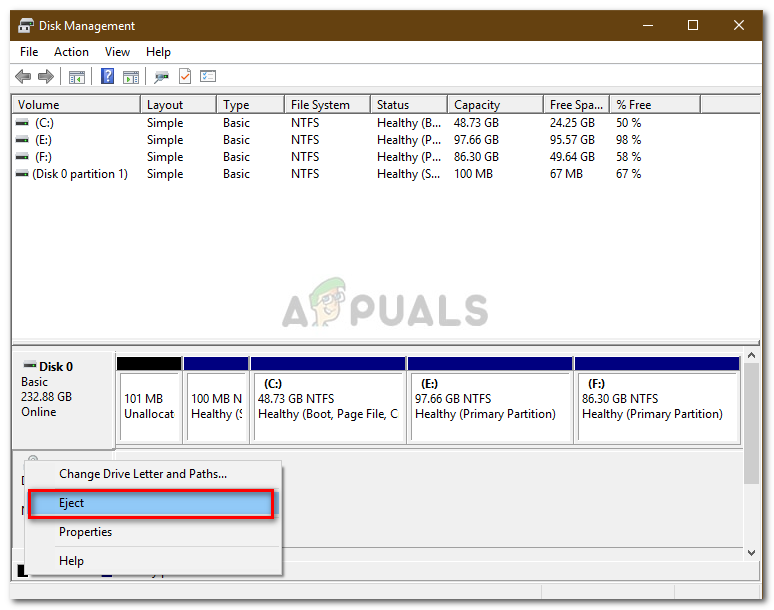
Ejecting External Drive using Disk Management
Note:
It is important to note that once you eject the external hard drive, it will appear as Offline. Therefore, the next time you want to use the drive on your system, make sure to change the status to Online in Disk Management.
6. Update USB Drivers
Outdated drivers can cause Windows to misread device status, leading to ejection errors. Keeping drivers up to date ensures smooth communication between the system and external drives, preventing such issues.
- Go to the Start Menu, type in Device Manager and open it up.
- Expand the Universal Serial Bus controllers list.
- Check if there’s an entry with a yellow exclamation mark. If there is, right-click on it and select ‘Update Driver Software’.
- If there’s no exclamation mark, uninstall the driver and restart your system so that it can be installed again automatically.

Uninstalling USB Driver


Completely useless advice when there is no ‘eject’ option.