Fix: C Drive Filling Up by itself on Windows 10/11
When your C drive unexpectedly fills up on Windows 10 or 11, it can slow down the system and disrupt daily work. This usually happens due to the buildup of temporary files, system restore points, or hidden system files taking up a lot of space.
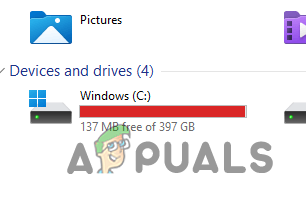
Other reasons could include large application caches, old Windows update files, or malware activity.
In this article, we will discuss different ways to solve this error.
1. Disable Hibernation
To reduce unnecessary disk usage, start by disabling hibernation. This feature creates a large hibernation file (hiberfil.sys) on the C drive. Turning it off frees up significant space, which is especially helpful on devices with limited storage.
- Press the Windows key, type cmd, and then right-click to choose Run as administrator.
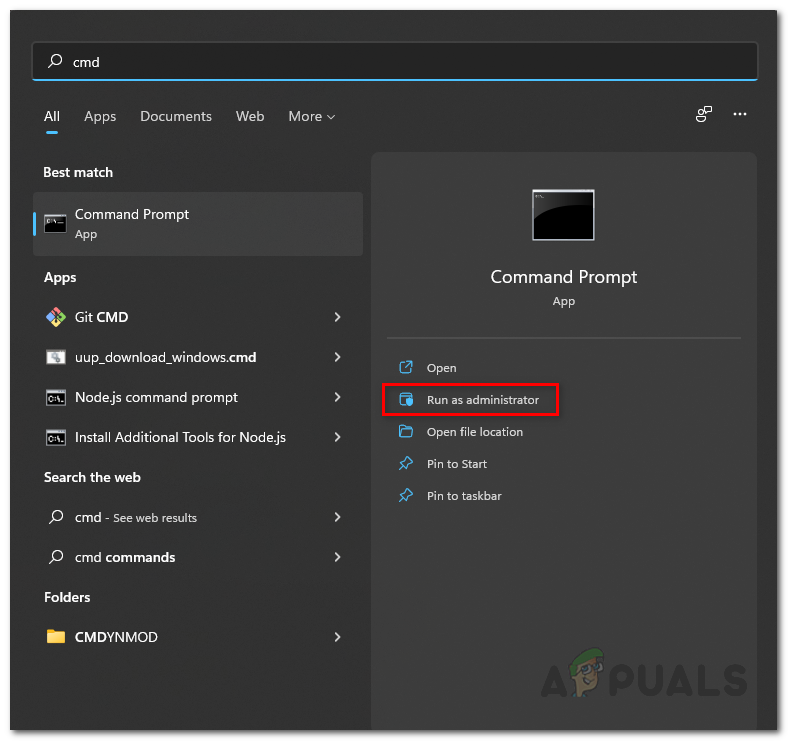
Opening the Command Prompt as Admin - In the Command Prompt, type
powercfg.exe -h offand press Enter. - This command will disable hibernation and delete the hiberfil.sys file.
- Check if the issue is resolved.
2. Clear Temporary Folder
Temporary files can build up quietly, taking up considerable disk space. Clearing out the temporary folder removes these unneeded files, freeing up space on the C drive and preventing clutter that can slow down your system. This easy step is a quick and effective way to resolve unexplained storage problems.
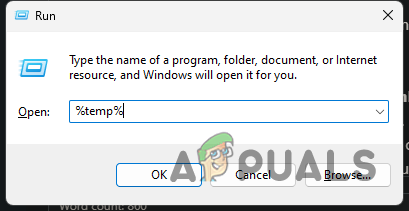
- Press Win key + R to open the Run dialog.
- Type %temp% and press Enter.
Opening Temp Folder - In the Temp folder, press CTRL + A to select all files, then press SHIFT + DEL to permanently delete them.
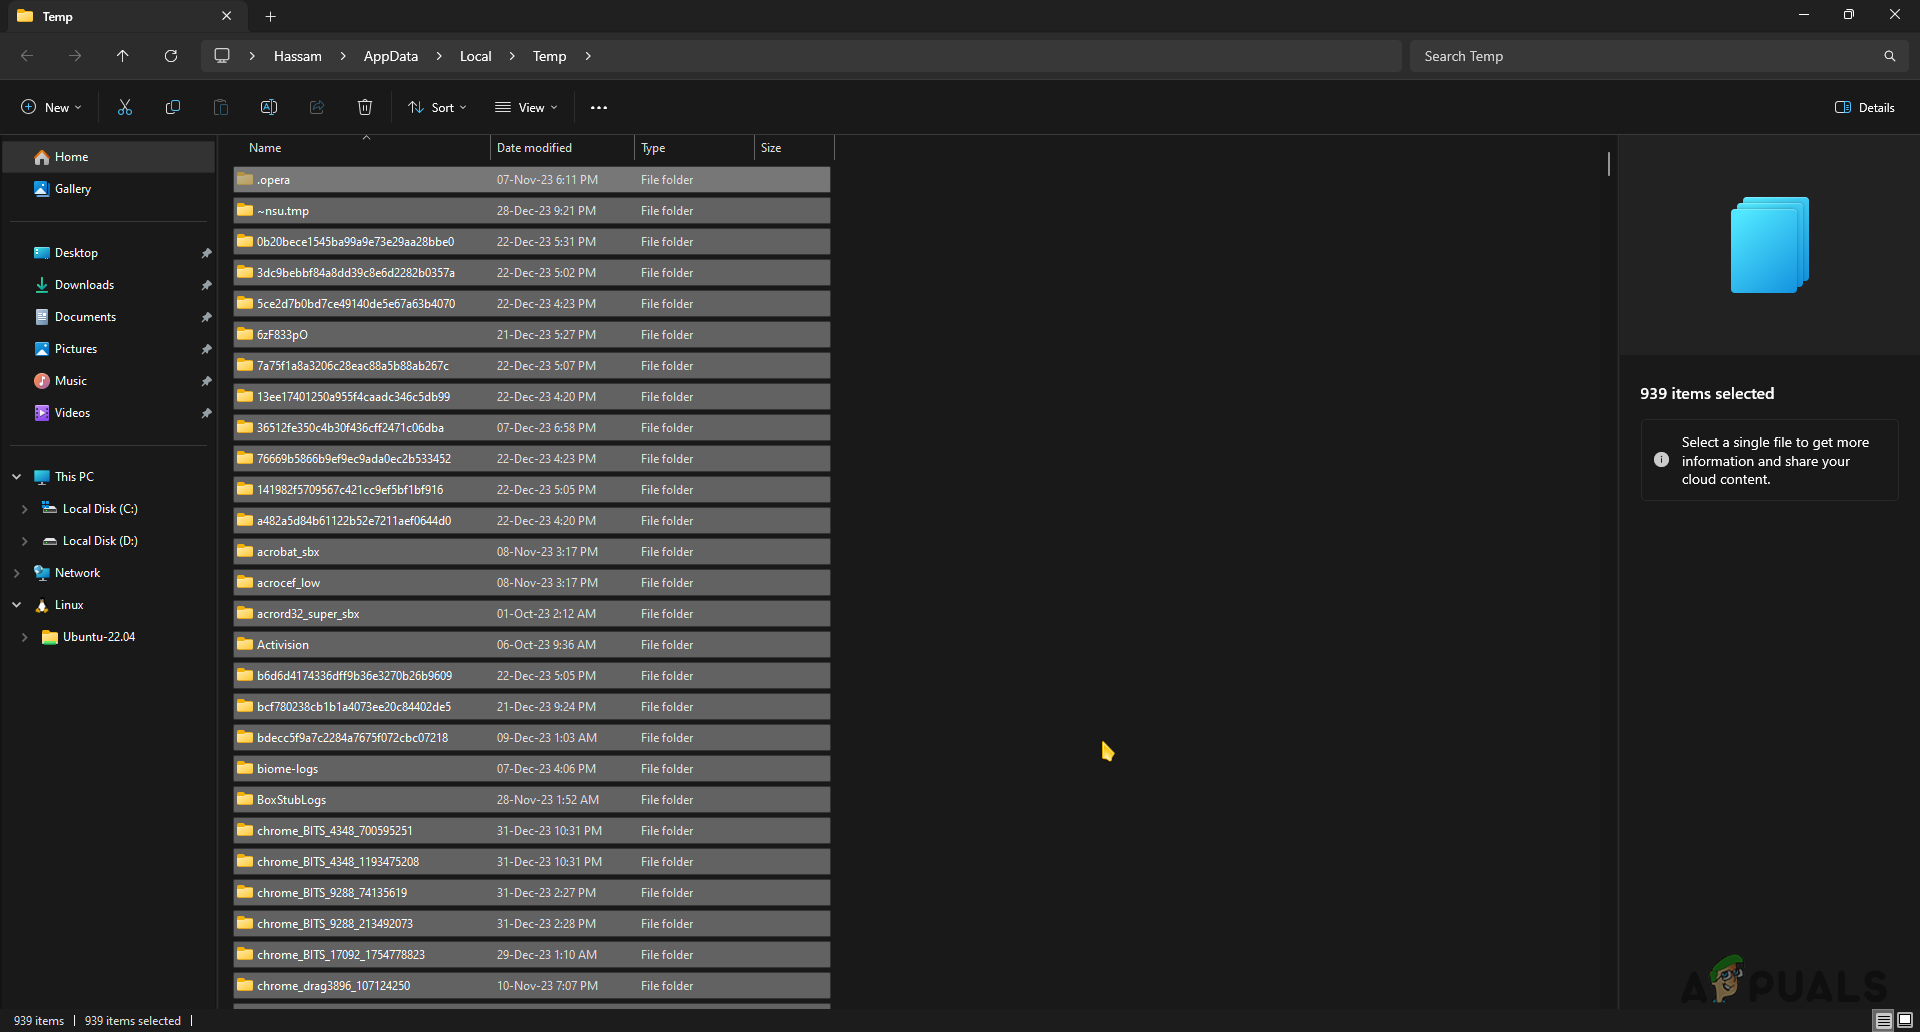
Selecting all Folders in Temp
Learn more about temporary files and if it’s safe to delete them.
3. Check System Restore Points
Excessive storage use can sometimes be due to old or unnecessary system restore points. By checking and deleting these old restore points, you can free up a lot of disk space while keeping the needed recovery options for system stability. This way, only the most recent and important restore points are kept.
By regularly checking and managing these restore points, you can free up a significant amount of storage space.
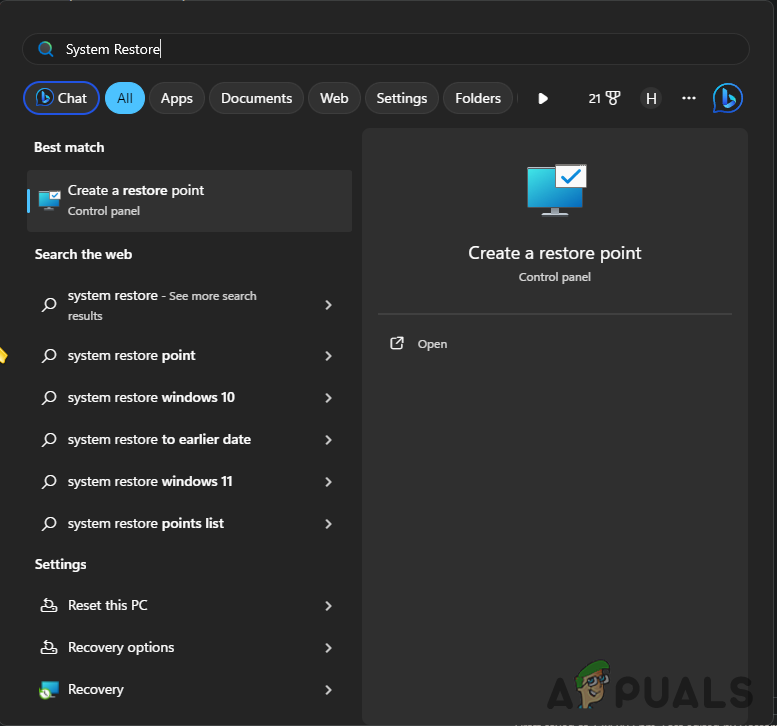
- Open the Start Menu, type System Restore, and select it.
Opening System Restore Settings - Select C drive and click ‘Configure‘.

Configuring C Drive System Restore Settings - Check the maximum storage size for restore points.
- If Current usage is high, delete old restore points.
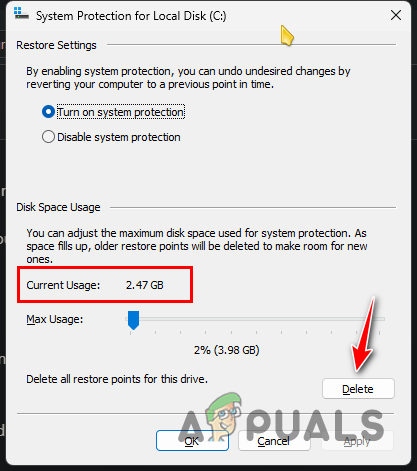
Deleting System Restore Point - Adjust the Max Usage slider to set the storage space for restore points.
4. Run Malware Scans
Hidden malware or harmful programs can create unnecessary files or quickly use up disk space, causing the C drive to fill up unexpectedly. Running a thorough malware scan can find and remove these threats, freeing up space and protecting your system from further issues.
- Press Win key + I to open the Settings app.
- Navigate to Privacy and Security > Windows Security > Virus and Threat Protection.
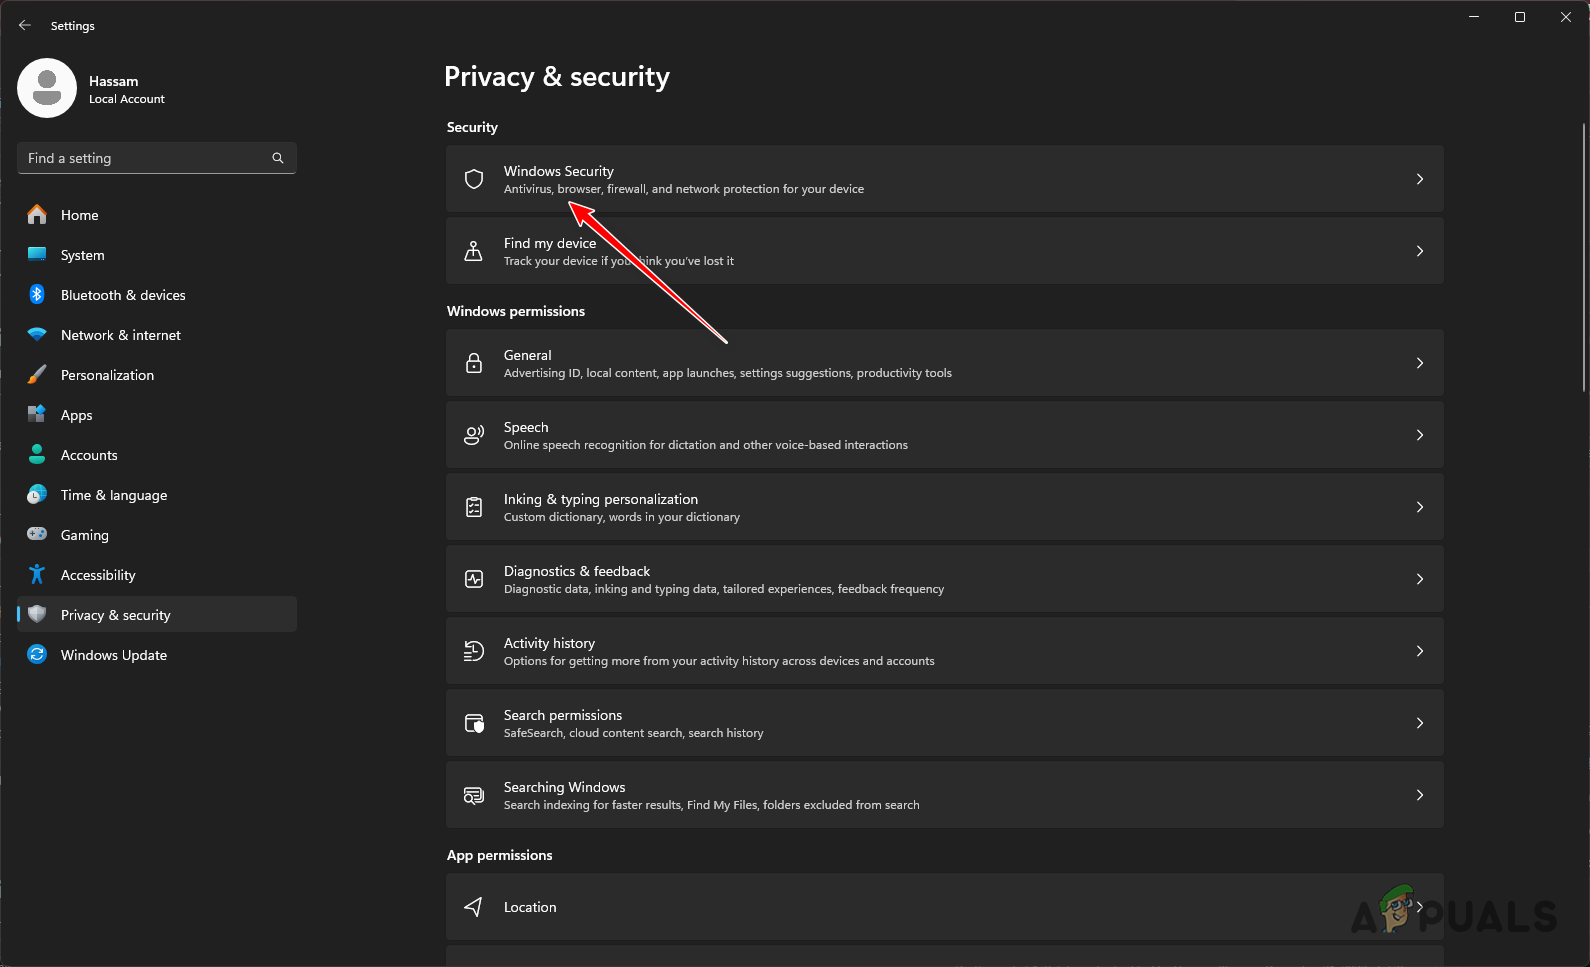
Navigating to Windows Security - In Windows Security, click Scan options.
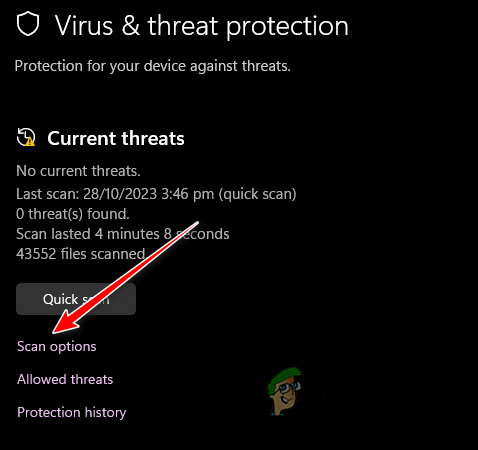
Navigating to Scan Options - Choose Full scan and click Scan now.

Performing Full System Scan - Allow the scan to finish.
Consider using a reputable third-party antivirus program, such as Malwarebytes, for additional scan options.
5. Use TreeSize
The TreeSize utility provides a detailed visual breakdown of your disk space usage, showing exactly which folders and files are taking up the most space. By using TreeSize, you can quickly identify large or unnecessary files that might be hidden deep within your directories.
- Install the TreeSize application following the provided instructions.
- Open TreeSize from the Start Menu and run it as an administrator.
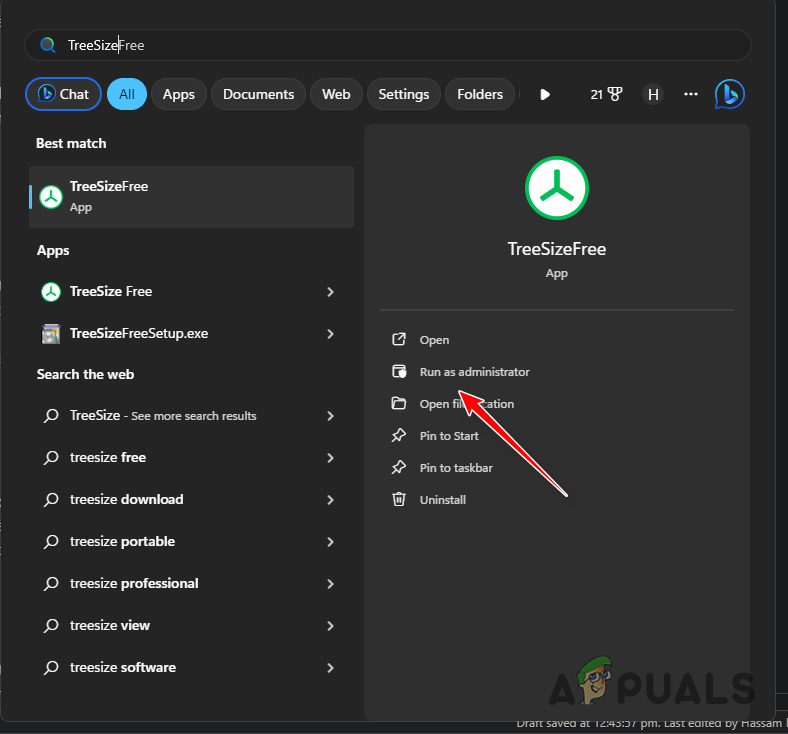
Opening TreeSize - Analyze the C drive by selecting it.
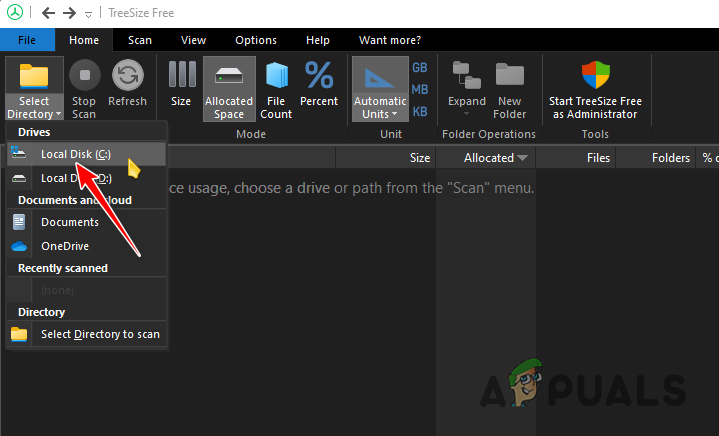
Scanning C Drive with TreeSize - Wait for the scan to finish.
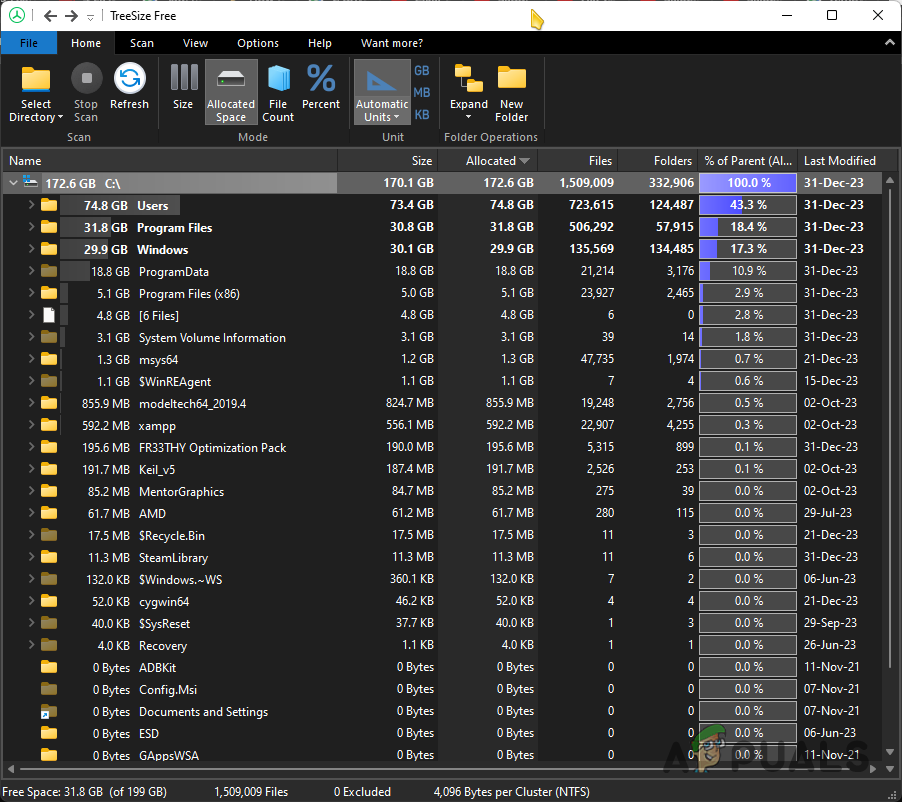
TreeSize Scan Result - Identify and delete the largest files using the ‘Size‘ column.
6. Clean Install Windows
Starting fresh with a clean install of Windows gets rid of all the clutter, malware, or broken files that might be causing the C drive to fill up unexpectedly. By erasing the system and reinstalling Windows, you create a completely reset environment, removing any hidden issues or wrong settings that contribute to the problem.
You can follow our detailed guide here on performing a clean Windows installation step by step.


Kevin: My hard drive exploded last year and was replaced with a solid state something or other, which came with Windows 10 and a ton more memory (at least, that’s what the repair guy told me). But after I loaded it with programs and data and lots photos (roughly a little less material than was on the dearly departed drive), I looked to see how much room was left on the new 500 Gig drive. It was almost full, with only 18 gigs left open. Any idea as to what happened? Many thanks, DN in SC.