Fix: Borderlands 2 Initialization Error
The Borderlands 2 initialization error appears after launching the game either via the game’s executable or by launching it through Steam. It prevents users from playing the game and the fixes are few to be found, even after conducting a thorough search online. The problem is that the error appears to quite a few people who haven’t received high-quality feedback for their prompts.
We have browsed the web for all possible fixes for this specific error and we have found several methods which have helped other users deal with this problem and we hope you will benefit from it as well!
What Causes Borderlands 2 Initialization Error?
Some of the most common causes are simply corrupt temporary setups of the game or the Steam client and these minor problems can be solved simply by restarting Steam or verifying the game files if the problem is related to the Borderlands 2 game files.
However, sometimes the real cause for the problem is your antivirus program which is preventing certain files from being used or executed. One of the major culprits for this problem is McAfee Antivirus program so make sure you consider getting a replacement.
Solution 1: Restart Steam
Yes, it can be that easy! Plenty of users confirmed that simply exiting Steam completely and reopening it from scratch managed to solve the problem for them without any flaws and they were finally able to launch the game.
The reason this method is listed first is because it’s easy and effective. This is the first thing you should do when you encounter the error before moving onto the more difficult methods.
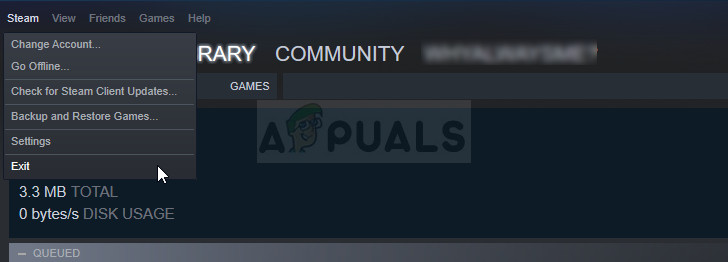
- Make sure you exit the Steam client on your computer completely by clicking Steam >> Exit from the top-side menu or right-click the Steam icon at the lower right part of the screen (system tray) and choose Exit.
- An alternative solution if you have the Steam window closed is to locate the Steam icon in the system tray (lower left part of the screen). Note that you might need to click the upwards pointing arrow to see more apps.
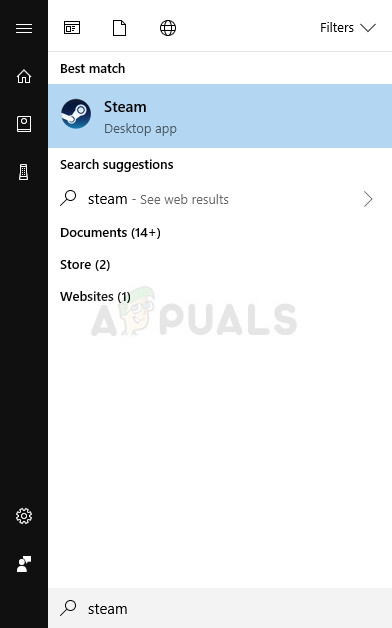
- Right-click the Steam icon in the system tray and choose the Exit option. Open the Steam app by double-clicking its entry on the Desktop or by searching for it in the Start menu simply by typing “Steam” after clicking the Start menu button.
- After the client opens, navigate to the Library tab in the Steam window at the menu located at the top of the window, and locate the Borderlands 2 entry in the list.
- Right-click the game’s entry in the library and choose the Play Game entry from the context menu which will appear. Check to see if the error still appears when launching the game.
Solution 2: Verify Integrity of Game Files
A lot of players online claim that they thought of verifying the integrity of the game’s cache immediately after receiving the error and they claim the tool was able to find a file or two which were missing from the game’s installation folder. The tool redownloaded them and the game was able to launch without displaying the initialization error on startup.
- Open the Steam PC client by double-clicking its entry on the Desktop or by searching for it in the Start menu simply by typing “Steam” after clicking the Start menu button.
- After the Steam client opens, navigate to the Library tab in the Steam window at the menu located at the top of the window, and locate the Borderlands 2 entry in the list.
- Right-click the game’s entry in the library and choose the Properties option from the context menu which will open and make sure you navigate to the Local Files tab in the Properties window straight away.
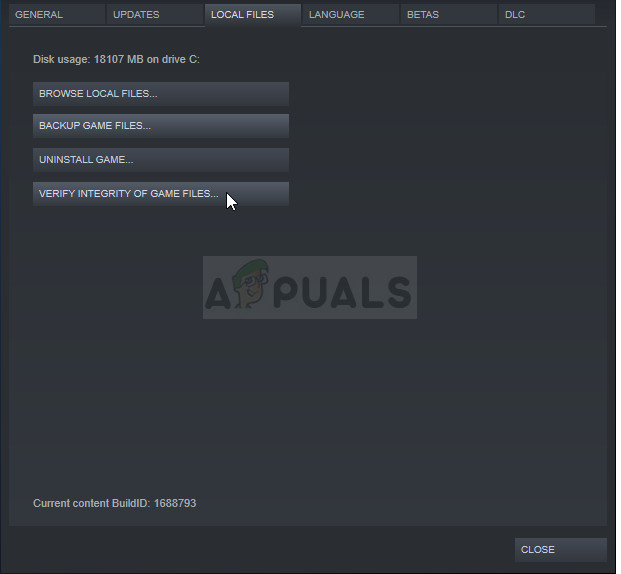
- Click the Verify Integrity of Game Files button at the bottom of the window and wait for the process to finish. The utility should download any missing files and you should be able to launch Borderlands 2 without receiving the Initialization error.
Solution 3: Launcher Being Broken
There appears to be a bug with the Borderlands 2 launcher which prevents it from being properly launches when the game is opened via Steam. The launcher is called “Launcher.exe” and it’s located in the Borderlands 2 installation folder. The problem can be solved by renaming the launcher to something like “Launcher.old.exe” and using the Borderlands 2 executable as the new launcher.
- If you have installed the game on Steam, open up your Steam client and navigate to the Library tab in the Steam window and locate Borderlands 2 in the list of games you own in the library.
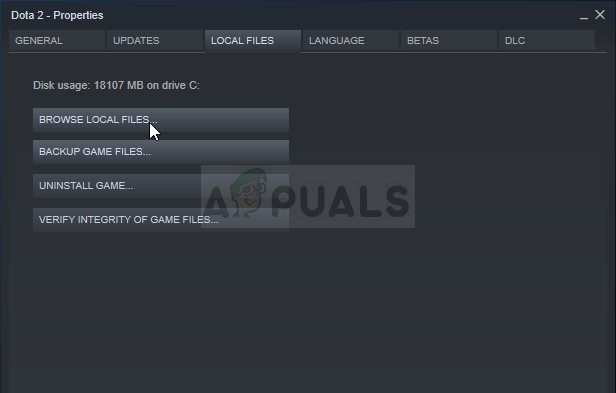
- Right-click on the game and choose the Properties entry which will appear at the top of the context menu. Navigate to the Local Files tab in the Properties window and choose the Browse Local Files button.
- If the game is not installed through Steam, locate the game’s shortcut on the Desktop, right-click on it and choose Open file location from the context menu which will appear. If you don’t have a shortcut on the Desktop browse for the game’s installation folder manually (C >> Program Files >> Borderlands 2) if you didn’t change it.
- You can also search for it in the Start menu by typing “Borderlands 2” with Start menu open, right-click the Borderlands 2 entry, and choose the Open file location.
- Locate the file called Launcher, right-click on it, and choose the Rename option from the context menu which will appear. Change its name to “Launcher.old” and tap the Enter key on your keyboard to confirm the changes.
- Now locate the Borderlands 2 main executable and rename it to “Launcher” and confirm the changes. Try launching the game via Steam now and check to see if the error still appears.
Solution 4: Change the Antivirus You Are Using
There are some antivirus tools which can really mess up your gameplay and prevent the game from connecting to the Internet properly or even block some files from being launched and used by the game’s executable. This can mostly be observed when using the McAfee Internet Security antivirus tool which can sometimes do more damage than actual malware.
The problem can be worked around by disabling antivirus shields while you are playing the game but that solution leaves your computer open to malware attacks and you can often forget to turn the shields back on. Instead, what you should do is to replace the antivirus tool you are using with a better alternative. Below you will find the instructions related to a clean uninstall of McAfee antivirus as it appears to be the most problematic antivirus tool.
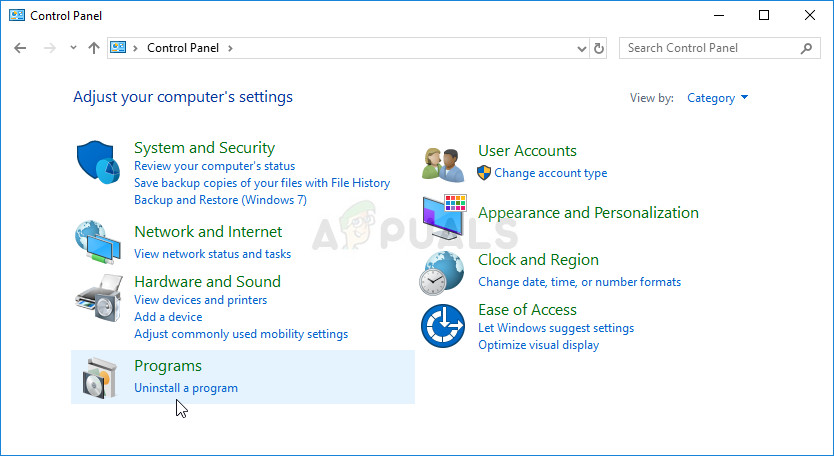
- Click on the Start menu button and open Control Panel by searching for it. Alternatively, you can click on the gear-like icon in order to open the Settings tool if you are a Windows 10 user.
- In Control Panel, set the View as setting to Category at the top right corner and click on Uninstall a Program under the Programs section.
- If you are using the Settings app on Windows 10, clicking on Apps should immediately open a list of all installed programs and tools on your PC.
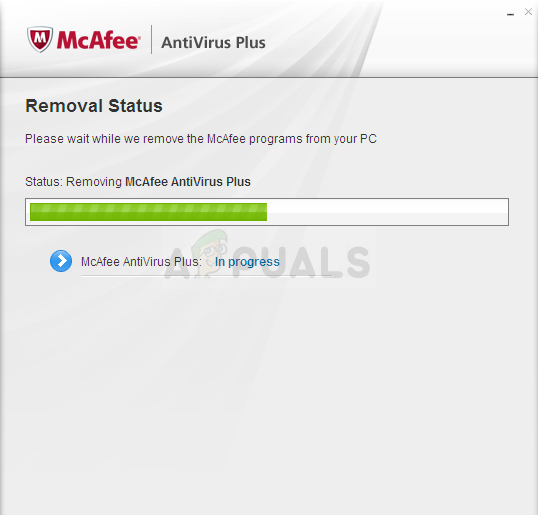
- Locate McAfee Antivirus in Control Panel or Settings and click on Uninstall or Remove.
- You should confirm any dialog boxes which may appear asking you to really uninstall McAfee Antivirus and follow the instructions which will appear in the uninstallation wizard.
- Click Finish when the uninstalled completes the process and restart your computer in order to apply the changes.
In order to clean up the remainder of the files left by McAfee, you should use the McAfee Consumer Product Removal Tool (MCPR) which can be used easily by following the instructions below:
- Download the MCPR tool from McAFee’s official website and double-click on MCPR.exe file you just downloaded. It should be in your Downloads folder by default but you can also open it by clicking on the file at your browser Downloads page.

- If you see a security UAC warning asking you to choose whether you allow the app to make changes to your PC, click Yes, Continue, or Run, depending on which version of Windows you have installed.
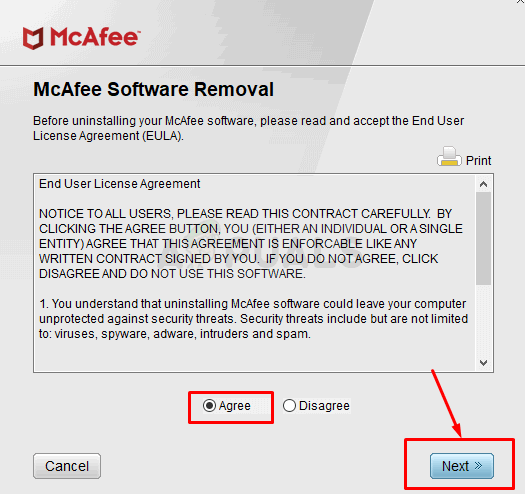
- At the McAfee Software Removal screen, Click on the Next button and click Agree to accept the End User License Agreement (EULA).
- At the Security Validation screen, type the security characters exactly as shown on your screen (validation is case-sensitive). Click the Next button. This step prevents the accidental use of MCPR.
- After the removal process finishes you should see the Removal Complete pop up which means that McAfee products have been removed successfully from your computer.
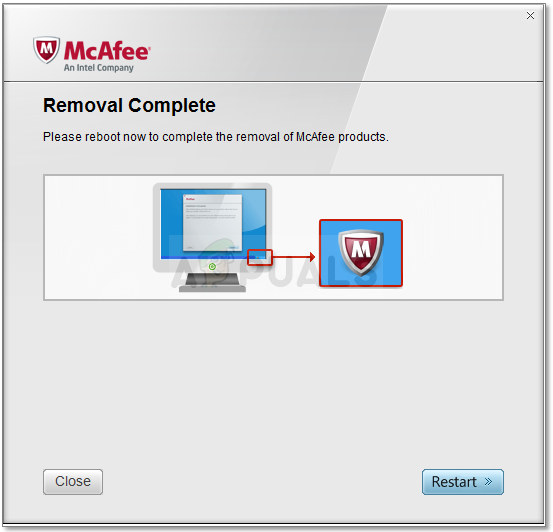
- However, if you see the Cleanup Unsuccessful message, the cleanup has failed and you should restart your PC and try the whole process again.
- Restart your computer after the process finally finishes and check to see if McAfee Antivirus is removed from your computer. Furthermore, check to see if you are still experiencing the same BSOD of your computer.


Man, you´re a god, thanks