Fix: Boorec /Fixboot Element Not Found on Windows
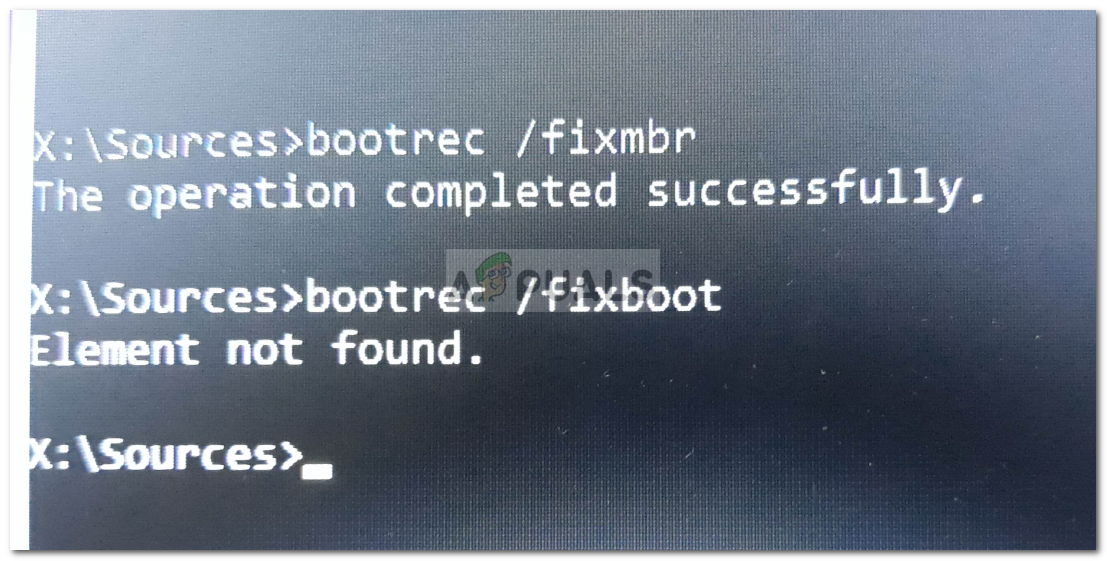
The error ‘Element not found’ is often caused by inactive system partition or if the EFI partition is not assigned a letter. This error occurs when users use the ‘bootrec /fixboot’ command in the command prompt. This command is used to repair Windows boot up whenever it is not functioning properly. This issue can turn out be quite critical as you won’t be able to use your computer unless you fix the system’s boot up which can be done using the bootrec command.
However, you do not have to freak out as this issue has a few solutions that will resolve it easily. If you have been facing this issue for quite a while, this article will help you in solving the issue permanently. But before we get into that, let us have a look at the causes of the error.
What causes the ‘Element Not Found’ Error on Windows 10?
As we have mentioned above, this error occurs when you try to repair Windows boot up. It is often due to the following factors —
- Inactive system partition. If your system partition is not set to active, it can cause the issue to occur.
- No drive letter assigned to EFI partition. When you convert MBR to GPT, the boot files are stored on EFI partition. However, if the EFI partition is not assigned a drive letter, it will cause the error.
- Damaged BCD or MBR. The error will also occur if the BCD or MBR files are damaged or corrupted.
Now, to get rid of the error, you can follow the solutions down below. Please remember that these solutions will require a Windows bootable USB/DVD or CD drive, therefore, make sure you have that covered.
Solution 1: Set the System Partition to Active
Most commonly, the reason for the error popup is an inactive system partition. In such a case, you will have to access DiskPart utility in the Windows Recovery Environment and activate the system partition. Here’s how to do it:
- Insert your Windows bootable drive and boot from it.
- When the Windows Setup window appears, select ‘Repair your computer’.
- Select ‘Troubleshoot’ and then go to Advanced Options.
- There, select ‘Command Prompt’.
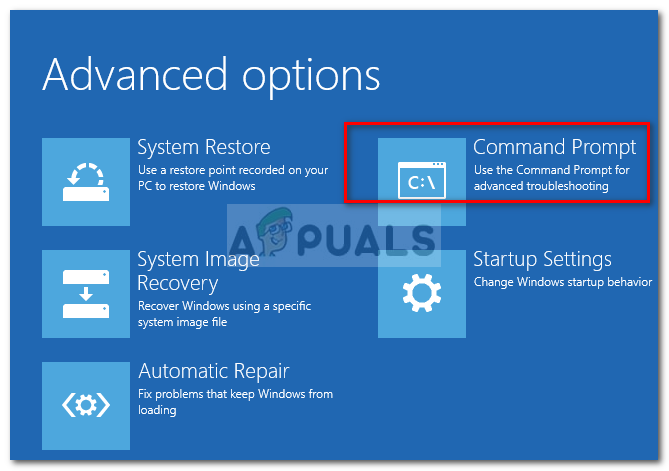
Opening Command Prompt - Once the command prompt loads, type in ‘diskpart’ and then press enter.
- Afterward, enter the following command one-by-one:
- First of all, type in ‘list disk’.
- Then, type in ‘Select DISK X’ where X is the disk with boot issues.
- Type in ‘list partition’.
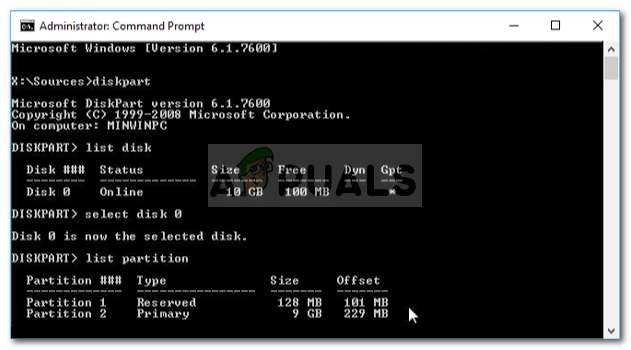
Listing Partitions - Now, you have to select the system partition which is usually around 100 MB in size, to do this type ‘select partition x’ where X is the letter of the system partition.
- Finally, type in ‘active’ to activate the partition.
- Exit the diskpart utility by typing in ‘exit’.
Once you have activated the system partition, try running the bootrec commands again. If it tells you that you don’t have a Windows installation, just exit the command prompt and run Startup Repair.
Solution 2: Assigning Drive letter to EFI Partition
If you have converted MBR to GPT, the boot files are automatically stored in EFI partition. Now, if the EFI partition is not assigned a drive letter, it will cause the ‘Element not found’ error. To fix this, you will have to assign a drive letter to the EFI partition. Use this solution only if you have a GPT disk. Here’s how to do it:
- Open up the Diskpart utility as shown in solution 1.
- Once you have loaded the diskpart utility, type in ‘list volume’.
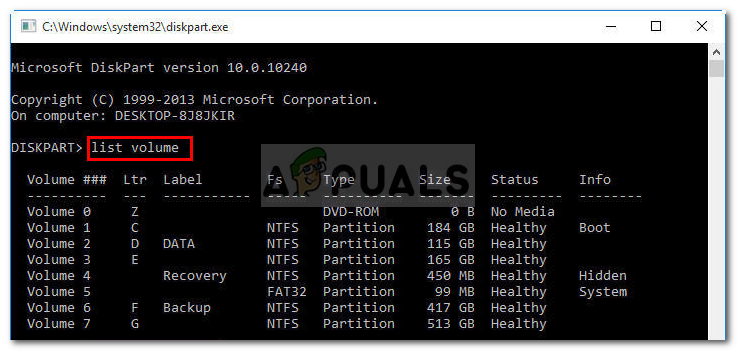
Listing Volume - Then, select the EFI partition using the ‘select volume X’ command where X represents the EFI partition which is formatted with FAT32 not NTFS.
- Now, you have to assign it a letter. Type ‘assign letter=B’ where B is the letter assigned to EFI partition.
- Exit the diskpart utility by typing ‘exit’ and then restart your system.
Solution 3: Repair BCD
The last solution that you can apply to fix your error would be to repair the Boot Configuration Data (BCD) file. Make sure you have a Windows bootable drive. Here’s how to do it:
- Access the command prompt as shown in solution 1.
- Once the command prompt opens, type in ‘cd /d b:\EFI\Microsoft\’ where b: is the drive letter of the bootable drive (change it if it is different).
- Type in ‘bootrec /fixboot’ and press Enter.
- Afterward, type ‘ren BCD BCD.bak’ and hit Enter to rename the BCD file.
- Finally, type in ‘bcdboot c:\Windows /l en-us /s b: /f ALL’. Replace the letter b: here as well according to your bootable drive letter.

Repairing BCD - Reboot your system.


Followed your instructions but it did not work. Modified it slightly and was able to successfully get the server back online.
Story:
Have a Windows Server 2016 system that I was migrating from a Raid 1 volume to a single SSD
Purchased and used AOMEI Partition Assistant Server Edition
Ran the Migrate OS wizard. System would not boot from the cloned SSD Drive
Broke and deleted the original RAID volume.
Did the Repair BCD as described above. Still did not work.
Modified the BCD Repair as follows
v:efimicrosoftboot>bcdboot c:windows /l en-us /s c: /f all
this repaired my boot issue and I was able to boot the system.
The difference was the last command (v: /f all) to (c: /f all)