Fix: Bluestacks Engine Won’t Start
BlueStacks is an Android emulator that lets you run Android games and apps on your PC or Mac. Sometimes, when starting the BlueStacks, you will see an error message indicating that the Engine could not be started. You can either try to restart the Engine from the error dialog or reboot the PC and try again. These options usually do not resolve the issue and keep you from using the BlueStacks.
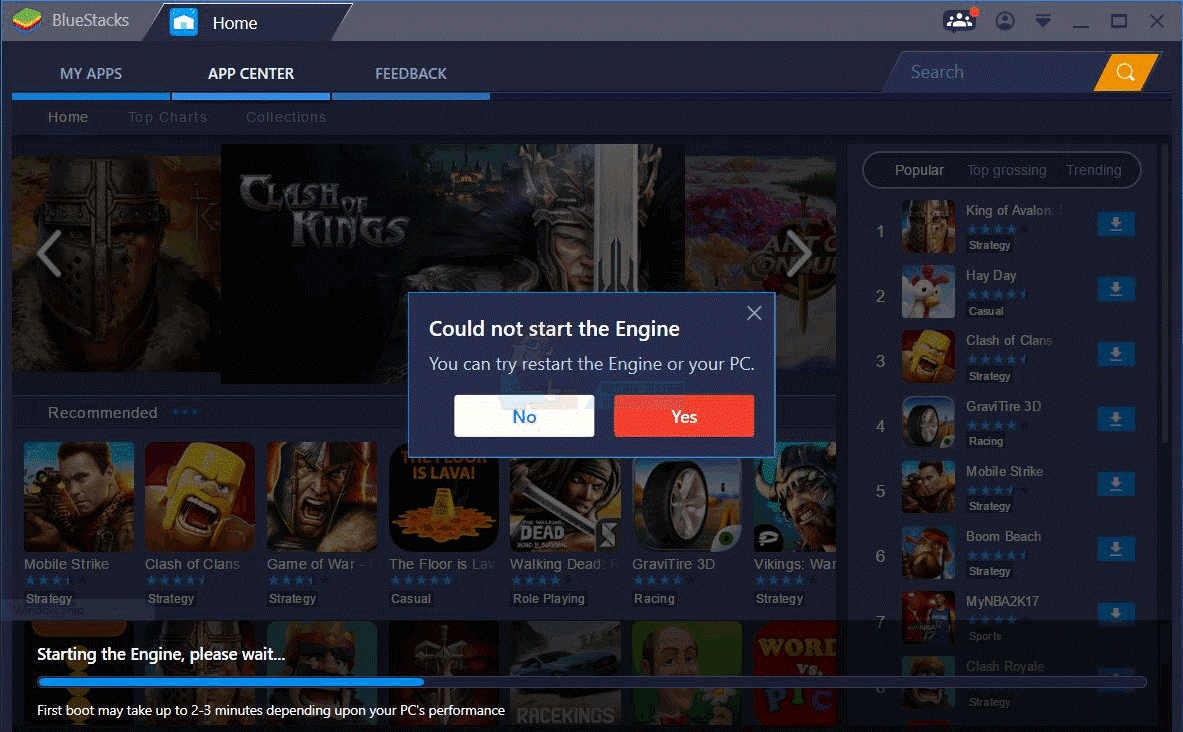
This error message usually appears after installing the BlueStacks update. A lot of users started seeing this error when they updated the BlueStacks to the newer version. So, the usually cause of this error is a bug in the update. For some users, this might happen after the Windows update as well. Again, it points to a bug in the Windows or BlueStacks update. In rare cases, the problem can caused by improper settings and/or disabled virtualization technology.
Tip
Try turning off the antivirus application especially if you have Avast. There is usually a disable option. Simply right click the antivirus icon from the system tray and select the option Disable. Disable the application for a short time and check if BlueStacks work in that period. If it works fine then the issue is simply because of the security application. Switching to a different security application will prevent these problems in the future.
Method 1: Switch to DirectX and change RAM capacity
In the engine settings of BlueStacks, you will have an option of using OpenGL or DirectX. By default, BlueStacks will be using the OpenGL and this option will be selected. Swtiching to DirectX and rebooting usually solves this issue.
Follow the steps given below to switch to DirectX
- Open BlueStacks
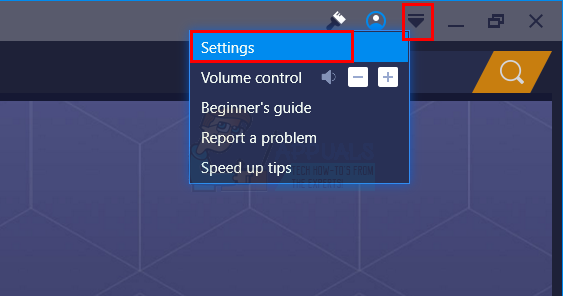
- Click on the options button from the top right corner. This button will look like a downwards arrow
- Select Settings
- Click Engine from the left pane
- Select DirectX
- Click Restart Now
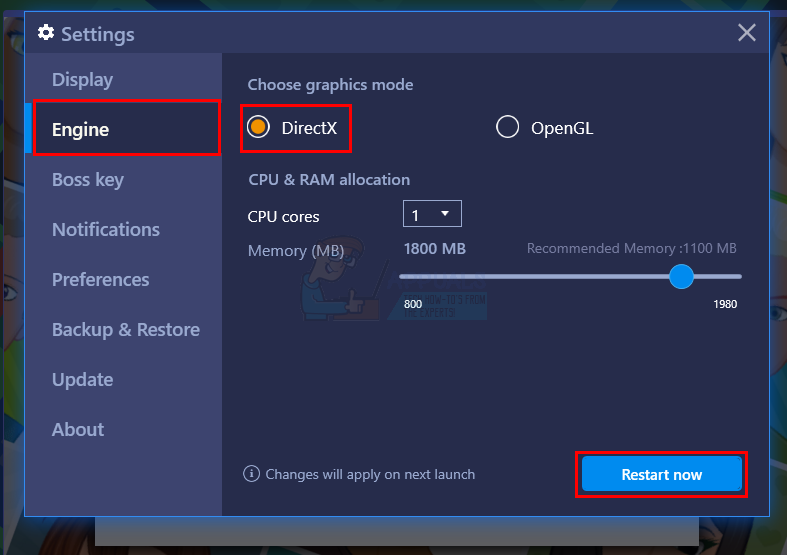
Check if the problem is resolved or not. If the problem still persists then follow all the steps given above (but do not click Restart Now button). One you have selected DirectX option, change the Core number from the drop down menu and try different RAM capacity settings. Once done, click Restart Now and check if this resolves the issue. Sometimes a different RAM settings aired with DirectX resolves the issue.
Method 2: Enable Virtualization Technology
Making sure that the Virtualization is enabled on your PC also helps in resolving this issue. A lot of users solved the problem by simply turning on the Virtualization option from the BIOS. Virtualization, if you don’t know, basically gives Intel hardware a boost while virtualizing and helps BlueStacks run smoother and faster.
But, before you enable the Virtualization technology, let’s first check whether your system supports this technology or not. Here are the steps for checking whether the Virtualization Technology is available or not.
Note: There are different ways of checking the availability depending on your processor. So, if you have an Intel processor then follow the instructions in that section. On the other hand, if you have an AMD processor then skip the Intel section and go to AMD section and follow the instruction given there.
For Intel Users
- Click here and click on the msi button from the left pane. This will download the Intel Processor Identification Utility. Note: You can scroll down and download the Intel Processor Identification Utility in your specific language. The language is mentioned just above the download button.
- Once downloaded, run the Utility and install it
- Once installed, run the Utility and click on the CPU Technologies tab
- Look for the Intel® Virtualization Technology in the list. If there is a Yes written in front of it then you have this technology and you can proceed to enable the technology. If your processor doesn’t support this technology then there isn’t anything that we can do for you. You can skip this method.
For AMD Users
- Click here to download the AMD V Detection Utility
- Once downloaded, run the Utility and it will tell you whether you have the Virtualization Technology or not. The message should be something like this “The system is compatible with Hyper-V”.
If your system is compatible then continue otherwise skip this method.
So, here are the steps for enabling the Virtualization Technology.
- Reboot your PC
- Press either Esc, F8, F12 or F10 when your manufacturer’s logo appears. The button changes from manufacturer to manufacturer so you check the documentation or try these buttons one by one. You can also look at the corners when your manufacturer’s logo appears. There is usually a message like “Press F10 (or some other key) to enter BIOS”.
- This will open the BIOS menu. If you still aren’t in the BIOS menu then you might see a list of options. There should be an option BIOS menu in this list. Simply use your arrow keys to navigate and press Enter to select the option. Navigate to the BIOS menu option and press Enter
- Now you should be in the BIOS menu. Again, the BIOS menu will vary depending on your manufacturer so you will have to look for the option yourself. There should be an option named Virtualization Technology or Intel Virtualization Technology or Intel VT for Direct I/O (or a variation of this option). Enable these options, save the settings and exit the BIOS. Note: You can use your arrow keys to navigate and Enter key to select or change an option.
You should be good to go on your next startup.
Method 3: Completely Uninstall and Reinstall
Simply uninstalling and reinstalling the BlueStacks resolves the issue as well. So, here are the steps for completely uninstalling and then reinstalling the BlueStacks.
- Hold Windows key and press R
- Type %temp% and press Enter

- Press and hold the CTRL key and press A (CTRL + A)
- Press the Delete key and confirm any additional prompts. This will delete the contents of the temp folder
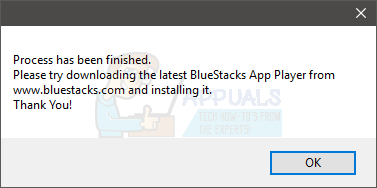
- Click here and save the file. This is the BlueStacks uninstaller. Once the file is downloaded, run the uninstaller and wait for it to finish. Click Yes if it asks for permissions

- Click Ok once the process is finished
- Now, it is time to install the BlueStacks. Click here and download the latest BlueStacks version.
- Now, we will go into Safe Mode and install the BlueStacks.
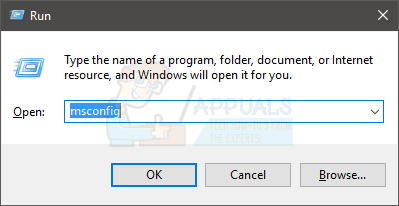
- Hold Windows key and press R
- Type msconfig and press Enter
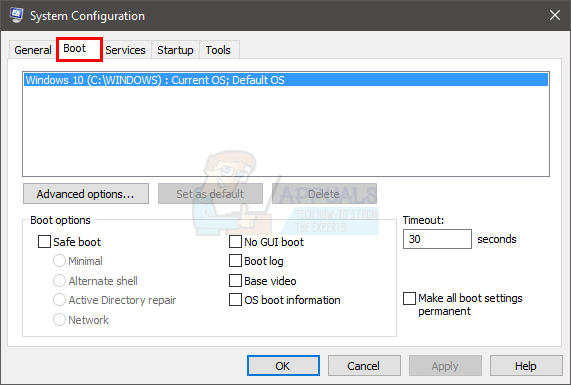
- Select Boot tab
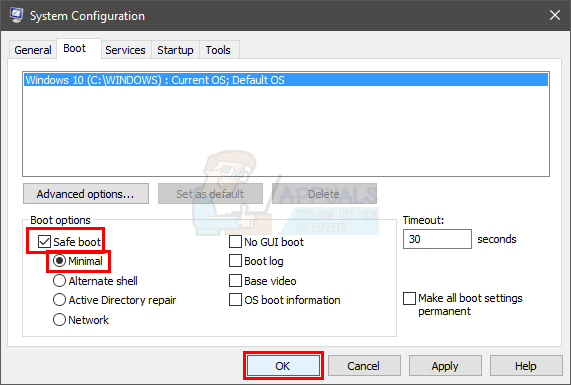
- Check the option Safe Boot in the Boot options section
- Select the option Minimal under the Safe Boot option
- Click Ok
- Windows will ask you to restart. Click Restart
- Once the system restarts, you will be in the Safe Mode. Simply navigate to the location where you downloaded BlueStacks and run the installer. Install the BlueStacks
- Once the installation is done, you need to turn off the Safe Mode option.
- Hold Windows key and press R
- Type msconfig and press Enter

- Select Boot tab

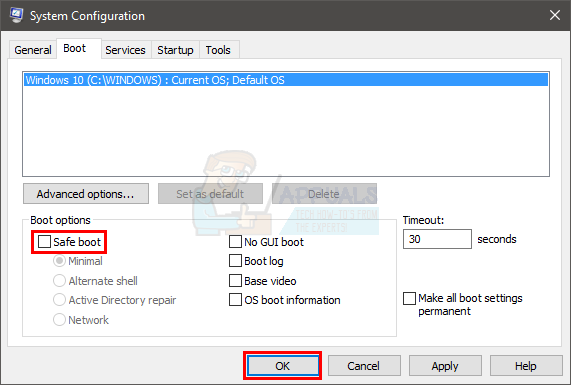
- Uncheck the option Safe Boot in the Boot options section
- Click Ok
- Windows will ask you to restart. Click Restart
Your computer should start in normal mode. Check if BlueStacks is working properly or not.
Method 4: Revert back to previous build
If you started experiencing the problem after a Windows update then, clearly, the problem is with the latest Windows build. In this scenario, the only option for you is to revert back to the previous build and wait for the Windows update that doesn’t cause this issue.
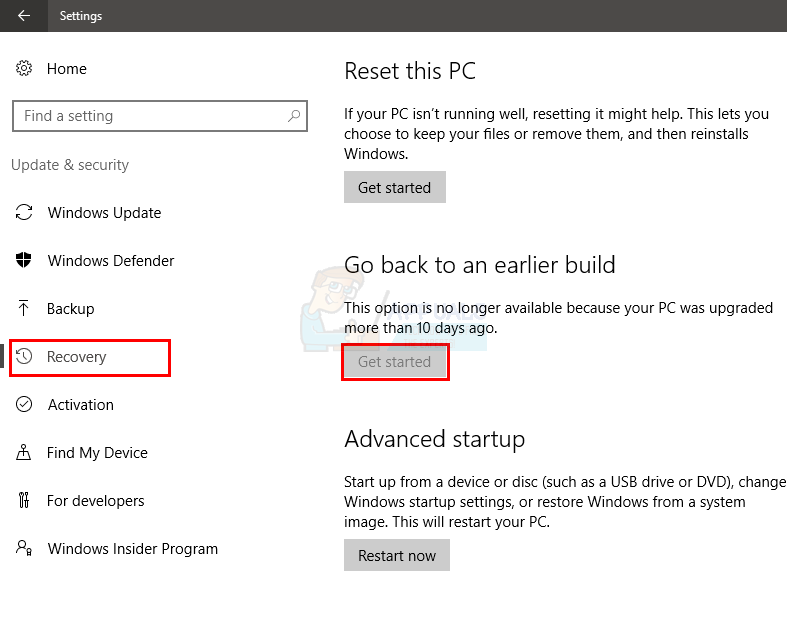
Note: There is a certain time limit (10 days) in which you can revert back to the previous build after a Windows update. So, keep that in mind because this option won’t always be available.
Here are the steps for reverting back to the previous build
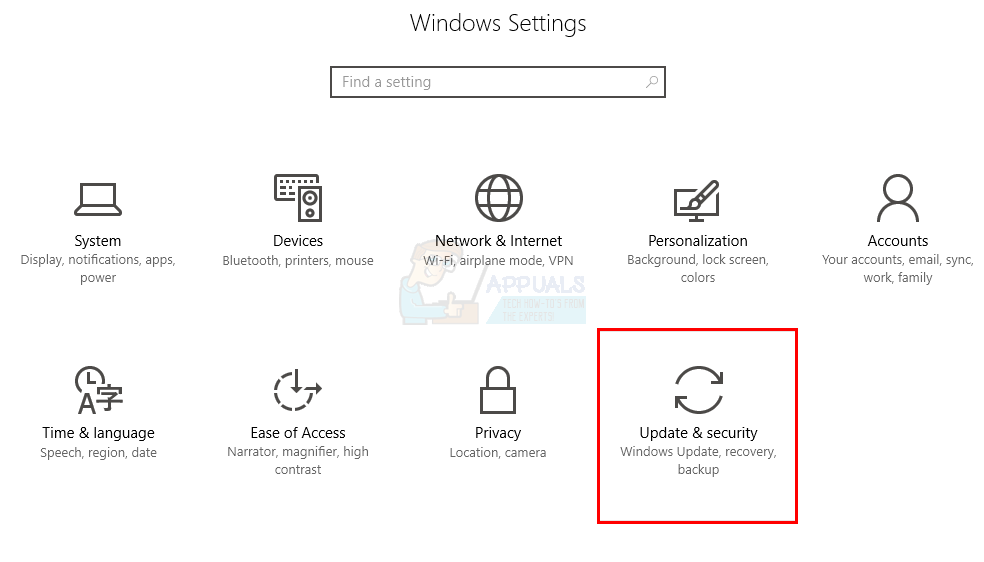
- Hold Windows key and press I
- Click Update & Security
- Click Recovery from the left pane
- Click the Get Started button in Go back to an earlier build If this button is greyed out then, unfortunately, you can’t revert back. Once you click the Get Started button, simply follow the on-screen instructions and you will be good to go.
thank u so much this worked