Fix: Bluestacks crashing on Windows
Some users have been reporting that they experience regular Bluestacks crashes while gaming on Windows 10. While some report that only the software crashes with the “an unexpected error occurred” error message, other users report that every crash is followed by a BSOD (Blue Screen of Death) crash.
Most affected users report that this error is right after or some time after upgrading from an older Windows (Windows 7 or Windows 8) version to Windows 10.
After investigating the issue, we noticed that there are quite a lot of intermittent issues with BlueStacks that might force it to crash (particularly on Windows 10). However, most of the time, this issue is either caused by a software conflict, corruption or an outdated version of Bluestacks.
If you’re currently struggling with frequent BlueStacks crashes on your PC, start following the methods featured in this article. Below you have a collection of potential fixes that other users have used to resolve the problem. Since the fixes are ordered by frequency and severity, please follow the methods in order until you encounter a method that resolves the issue in your particular situation.
Method 1: Uninstall & Update Bluestacks to the latest version
If you haven’t updated your Bluestacks version after upgrading to Windows 10, the issue most likely happens because you’re still using an older version that is not compatible with Windows 10.
Note: Even if you have the latest version of Bluestacks, reinstalling the client will automatically resolve a lot of corruption problems that might cause the issue.
You can work around this problem by installing the latest version available (latest versions include fixes related to various compatibility issues with Windows 10). But in order to make sure that you perform a clean installation, you’ll need to remove the old version first. Here’s a quick guide on how to install & update Bluestacks:
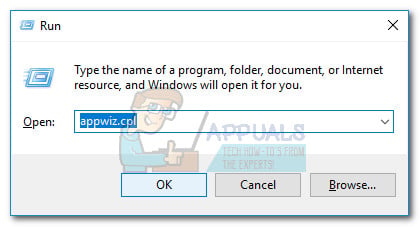
- Press Windows key + R to open up a Run box. Then, type “appwiz.cpl” and hit Enter to open Programs and Features.
- In Programs and Features, scroll through the application list, right-click on Bluestacks and choose Uninstall. Then, follow the on-screen prompts to remove the current version of Bluestacks from your system.
- Once the old version of Bluestacks has been uninstalled, reboot your computer.
- At the next startup, visit this link (here) and download the latest available version of Bluestacks.
- Open the Bluestacks installer and follow the on-screen prompts to install the latest version on your system. Once the installation is complete, start using Bluestacks and see if the crashes return. If they do, move down to Method 2.
Method 2: Updating the graphics card driver
Apparently, frequent Bluestacks crashes can also be caused by your GPU driver. Some users have reported that the issue was suddenly fixed after they installed the latest available graphics drivers.
Most of the time, users point towards outdated dedicated GPU drivers (Nvidia and ATI) as culprits, but the issue is also likely to occur with integrated Intel graphics cards. Just to make sure that we cover every potential suspect, we encourage you to update both the dedicated GPU and the integrated component if you are using a laptop or notebook.
If you have a Nvidia GPU, visit this link (here) and download the latest driver version available according to your GPU model and Windows version. For ATI, use this link (here) and follow the same guidelines.
If you’re using a dedicated graphics card, the best way to update to the latest driver version available is to let WU (Windows Update) download and install the latest driver available. Here’s a quick guide on how to do this:
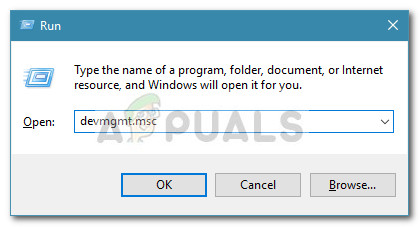
- Press Windows key + R to open up a Run box. Then, type “devmgmt.msc” and hit Enter to open Device Manager.
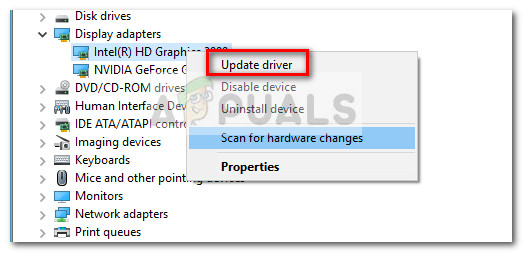
- In Device Manager, expand the drop-down menu associated with Display adapters. Then, right-click on your integrated graphics card and click on Update Driver.
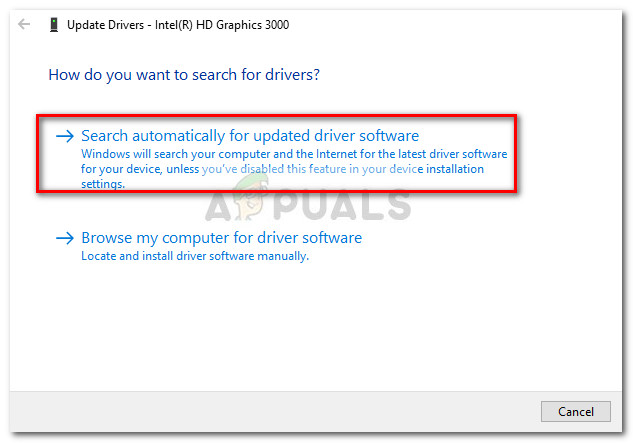
- In the next screen, click on Search automatically for updated driver software and let WU install the latest version available.
- After the updated driver is successfully installed, reboot your computer. At the next startup, open Bluestacks again and see whether you still encounter any crashes. If you do, move down to Method 3.
Method 3: Uninstalling external antivirus suites
A lot of users managed to identify their external antivirus suite as the culprit that was causing the crashes. Apparently, AVG, Avast, and even Malwarebytes (if real-time protection is enabled) might crash Bluestacks.
Note: If you are using AVAST and you are not prepared to uninstall your 3rd party antivirus, jump straight to Method 3.
Users in a similar situation have managed to resolve the issue by uninstalling their external antivirus suite, thus eliminating the possibility of a software conflict. Here’s a quick guide on how to do this:
- Open a Run command by pressing Windows key + R. Then, type “appwiz.cpl” and hit Enter to open Programs and Features.
- In Programs and Features, scroll down through the application list, right-click on your external antivirus suite and choose Uninstall. Then, follow the on-screen prompts to remove it from your system.
- In the event that you have two different 3rd party security solutions (e.g. Avast + Malwarebytes), remove them both.
- Reboot your computer and open Bluestacks again at the next startup. If you find that the crashes have stopped, you’ve just managed to identify the culprit.
If you’re still struggling with Bluestacks crashes, move down to the next method below.
Method 4: Resolving the conflict between Avast and Bluestacks (if applicable)
A lot of users have reported compatibility issues between Avast and Bluestacks. If you are using Avast and you are not inclined to quit using it, there’s one workaround that will allow you to resolve the conflict with Bluestacks.
Avast conflicts with Bluestacks due to one of the antivirus settings. Here’s a quick guide on updating Avast’s settings in order to eliminate the conflict:
- Open Avast and click on Settings in the bottom-left corner.
- In the Settings menu, use the left-hand side menu to click on Troubleshooting.
- In the Troubleshooting tab, uncheck the box associated with Enable hardware-assisted virtualization and hit Ok to save.
- Reboot your computer and open Bluestacks at the next startup to see if the issue has been resolved.
If you are still getting the occasional Bluestack crash, continue with Method 4.
Method 5: Disabling the Hyper V service
If you’re a constant emulator user, you probably know that the Hyper-V service is responsible for causing conflicts with most android emulators, not just Bluestacks.
Disabling the Hyper- service has helped a lot of users to stabilize their Bluestacks client. But keep in mind that depending on your PC configuration, you might see a drop in performance when using an Android emulator. However, many would consider this a fair trade-off it means they can enjoy Bluestacks without frequent crashes.
There are multiple ways that you can use to disable the Hyper V service. If you decide to try and disable the Hyper V service to see if it makes a difference, follow whichever guide seems more accessible to you.
The quicker way of disabling the Hyper V service is via an Elevated Command Prompt. The downside is that you will need to get a tiny bit technical. Here’s what you need to do:
- Press Windows key + R to open up a Run box. Then, type “cmd” and press Ctrl + Shift + Enter and click Yes at the UAC (User Account Control) prompt to open an Elevated Command Prompt.
- In the Elevated Command prompt, type (or paste) the following command and press Enter to register it:
bcdedit /set hypervisorlaunchtype off
- Once the command is successfully registered, close the Elevated Command Prompt window and open Bluestacks again. Then, test the Android emulator client for a while and see if the crash returns. If the client crashes again, move down to the method below.
The second way in which you can disable the Hyper V service is via the Programs and Features menu. Here’s a quick guide on how to do this:
- Open a Run box by pressing Windows key + R. Then, type “appwiz.cpl” and hit Enter to open Programs and Features.
- In Programs and Features, use the menu on the left-hand side to click on Turn Windows features on or off.
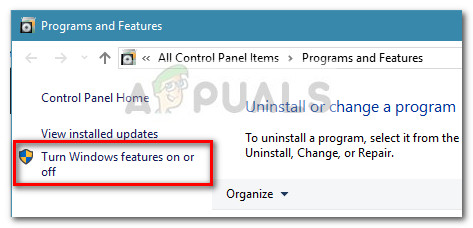
- In the Windows Feature box, scroll down and uncheck the box associated with Hyper-V and click OK.
- Wait until the service is disabled, then reboot your computer. At the next startup, see if the issue has been resolved. If you’re still encountering crashes when using Bluestacks, move down to the final method.
Method 6: Using a previous System restore point
If you’ve come this far without a result, one final method would be to use a previous System Restore point to revert your machine to a state where Bluestacks was functioning properly.
A system restore point is a Windows feature that allows users to revert the entire computer state to a previous point in time. But keep in mind that this method might not be applicable if you don’t have a restore point that is older than the date in which you started experiencing this behavior.
Some users have reported that the issue was suddenly fixed after they reverted to a previous point dated when Bluestacks was not exhibiting crashes. Here’s a quick guide on how to use a previous System Restore point to resolve the Bluestacks error:
- Open a Run box by pressing Windows key + R. Then, type “rstrui” and hit Enter to open the System Restore wizard.

- In the Windows Restore wizard, click Next at the first prompt. Then, check the box associated with Show more restore points in order to get a complete overview with all the available restore points.

- Select a restore point that is older than the date in which you started experiencing the Blustacks crashes and hit the Next button.
- Click Finish to start the restoring process. At the end of this procedure, your computer will restart directly in the older state.


I just installed three ip security cameras which needed Android app yoosee to configure and monitor them. I wasn’t that impressed with the app but it did do what I needed on a tablet. I then decided to try and run yoosee under Bluestacks on my Win 10 PC. It worked until I went to settings for the cameras and would crash both the yoosee app and Blue stacks every time I tried to change a setting. I then tried another approach by installing it on a Win 8.1 PC where I’ve blocked microsoft updates. yoosee now seems to run flawlessly under Bluestacks with this platform.Having laptops as well with Win10 its been a painful process with microsoft updates that have taken hours to finish, you’re clueless whats happening or if its crashed, my wifes laptop had her account blocked and all in all Win 10 updates are a piece of S*** that cause nothing but grief in my opinion. Based on all these Microsoft issues, I put the blame at them rather than Bluestacks when Microsoft keep issuing unwarranted updates faster than Stormy Daniels can strip her kit off ! I believe setting the metering option in Win 10 can tame the beast and slow down the updates but if you have a firewall with your router your pretty much safe. Almost all hacks are because people click on a trojan horse by mistake and Microsoft cannot stop them anyway.